
Vermicompost is a game-changer in recycling organic waste and creating nutrient-rich compost. Its unique composition, abundance of nutrients, and ability to improve soil health make it a must-have for gardeners and farmers alike.
By incorporating vermicompost into your gardening practices, you’ll enjoy healthier plants, improved soil fertility, and a greener future.
Let’s explore the composition, benefits, uses, and widespread application of vermicompost for your garden!
Vermicompost: Quick Guide
Vermicompost, also known as worm castings, is the result of an incredible process involving various species of worms.
These hardworking worms, such as red wigglers and white worms, decompose organic matter, turning it into a valuable resource for gardening and farming.
Composition: The Perfect Blend of Organic Goodness
Vermicompost is a powerful blend of decomposing vegetable or food waste, bedding materials, and vermicast, which is basically worm poop. This unique combination creates a nutrient rich powerhouse that plants absolutely love.
As the worms consume the organic matter, they break it down into simpler compounds through their digestion process.
The result?
Vermicast that’s teeming with essential nutrients and beneficial microorganisms.
Nutrient Rich and Earth Friendly
Forget about synthetic fertilizers—vermicompost is a natural powerhouse of nutrients. Packed with nitrogen, phosphorus, potassium, calcium, magnesium, trace elements, and more, it’s a feast for plants.
What’s even better is that vermicompost has lower levels of contaminants compared to the original organic materials, making it a safe and eco-friendly choice for your garden.
Boosting Soil Structure and Plant Health
Vermicompost works wonders for your soil and plants. It not only provides a buffet of nutrients that plants can easily absorb, but it also improves soil structure and drainage. This means better root growth, nutrient uptake, and water retention.
Plus, vermicompost acts as a natural soil conditioner, promoting the growth of beneficial microorganisms that keep your soil healthy and disease-free.
From Gardens to Sustainable Farming
Whether you’re a gardening enthusiast or a professional farmer, vermicompost has got you covered. It can be mixed into potting media or applied directly to the soil.
When mixed with potting media, it enriches the soil with organic matter, nutrients, and beneficial microbes, creating an ideal environment for plant growth.
Adding it to the soil enhances fertility and structure, giving your plants the best possible foundation for success.
Sustainable Waste Management
Vermicomposting has become incredibly popular, especially in North America, where it’s used to process food scraps in places like hospitals. This method of managing organic waste not only reduces landfill waste but also produces nutrient-rich soil amendments.
By harnessing the power of vermicompost, we can contribute to a more sustainable and eco-friendly approach to waste management.
You can learn more about the benefits of worm castings in details.
Vermicomposting 101: Worm-Powered Composting Made Easy
Ready to turn your organic waste into garden gold? Let’s break down vermicomposting into simple steps to help you become a composting pro.
How To Vermicomposting
Step 1: Set Up Your Worm Bin
Grab a plastic tub and fill it with moist bedding, like shredded newspaper or cardboard. Keep it damp, but not dripping wet.
Step 2: Meet the Superstars: Red Wigglers
Introducing the stars of the show: red wiggler, aka Eisenia Fetida. These red worm is the vermicomposting champions, devouring organic matter with gusto.
Step 3: Feed Your Hungry Worms
Give your worms a balanced diet of kitchen scraps like fruit and veggie peels, coffee grounds, and crushed eggshells. Skip the meat, dairy, and oily foods to avoid unwanted visitors.
Step 4: Keep the Bin Happy
Maintain your worm bin by monitoring moisture levels. Add water if it gets too dry, but don’t go overboard. Stir the bedding occasionally to keep it airy and prevent any funky smells.
Step 5: Harvest the Black Gold
After a few months, the worms will work their magic, turning your waste into nutrient-rich compost. Create a pile on one side of the bin and add fresh bedding on the other. The worms will migrate, leaving you with a pile of beautiful compost.
Vermicomposting is not a passive process; it requires active management of the composting species, making it essential to learn how to raise worms for castings to maintain a healthy and productive colony.
Ideal Conditions for Success
To keep your worms happy and thriving, remember these key tips:
- Temperature: Aim for a cozy range of 55°F to 77°F (13°C to 25°C).
- Moisture: Keep the bedding moist like a wrung-out sponge. Not too wet, not too dry.
- pH Level: Aim for a slightly acidic environment, between pH 6.0 and 7.0.
- Aeration: Give your worms some breathing room by fluffing the bedding occasionally.
Choosing the Perfect Worms for Vermicomposting: A Handy Guide
Choosing the right worms is crucial for successful vermicomposting. Consider your climate, scale, and availability to make the best choice for your system.
Different Worm Species for Successful Vermicomposting
- Red Wigglers: These hardworking worms are the vermicomposting champions. They’re efficient, adaptable, and reproduce quickly. Perfect for both indoor and outdoor setups.
- European Nightcrawlers: If you’re in a cooler climate, these larger worms are your go-to choice. They have big appetites and can handle a wider range of temperatures, making them ideal for outdoor vermicomposting.
- African Nightcrawlers: These active worms excel in higher temperatures and tropical climates. They’re great for larger-scale vermicomposting projects and can handle a lot of organic waste.
| Worm Species | Characteristics | Suitability for Vermicomposting |
|---|---|---|
| Red Wigglers | Efficient and quick reproducers | Small-scale systems, indoor/outdoor setups |
| European Nightcrawlers | Larger size, vigorous appetite | Outdoor vermicomposting, cooler climates |
| African Nightcrawlers | Large and highly active worms | Large-scale operations, warmer temperatures |
Key Considerations for Worm Selection
- Climate: Match your worm species to the climate in your area. Red wigglers are versatile, European nightcrawlers thrive in cooler climates, and African nightcrawlers love the heat.
- Scale of Vermicomposting: Consider the amount of organic waste you plan to compost. Red wigglers are perfect for small-scale systems, while European and African nightcrawlers are better suited for larger projects.
- Availability: Check local sources for worm availability. Red wigglers are commonly found at garden centers and online, while European and African nightcrawlers might require more research to find.
Creating the Vermicomposting Setup
1. Selecting the Right Container for Vermicomposting
When it comes to choosing a container for vermicomposting, you have a few options:
- Plastic Bins: These are affordable and practical. Look for sturdy bins with a lid and drainage holes.
- Wooden Crates: If you want a natural and attractive option, go for untreated wooden crates. Just make sure they’re safe for the worms.
- Stackable Trays: These trays make it easy to separate worms from compost. They also provide better airflow and drainage.
Expert Tips:
Consider the size of the container based on your worm population and kitchen scraps.
2. Preparing Bedding Material for the Worms
To create a comfortable environment for the worms, prepare bedding material like:
- Shredded Newspaper: Moisten shredded newspaper and fluff it up before adding it to the bin.
- Cardboard: Soak torn cardboard pieces in water before adding them to the bin.
- Coco Coir: Derived from coconut husks, coco coir is an excellent bedding material that retains moisture and allows for airflow.
Expert Tips:
Avoid using glossy or colored paper, as it may contain harmful substances.
3. Setting Up the Vermicomposting Bin or System
Here’s how to set up your vermicomposting bin or system:
- Add Bedding: Place a layer of moist bedding material at the bottom of the bin.
- Add Worms: Gently introduce the worms to the bin on top of the bedding material. Red wigglers are commonly used.
- Add Food Scraps: Include kitchen scraps like fruit and vegetable peels, coffee grounds, and eggshells. Avoid meat, dairy, oily foods, and citrus fruits.
- Cover the Food Scraps: Layer the food scraps with bedding material to prevent odors and fruit flies.
- Maintain Moisture: Regularly check and adjust the moisture level in the bin. The bedding material should be damp, but not overly wet.
- Ensure Proper Ventilation: Drill small ventilation holes or use a bin with aeration features for adequate air circulation.
- Monitor and Maintain: Keep an eye on the worms and avoid overfeeding them. Mix the contents of the bin periodically to aid decomposition.
Vermicomposting: Feeding and Maintenance
Follow these tips to ensure successful vermicomposting:
Feeding Your Worms: The Right Way
To keep your vermicomposting system running smoothly, it’s important to feed your worms properly. Here’s what you need to know:
- Balance is key: Give your worms a mix of green and brown materials. Green materials include fruit and veggie scraps, coffee grounds, and tea bags. Brown materials include shredded paper, cardboard, and dry leaves. This balance ensures the right nutrients and carbon for your worms.
- Chop it up: Help the worms by chopping or blending the kitchen scraps into smaller pieces. This speeds up decomposition and makes it easier for the worms to feed.
- Avoid problem foods: Skip citrus fruits, onions, garlic, spicy foods, dairy products, and meat. Stick to veggies, fruits, coffee grounds, and tea leaves for best results.
Choosing the Right Kitchen Scraps and Waste
Knowing what to feed your worms will make a big difference in your vermicomposting success. Here are some suitable materials:
- Fruit and veggie scraps: Use peels, cores, seeds, and any spoiled produce. Just avoid pesticide-treated or moldy items.
- Coffee grounds and filters: These provide nitrogen and can be added without the paper filters.
- Tea leaves and bags: Used tea leaves and bags (without staples) are great for adding nutrients and maintaining moisture.
- Shredded paper and cardboard: These materials provide carbon and keep your worm bin balanced. Avoid glossy or colored ink paper or cardboard.
Maintaining Moisture and Temperature
Proper moisture and temperature keep your worms happy. Here’s how to do it:
- Moisture: Keep the bedding damp, like a wrung-out sponge. Check regularly and add water if needed. Sprinkle it evenly over the bedding.
- Temperature: Worms like it between 55°F (13°C) and 77°F (25°C). Avoid extreme heat or cold. Move the bin or insulate it if necessary.
Harvesting and Using Vermicompost
Experiment with different applications of vermicompost in your garden and observe the positive impact it has.
Signs it’s Time to Harvest Vermicompost
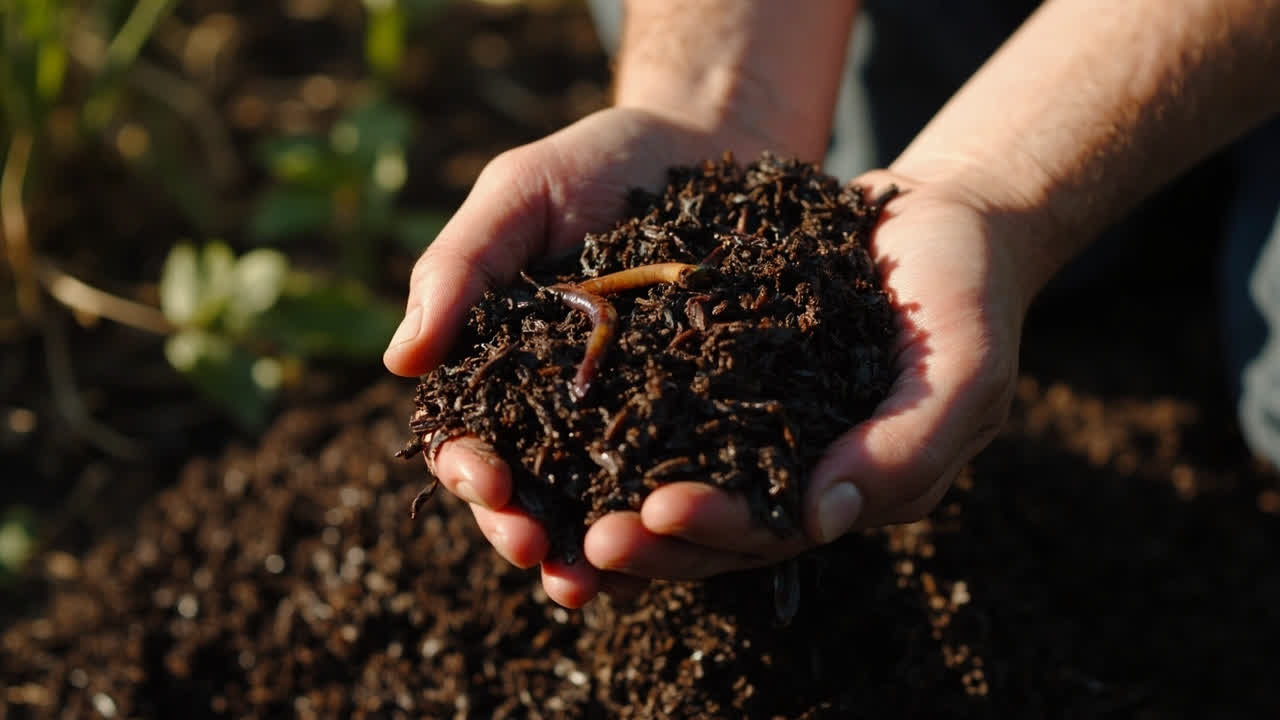
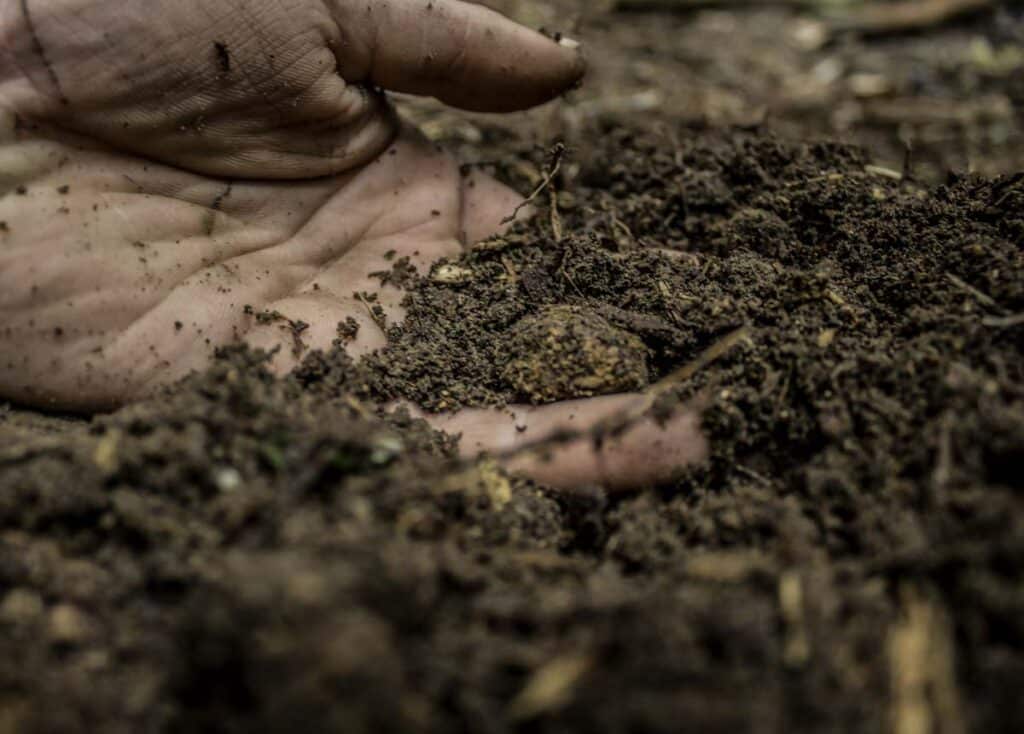
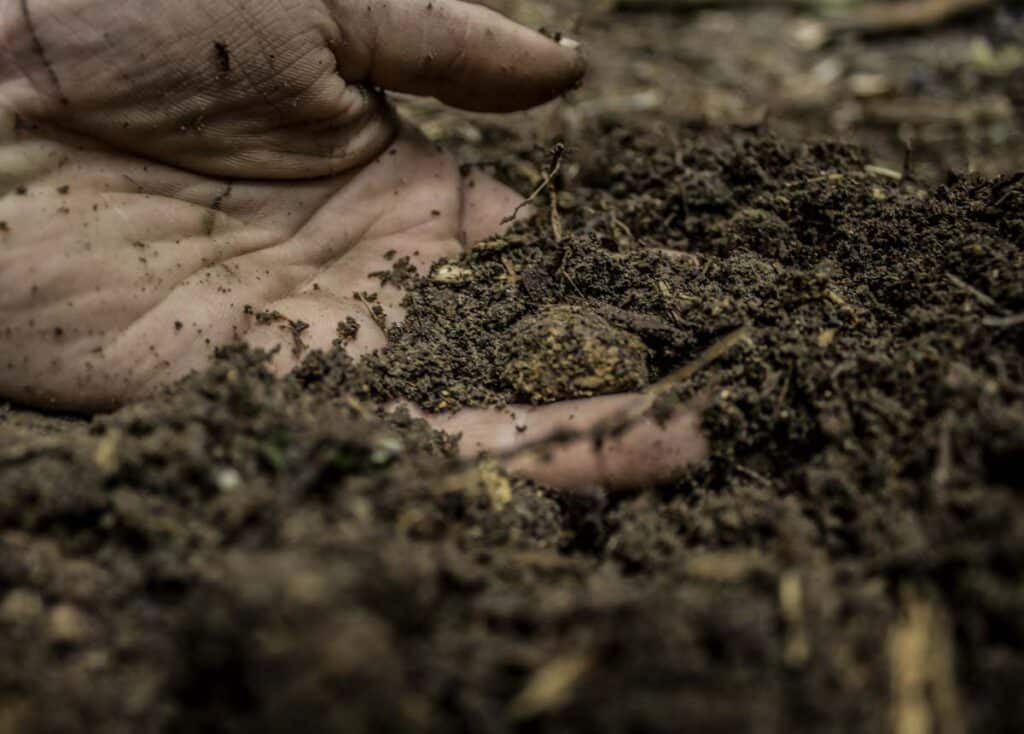
- Dark, crumbly texture: Look for a dark and crumbly texture in your vermicompost. This means it’s been transformed into nutrient rich compost by the worms and microorganisms.
- No recognizable food scraps: As the vermicompost matures, you shouldn’t see any recognizable food scraps. The worms have done their job of breaking down the organic matter.
- Earthy smell: Mature vermicompost has a pleasant, earthy smell. If it smells bad, it’s not fully decomposed yet.
Techniques for Harvesting Vermicompost
- Stop adding food scraps: Give the worms time to finish processing the remaining organic matter by not adding new food scraps a few weeks before harvesting.
- Separate worms from compost: One method is to create cone-shaped piles of vermicompost and expose them to light. Worms will burrow deeper, allowing you to collect the top layer of compost with fewer worms. Another option is to use a mesh screen to sift the vermicompost, retaining the worms while collecting the compost.
Using Vermicompost in Gardening Effectively
- Improve soil: Mix vermicompost into your garden soil or potting mix to improve its structure, water-holding capacity, and nutrient content.
- Top dressing: Apply a thin layer of vermicompost on top of garden beds or around plants. This acts as a slow release fertilizer, enriching the soil and providing nutrients over time.
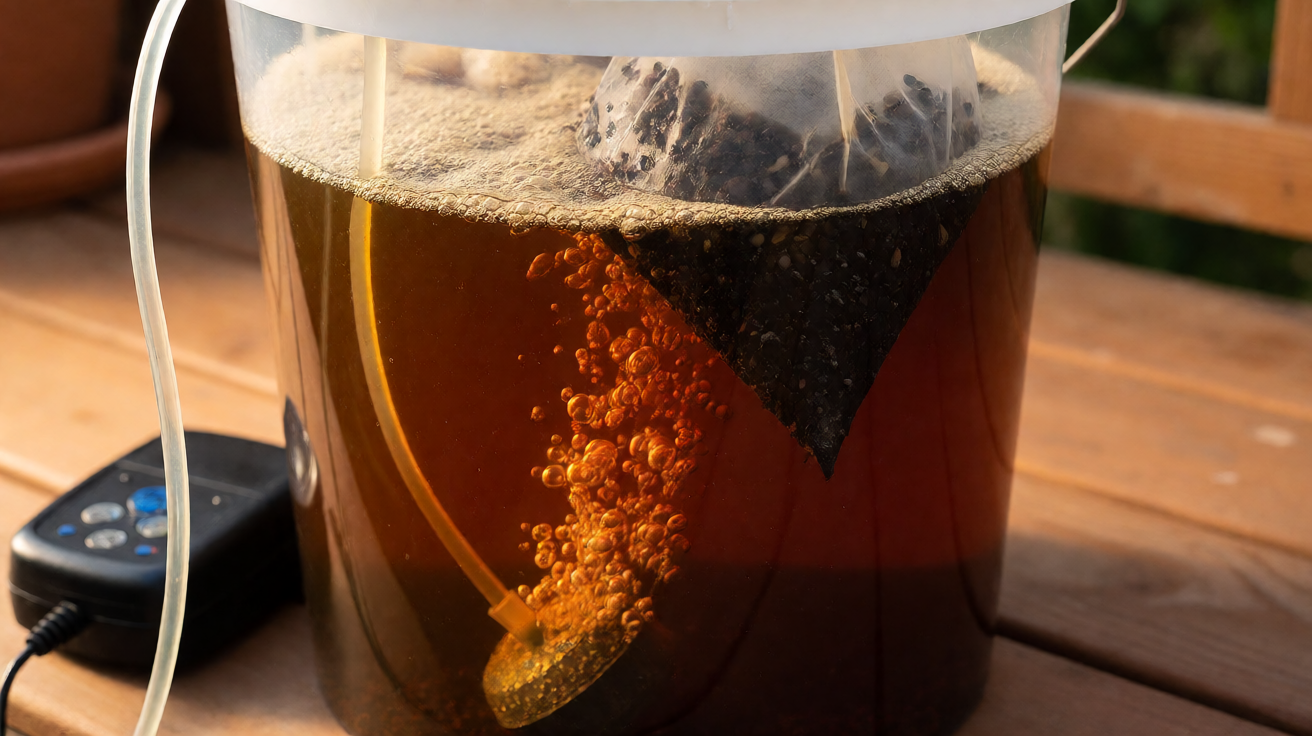
- Compost tea: Steep a handful of vermicompost in water to create a nutrient rich compost tea. Use this solution to water your plants for a boost of beneficial microorganisms and nutrients.
- Seed starting: Mix vermicompost with potting soil when starting seeds indoors. It provides a nutrient-rich environment for young seedlings to thrive.
Tackling Vermicomposting Challenges Like a Pro
Let’s troubleshoot common issues and keep your vermicompost thriving.
Follow these tips to conquer vermicomposting common problem like a pro and enjoy the rewards of nutrient rich compost for your garden:
1. Banishing Odor
Nobody wants a stinky compost bin, especially indoors! Here’s what you can do:
- Adjust Moisture: Ditch the wetness by adding dry bedding materials like shredded newspaper or cardboard.
- Feed in Moderation: Don’t overwhelm your worms with too much food at once. Feed them small amounts and let them process it before adding more.
- Balance Carbon and Nitrogen: Maintain a healthy compost by adding carbon rich materials like dried leaves or straw to balance out the nitrogen.
2. Pests? No Thanks!
Unwanted guests in your vermicompost? Show them the exit with these tips:
- Fruit Flies: Bury your food waste under bedding to discourage fruit fly eggs. Sticky traps near the bin can also help catch adult flies.
- Mites: These little critters are usually harmless, but if their numbers get out of control, add more bedding materials to keep them in check.
- Ants: Sprinkle diatomaceous earth around the bin’s base to deter ants without harming your worms.
3. Keeping It Healthy
Maintain a thriving vermicomposting system with these expert tips:
- Monitor Moisture: Regularly check the moisture of your vermicompost. It should feel like a damp sponge. Adjust accordingly.
- Feed Smart: Start small and gradually increase the food waste as your worms adapt to their diet.
- Harvest with Care: Separate worms from compost using the “light and dark” method or migration barriers. Give the worms fresh bedding and use the nutrient-rich compost in your garden.
Vermicomposting: Advanced Techniques, Tips, and Future Trends
Follow these advanced techniques and staying informed about future trends of vermicompost, you’ll achieve excellent results.
Limited Space Vermicomposting
Don’t let limited space stop you from vermicomposting! Here’s how to do vermicompost in small areas:
- Indoor Vermicomposting: Choose a compact, well-ventilated worm bin for apartments or balconies. Red wigglers are perfect for indoor spaces.
- Odor Control: Avoid meat, dairy, oily foods, and excessive citrus scraps. Stick to vegetable and fruit scraps, coffee grounds, tea bags, and shredded paper or cardboard.
- Moisture Control: Keep the bedding damp, not too wet. Adjust moisture levels as needed.
- Harvesting Castings: Start a new bin when full and let the worms migrate. Use the nutrient-rich worm castings as natural fertilizer for indoor plants or container gardens.
Scaling up Vermicomposting for Larger Gardens or Farms
Ready to scale up your vermicomposting for larger spaces? Here’s what you need to know:
- Designing a Worm Farm: Consider a flow-through or continuous-flow system for easier separation of castings and continuous vermicomposting.
- Choosing the Right Worms: Red wiggler is still the best choice for larger-scale vermicomposting. Calculate the number of worms based on organic waste generated.
- Managing Temperature and Moisture: Maintain a temperature of 55°F to 77°F (13°C to 25°C) and keep the bedding moist but not waterlogged.
- Feeding the Worms: Provide a balanced diet of food scraps, garden waste, agricultural residues, and safe animal manure. Avoid harmful chemicals or pathogens.
- Harvesting and Utilizing Castings: Regularly harvest castings for use as a valuable soil amendment or organic fertilizer.
Innovations and Future Trends in Vermicomposting
Exciting advancements are shaping the future of vermicomposting:
- High-Tech Systems: Automation, sensors, and remote monitoring optimize vermicomposting by controlling temperature, moisture, and oxygen levels.
- Integration with Sustainable Practices: Vermicomposting is combined with aquaponics and vertical farming to create closed-loop nutrient cycling systems.
- Bioconversion of Waste Streams: Specific worm species efficiently convert targeted waste streams, diverting waste and creating valuable resources.
- Scientific Understanding of Worm Biology: Ongoing research improves vermicomposting practices and tailors strategies for different applications.
- Market Demand for Organic Products: Vermicompost is recognized as a superior organic fertilizer, driving its popularity and profitability.
Worm Castings vs. Vermicompost
When it comes to composting with worms, there’s a lot of confusion around the terms “worm castings” and “vermicompost.”
Let’s clear things up and uncover the differences between vermicomposting and worm castings.
Worm Castings: Nature’s Nutrient-Rich Gems
Worm castings are the result of worms munching on organic material and leaving behind their waste.
Don’t let the term “worm turds” deter you, because these little gems are packed with nutrients and beneficial microorganisms. They have a dark, crumbly texture, similar to coffee grounds, making them easy to work with.
Vermicompost: A Holistic Composting Marvel
Vermicompost is a broader term that encompasses more than just worm castings. It’s a mixture of worm castings, partially decomposed organic waste, and materials that are still breaking down.
This blend creates a nutrient-dense concoction that promotes soil fertility and vigorous plant growth.
| Worm Castings | Vermicompost |
|---|---|
| Waste produced by worms after digesting organic material | Mixture of worm castings, partially composted organic waste, and resistant materials |
| Rich in nutrients and beneficial microorganisms | Contains a higher percentage of worm castings and other materials in various stages of decomposition |
| Dark, crumbly texture resembling coffee grounds | Nutrient-dense blend that enhances soil fertility |
| Can be used as a soil amendment to improve plant growth | Promotes soil structure, nutrient availability, and microbial activity |
| Valuable in gardening for their nutrient content | Supports healthy plant growth and overall soil health |
Notes:
Worm castings and vermicompost are both beneficial for gardening, but they have slight differences in composition and usage.
Both worm castings and vermicompost are valuable soil amendments that enhance soil structure, nutrient availability, and microbial activity.
Whether you choose to harness the power of worm castings or embrace the holistic nature of vermicompost, your garden will thrive with these nutrient-rich additions.
Vermicomposting: Nature’s Magic Potion for Plants
Versatile and easy to use, vermicompost can be added directly to soil or mixed with potting media. It’s a natural boost for gardens, lawns, and potted plants, infusing them with organic matter, nutrients, and beneficial microbes.
Ready to unlock nature’s secret? Embrace vermicomposting and watch your garden thrive.
Your plants will reward you with lush growth and vibrant blooms, all while making a positive impact on the environment. It’s a win-win for everyone involved!
Happy gardening friends!
FAQ: Vermicompost
Q: What are the raw materials for vermicompost?
Vermicompost is created using a combination of organic materials such as kitchen scraps, yard waste, and shredded paper. These materials serve as feedstock for the earthworm, specifically the Eisenia Foetida, commonly known as composting worms.
Q: Is vermicompost better than fertilizer?
Absolutely! Vermicompost is like the superstar of compost production. It surpasses regular compost and even traditional composting in terms of plant nutrients content and overall quality. It’s a nutrient rich worm cast or worm manure that adds incredible value to soil health and plant growth.
Q: Is vermicompost acidic or alkaline?
Vermicompost has a neutral pH, which means it is neither acidic nor alkaline. The composting process carried out by the earthworm helps to balance the pH of the organic material, resulting in a more neutral end product.
Q: What chemicals are used in vermicompost?
Vermicompost is all about organic goodness, so no chemicals are used in the process. It’s a natural and sustainable way of transforming waste material into nutrient-rich plant food. You won’t find any synthetic additives or artificial substances in vermicompost – just the incredible work of those hardworking worm compost.
Q: What is a worm bin?
A worm bin, also known as a vermicompost bin, is a container specifically designed to house and support the composting worms in their vermicomposting process. Worm bins provides the ideal environment for the worm composting to thrive and turn organic materials into precious vermicompost.
Q: What is finished compost?
Finished compost refers to the end product of the composting process, whether it’s traditional compost or vermicompost. It is the result of decomposed organic material, transformed by microorganisms, including the amazing earthworm, into a nutrient-rich substance that can be used to improve soil quality and nourish plants.
Q: Who is Rhonda Sherman?
Rhonda Sherman is a renowned expert in vermicomposting and an extension specialist at North Carolina State University. She has dedicated her expertise to educating and promoting the benefits of vermicomposting, making her an invaluable resource for those interested in this organic and sustainable practice.
Turn any PDF statement into a clean sheet
Skip the typos and the hours of copying. Our converter handles any bank statement format and outputs Excel, CSV, or QBO for QuickBooks. No file retention, free to try.
Convert your statement