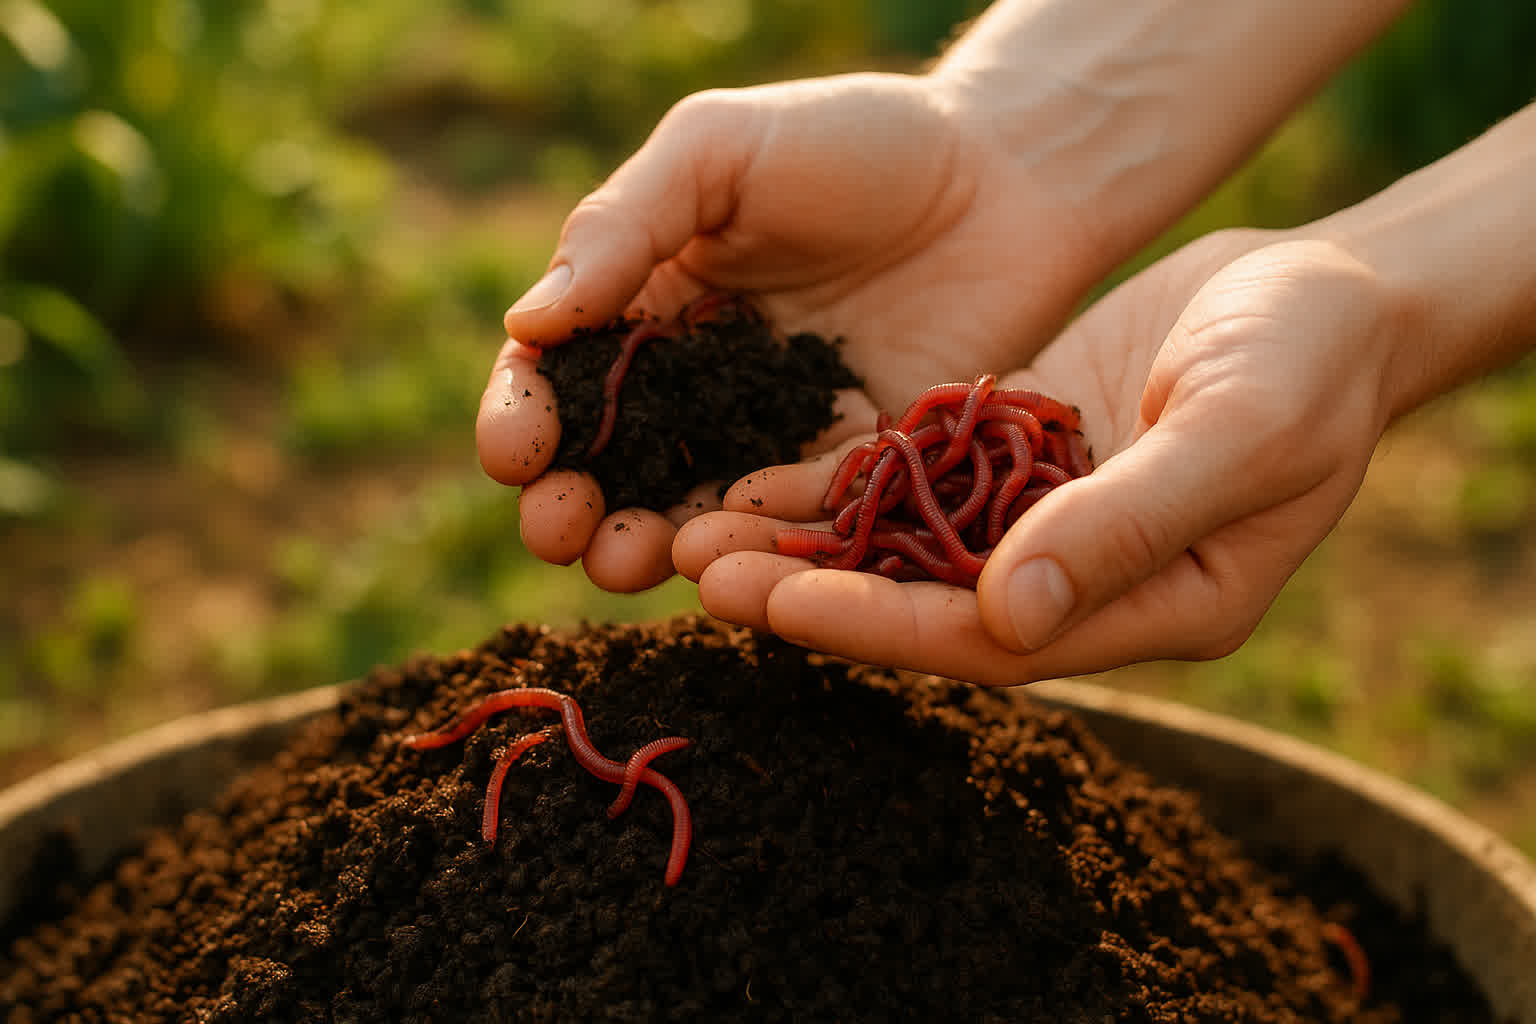

Learning how to raise worms for castings involves managing a domestic bioreactor where Eisenia fetida (Red Wigglers) operate within a strictly controlled Carbon-to-Nitrogen (C:N) ratio of 25–30:1.
This production system relies on a porous, high-carbon bedding matrix that facilitates continuous cutaneous respiration while buffering the ecosystem against acidic nitrogen spikes.
Success is determined by your ability to manage the interaction between moisture saturation, population doubling cycles, and aerobic gas exchange.
By maintaining these environmental variables, you ensure a continuous supply of nutrient-dense vermicast while preventing the metabolic toxicity associated with system mismanagement.
Establishing the Bedding Matrix and Environmental Control
Successful vermicast production begins with a carbon-heavy bedding that mimics the aerated, organic layer of a deciduous forest floor.
Unlike burrowing earthworms, Eisenia fetida are surface-dwelling detritivores that require a loose, fibrous substrate—such as shredded corrugated cardboard, coconut coir, or aged leaf litter—to maintain a stable 25–30:1 C:N ratio.
This bedding serves as a physical habitat and a thermal buffer against climate fluctuations, whether the system is kept indoors for stability or outdoors with seasonal protection.
To sustain peak microbial activity and realize the benefits of worm castings, the bedding must maintain 70%–80% moisture (the “wrung-out sponge” standard) within a temperature range of 60°F to 80°F.
Why Standard Soil Causes System Failure
The most prevalent misconception in home vermiculture is the belief that worms require garden soil to thrive.
In reality, introducing mineral soil into a closed system fills the interstitial air gaps required for worm respiration, leading to immediate compaction. Because worms breathe through their skin, they depend on high-porosity bedding to facilitate oxygen transport; soil eliminates these air pockets, triggering a “sour bin” condition where worms migrate or perish due to respiratory distress.
This creates a non-negotiable exclusion boundary: the system must remain soil-free, using only organic, fibrous materials to preserve aerobic integrity.
How Excess Feed Triggers Anaerobic Collapse
When nitrogenous feedstock (greens) exceeds the processing capacity of the worm population, the system enters a mechanistic failure known as anaerobic collapse.
This process is often signaled by a sharp drop in pH, which causes protein poisoning or sour crop, where the worms’ bodies become physically blistered and ruptured by organic acids.
To prevent this, practitioners must utilize pH buffering—specifically by adding calcium carbonate from crushed eggshells—to neutralize acidity and support worm health.
If uncorrected, the fermentation produced by excess moisture and nitrogen will create a toxic environment that exceeds the biological limits of the Eisenia fetida.
How to Raise Worms for Castings
To achieve a stable harvest of black gold, follow this operational sequence for your home system on how to raise worms for castings:
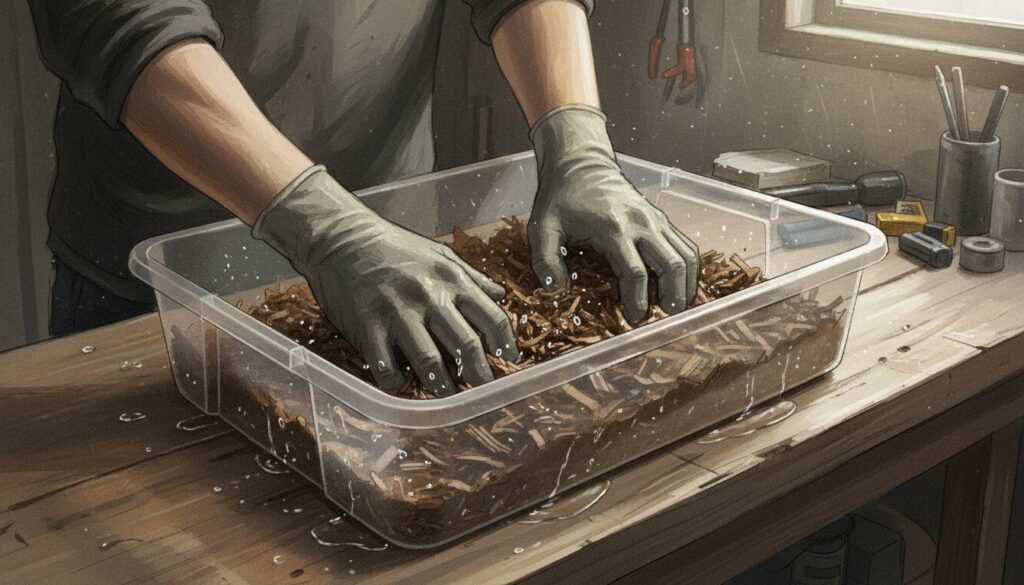
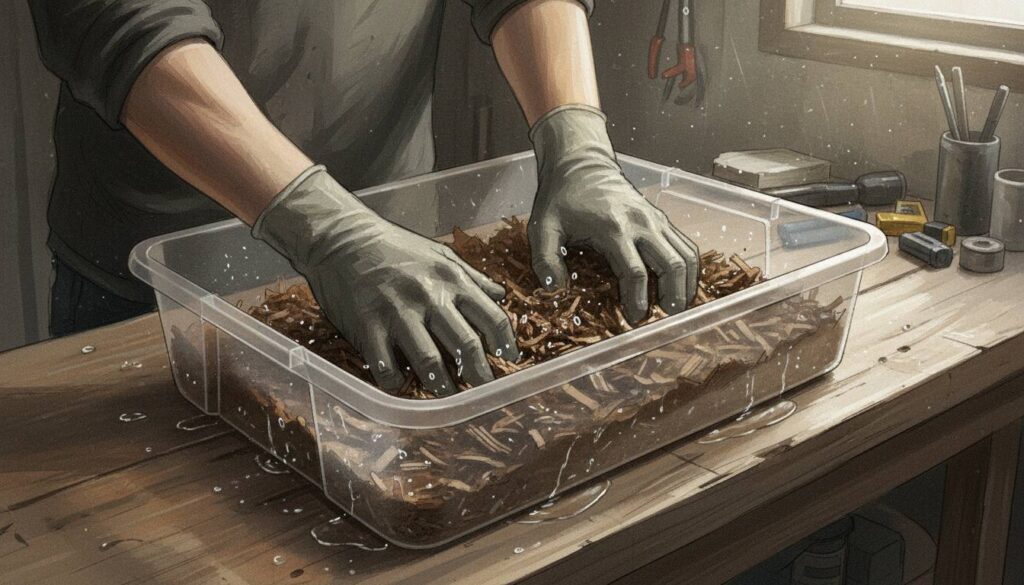
- Bedding Preparation: Shred corrugated cardboard or newspaper and hydrate it to the “Squeeze Test” standard—only 2–3 drops of water should escape under firm pressure. This ensures the correct C:N ratio and moisture profile.
- Microbial Inoculation: Allow the bedding to sit for 48 hours before adding worms. This allows beneficial bacteria to colonize the substrate, which softens the material and prepares the environment for worm consumption.
- Worm Introduction: Place one pound of Eisenia fetida on the surface. Leave a bright light over the bin for the first 24 hours; this “lights-on” strategy forces the worms into the matrix and prevents “escape migration” while they adjust to the new chemistry.
- The Pocket Feeding Method: Never spread food across the top. Dig a small hole in one corner, bury 0.5 lbs of scraps, and cover it; this method allows you to produce dense vermicompost while leaving the rest of the bin as a safe zone for the worms.
- Monitoring Logic: Once a week, gently fluff the bedding with a hand rake to prevent compaction. Check for “worm balls” (clumping), which indicates healthy feeding, versus “stringy” worms, which suggests high acidity or nutrient deficiency.
Balancing Population Density and Feed Rates
The productivity of your casting cycle is governed by the specific interaction between worm density and the biological reproduction cycle.
- Reproduction Dynamics: Red Wigglers have a cocoon incubation period of 18–30 days, leading to a population doubling timeline of approximately 60–90 days under optimal conditions.
- Operational Density: Maintaining a density of one pound of worms per square foot of surface area prevents competition for oxygen and metabolic heat buildup.
- Feed Rate Projections: One pound of healthy worms can process roughly 0.5 lbs of feedstock daily; however, if density exceeds carrying capacity, reproduction slows as the worms prioritize individual survival over cocoon production.
Choosing Between Plastic and Flow-Through Bins
Selecting hardware involves a trade-off between moisture retention and the scale of production.
Plastic bins are ideal for home-scale indoor setups because they retain moisture efficiently, but they require strict monitoring of the drainage holes to prevent liquid “swamping” at the bottom.
Conversely, wooden or fabric flow-through systems provide superior aeration and easier harvesting. However, these systems lose moisture rapidly via evaporation and may require daily misting in dry climates to prevent the bedding from desiccation, which can stall the entire production cycle.
What to Expect After Six Months of Production
As your system matures over 180 days, the physical state of the bin shifts from fibrous bedding to granular worm castings.
At this stage, you must implement harvesting methods to separate the worms from the finished material without damaging the population.
- Light Separation: Pile the material under a bright light; worms will move toward the center to avoid the light, allowing you to scrape away the outer layers of pure castings.
- Side Migration: Move all finished material to one side of the bin and place fresh bedding on the other; the worms will naturally migrate to the fresh source over 2–3 weeks, leaving the castings ready for collection.
- System Reset: After harvesting, replace at least 50% of the bin with fresh bedding to dilute accumulated salts and metabolic byproducts that inhibit worm growth.
Defining the Limits of Household Scraps
A critical distinction in high-level vermiculture is the difference between leachate and worm castings tea.
Leachate is the liquid that drains from a bin due to excess moisture; it can contain anaerobic pathogens and should be used with caution.
In contrast, learning how to make worm castings tea involves a controlled infusion made by steeping finished castings in oxygenated water to multiply beneficial aerobic microbes.
To ensure system health, you must exclude oils, meats, and excessive citrus (d-limonene), which act as solvents on worm skin.
Adhering to these input boundaries ensures that your system remains a productive aerobic bioreactor rather than a stagnant waste pile.
Turn That PDF Into a Spreadsheet in Minutes
You've seen how to do it manually — now let the tool handle the heavy lifting. Upload your bank statement and get Excel, CSV, or QBO in a few clicks.
Try It Free