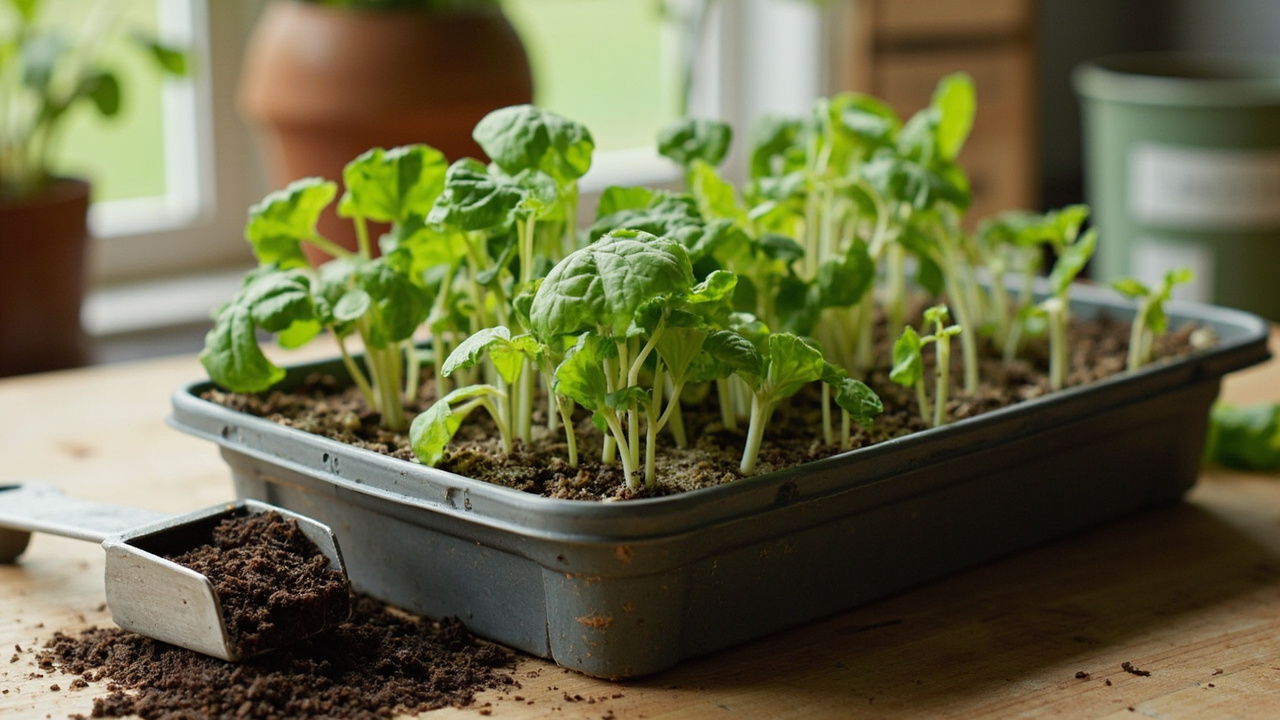

How to start vermicomposting and get reliable castings from kitchen scraps starts with the right worm bin, the right worms, and simple daily habits that keep moisture, aeration, and feeding in balance.
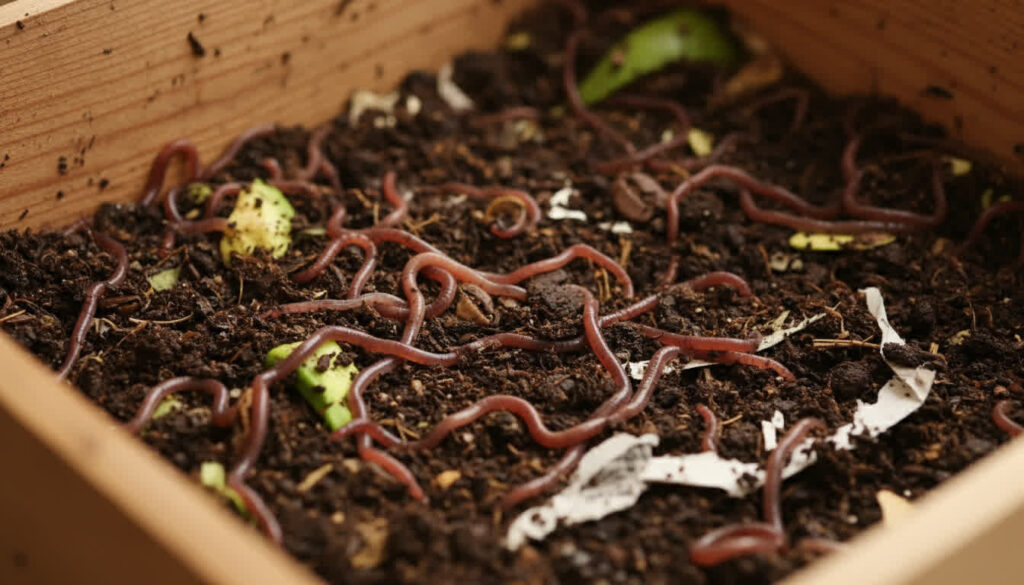
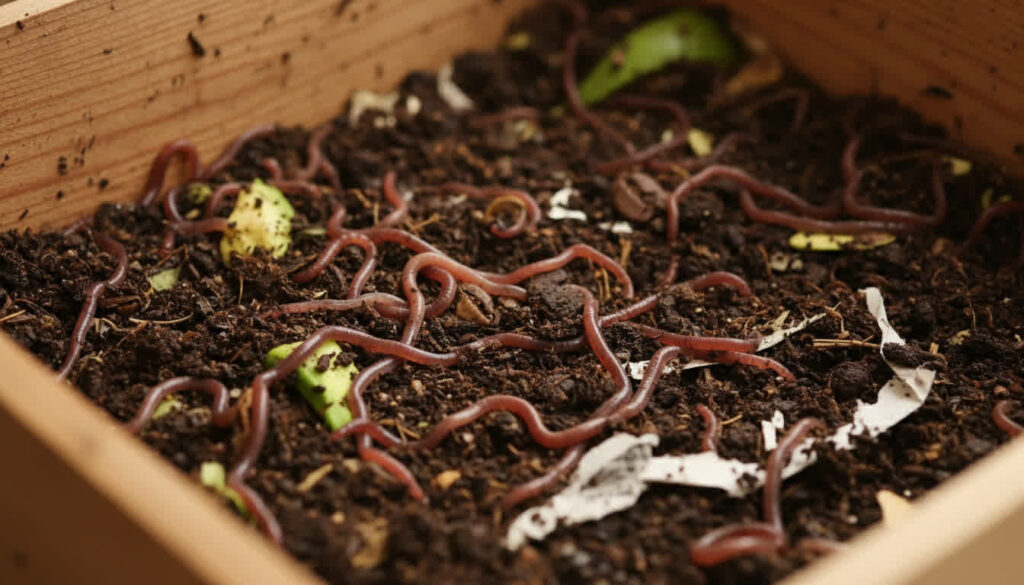
Vermicomposting uses red wiggler worms (Eisenia fetida) in a contained worm bin where bedding materials and food scraps are broken down by worms and microorganisms into rich worm castings and liquid compost tea that improve garden soil structure and plant health.
Many beginners worry about smell, space, and care; this guide gives concrete bin sizes, how many worms to add, bedding depth, feeding frequency, moisture targets, and easy harvesting methods so you can start and scale a home system without drama.
What vermicomposting does for a home garden
Vermicomposting turns food scraps into vermicompost and concentrated worm castings that boost nutrient availability and soil biology.
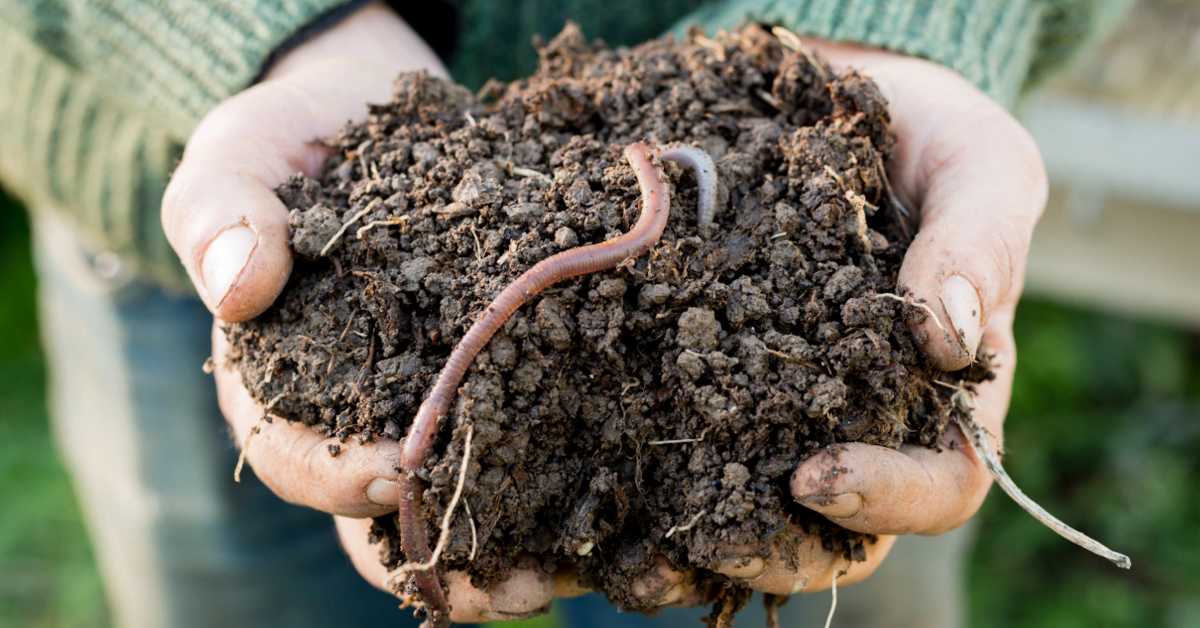
Worms shred scraps while microorganisms finish decomposition, producing dark, crumbly castings and a weak liquid often called compost tea that both feed plants and improve water retention.
Those castings deliver a slow-release mix of nitrogen, phosphorus, potassium, and beneficial microorganisms that outperform synthetic fertilizers for long-term soil health. Worm castings are especially effective as a top-dressing for vegetables, herbs, and container plants because they improve nutrient uptake without burning roots.
Pick the right worm species and quantity
Red wigglers (Eisenia fetida) are the best choice for a home worm bin because they live in the surface layer, reproduce fast, and tolerate a range of temperatures.
For worm quantity: start with roughly 500–1,000 red wigglers for a 10–20 litre tote (about 0.5–1 pound of worms). For a 20–40 litre bin use 1,000–2,000 worms; scale up by adding more worms as feed consumption increases.
The Cornell University vermicomposting guide recommends red wigglers over nightcrawlers for enclosed bins because their surface-dwelling habit and high reproduction rate make them better suited to the confined environment of a home system.
Choose bin size, drainage and aeration
Choose a bin size that matches your weekly kitchen waste: a single 10–20 litre tote handles one person, 20–40 litre for two people, and stacked trays work for families.
Ensure the worm bin has drainage holes and ventilation. Proper drainage prevents soggy bedding and anaerobic pockets; regular fluffing or a slotted lid keeps aeration steady so decomposition stays aerobic.
Bedding materials and bedding depth
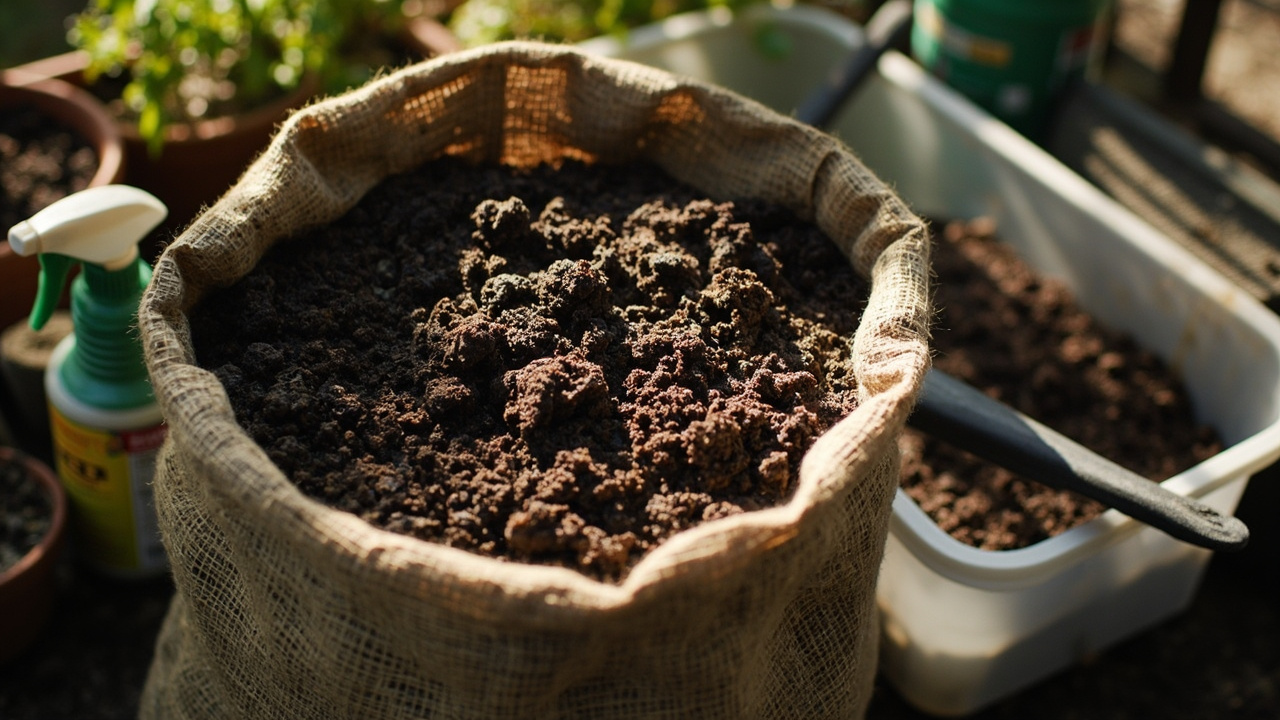
Bedding should be porous, pH-neutral, and hold moisture—shredded newspaper, corrugated cardboard, or coconut coir mixed with aged leaves are common choices.
Aim for 6–8 cm bedding depth (about 2–3 inches) in the active layer; deeper bedding (4–6 inches) can hold more moisture but may slow aeration. Add a small handful of crushed eggshells for grit and a spoon of garden soil or finished compost to introduce microorganisms.
As the bedding breaks down alongside food scraps, the result is a nutrient-dense material that goes beyond what traditional composting achieves in the same timeframe. Our full breakdown of the vermicompost process covers each decomposition stage and how microbes and worms work together to produce it.
What to feed and what to avoid
Feed worms fruit and vegetable peels, coffee grounds, tea bags (no staples), crushed eggshells, and small amounts of cooked grains chopped finely; bury scraps under bedding to deter fruit flies.
Do NOT feed meat, dairy, oily foods, large amounts of citrus, onion skins in excess, or pet waste—these create odors, attract pests, or upset the bin’s pH balance and microorganisms. The EPA’s composting at home guide provides a clear breakdown of what belongs in a composting system and what should stay out.
Moisture, temperature and pH targets
Keep moisture like a wrung-out sponge—about 60–70% moisture percentage in the bedding is ideal so worms stay active but the bin doesn’t go anaerobic. The University of Florida IFAS Extension recommends maintaining bedding at this moisture level year-round and adjusting with dry newspaper or misted water as seasons change.
Keep the bin in a stable spot with a temperature range of about 55–77°F (13–25°C); outside that range, worms slow down or stop reproducing. Aim for near-neutral pH; if bedding becomes too acidic from citrus or coffee, add more shredded paper or crushed eggshells to buffer it.
Feeding frequency and rates
Feed small amounts every 3–7 days depending on consumption; a good rule is to offer about 10–20% of the worm population’s weight per week (so 100–200 g food a week for 1 kg worms).
Start conservatively: add more only when you see food disappearing within a week. Overfeeding is the most common cause of anaerobic smell and pest problems.
Common problems and why worms die
Worms die when the bin becomes too wet, too dry, too hot, or acidic; check moisture, temperature, and pH first if you see lethargy or dead worms.
Other causes include overfeeding (leading to anaerobic decay), exposure to strong cleaners or salt, and predators like ants or rodents. Fix problems by removing spoiled scraps, adding dry bedding, relocating the bin, and reducing feed.
Does the bin smell?
A healthy worm bin should smell earthy, not foul; strong smells are a signal of anaerobic decomposition from too much food or excess moisture.
To remove odors: pull out the soggiest material, add dry bedding, reduce feeding, and ensure drainage holes are clear so leachate doesn’t pool.
Harvesting castings and harvesting methods
You can harvest castings by the migration method: push fresh food to one side and after 1–2 weeks collect the dark castings from the vacated side so most worms stay with the new food.
Other harvesting methods: dump contents on a tarp in sunlight and scrape off castings as worms burrow away, or use a light table sift to separate castings from worms and bedding. Use harvested castings as a top-dressing, soil blend, or steep in water to make compost tea.
While both worm castings and traditional compost enrich soil, they serve different purposes in a garden rotation. Our comparison of worm castings vs compost breaks down nutrient profiles, application rates, and when each amendment gives the best results.
How long until you get castings?
With active worms in the right conditions you will see usable castings in 8–12 weeks; a steady system can produce regular small harvests every 2–3 months as the population grows.
Scale and decision guidance
Choose a single tote if you want a low-effort system and stacked trays if you want continuous harvests—trade-offs are space versus throughput: trays give more processing surface but need slightly more attention to moisture and aeration.
If your priority is low maintenance, pick a slightly larger bin and fewer feedings; if you want fast processing, add more worms, increase feeding frequency, and use shallower trays for better aeration.
Scaling up often means raising your own worm colony instead of buying new stock every season. Our guide on how to raise worms for castings covers breeding conditions, population growth rates, and when to split bins for maximum output.
FAQ : quick answers
How many worms do I need?
Start with 500–1,000 red wigglers for a single 10–20 litre bin and scale up as needed; about 1 pound (≈450 g) of worms processes roughly its weight in food per week under ideal conditions.
What can I NOT feed worms?
Avoid meat, dairy, oil, pet waste, large citrus loads, and glossy or heavily-inked paper; these items cause odors, attract pests, or harm the bin’s microorganisms.
How long until I get castings?
Expect your first usable castings in 8–12 weeks if moisture, temperature, and feeding are managed; small amounts of castings may appear sooner around frequently fed patches.
Why are my worms dying?
Check for extremes: too wet, too dry, too hot, acidic bedding, overfeeding, or chemicals. Correct moisture and reduce food first; move the bin to a stable temperature and add fresh bedding.
Does the bin smell?
Not if it’s healthy—an earthy smell is normal. A rotten or sour smell means anaerobic conditions; remove wet material, add dry bedding, and cut feeding back until balance returns.
Monitor your worm bin weekly for moisture, temperature, and feed disappearance, and you’ll have a low-maintenance system that turns household food scraps into garden gold.
Turn PDF Bank Statements Into Workable Spreadsheets
Your bank statement is a mess of numbers, but your books shouldn't be. Use our converter to get Excel, CSV, or QBO files — ready for QuickBooks.
Try It Free Now