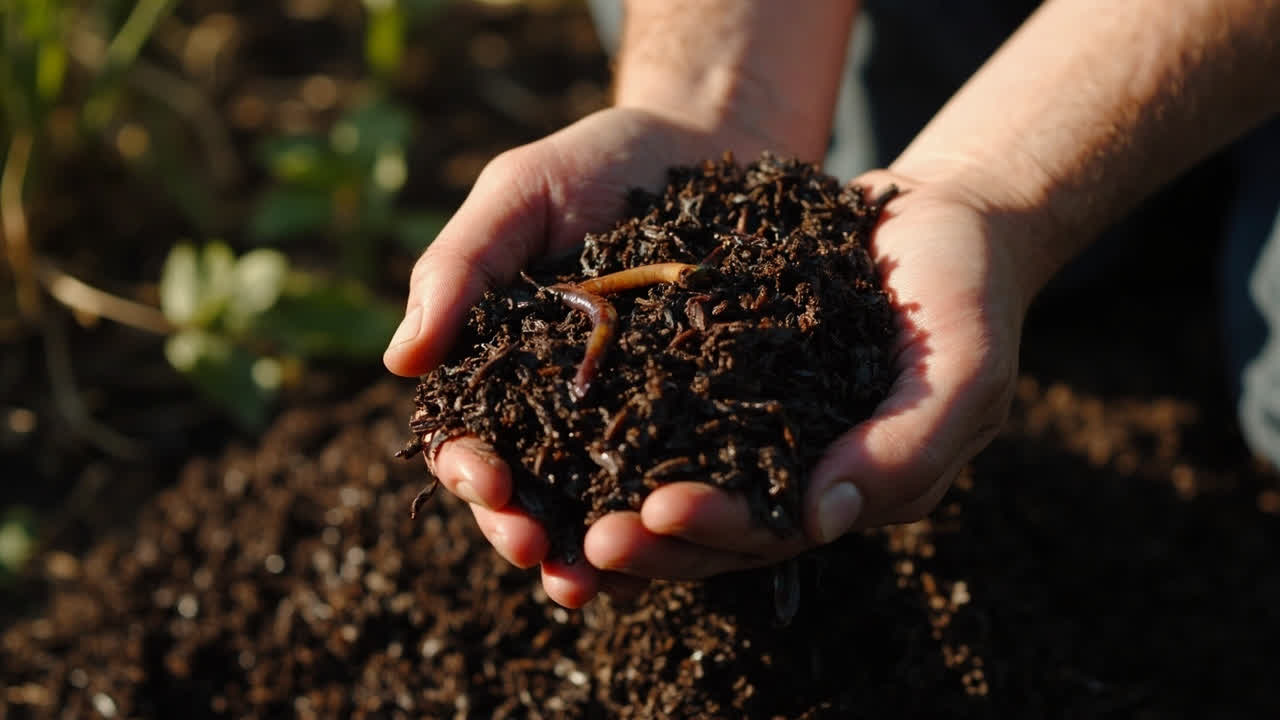

Worm castings — the end product of earthworm digestion — contain 5-11% nitrogen by dry weight, along with phosphorus, potassium, calcium, magnesium, and trace minerals. But the real value is microbial: a single gram of finished castings contains roughly 10^9 (one billion) bacteria, plus fungi, actinomycetes, and protozoa. These organisms perform three functions that synthetic fertilizers cannot: they break down organic matter into plant-available nutrients, they outcompete pathogenic fungi for root space, and they produce plant growth hormones like auxins that stimulate root development.
The nutrient profile of worm castings varies with the worms’ diet. Castings from worms fed vegetable scraps and coffee grounds average 1-0-0 to 2-1-1 (N-P-K) by dry weight. Castings from worms fed manure-based feedstock may reach 3-1-1. The nitrogen is primarily in nitrate form (NO3-), which plants absorb immediately without waiting for microbial mineralization. This is why worm castings act faster than raw compost but slower than synthetic fertilizers — nutrients release over 4-6 weeks rather than 1-2 weeks for synthetics or 6-12 months for raw compost.
This guide covers how worm castings work at the soil-root interface, how to apply them for maximum benefit, and the limitations that determine whether they work for your situation.
How Worm Castings Work at the Soil-Root Interface
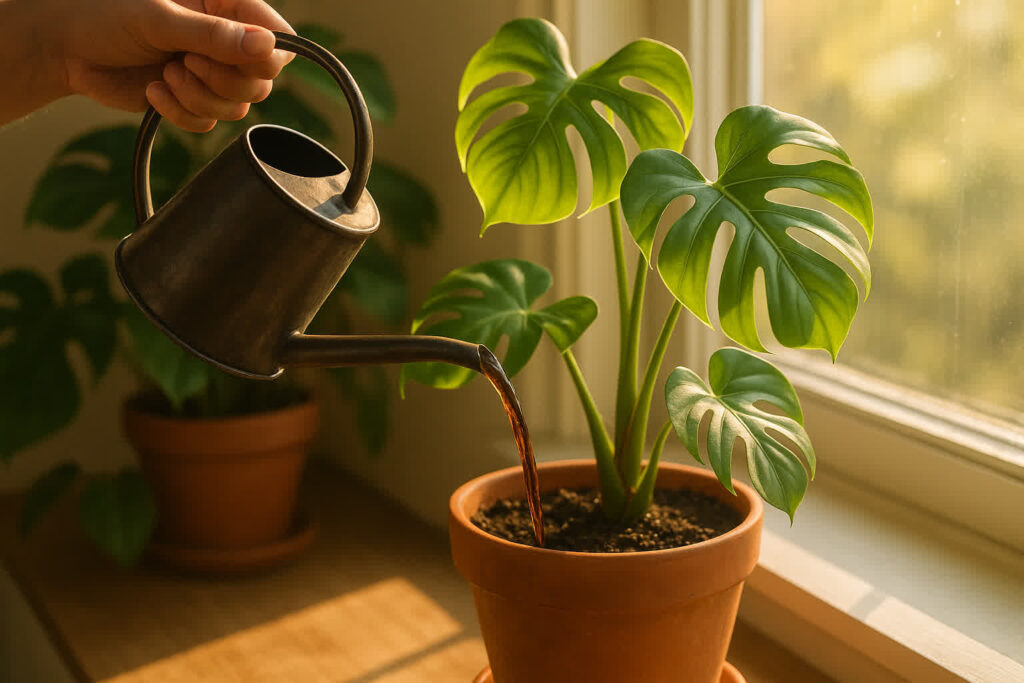
Worm castings improve plant performance through four mechanisms. First, they add organic matter to soil, which increases water-holding capacity by 20-30% in sandy soils and improves drainage in clay soils. Second, they introduce beneficial microorganisms that colonize the root zone and outcompete pathogens. Third, they contain humic acids — complex organic molecules that chelate micronutrients like iron and zinc, making them more available to plant roots. Fourth, they provide a slow-release source of nutrients that does not burn roots the way synthetic fertilizers can.
The microbial activity is what distinguishes worm castings from synthetic fertilizers. A 2019 study in Applied Soil Ecology found that vermicompost increased tomato root biomass by 35% compared to synthetic fertilizer alone, primarily due to microbial hormone production. The beneficial bacteria in castings also produce siderophores — iron-chelating compounds that make iron available to plants even in alkaline soils where iron normally precipitates and becomes unavailable.
The trade-off: worm castings are not a complete fertilizer. Their NPK ratio is low compared to synthetic options, and they contain no calcium or magnesium unless the worms’ diet included these elements. For heavy-feeding crops like tomatoes and peppers, worm castings work best as a supplement to — not a replacement for — a balanced fertilization program.
How to Apply Worm Castings
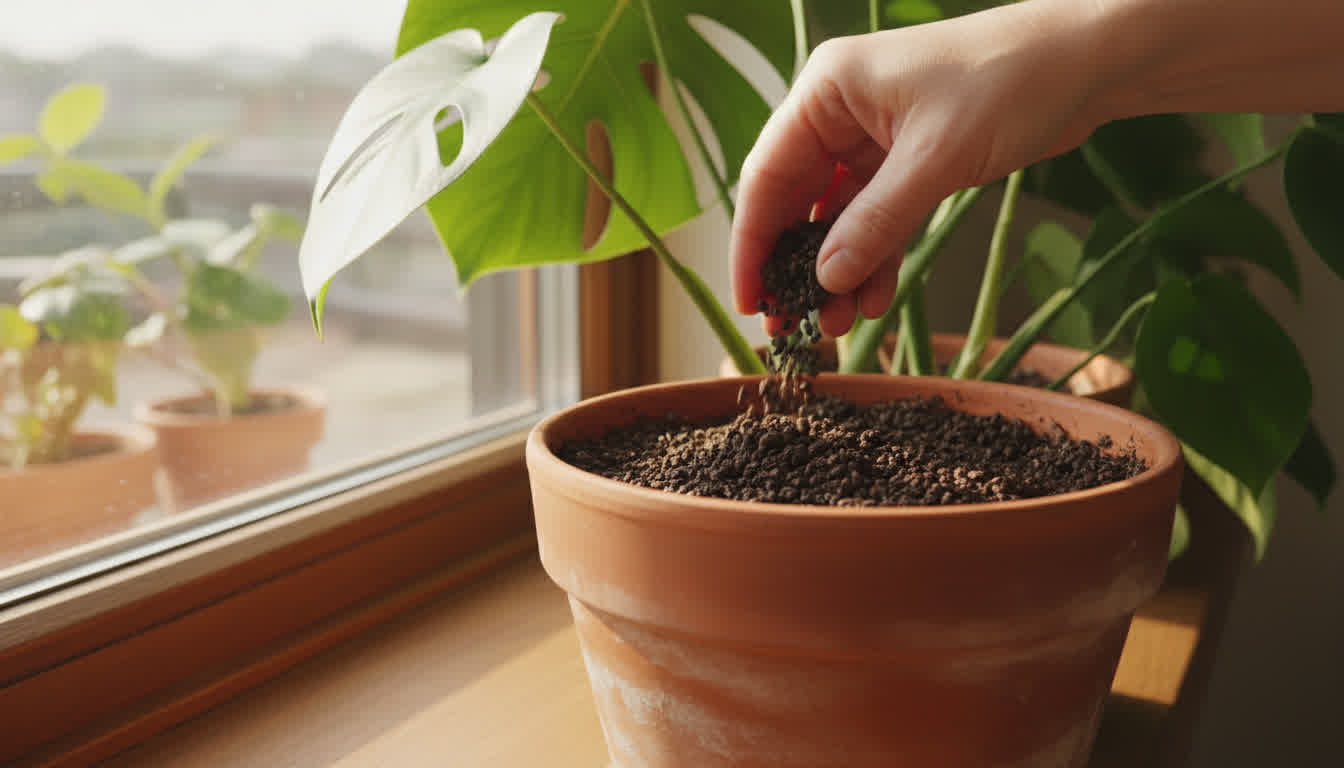
Potting mix amendment: Mix 10-20% worm castings by volume into potting soil. For a standard 6-inch pot holding roughly 2 liters of soil, add 200-400ml of castings. This ratio provides enough microbial activity to colonize the root zone without creating a waterlogged medium. Too much castings (above 30% by volume) can hold too much moisture and cause root rot in containers with poor drainage.
Top dressing for established plants: Apply a 1-inch layer of castings around the base of plants, keeping the castings 2-3 inches away from stems to prevent rot. For a tomato plant in a 5-gallon bucket, use roughly 1 cup of castings per application. Reapply every 4-6 weeks during the growing season. The castings break down gradually, releasing nutrients over 3-4 weeks per application.
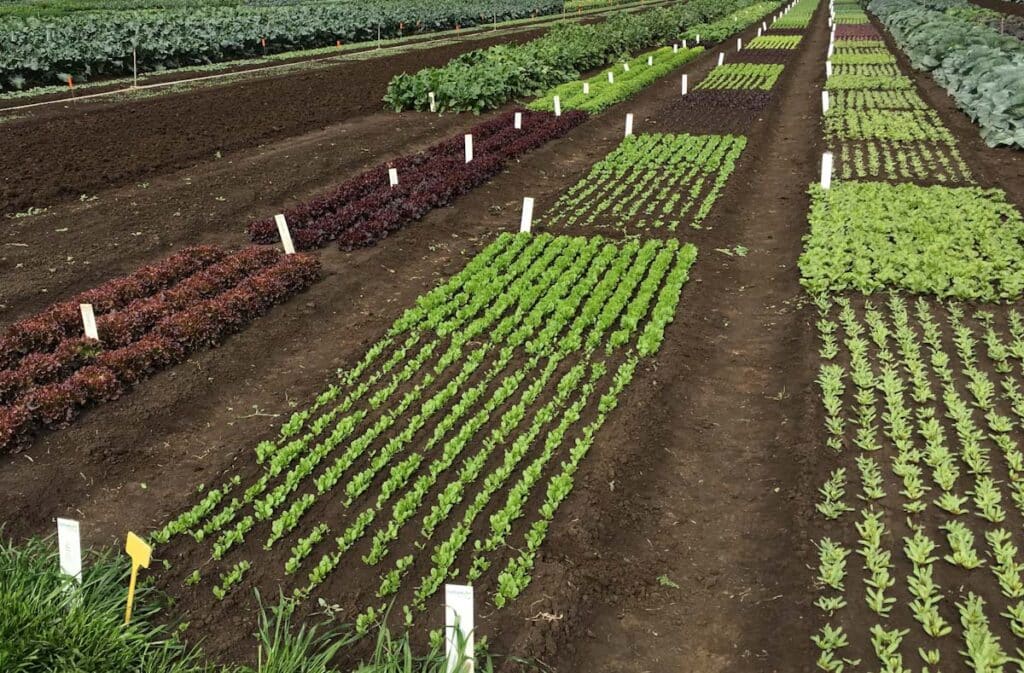
Garden bed preparation: Before planting, work 2-4 inches of castings into the top 6-8 inches of soil. This translates to roughly 1 cubic foot of castings per 4 square feet of garden bed. For heavy-feeding crops like tomatoes and peppers, double this rate. The castings improve soil structure immediately and continue working for 3-4 months before needing replenishment.
Seed starting: Mix 10% castings into seed-starting mix. Higher ratios can cause damping-off in seedlings because the microbial activity is too high for delicate root systems. For transplanting, dip roots in a slurry of castings and water (1:3 ratio) before planting — this inoculates the new root zone with beneficial microbes and reduces transplant shock.
Setting Up a Worm Bin for Continuous Production
A well-maintained worm bin produces castings continuously. The key variables are moisture, temperature, and feedstock.
Container: Use a dark, well-ventilated container — plastic or wood — with drainage holes. A 20-gallon tote works for a household generating 3-4 pounds of kitchen scraps per week. The rule is 1 pound of worms per 1 square foot of surface area. Red wigglers (Eisenia fetida) are the standard — they process roughly half their body weight in organic matter per day at 70°F (21°C).
Bedding: Shredded newspaper, cardboard, or coconut coir provides carbon and structure. Aim for a carbon-to-nitrogen ratio of 30:1. The bedding should feel like a wrung-out sponge — moist but not dripping. Too dry and worms cannot breathe through their skin; too wet and the bin goes anaerobic, producing ammonia that kills worms.
Feeding: Bury food scraps under the bedding to prevent odors and fruit flies. Worms consume fruit and vegetable peels, coffee grounds, crushed eggshells, and leaf litter. Avoid meat, dairy, oily foods, and citrus — these attract pests and create acidic conditions worms cannot tolerate. Feed when the previous food is gone, typically every 3-5 days for a pound of worms.
Temperature: Red wigglers thrive at 55-77°F (13-25°C). Below 50°F (10°C), they become dormant. Above 85°F (29°C), they die. In hot climates, keep the bin in a shaded, ventilated area. In cold climates, insulate the bin or bring it indoors.
Harvesting: Castings are ready when they look like dark, crumbly soil with an earthy smell — typically 3-6 months after starting. The easiest method is side-harvesting: stop feeding one side of the bin and start on the other. Worms migrate to the food side within 2-3 weeks, allowing you to collect castings from the vacated side. Light harvesting works too: spread a thin layer on a tray under bright light — worms dive deeper, allowing you to scrape castings from the top.
Limitations and When Worm Castings Are Not Enough
Worm castings do not work as a sole nutrient source for heavy-feeding crops. Their NPK content is too low to sustain tomatoes, peppers, or squash through fruiting without supplemental fertilization. Use them as a soil amendment and microbial inoculant, not as a complete fertilizer.
Worm castings can introduce pathogens if the source feedstock is contaminated. Avoid using castings from bins that received meat, dairy, or pet waste — these can contain E. coli, Salmonella, or parasitic eggs that survive the worm’s digestive process. Stick to vegetable scraps, coffee grounds, and yard waste for safe castings.
Worm castings lose microbial viability over time. Stored castings remain effective for 6-12 months if kept moist and aerated. After that, the bacterial population declines and the castings become primarily a soil amendment rather than a microbial inoculant. For maximum benefit, use castings within 3-4 months of harvest.
Finally, worm castings are not a substitute for proper soil pH management. They buffer pH slightly but cannot correct severely acidic or alkaline soils. If your soil pH is below 5.5 or above 7.5, amend with lime or sulfur before adding castings — the beneficial microbes in castings cannot survive in extreme pH conditions.
For more on vermicomposting and worm casting applications, see our complete guide to worm castings tea and our how to raise worm castings.
Turn PDF Bank Statements Into Workable Spreadsheets
Your bank statement is a mess of numbers, but your books shouldn't be. Use our converter to get Excel, CSV, or QBO files — ready for QuickBooks.