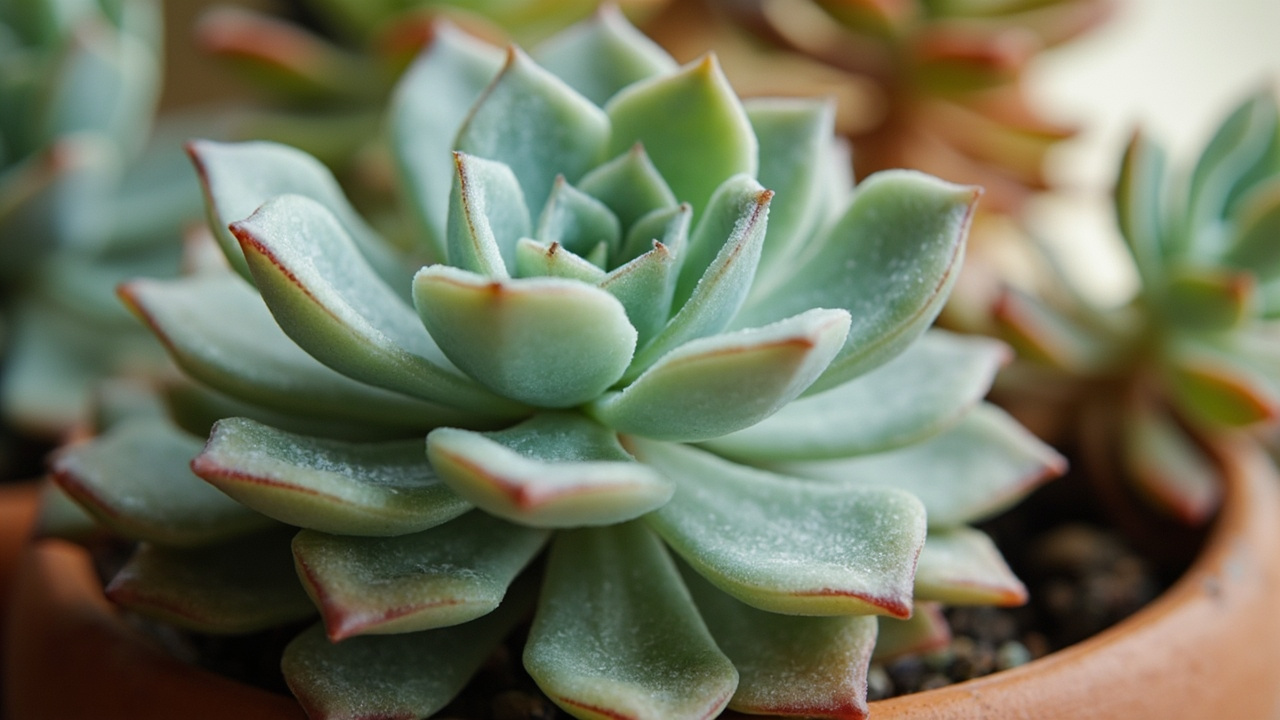
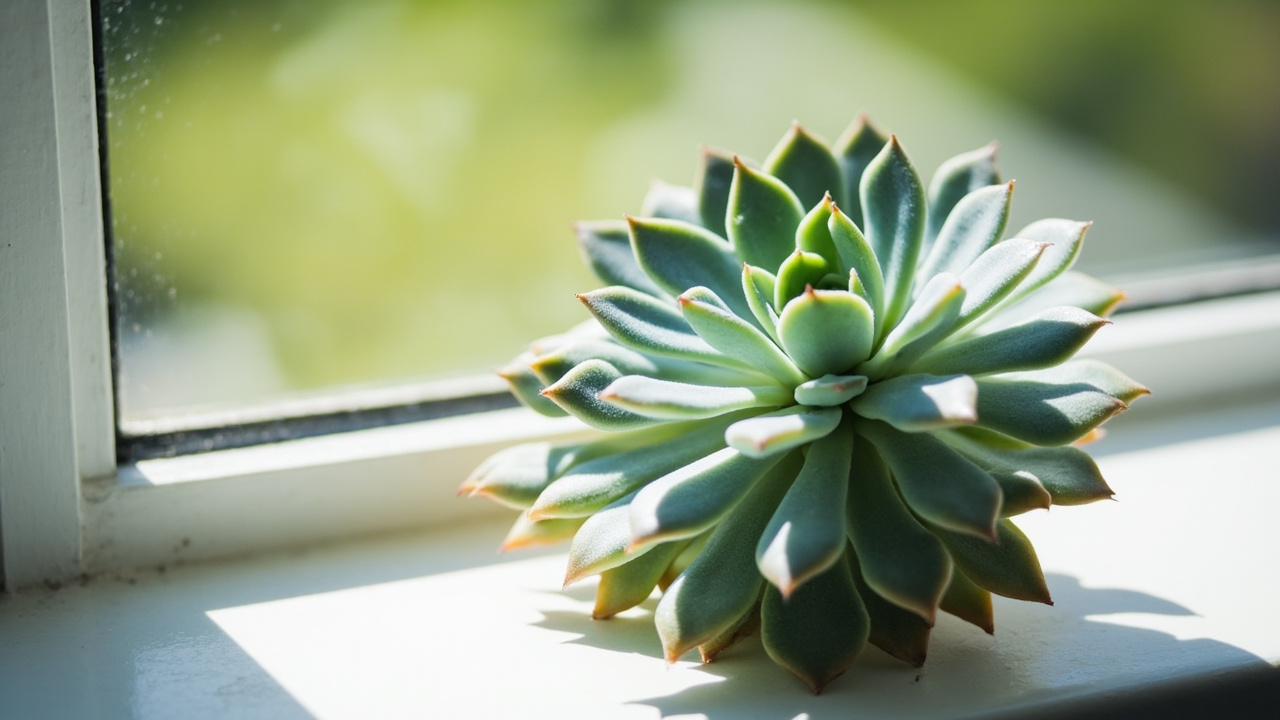
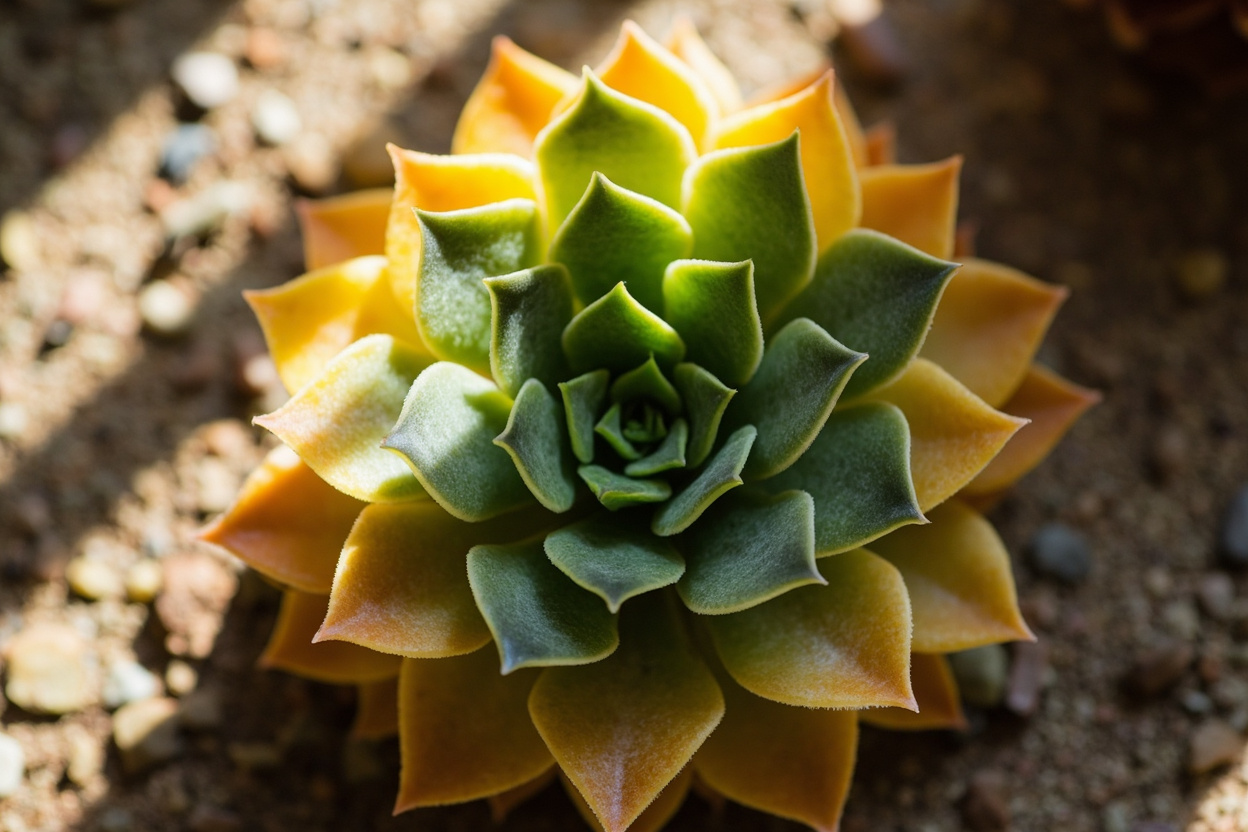
Haworthia is one of the most forgiving succulent genera, but even the toughest zebra plant or window plant reaches a point where visible decline convinces the owner the damage is irreversible. A Haworthia that has lost most of its leaves, turned mushy at the base, or shriveled to a husk can still recover in many cases — provided you correctly identify whether the cause is root rot from overwatering, dehydration from chronic underwatering, or tissue damage from cold exposure. Each cause requires a different salvage protocol, and applying the wrong one finishes the plant. This guide walks through the three rescue scenarios step by step, with clear decision points for when to treat and when to let go.
Root Rot Recovery: When the Roots Have Turned to Mush
Root rot is the most common killer of potted Haworthia and the most salvageable if caught early. The tell is a stem base that feels soft or spongy when pinched gently near the soil line. Healthy Haworthia roots are white to light tan, firm, and slightly fleshy. Rotted roots are brown or black, slimy, and pull away from the root crown with almost no resistance. Above the soil, the lower leaves turn yellow or translucent and may fall off when touched. The rosette center may still look green and firm even when the lower stem has already started decaying.
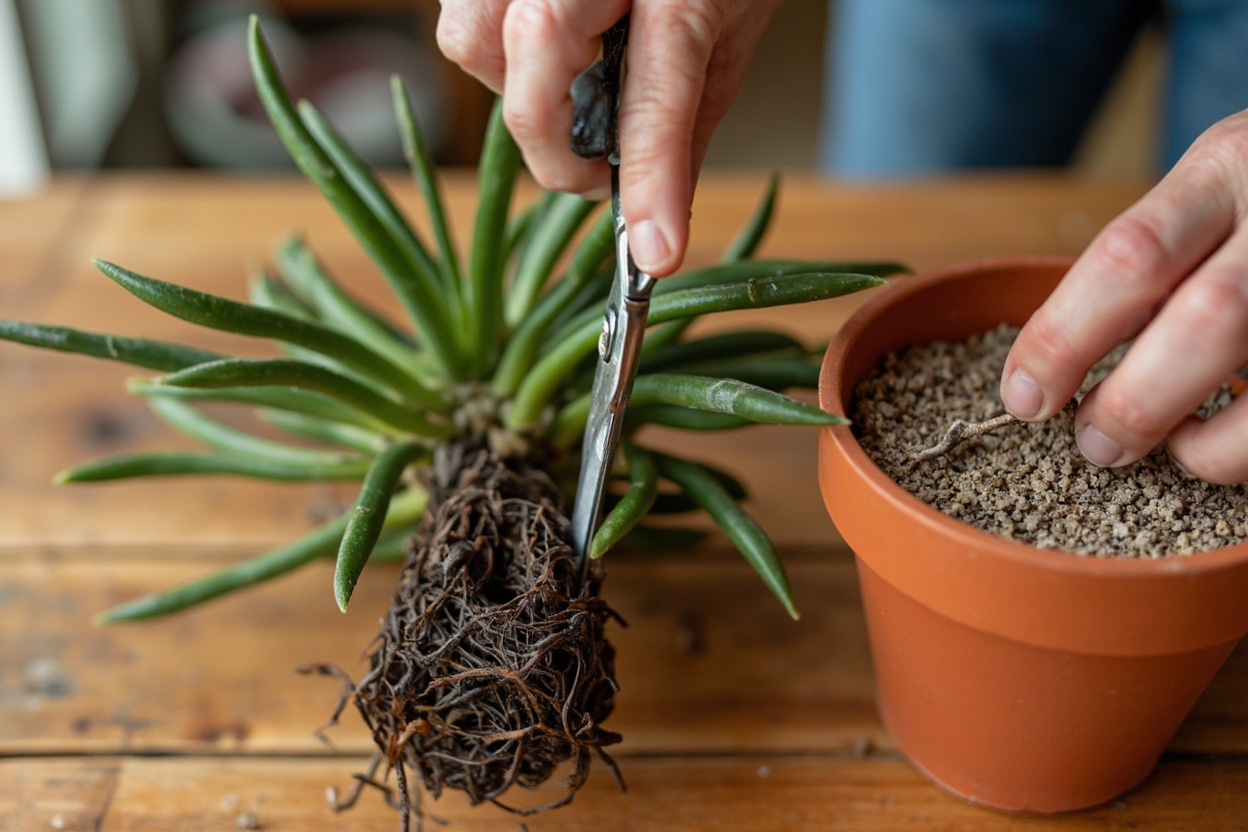
To attempt rescue, remove the plant from its pot and brush away all old soil. Haworthia roots are shallow and fibrous, so the soil usually falls away easily. Rinse the root ball under lukewarm running water to expose every root. Using sterilized scissors or shears, cut away every root that is brown, black, mushy, or papery. Be aggressive — leaving half a millimeter of rotten tissue allows the infection to continue into the healthy roots. If the rot has reached the stem base and the very bottom of the rosette is soft, cut upward through the stem until you reach clean, firm, green or white tissue. This is essentially the same beheading technique used for etiolated plants, covered in detail in the Haworthia stretching and etiolation recovery guide.
Dust the cut surface with sulfur powder or cinnamon — both are antifungal and help prevent reinfection during callusing. Place the cleaned cutting on a dry surface in bright indirect light for five to seven days. Do not put it in soil early. A cutting rushed back into damp medium before the wound has fully callused will rot again within days. After callusing, set the cutting on top of a dry Haworthia gritty mix in a two-inch terracotta pot. Wait another seven days before the first light watering at the rim. From there, follow the normal Haworthia watering schedule, starting at half the normal frequency for the first month. Roots typically reappear within four to six weeks.
Severe Underwatering: Rehydrating a Completely Dry Haworthia
A dehydrated Haworthia looks very different from one with root rot. The leaves are not mushy — they are thin, concave along the center, and feel papery or leathery. The leaf tips may be brown and crispy. The roots, when examined, are dry and brittle but not slimy or black. The root crown and stem base remain firm. This condition is more common in Haworthia than owners expect because the plant’s drought tolerance tricks people into waiting too long between waterings, especially during active growth in spring and summer when the plant is actually using moisture.
Severe underwatering cannot be fixed with a single deep soak. The root system has partially desiccated, and the fine root hairs that absorb water have died back. Dumping water into the pot overwhelms the dead root tissue and invites rot before new roots can grow. Instead, use a graduated rehydration method. Start by giving the plant a light watering — about a quarter of the normal volume — around the rim of the pot, avoiding the root crown. Wait four days for the roots to absorb what little moisture was provided and begin signaling the plant to produce new root hairs. On the fifth day, water again at the same volume. On the eighth day, give a full soak-and-dry cycle: water thoroughly until it runs through the drain holes, then wait for the pot to feel light again before the next watering.
During this three-week graduated rehydration, move the Haworthia out of direct sunlight. A dehydrated plant has reduced ability to regulate water loss through its leaves, and bright light causes further moisture loss through the leaf surfaces. Bright indirect light — the same level used for the recovery of Haworthia leaves curling from dehydration — keeps the plant alive without accelerating water loss. After the graduated period, normal leaf plumpness usually returns within two to three weeks. Leaves that have already browned at the tips will not regreen, but the new center growth will be firm and full.
Frost Damage Recovery: Cold Exposure Aftercare
Haworthia are not frost-hardy. Native to South Africa’s Eastern and Western Cape provinces, they tolerate temperatures down to about 40 degrees Fahrenheit (4 degrees Celsius) for short periods but suffer tissue damage below freezing. Frost damage presents as leaves that turn dark, water-soaked, and translucent — often overnight after a cold windowsill or an accidental overnight outdoor exposure. Within 24 to 48 hours, the damaged leaves collapse into a wet, mushy mass that looks like overwatering but is actually frozen cell walls rupturing as they thaw.
The first step is to move the plant to a cool, bright spot — 50 to 55 degrees Fahrenheit (10 to 13 degrees Celsius) — not a warm room. Moving a frost-damaged succulent directly into warmth accelerates cell breakdown and causes the mushy leaves to rot into the stem. Keep the plant cool for one week and do not water it during this period. The frozen leaves will continue to collapse, but the rosette center and the stem beneath the damaged leaves may still be alive.
After one week, assess the damage. Remove every leaf that is completely translucent or mushy by gently twisting it sideways at the base. If the stem and remaining leaf bases are firm and pale green, the plant will survive. Leave the pot in cool bright indirect light for another week without water, then begin normal watering at half frequency. If the stem itself is soft and brown after the damaged leaves are removed, the frost penetrated the core and the plant cannot be saved. Discard the potting mix — do not reuse it for other succulents — and wash the pot with soap and hot water before repurposing it.
Partial frost recovery is slow because the damaged leaf tissue does not heal; the plant must produce new leaves from the center to replace what was lost. Expect no visible new growth for six to eight weeks after a frost event. During this period, the most important care factor is keeping the soil on the dry side. Haworthia yellow leaves from cold stress are common and usually resolve as the new growth cycle begins.
The Post-Recovery Transition: When to Resume Normal Care
Regardless of which salvage scenario you followed — root rot, underwatering, or frost — the transition back to normal care is the point where most recoveries fail. After the plant shows clear new growth (a new leaf emerging from the center or visible root tips at the drain holes), do not immediately return to the routine you used before the crisis. The plant’s root system and leaf tissue have been compromised, and its tolerance for environmental stress is lower for several months.
For the first two months post-recovery, water at half the frequency recommended for a healthy Haworthia. If the Haworthia care guide suggests watering every ten to fourteen days during active growth, water every twenty to twenty-eight days instead. Keep the plant in bright indirect light — north-facing windows are the safest choice during recovery; east-facing works too, but avoid south or west windows that deliver harsh afternoon sun. Do not fertilize for at least three months after recovery. Haworthia are light feeders even when healthy, and fertilizer salts can burn the tender new roots that a recovering plant has produced. Resume fertilization only after the plant has produced at least three new leaves at full size.
Monitor the stem base weekly during the transition. If the firm tissue from the recovery starts to feel soft again, the plant may be re-entering rot, usually because the gritty mix has broken down or the pot does not have adequate drain holes. Repot immediately into fresh mix and a clean terracotta pot with a single large drainage hole. If the leaves stay thin and flat even after the graduated watering, the root system did not fully recover and the plant may need a second round of the underwatering protocol, starting with the rim-watering method.
Preventing Relapse: Care Adjustments After Recovery
A Haworthia that has survived one crisis is more vulnerable to a second one because its root-to-shoot ratio has shifted. This is especially true for compact cultivars and variegated selections, which have less chlorophyll per leaf area and slower recovery rates. A recovered plant that was beheaded has lost its entire root system and is starting over; a plant that survived frost has lost leaves and therefore has reduced photosynthetic capacity. Adjusting the environment to match the plant’s reduced capacity prevents the second crisis.
The most common relapse trigger is the same mistake that caused the original problem — overwatering. Haworthia owners who successfully rescue a rotted plant often feel relieved and compensate by watering more, which re-rot the smaller root system. Stick to the half-frequency schedule for the full two months, then taper back to normal frequency over another month. The second most common trigger is moving the plant to full sun too soon. A recovered Haworthia has thin cuticles and burns in direct afternoon light even if the same plant handled full morning sun before the crisis. Keep the plant shaded for at least three months post-recovery, then transition to morning sun gradually over two weeks.
Use a terracotta pot that is no more than one size larger than the root ball. A pot that is too wide holds excess moisture around the recovering root system and delays the dry-out that Haworthia depend on between waterings. The Haworthia repotting guide has the pot sizing chart and gritty mix ratio recommendations specifically for post-recovery plants. With the right pot, the right mix, and a conservative watering schedule, a rescued Haworthia can return to full health within three to four months and produce offsets the following growing season.
One often-overlooked factor in long-term recovery is the role of dormancy timing. Haworthia enters a semi-dormant state during summer heat, and a recovering plant is especially vulnerable during this period because its reduced root system cannot regulate water uptake efficiently. During dormancy, keep the plant in bright indirect light — an east facing windowsill is ideal — and avoid sun stress by keeping it out of direct afternoon exposure. If natural light is insufficient, a grow light positioned twelve inches above the rosette for ten to twelve hours daily prevents etiolation without overheating the leaf tissue. Humidity should stay low — Haworthia prefers arid conditions, and high humidity around a recovering stem invites fungal issues. For owners who want to replace the lost plant entirely, propagation from a healthy leaf cutting or pup division is a reliable backup. The mother plant’s tubercles and striations will carry over to offsets, preserving the cultivar’s visual identity. Use the same soak and dry method for newly propagated pups, and expect transplant shock to add two to three weeks to the establishment timeline.
Turn That PDF Into a Spreadsheet in Minutes
You've seen how to do it manually — now let the tool handle the heavy lifting. Upload your bank statement and get Excel, CSV, or QBO in a few clicks.
Try It Free