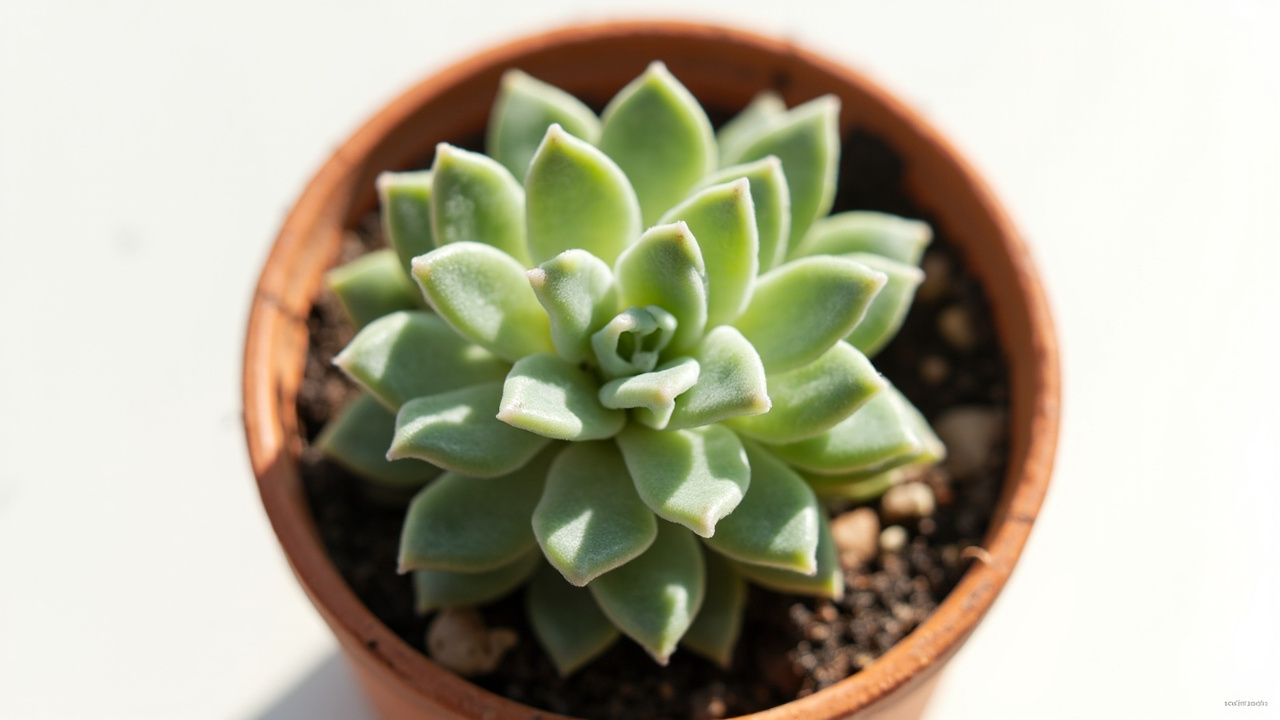
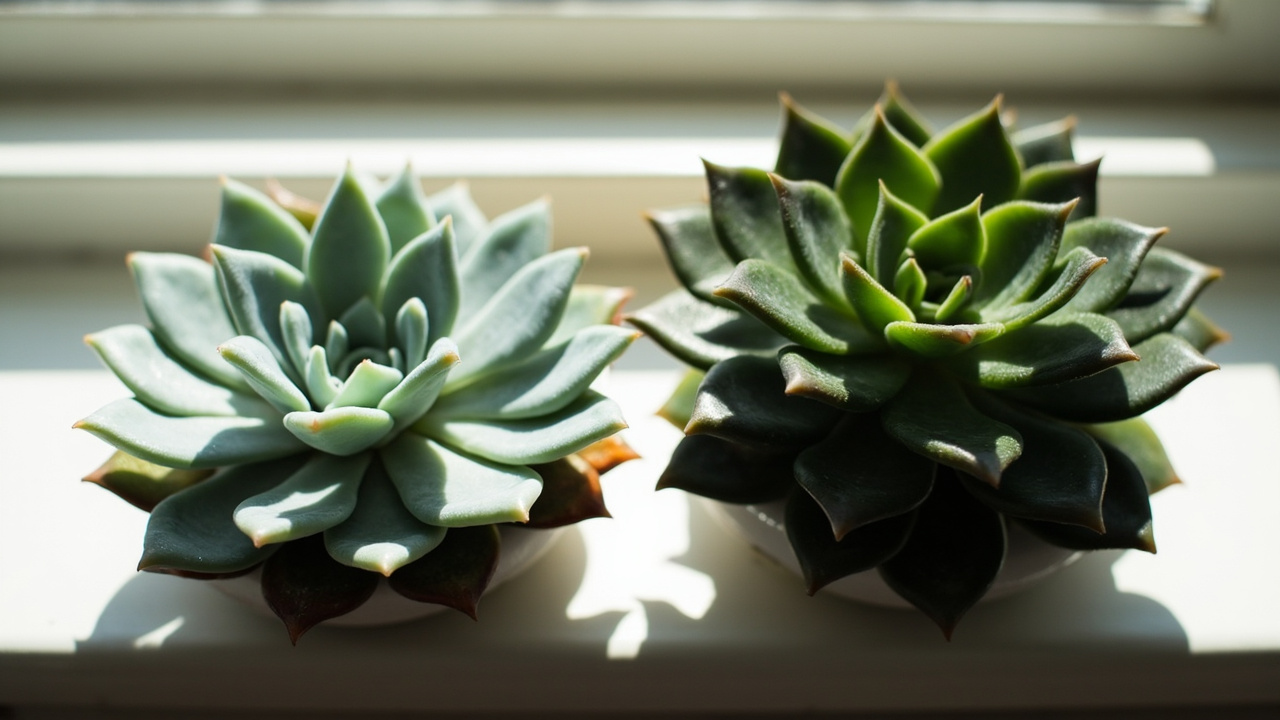
Haworthia rosettes are supposed to stay compact, flat, and dense — a tight spiral of firm leaves that sits low in the pot. When the center lifts, the stem elongates, and the leaves space out like rungs on a ladder, the plant is etiolated. This succulent condition is always caused by insufficient light — distinct from underwatering — but the fix depends on how far the stretching has progressed and which Haworthia species you are growing. This guide walks through the three severity levels — mild, moderate, and severe — with the specific recovery method for each.
How to Confirm Etiolation vs Normal Growth
Not every tall Haworthia is stretched. Some species, such as Haworthia reinwardtii and Haworthia coarctata, naturally grow in stacked columns rather than flat rosettes. The difference between natural columnar growth and etiolation comes down to three visual checks that take less than a minute and require no tools.
First, look at the spacing between individual leaves along the stem. In a healthy Haworthia, the leaves grow close enough that the stem between them is barely visible. In an etiolated plant, the internode spacing — the gap between leaf attachment points — expands to three to five times the normal distance, creating visible bare stem segments. Second, assess leaf color and shape. Compact, healthy leaves are dark green, firm, and widest near the leaf tip. Etiolated leaves are pale green or yellowish, narrower than usual, and tend to point downward rather than outward. Third, check the direction of new growth. A healthy rosette produces new leaves from the center that push outward evenly. An etiolated rosette produces new leaves that point upward at a sharper angle as the stem tries to reach a brighter light source.
If at least two of these three checks point to etiolation, the plant is not getting enough light — even if it sits in a spot that looks bright to human eyes. The Haworthia light requirements guide has the foot-candle readings and window orientation tests that confirm the exact light deficit.
The One-Week Light Test: Move, Wait, Measure
Before cutting anything, confirm that the diagnosis is environmental. Move the Haworthia to the brightest safe spot in your home — an east-facing windowsill that receives two to four hours of gentle morning sun — or position a grow light six to eight inches above the rosette. Wait exactly one week and remeasure the internode spacing of the newest leaf pair at the center.
If the newest leaves emerge closer together — the internode gap at the center shrinks compared to the older leaves — the plant is responding to the improved light, and you can reverse the stretching gradually without surgery. Continue the better light for another three to four weeks; the existing stretched leaves will not contract, but the new center leaves will grow compact, eventually forming a normal rosette on top of the bare stem. If the newest leaves remain as widely spaced as the older ones after a week of improved light, the etiolation has progressed too far for light adjustment alone, and the recovery requires beheading propagation.
The most common mistake at this stage is moving the plant directly into direct afternoon sunlight. Haworthia leaves that have stretched indoors for weeks have thin cuticles and no sun tolerance. A sudden move to a south-facing window produces leaf sunburn within hours — the leaves turn pale yellow or white on the side facing the window, developing translucent patches that mimic leaf rot in appearance, mimicking the very nutrient-deficiency look that etiolated plants already have. Always transition through an east window or filtered light for the first week.
Beheading Propagation: The Reliable Fix for Severe Etiolation
When the stem is more than one inch (2.5 cm) long with visible bare segments between leaves, light adjustment alone will not restore the plant’s appearance. The stretched lower half of the stem never produces new leaves, and the plant will look permanently leggy. Beheading — cutting off the compact top rosette and rerooting it as a new plant — is the standard recovery method and has a high success rate when performed correctly.
Sterilize a sharp knife or pruning shears with rubbing alcohol. Cut the stem at the point where the leaves are still growing close together, roughly half an inch (1 cm) below the tightest part of the rosette. Remove the lower three to four leaves from the cut stem to expose a bare section that will go into the medium. Do not discard these leaves; Haworthia leaf cuttings root slowly but can produce new rosettes, especially from species with thick leaves like Haworthia cooperi. Dust the cut end with rooting hormone if available — it is not required for Haworthia but speeds up callusing.
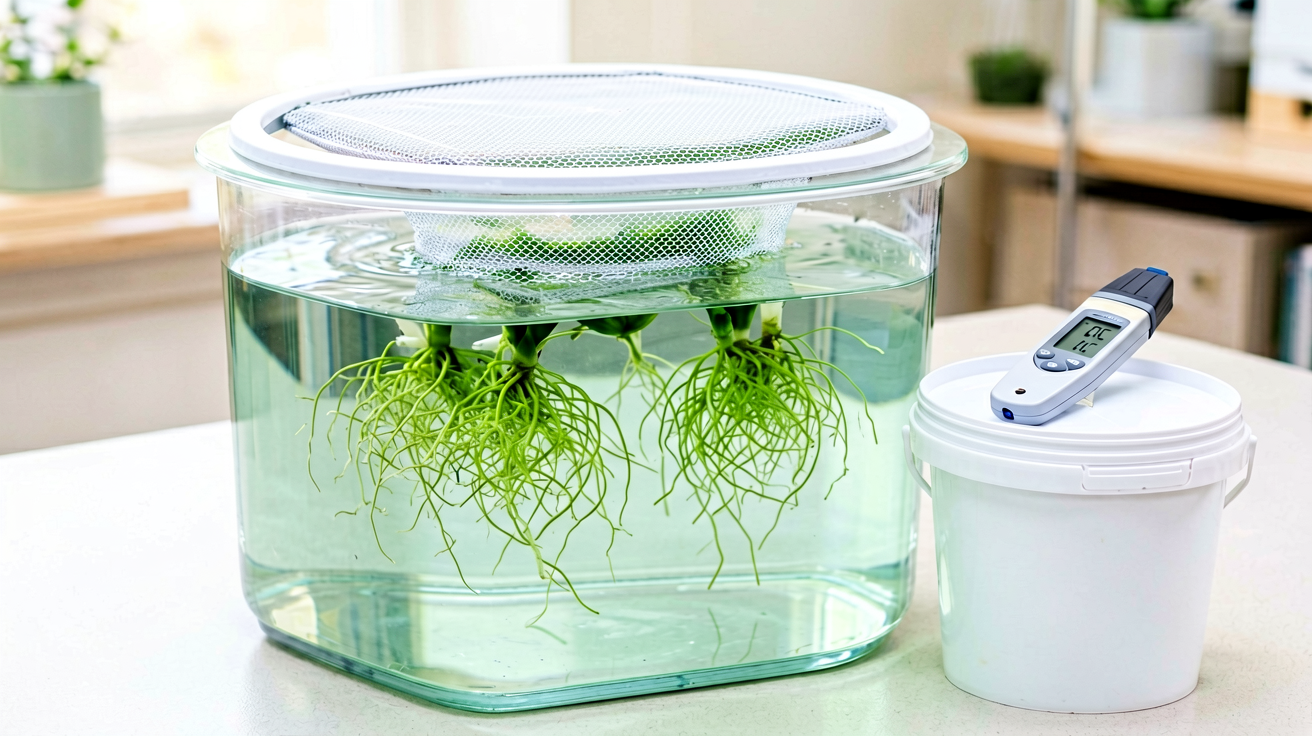
Let the cutting rest on a dry surface for three to five days until the cut end has fully callused — the wound should feel dry and firm, not wet. A cutting planted before callusing absorbs moisture through the cut and rots at the base. After callusing, set the cutting on top of a dry gritty mix — do not bury it — in a two-inch terracotta pot with ample drain holes and well-draining drainage. Do not water for the first ten days. After ten days, water lightly at the rim of the pot, keeping the medium barely moist but never wet. Roots typically appear within three to four weeks, visible through the drain hole or as resistance when you gently tug the cutting. The Haworthia propagation guide has the full cutting care schedule, including optimal temperature and light for root development.
Species-Specific Recovery Timelines: Cooperi vs Attenuata vs Truncata
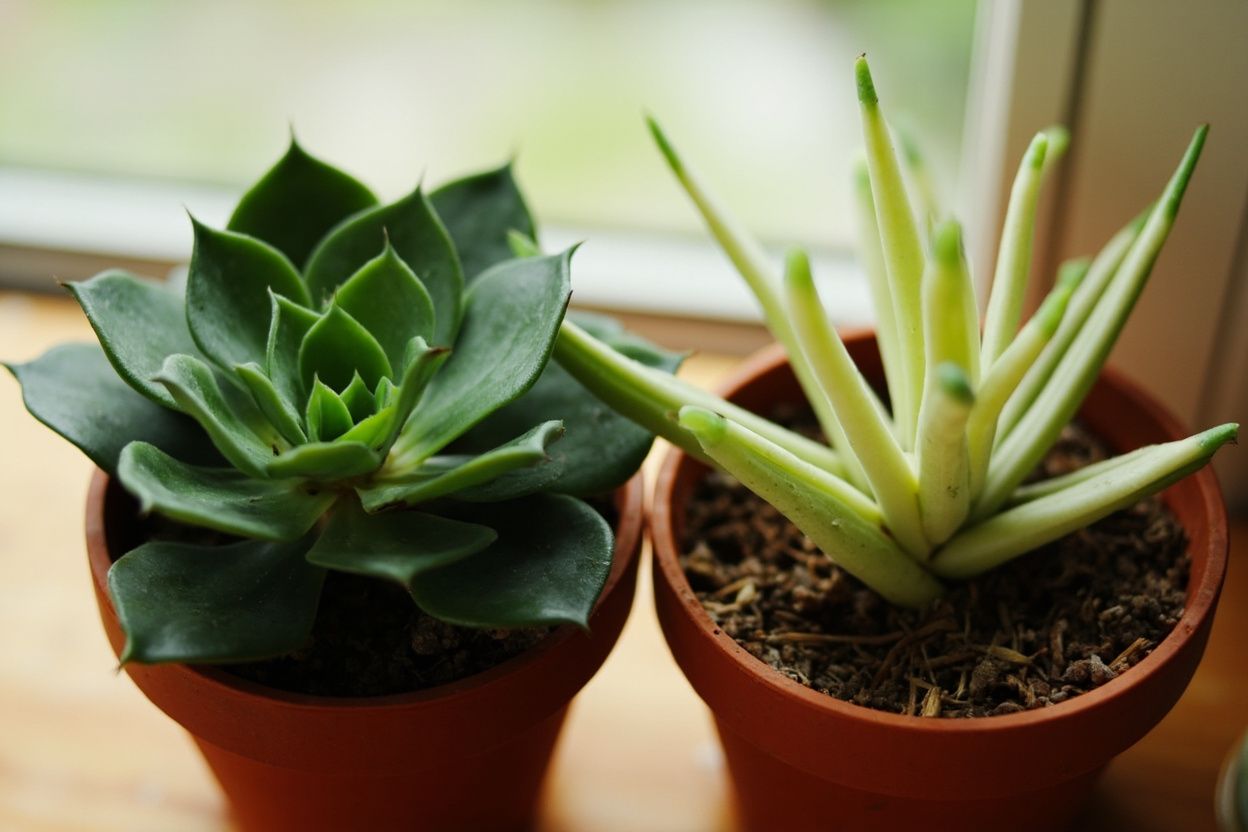
Not all Haworthia species respond to beheading at the same speed, and knowing the difference prevents the most common post-surgery mistake: overwatering a cutting that has not yet callused because the expected rooting window passed without visible signs. Haworthia cooperi and its window-leaf relatives (cymbiformis, retusa, obtusa) are thick-leaved species that callus quickly — within two to three days — but root slowly, often taking five to six weeks before the first fine white roots emerge. The thick leaf base stores enough water that the cutting looks healthy for weeks with no roots at all, which tempts owners to water before the root system is ready. Do not water a cooperi cutting until you see roots through the drain hole, regardless of how plump the leaves look.
Haworthia attenuata and fasciata — the zebra plant types — are the opposite: they callus slowly (four to six days) but root aggressively once callused, often producing visible roots within two to three weeks. Their narrow, firm leaves show dehydration faster than cooperi types, so you will see the cutting soften slightly before roots form. This softening is normal and not a sign of failure. Haworthia truncata — the odd-shaped species with flattened leaf tips — is the most delicate beheading candidate. The truncated leaf tips have a larger exposed surface area relative to leaf volume, which means water loss through the cut top is faster, and the callusing period is critical given the unusual leaf structure of this growing medium-preferring species. Truncata cuttings should be allowed five to seven days of callus time in slightly higher humidity — a clear plastic cup placed loosely over the pot for the first week after callusing speeds root initiation without risking rot.
Label the pot with the species name and the beheading date. When a cooperi cutting still looks healthy at week four while an attenuata cutting has already rooted, the label prevents you from assuming the cooperi has failed and overcorrecting with water. The Haworthia care guide has a species comparison table covering growth rates and offset production across all six common varieties under bright indirect light exposure.
Saving the Base: What to Do with the Stump
The beheaded stump should not be discarded. The root system below the cut is still alive, and the leafless base stem usually produces one to three new offsets — pups — within four to six weeks. Continue watering the stump on a normal schedule for the medium, and within a month you will see tiny green bumps emerging from the dormant nodes along the stem where old leaves once attached.
These offsets grow faster than rooted cuttings because they draw energy from the existing root system. When each offset reaches three to four leaves and is roughly half an inch (1 cm) in diameter, slice it away from the parent stump with a sterile blade, let the cut callus for 48 hours, and pot it in its own container. The result is two or three new compact Haworthia plants from one stretched original — a net gain rather than a loss. The Haworthia repotting guide covers the offset division timing and the gritty mix ratios for young plants.
Common Mistakes That Delay Recovery
Even after correct diagnosis, several recovery mistakes prevent the rosette from regaining its compact shape. Confusing etiolation with underwatering is the most common: an underwatered succulent shows wrinkled deflated leaves but normal internode spacing, while etiolation produces wide gaps between pale upright leaves. A thorough soak and dry cycle fixes underwatering in 48 hours; etiolation needs weeks of bright indirect light before the center produces new compact growth. Overwatering a stretched plant expecting leaf plumping leads to root rot in waterlogged growing medium — look for translucent mushy base leaves that detach easily, a sign that drainage is inadequate. The Haworthia watering guide has the soak-and-dry timing for potted succulents.
Another common mistake is attempting beheading on a plant with active root rot. Healthy roots are white and fibrous; rotted roots are brown, mushy, and smell sour. Always check the drain holes for root condition before cutting. If the base leaves show wilt and translucent discoloration, repot into a dry aerated gritty mix first, then reassess. For small seedlings under six months old, avoid beheading entirely — the juvenile root system cannot regenerate offsets from the stump. Provide consistent indirect light and let the seedling outgrow stretching naturally. Direct sun through a south window produces shade-adapted scorch marks on thin leaf cuticles, not recovery.
Long-Term Prevention: Light, Rotation, and Seasonal Adjustments
Haworthia reversion to etiolation is common because the plant tolerates low light for months without dying, so owners often do not realize the light level has dropped until the stem has already stretched half an inch. Prevention requires two habits that take thirty seconds each week.
First, rotate the pot by a quarter turn every week. Haworthia leans toward the light source, and a plant that faces the same window for months develops a one-sided rosette long before it stretches vertically. Rotation keeps the growth even and the rosette symmetrical. Second, check the internode spacing of the newest leaf pair every two weeks. As soon as the gap between new leaves looks wider than the width of a single leaf — before the plant becomes rootbound in its current pot — they are starting to stretch, the plant is starting to stretch, and you have one to two weeks to improve the light before the stem elongates permanently.
If you use a grow light, position it so the center of the rosette receives 3,000 to 5,000 lux for twelve to fourteen hours per day during the growing season (April through September) and eight to ten hours during winter dormancy. A grow light that runs too few hours in winter produces the same gradual etiolation as a dark windowsill. In low-light winter months, consider moving Haworthia to a cooler spot — 50 to 55 degrees Fahrenheit (10 to 13 degrees Celsius) — which slows metabolism and reduces the rate of stretching even when light levels are suboptimal. The Haworthia plant care complete guide has the year-round light schedule with seasonal adjustments for temperate climates.
Turn PDF Bank Statements Into Workable Spreadsheets
Your bank statement is a mess of numbers, but your books shouldn't be. Use our converter to get Excel, CSV, or QBO files — ready for QuickBooks.
Try It Free Now