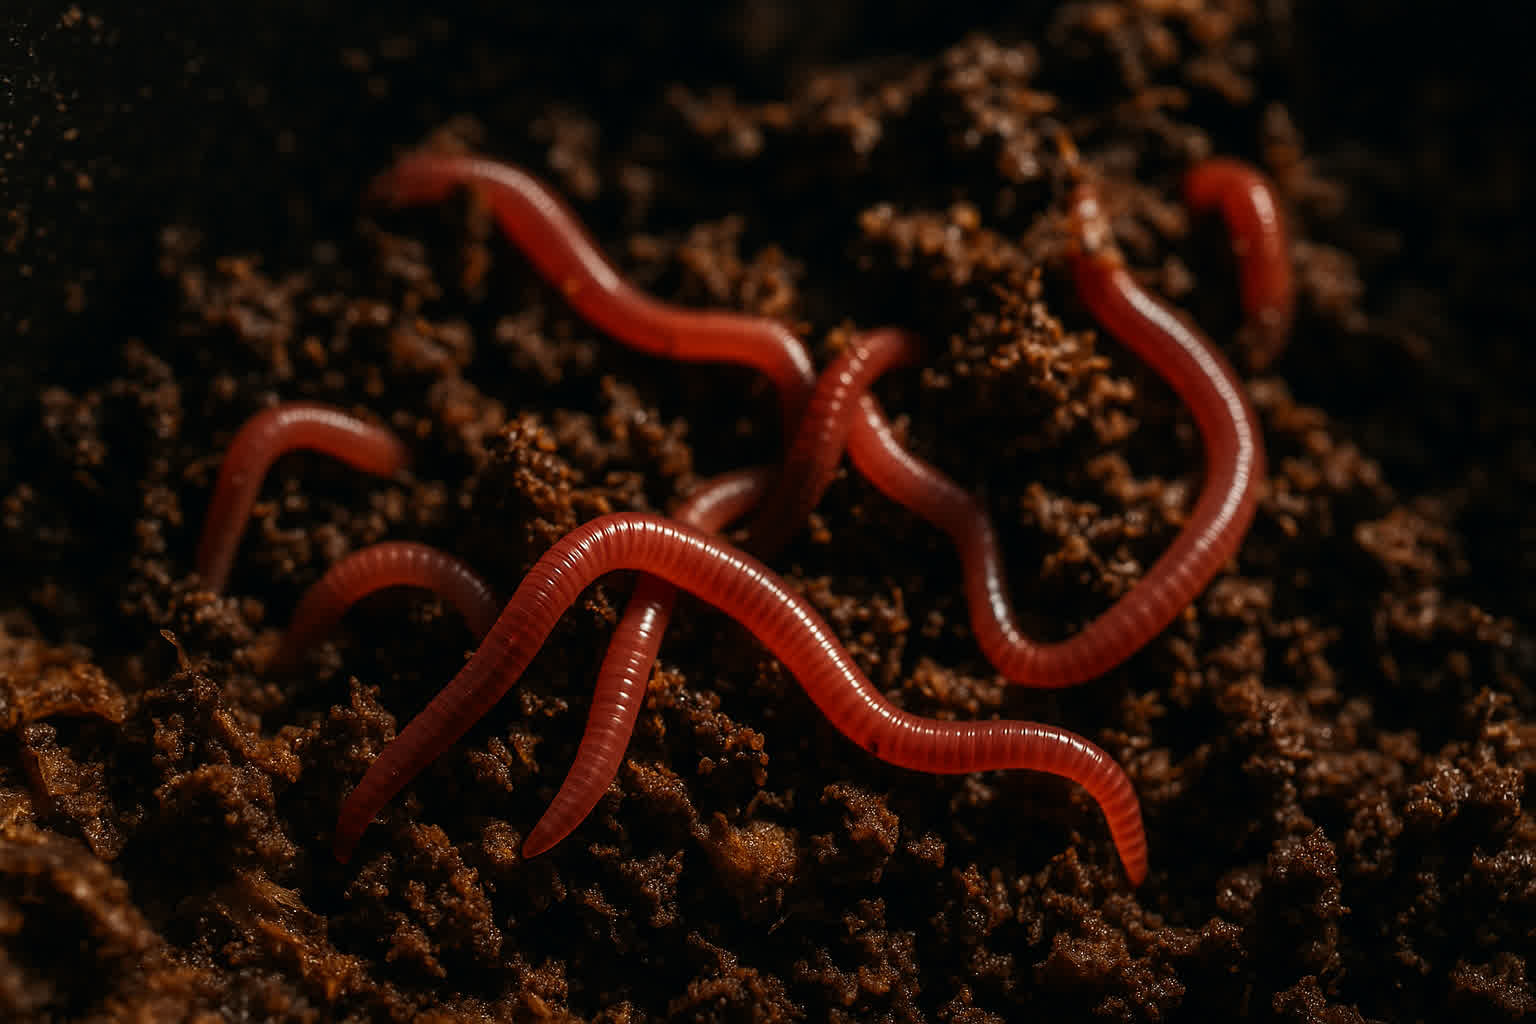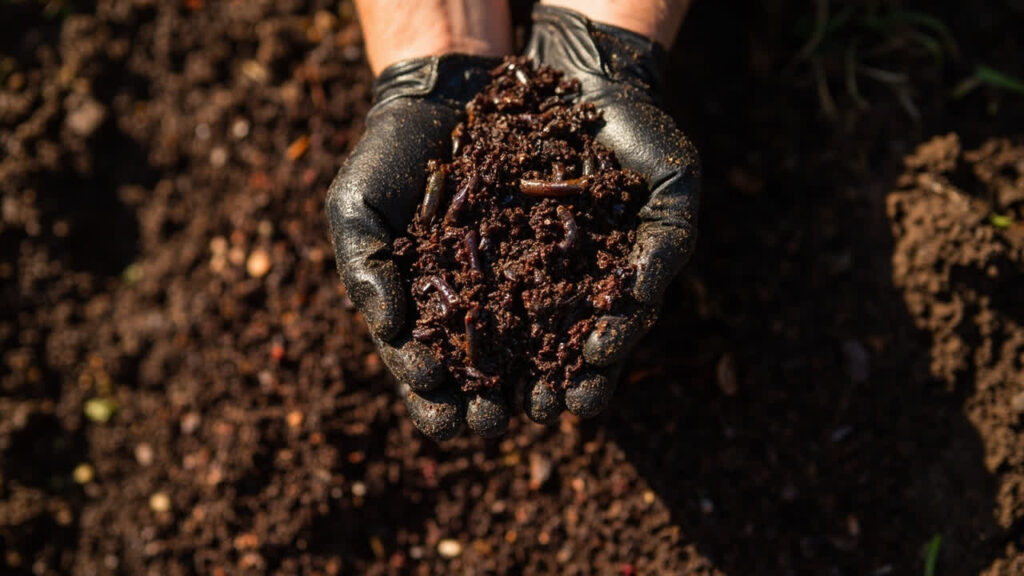

Worm castings differ from standard compost in three important ways: they contain a higher concentration of beneficial microorganisms, they release nutrients more slowly, and they contain more humic acids that improve soil structure. Standard hot compost reaches temperatures of 130-160°F (55-71°C) that reduce microbial populations. Worm castings are processed at ambient temperature (55-77°F / 13-25°C) inside the worm’s gut, preserving a far richer community of bacteria, fungi, and actinomycetes. This biological activity is what makes worm castings more than just a fertilizer — they are a living soil amendment.
The nutrient profile of worm castings varies with the worms’ diet. Castings from worms fed vegetable scraps and coffee grounds average 1-0-0 to 2-1-1 (N-P-K) by dry weight. Castings from worms fed manure-based feedstock may reach 3-1-1 to 5-5-3. The nitrogen is primarily in nitrate form (NO3-), which plants absorb immediately without waiting for microbial mineralization. This is why worm castings act faster than raw compost but slower than synthetic fertilizers — nutrients release over 4-6 weeks rather than 1-2 weeks for synthetics or 6-12 months for raw compost.
This guide covers how to apply worm castings in the garden, how to make worm casting tea, and the limitations that determine whether they work for your situation.
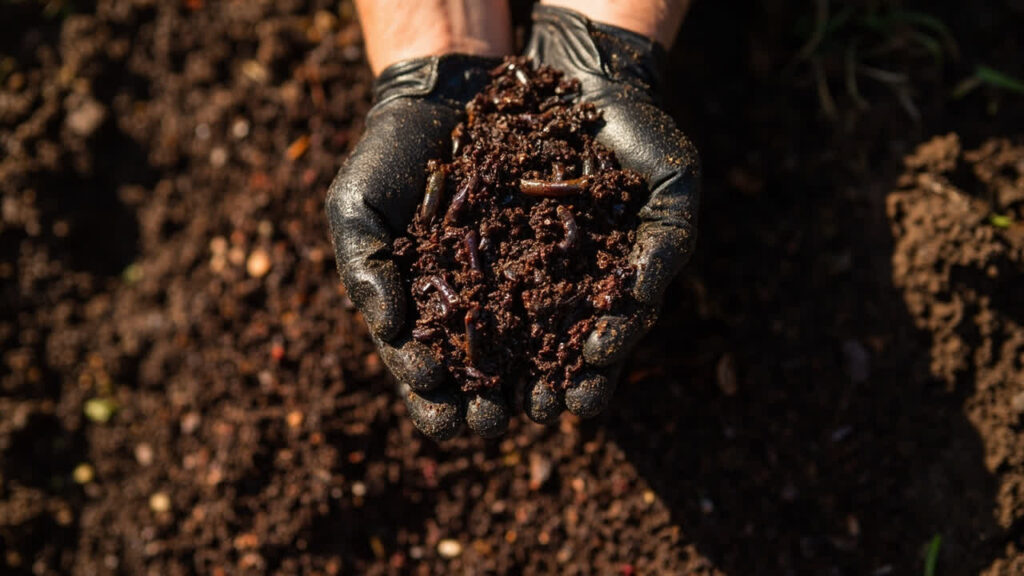
How to Apply Worm Castings
Top-dressing: Spread a 1/4 to 1/2 inch layer of worm castings over the surface of garden beds or around individual plants. Scratch it lightly into the top inch of soil, then water. This is the simplest approach and works well for established perennials, vegetables, and shrubs. It slowly integrates into the root zone with each watering. For a 4×8 foot raised bed, use roughly 1-2 cubic feet of castings per application. Reapply every 4-6 weeks during the growing season.
Mixing into potting soil: For container plantings, blend worm castings into your potting mix at 10-20% by volume. This is roughly 1 part castings to 5-9 parts potting soil. The castings improve moisture retention, add microbiology, and provide a gentle nutrient buffer. Even a small amount goes a long way in containers, where root systems are more confined and depend heavily on the quality of the medium around them. For a standard 6-inch pot holding roughly 2 liters of soil, add 200-400ml of castings.
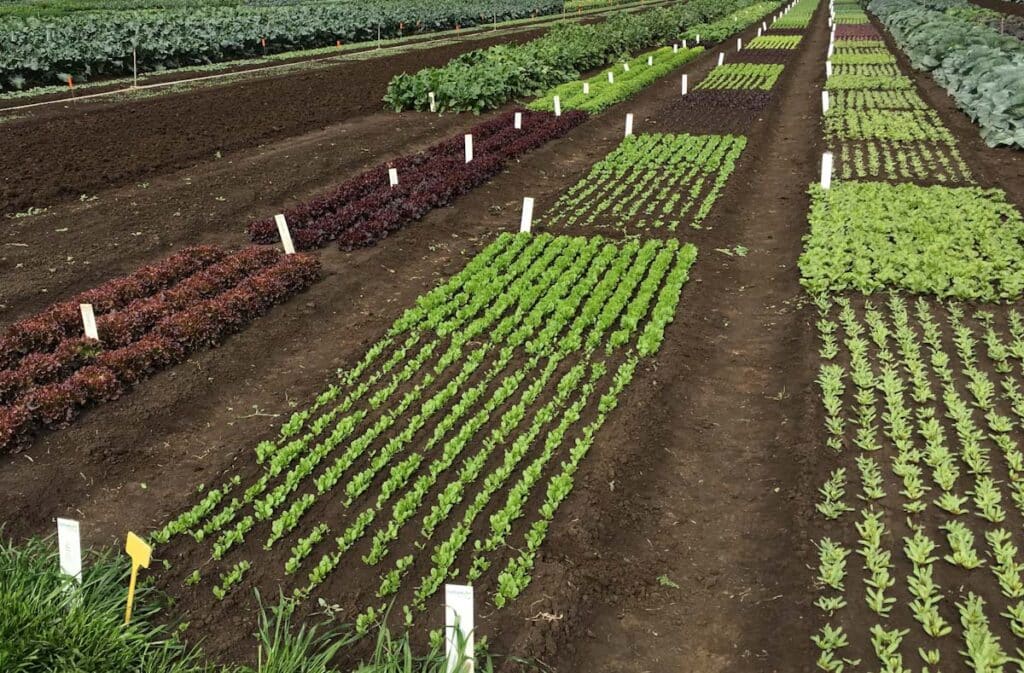
Broadcasting over garden beds: Before planting season, scatter worm castings across raised beds or in-ground beds at a rate of 10-20 pounds per 100 square feet. Rake it into the top few inches of soil. This prepares the growing medium with a rich microbial inoculation and a slow-release nutrient baseline that sustains crops throughout the season. For heavy-feeding crops like tomatoes and peppers, use the higher rate (20 pounds per 100 square feet).
Making Worm Casting Tea
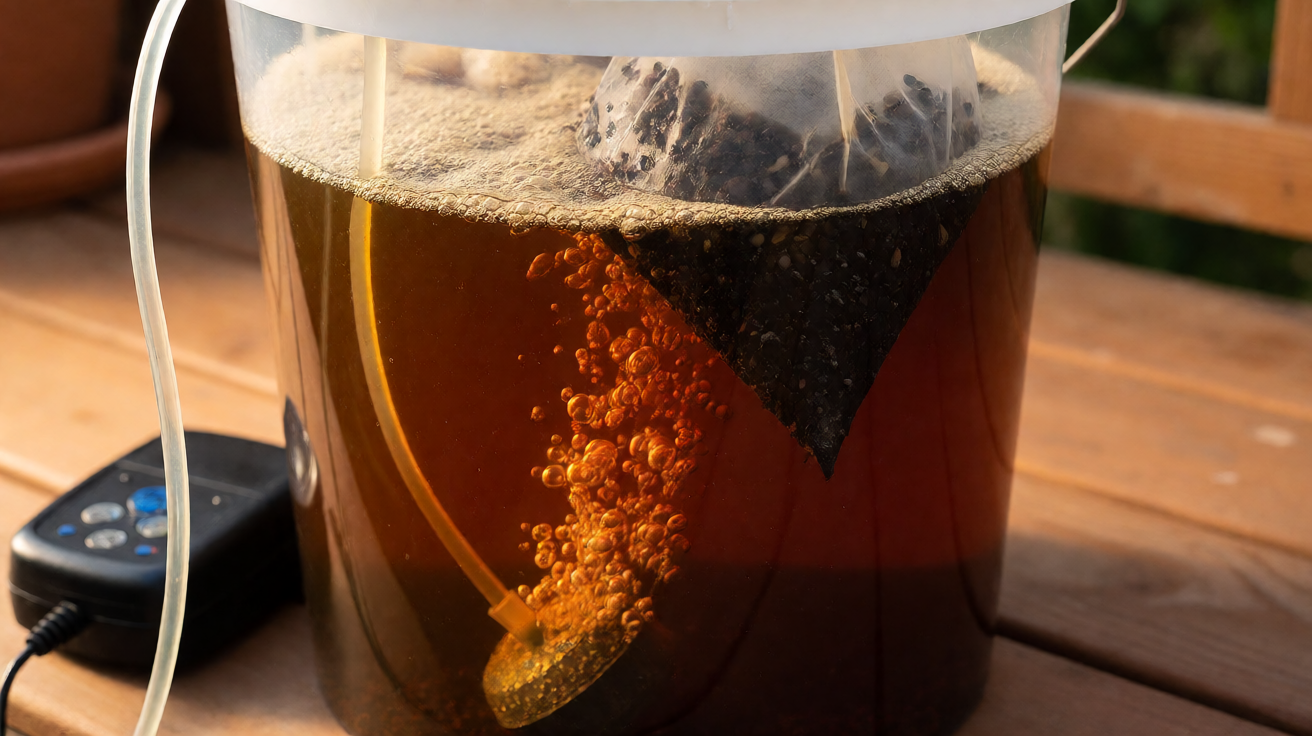
Worm casting tea — specifically aerated worm casting tea — is a brewed liquid that extracts the microbial population and soluble nutrients from castings into a form you can apply directly to plant foliage and soil. The key is aeration: without oxygen, the tea goes anaerobic within 12 hours and produces compounds that damage roots.
Equipment: A 5-gallon bucket, an aquarium air pump with air stone, unsulphured molasses, and 1-2 cups of finished worm castings in a mesh bag or old pillowcase.
Process: Fill the bucket with dechlorinated water (let tap water sit for 24 hours or use a filter). Submerge the bag of castings. Add 1 tablespoon of unsulphured molasses per gallon of water to feed the bacteria. Run the air pump continuously for 24-48 hours. The bubbles keep dissolved oxygen above 6 mg/L, which favors beneficial aerobic bacteria. After brewing, strain the tea and use it within 4-6 hours — bacterial populations peak at 24-48 hours and decline rapidly after that.
Application: For soil drench, dilute 1 part tea with 3-5 parts water and pour around the root zone. For foliar spray, dilute 1 part tea with 10 parts water and mist leaves in early morning or late evening. Apply every 14 days during the growing season for established plants, every 7-10 days for heavy-feeding crops.
Limitations and When Worm Castings Are Not Enough
Worm castings are not a complete fertilizer. Their NPK content is too low to sustain heavy-feeding crops like tomatoes, peppers, or squash through fruiting without supplemental fertilization. Use them as a soil amendment and microbial inoculant, not as a sole nutrient source.
Worm castings can introduce pathogens if the source feedstock is contaminated. Avoid using castings from bins that received meat, dairy, or pet waste — these can contain E. coli, Salmonella, or parasitic eggs that survive the worm’s digestive process. Stick to vegetable scraps, coffee grounds, and yard waste for safe castings.
Worm castings lose microbial viability over time. Stored castings remain effective for 6-12 months if kept moist and aerated. After that, the bacterial population declines and the castings become primarily a soil amendment rather than a microbial inoculant. For maximum benefit, use castings within 3-4 months of harvest.
Finally, worm castings are not a substitute for proper soil pH management. They buffer pH slightly but cannot correct severely acidic or alkaline soils. If your soil pH is below 5.5 or above 7.5, amend with lime or sulfur before adding castings — the beneficial microbes in castings cannot survive in extreme pH conditions.
For more on vermicomposting and worm casting applications, see our complete guide to worm castings and our how to raise worm castings.
Turn any PDF statement into a clean sheet
Skip the typos and the hours of copying. Our converter handles any bank statement format and outputs Excel, CSV, or QBO for QuickBooks. No file retention, free to try.
Convert your statement