
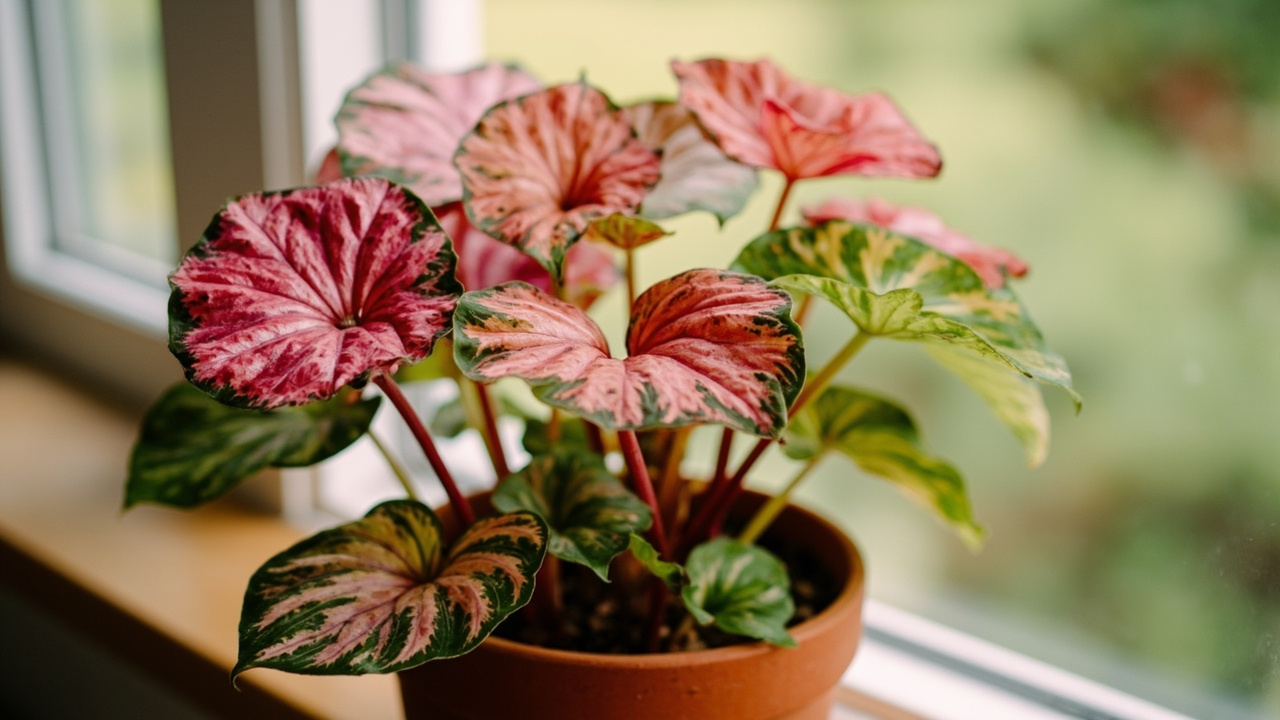
Few houseplants deliver the visual impact of a Caladium. Their heart-shaped leaves — splashed in pink, white, red, and every shade of green — can transform a dull corner into something that stops you in your tracks. But Caladiums come with a behaviour pattern that catches almost every first-time grower: they disappear.
Around late autumn, the leaves collapse and the whole plant seems to die. It is not dead. It is resting. Understanding this seasonal rhythm — and the handful of care principles that keep Caladiums happy the rest of the year — is the difference between a plant that comes back year after year and one that gets thrown out at the first sign of dormancy.
Caladiums are tuber-grown tropical plants native to South and Central American rainforests. They are sometimes called Angel Wings for the shape of their foliage, and they have been a staple of shade gardens and indoor collections for good reason: few plants offer this much colour in low-light conditions. They are grown for their leaves, not their flowers, and the tuber’s energy reserves carry the plant through its predictable seasonal rest.
The core care logic is straightforward: bright indirect light, consistently moist (but not waterlogged) soil, warm temperatures, and high humidity. Sunlight is the one factor that varies most across homes — the same south-facing window in a cold climate delivers very different photosynthetic intensity than the same window in a hot one, and understanding that difference is what lets you position any Caladium variety with confidence. Get those four things right and a Caladium will reward you with months of spectacular growth before it naturally retires for the winter.
What Is a Caladium Plant?
Caladiums belong to the family Araceae and grow from underground tubers. Unlike most houseplants sold as specimens, Caladiums are not seed-grown — they are propagated by division, a form of propagation that works reliably because the corm stores enough energy to support the cut surface as it calluses over. Sunlight exposure during the weeks before planting matters less than soil moisture, but once new growth emerges, light availability becomes the primary driver of how vigorously the plant establishes itself., which is why potted Caladiums you buy in spring are often started from stored tubers planted the same season.
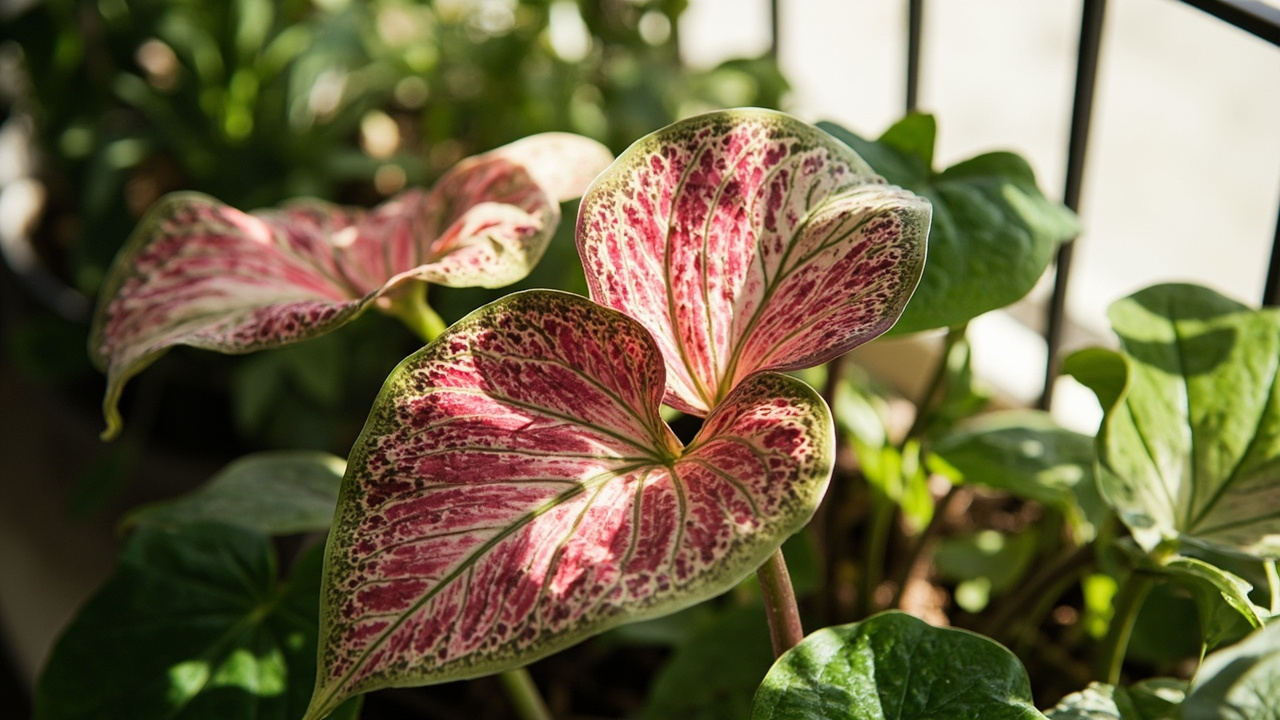
The leaves are the plant’s defining feature. Depending on the variety, they can be broad and almost entirely white, dramatically veined in red and pink, or splashed with green and cream. Popular named varieties include Pink Symphony (soft blush with dark veins), Moonlight (almost entirely pale greenish-white with minimal variegation), and Florida Clown (bold red and green patches). The variegation pattern determines light tolerance. Each variety expresses the signature heart shape a little differently, but all share the same basic growth habit.
In their natural habitat, Caladiums grow on rainforest floors where they receive dappled light, warmth, and consistent moisture. That context tells you everything you need to know about indoor care: they want light, but not direct sun; they want warmth, not cool temperatures; and they want humidity, not the dry air of a centrally heated room.
Caladiums are a frost-tender aroid, meaning every leaf and petiole is vulnerable to cold damage once temperatures drop below roughly 60°F (15°C). This is distinct from the dormancy cycle that most growers confuse with cold stress: a true frost event damages living tissue immediately, while the autumn dormancy response is a voluntary retreat triggered by shortening daylength. Understanding this distinction matters because treating a frost-tender aroid as dormant will kill it in a cold, wet pot instead of letting it rest dry and healthy through winter.
Light Requirements for Caladium Indoors
Caladiums perform best with bright, indirect light — roughly 6 or more hours of bright ambient light per day. An east-facing window is close to ideal: a few hours of gentle morning sun followed by bright shade through the rest of the day. North-facing windows can work for lighter-coloured varieties, though you may see slower growth and fewer leaves.
Direct sunlight is the main thing to avoid. The thin, semi-translucent leaves burn easily, developing pale brown scorch marks that cannot be repaired. If your Caladium sits in a south or west window, pull it back from the glass or filter the light with a sheer curtain. The warning signs are fast: even a few hours of unfiltered afternoon sun in summer can cause damage within days.
During the darker winter months, if your plant has not yet gone dormant, moving it closer to your brightest window can help extend the foliage display. Once dormancy begins, light matters less — but keeping the pot in a bright spot at around 65°F (18°C) helps the tuber rest steadily rather than trying to break dormancy prematurely in low light.
For more detail on what specific light levels Caladium tolerates, see our caladium light requirements guide.
How to Water Caladium
Caladiums want consistently moist soil during their active growing season — roughly from late spring through early autumn. The top inch of the potting mix should be allowed to dry out before watering again. When you water, water thoroughly: add water until it flows freely from the drainage hole, then empty the saucer. Standing water around the roots is the enemy.
Watering frequency varies with temperature, pot size, and soil mix. Larger pots in cool rooms hold moisture longer; small pots in bright conditions dry out faster.
Two structural facts help you set the rhythm. First, the storage organ is a corm, not a true bulb and not a rhizome: caladiums are sometimes described as rhizomatous in casual guides, but the swollen underground structure is botanically a corm layered with scale tissue that holds one season of starch. The petiole base, where the leaf stalk attaches to the corm, is wrapped in a protective leaf sheath that seals the connection and prevents pathogens from entering the storage tissue through the wound site. Rhizomes run horizontally along the soil surface or just below it, while a corm grows vertically downward and produces offsets at its base — a distinction that matters because rhizome division requires cutting through live tissue at a node, whereas corm division relies on the natural offset separation that happens when a mature corm produces one or more daughter plants around its perimeter. Second, the petiole, the leaf stalk between the tuber and the leaf blade, is the plant’s most sensitive water indicator. A petiole that stays upright under its own weight is correctly hydrated; one that flops or wrinkles at the joint near the soil is signalling either thirst or saturation. Reading the petiole saves you from guesswork on the soil-moisture rule and is the single fastest way to confirm whether the plant wants water now or in two days.
The most common watering mistakes with Caladium are overwatering and underwatering, and the symptoms can look similar at first. Here is how to tell them apart.
How to Tell If You Are Overwatering vs Underwatering
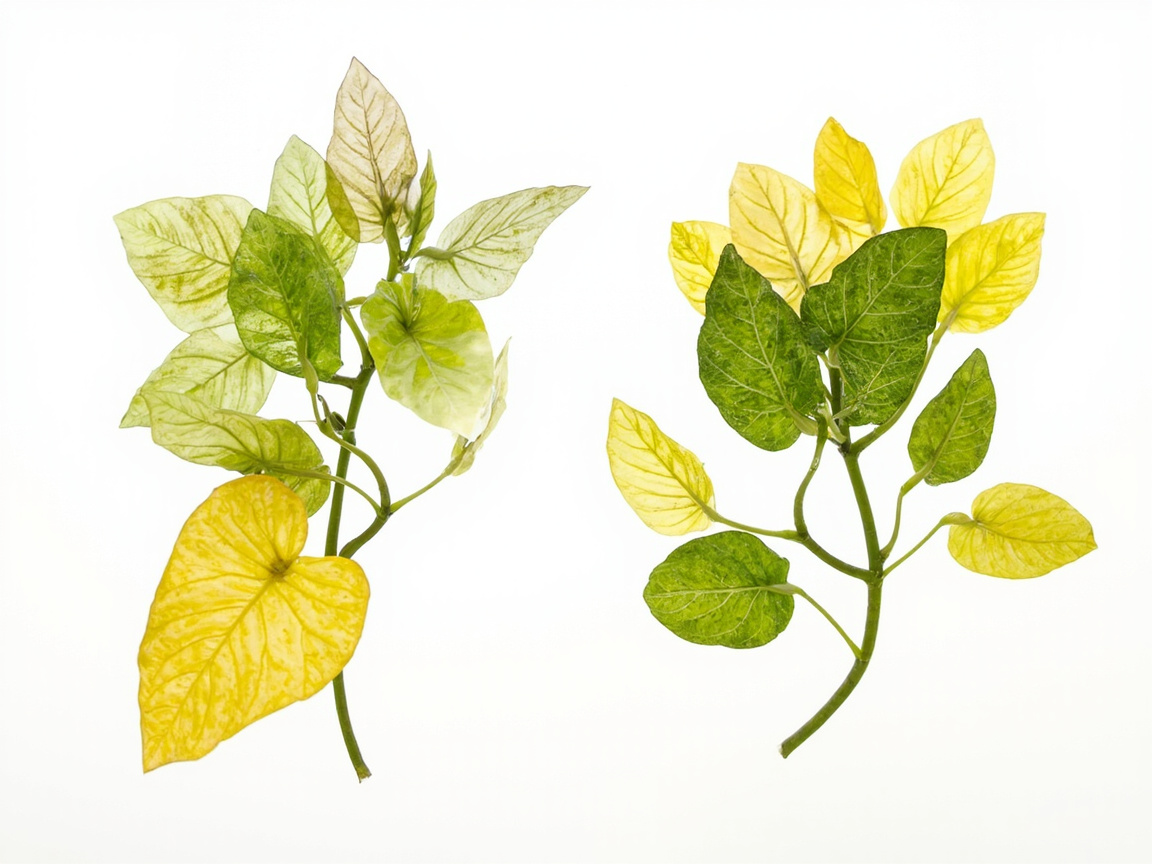
Overwatering typically shows as yellowing lower leaves, stems that feel soft or mushy at the base, and soil that stays wet for more than a week after watering. The danger is root rot developing in the tuber, which can kill the plant below the soil line before symptoms are visible above. If you notice these signs, let the soil dry out more between waterings and check that the pot has excellent drainage.
Root rot caused by damping-off pathogens such as Pythium or Phytophthora spreads rapidly through waterlogged soil.
Underwatering usually manifests as leaves that droop, curl slightly inward, or develop crispy brown edges. The soil pulls away from the sides of the pot. Caladiums are fairly forgiving if caught early — a thorough watering usually revives them within a few hours. Chronic underwatering, however, stresses the tuber and can trigger early dormancy.
For a complete breakdown of watering frequency by season and pot conditions, see our caladium watering guide.
Temperature and Humidity
Caladiums are warmth lovers. The ideal range is 65 to 80°F (18 to 27°C). Below 60°F (15°C), leaves lose turgor and growth slows. A cold autumn draft often triggers dormancy.
Avoid placing your Caladium near air conditioning vents, draughty doorways, or windows opened in cool weather. Sudden cold drafts are among the most reliable causes of leaf collapse.
Humidity is the other environmental factor that separates thriving Caladiums from struggling ones. They want moderate to high humidity — ideally 50% or more, with a humidity 60 percent target for optimal colour intensity where leaf colour stays vivid and petioles remain upright. In most homes, this means supplementing ambient humidity, particularly in winter when heating systems dry the air dramatically.
The same dry-air stress that causes leaf edges to brown also makes caladiums more susceptible to leaf scorch when they are suddenly exposed to warmer, brighter conditions after weeks of low-light dormancy preparation. A gradual transition — moving the plant closer to a brighter window over the course of a week rather than all at once — lets the leaf tissue adjust without the thermal shock that causes marginal necrosis on the youngest, most tender leaves.
Soil, Fertilizer, and Feeding
Caladiums need a well-draining mix that retains some moisture without becoming waterlogged. A standard houseplant mix amended with perlite works well — roughly two parts potting mix to one part perlite. You can also add a small amount of peat moss to increase moisture retention slightly. The goal is a mix that drains freely but does not dry out within 24 hours, which is the threshold where root stress begins to show as petiole wilting.
Feed every two to three weeks during active growth with a balanced liquid fertilizer diluted to half strength. Stop in late summer.
Do not fertilise a dormant or recently repotted Caladium. Fertiliser applied when the plant is not actively growing sits in the moist soil and can cause salt build-up that damages the tuber.
More fertilizer increases leaf count but reduces colour intensity — a trade-off many growers accept by skipping feeds once established.
Caladium Dormancy: The Seasonal Cycle
Dormancy is the most misunderstood part of Caladium care, and it is the reason many people believe their plant has died. Around late summer or early autumn, as daylight hours decrease, most indoor Caladiums begin to slow down. Leaves lose colour, droop, and eventually collapse entirely. The pot appears to contain nothing but soil.
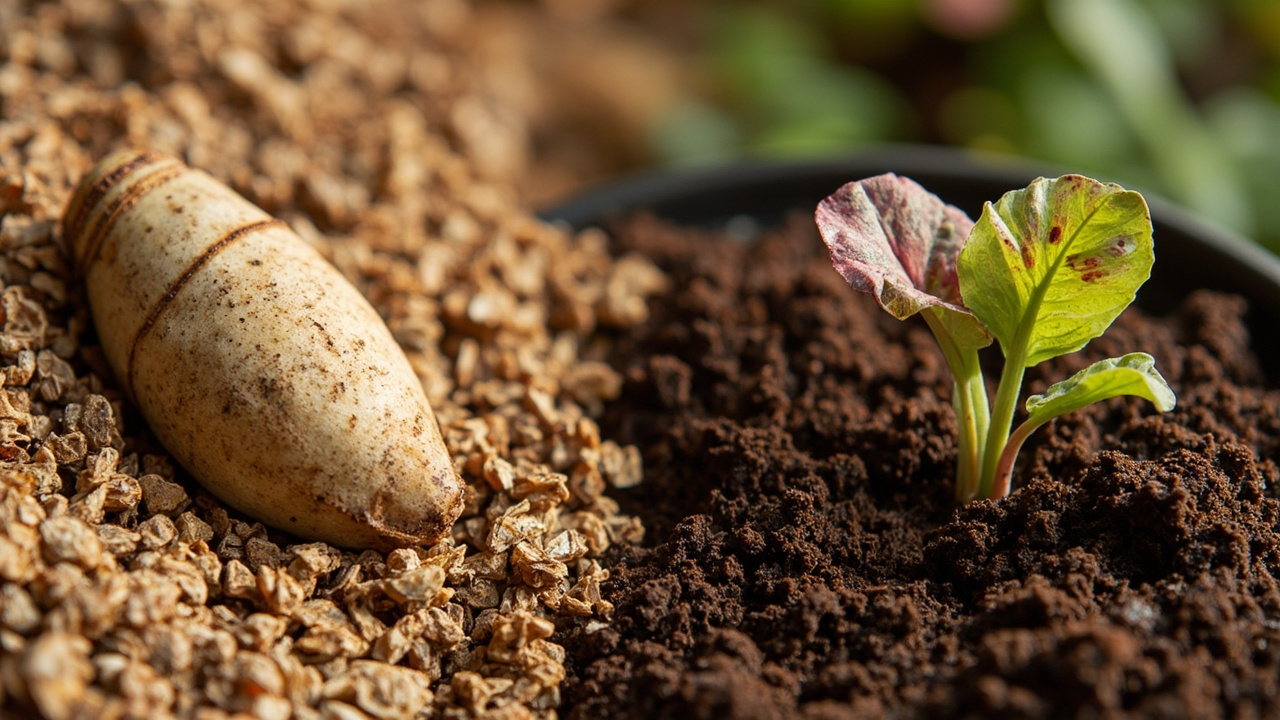
This is tuber dormancy at work — the corm conserves every ounce of energy it stored during the growing season, and above-ground growth shuts down completely. The tuber is alive, even if no growth is visible above the soil. A healthy, well-fed Caladium tuber will reliably produce new growth the following spring, provided it stays dry and warm enough during the dormancy period to prevent rot.
This is completely normal. The Caladium has retreated into its tuber — an underground storage organ that preserves the plant’s energy. The tuber is alive, even if no growth is visible above the soil. A healthy, well-fed Caladium tuber will reliably produce new growth the following spring.
If you want a single signal that dormancy has begun, watch daylength rather than temperature. Indoor Caladiums reliably slow once daylight drops below roughly 11 hours per day, which in most temperate homes falls in mid to late autumn regardless of room temperature. A cold draft will accelerate leaf collapse but is not what triggered the cycle; the tuber has been counting light hours for weeks. Reading the symptom as autumn dormancy rather than disease is the difference between a plant that returns next year and one that gets overwatered into rot by a worried owner. For a longer read on distinguishing these two yellow-leaf patterns, see our guide on caladium leaves turning yellow.
This is photoperiod sensing: the plant detects shortening days and initiates senescence — programmed chlorophyll breakdown that returns nutrients to the corm. It is a genetically programmed event, not a stress response.
Will My Caladium Come Back?
In most cases, yes. If the tuber is firm and pale cream or tan in colour when you inspect it gently, it is alive. If it feels soft, dark, or has a sour smell, it has rotted — usually from overwatering during dormancy or from being left in a cold, wet pot over winter.
When the tuber emerges from dormancy in spring, the
The first visible structure from the crown is a swelling at the petiole base. The internode between nodes is short. Apical dominance keeps the leader upright. Epinasty bends petioles in cold. The hypocotyl may produce a stolon-like runner.
Bringing a Dormant Caladium Back to Life
When you notice new growth emerging from the soil — typically a small green or pink shoot — that is the signal to resume care. Move the pot back to a warm, bright location and begin watering again, starting gently and increasing as growth accelerates. If you stored tubers out of the pot, plant them shallowly — just barely covered with fresh potting mix — in spring when temperatures are reliably warm.
Common Caladium Problems
Even well-grown Caladiums encounter a few recurring issues. Here are the most frequent, with their most likely causes.
- Brown leaf tips and edges: Usually caused by low humidity, underwatering, or fertiliser burn. Increase humidity, check your watering schedule, and make sure you are diluting fertiliser sufficiently.
- Yellowing leaves: Overwatering is the most common cause. Allow the soil to dry more between waterings and ensure the pot drains freely.
- Pale or washed-out leaves: This typically indicates insufficient light — the plant is not receiving enough energy to maintain its colour. Move it to a brighter spot with indirect light.
- Leggy or stretched growth: The plant is reaching for light. Caladiums that do not receive enough light grow tall and spindly with fewer, smaller leaves. Prune back the leggy growth and improve light conditions.
- Leaf spots or lesions: Anthracnose, blight, leaf mould, powdery mildew, downy mildew, and rust are fungal pathogens. Bacterial soft rot produces a foul-smelling collapse. Water at soil level and ensure good airflow.
- Distorted new leaves: New leaves that emerge curled, stunted, or with unusual colouring can indicate a calcium or magnesium deficiency. Using a balanced fertiliser usually resolves this; if the issue persists, a targeted Caladium-specific feeding schedule can help.
- Insects and pests: Spider mites, aphids, scale, thrips, whitefly, and mealybug are common arthropod pests. Nematode infestation, snail damage, and slug feeding compound the problem.
- Unexpected flower-like structure in summer: A mature, well-fed Caladium will sometimes send up an inflorescence: a slender spike (the spadix) wrapped in a modified leaf (the spathe) that looks like a small, pale jack-in-the-pulpit flower. This is anthesis, the plant’s actual flowering event, and it is harmless. Most growers pinch the spadix off at the petiole base so the plant redirects energy back into leaf production, but leaving it does not hurt the corm. Do not confuse the spathe with a diseased or distorted leaf; the structure is upright, hooded, and centred on a single stalk.
Most Caladium problems are correctable once you identify the cause. The plant is forgiving during its active growing season, and a few adjustments to watering, light, or humidity typically lead to a rapid recovery and new growth.
Turn any PDF statement into a clean sheet
Skip the typos and the hours of copying. Our converter handles any bank statement format and outputs Excel, CSV, or QBO for QuickBooks. No file retention, free to try.
Convert your statement