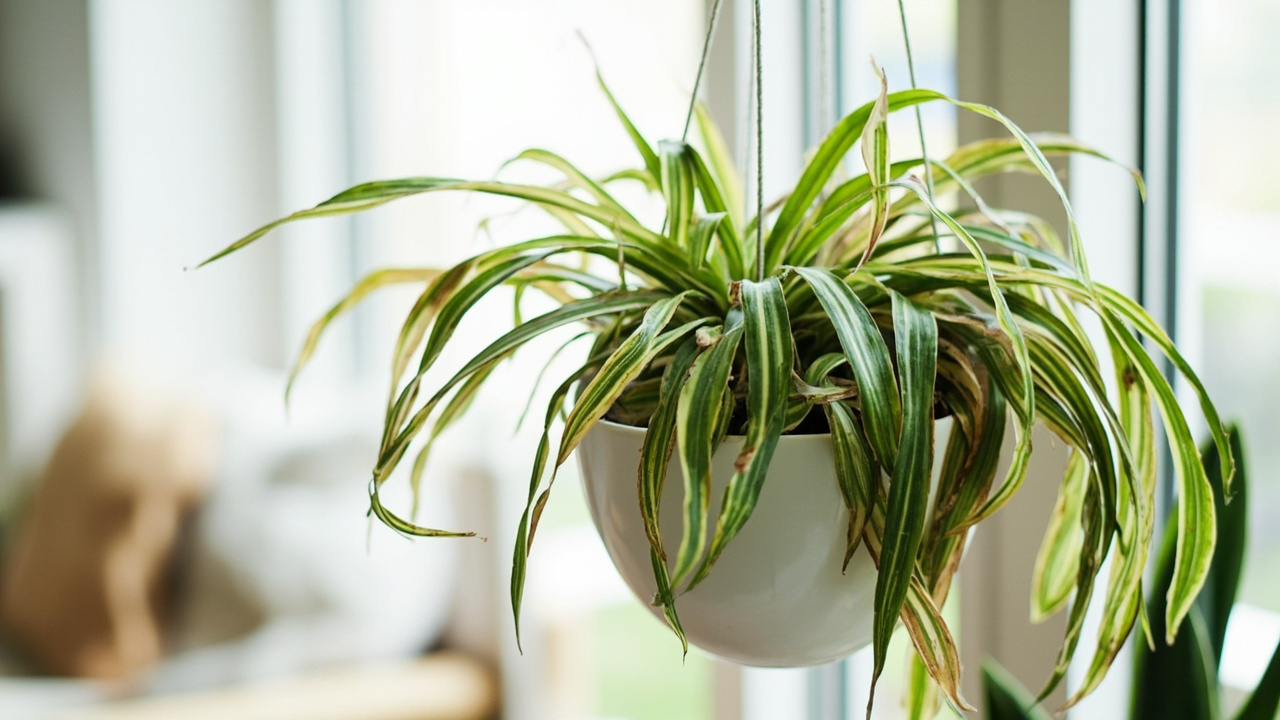
Yellow leaves on a spider plant are the plant’s most direct way of telling you that something is wrong inside the pot. Where brown tips point to water quality or light stress, yellowing usually means the plant is either receiving too much water, not enough light, or dealing with a root system that has run out of room to grow. The key to fixing yellow leaves is identifying which of these is the cause — because the fix for each is different, and applying the wrong remedy can make the problem worse.
This guide walks through every common cause of yellowing, in order of how frequently they occur, so you can find the answer that matches what you are seeing in your plant.
Overwatering: The Most Common Cause
Overwatering is responsible for the majority of spider plant yellow leaf complaints. Spider plants have thick rhizomes that store water, which makes them relatively tolerant of drought — but it also means they are far less tolerant of consistently wet soil than many houseplants realize. When the roots sit in waterlogged soil for days after watering, they begin to suffocate. As they die, they cannot transport water to the leaves, and the leaves yellow from the oldest — the outer, lower leaves — inward.
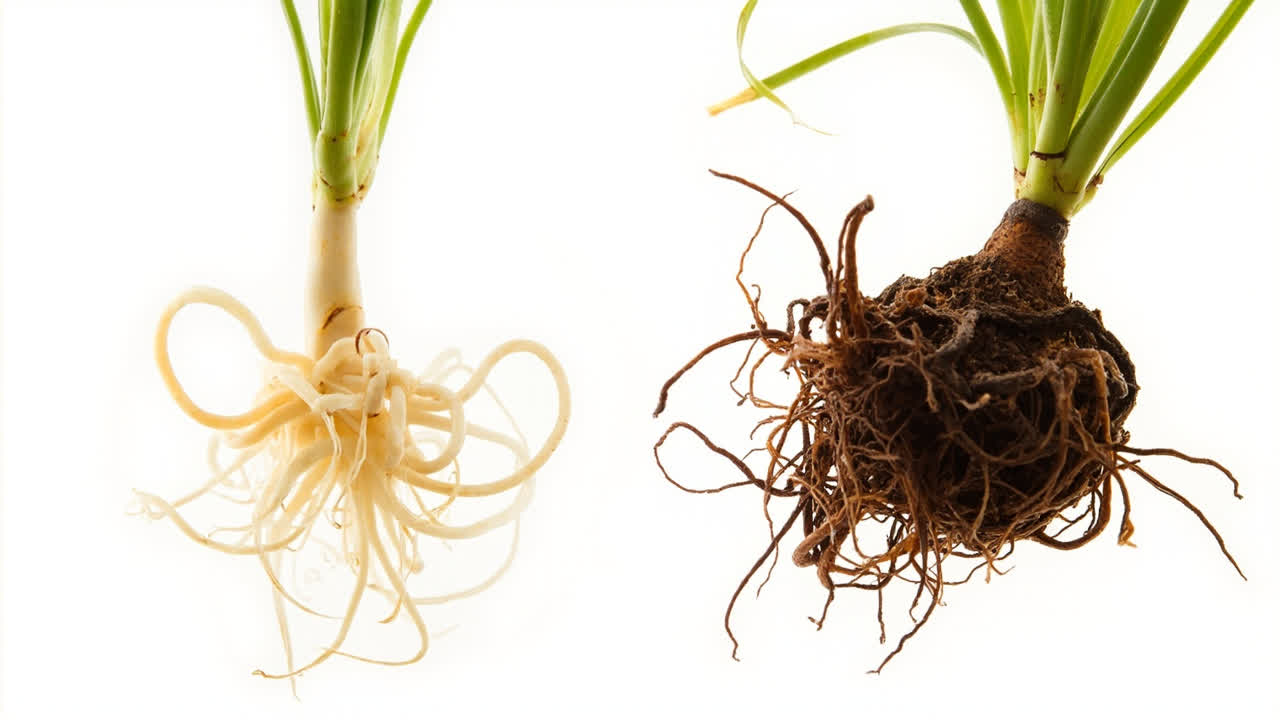
How to identify it: the soil stays wet for more than a week after watering, the lower and older leaves turn yellow before the newer center growth, and the plant may look wilted even though the soil is wet. If you remove the plant from its pot, the roots may be dark and mushy rather than firm and cream-colored — a sign that root rot has set in, which is the secondary problem that follows overwatering.
The fix: let the soil dry out completely before watering again. Insert your finger into the top inch of soil — if it is still moist, do not water. If the roots have gone soft and dark, treat it as root rot: remove the plant, trim the affected roots, repot in fresh fast-draining mix, and water very sparingly until the plant recovers. A solid spider plant care routine prevents this cycle from repeating.
Not Enough Light
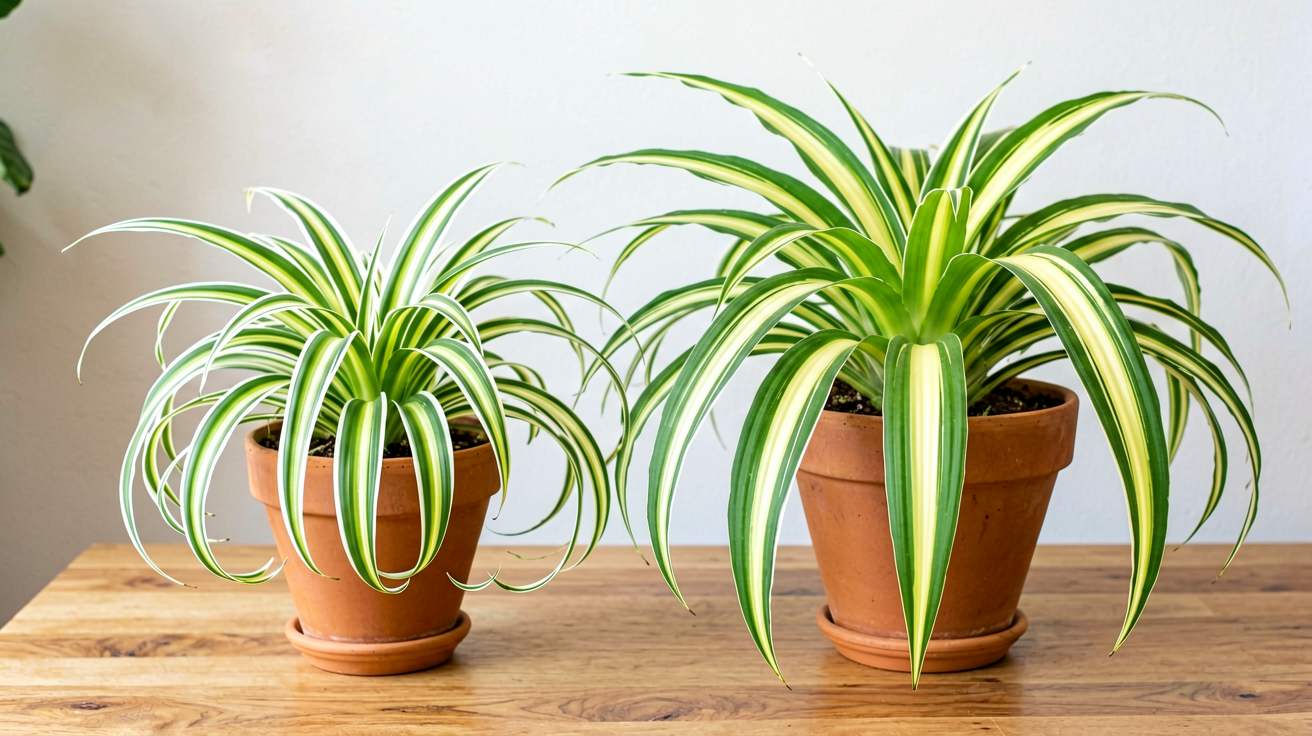
Spider plants survive in low light better than most houseplants, but they do not thrive in it. In a persistently dark corner or a room with no windows, the plant cannot photosynthesize efficiently enough to maintain its deep green colour. Understanding spider plant light requirements helps you find the right position — bright, indirect light is what keeps leaves deep green rather than yellowing.
How to identify it: the plant is in a low-light position — a bathroom without a window, a hallway, a room with no natural light. The yellowing affects the older outer leaves and the newer center leaves are still green, though perhaps pale. There is no musty smell from the soil and the roots look healthy.
The fix: move the plant closer to a window with bright, indirect light. East-facing windows are ideal. The plant will not reverse the yellowing on existing leaves, but within a few weeks of improved light, new growth will emerge in healthy green. Rotate the pot a quarter turn each time you water to keep growth even.
Root Bound: When the Pot Is Too Small
Spider plants are fast growers and can become root-bound within one to two years of being purchased. When the root system fills the pot and has no more room to expand, the plant cannot absorb enough water and nutrients to sustain all its leaves. The response is yellowing — the plant essentially starves even though you are watering and fertilizing normally.
How to identify it: roots are growing out of the drainage hole, the pot is visibly cracked or deformed from root pressure, water runs straight through the pot when you water without being absorbed, or you have not repotted the plant in over a year. The yellowing may affect leaves across the whole plant rather than just the oldest, because the entire root system is compromised.
The fix: repot into a container that is one size larger — roughly 1–2 inches larger in diameter. Use fresh, fast-draining potting mix. Water well after repotting and place in bright indirect light. The plant will recover over the following weeks as the root system expands into the new soil. Check when to repot spider plants so you can stay ahead of becoming root-bound.
Nutrient Deficiency
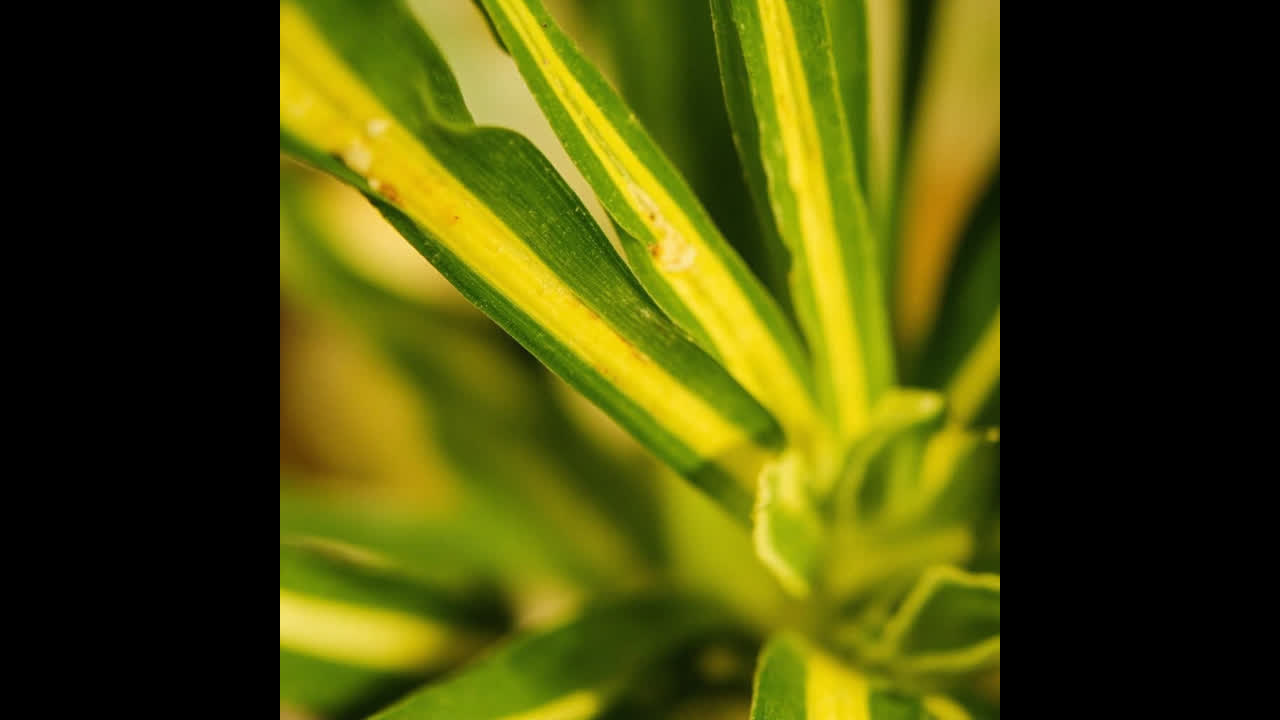
Spider plants that have been in the same soil for several years may show yellow leaves due to nitrogen depletion. This is most common in plants that have never been fertilized and have been in the same pot for a long time. The yellowing starts in the older leaves — the same pattern as overwatering — but the soil will be dry and the plant will generally look hungry rather than waterlogged.
How to identify it: the plant has not been fertilized in months or years, the soil looks depleted — pale, possibly crusty with fertilizer salt deposits — and the plant has not been repotted in a long time. New growth is small and pale rather than vigorous.
The fix: apply a balanced liquid houseplant fertilizer at half strength. Then either repot the plant in fresh soil or continue fertilizing monthly during the growing season. Our guide to fertilizing spider plants covers exactly what to use and how often to apply it.
Natural Aging
Spider plant leaves have a lifespan of roughly one to two years. As they age, they yellow and eventually die off naturally. This is normal — not a problem — and the affected leaves are always the oldest, outermost leaves of the rosette. If one or two lower leaves yellow while the rest of the plant looks perfectly healthy and new growth is vigorous, this is simply the plant doing what plants do.
How to identify it: only the oldest one or two leaves are yellow, the rest of the plant is healthy, new leaves are emerging from the center of the rosette, and there are no other symptoms. The plant looks fine overall.
The fix: none needed. Simply remove the yellow leaf by pulling it away from the base — it will come away cleanly — and continue with your normal care routine.
Underwatering
While less common than overwatering, chronically underwatered spider plants will yellow from stress. This usually looks different from overwatering — the plant will look visibly thirsty, with drooping or curling leaves, before the yellowing appears. The soil will be bone dry.
How to identify it: the soil is completely dry, the pot feels very light when lifted, the leaves look limp or curled before they yellow, and the yellowing appears on leaves across the plant rather than specifically the oldest.
The fix: water thoroughly — add water until it flows from the drainage hole — and then return to a normal watering schedule of watering when the top inch of soil is dry.
Diagnosing Yellow Leaves: A Checklist
When you see yellowing, work through these questions to find the cause:
Is the soil wet more than a week after watering? → Overwatering. Let it dry out and check the roots.
Is the plant in a low-light position? → Move it closer to a window.
Are roots coming out of the drainage hole? → Repot into a larger pot.
Has the plant been fertilized recently? → Apply half-strength fertilizer.
Are only the oldest leaves affected? → Natural aging. Remove the leaf and continue normal care.
Is the soil bone dry? → Underwatering. Water thoroughly.
Most yellow leaf issues in spider plants trace back to overwatering or insufficient light. Both are easy fixes once identified, and both are worth addressing proactively rather than waiting for the plant to decline further. A spider plant that receives bright indirect light and is watered only when the top inch of soil is dry will produce uniformly green leaves with minimal yellowing beyond the occasional natural aging of an old leaf.
From Bank Statement to QuickBooks-Ready File
That manual cleanup you just read about? This tool skips it. Turn your PDF into QBO for QuickBooks without storing your data anywhere.
Start Converting