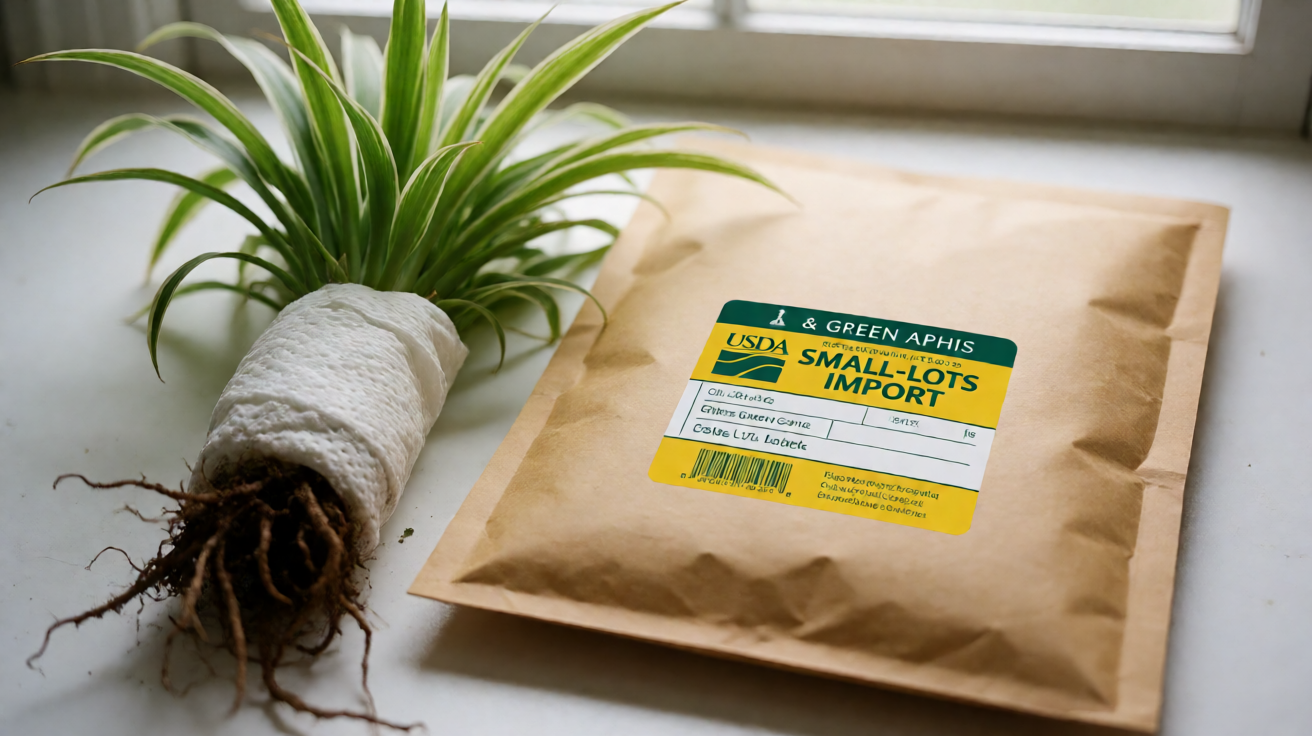
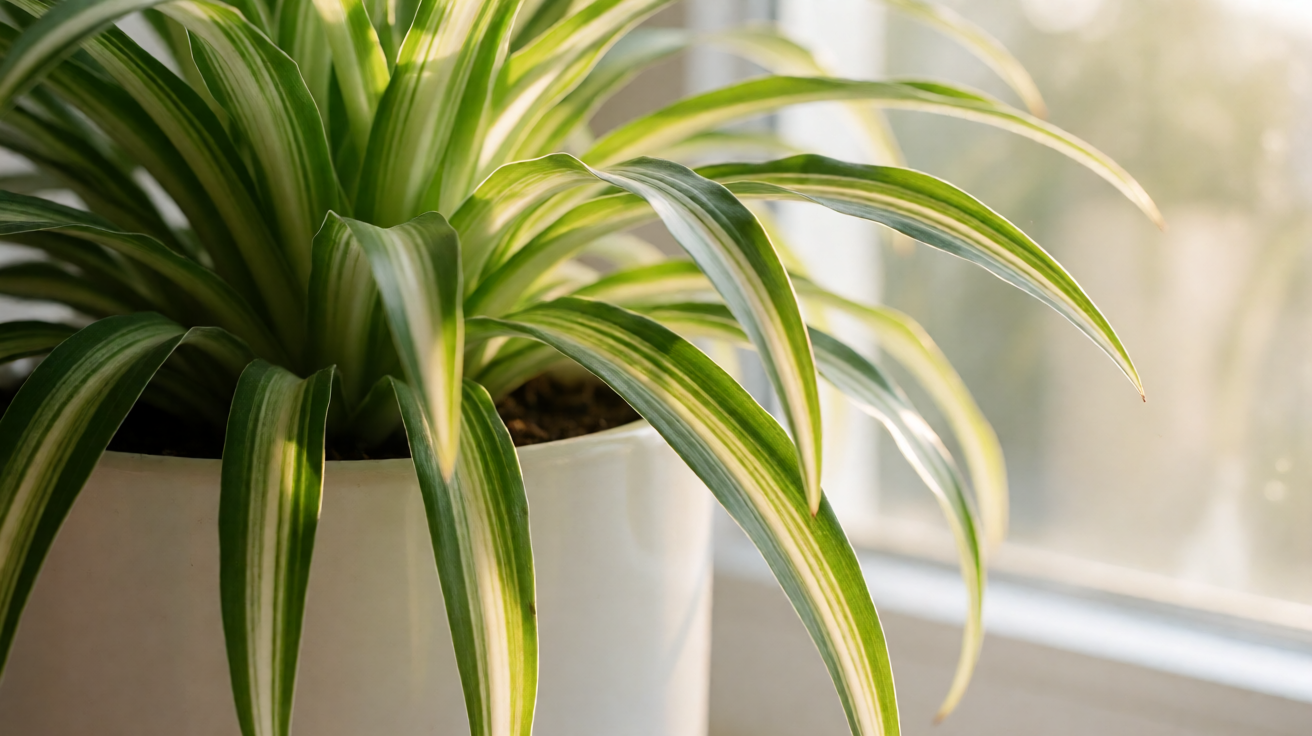
Spider plants are among the most forgiving houseplants when it comes to repotting — they tolerate the disturbance well, bounce back quickly, and actually benefit from the fresh soil and additional root space.
The main risk is overpotting: using a pot that is too large, which holds excess moisture and can lead to root rot before the roots have had time to fill it.
A few simple guidelines on when and how to repot a Spider plant keep the process straightforward and ensure your spider plant thrives after repotting.
Signs Your Spider Plant Needs Repotting
The most reliable sign is roots growing out of the drainage hole at the bottom of the pot. When a spider plant’s root system has filled the pot and found no room to expand, it sends roots out through any available opening. This is the clearest signal that the plant has been waiting for more space.
Other signs: water runs straight through the pot without being absorbed — this means the root ball is so dense that water bypasses the soil entirely. The pot is visibly deforming or cracking under root pressure. The plant’s growth has slowed noticeably in spring and summer despite good care. The plant looks disproportionate to the pot size — more plant than container.
A spider plant’s roots are thick and fleshy — rhizomes — and they grow quickly when conditions are good.
A healthy spider plant bought in a 4-inch pot can easily need repotting into a 6-inch pot within a year, and into an 8-inch pot within another year.
After that, the rate slows as the plant reaches a more mature size, but it will still need fresh soil every two to three years to replenish nutrients and maintain good drainage.
When to Repot
Spring or early summer is the best time to repot spider plants. The plant is entering its active growing season, which means it will recover from the repotting stress quickly and establish in the new soil before winter.
Repotting in fall or winter puts the plant in a vulnerable state during a period when its growth is naturally slowest, and the new soil that stays damp for longer in winter increases the risk of root rot.
If a spider plant is clearly root-bound and the growing season is active — even if it is not technically spring — it is better to repot than to wait.
The risk of leaving a severely root-bound plant in an undersized pot is greater than the risk of repotting outside the ideal window.
Choosing the Right Pot Size
Go up one pot size at a time — roughly 1–2 inches larger in diameter. A 4-inch spider plant goes to a 6-inch pot. A 6-inch spider plant goes to an 8-inch pot.
Jumping from a 4-inch pot directly to a 10-inch pot means the large volume of soil will hold moisture for too long, increasing the risk of root rot before the roots grow into it.
Drainage holes are non-negotiable. Spider plants need excess water to escape quickly, and no drainage means water pooling at the bottom of the pot.
Terracotta pots are preferable for spider plants because the porous walls allow the soil to dry out faster than plastic or ceramic, which reduces overwatering risk. They are heavier, so they are more stable when the plant is large and top-heavy with foliage.
The Repotting Process
Water the spider plant a day or two before repotting — the root ball will hold together better when it is slightly moist, making it easier to remove from the old pot. Do not water it the same day as repotting, as the soil should be relatively dry at the root ball to reduce stress.
Turn the pot on its side and gently ease the plant out. You can run a knife around the inside edge of the pot if needed, but most spider plants come out easily with a gentle tug on the base of the foliage. Do not pull by the leaves — support the root ball with both hands.
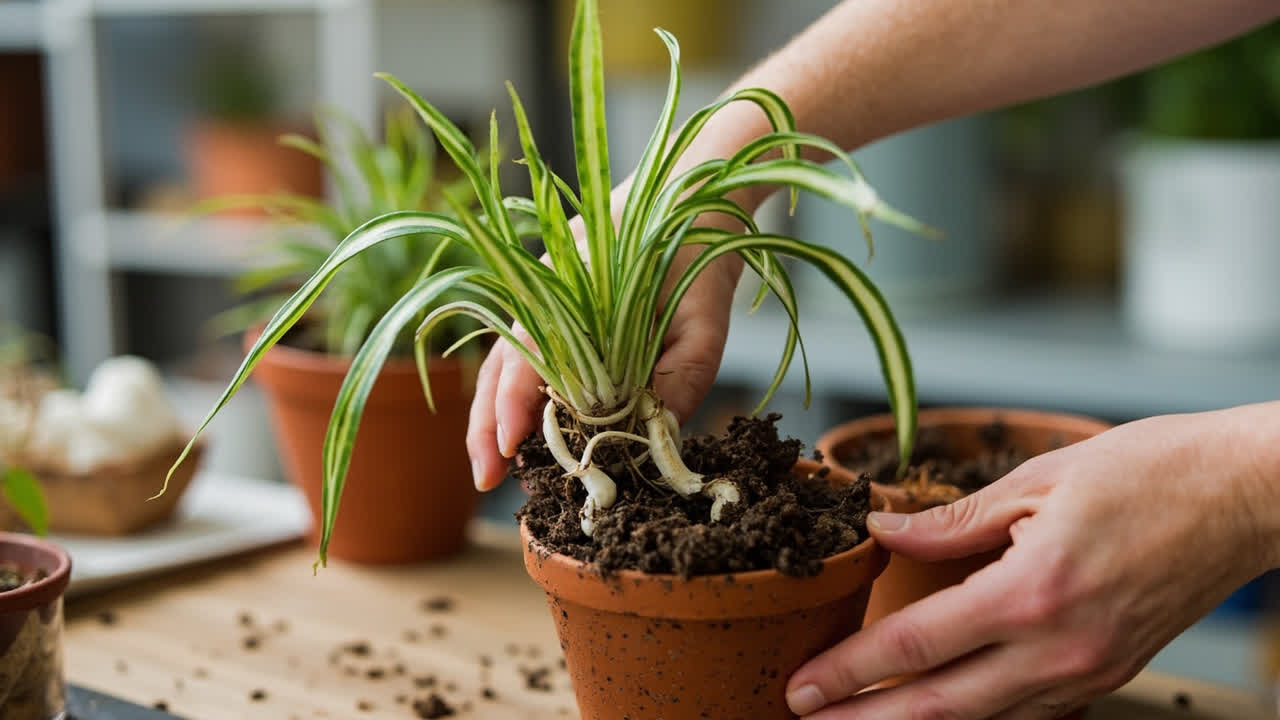
Inspect the roots. If the plant is root-bound, you will see a dense coil of roots with very little soil visible. Gently loosen the outer roots with your fingers — this encourages them to grow outward into the new soil rather than continuing to grow in a tight spiral. If any roots are dark, soft, or smelly, trim them away with clean scissors.
Place a layer of fresh, fast-draining potting mix in the bottom of the new pot. Set the spider plant on top so the top of the root ball sits about an inch below the rim of the pot — this allows room for watering. Fill around the sides with more potting mix, firming gently to eliminate large air pockets but not compacting too heavily. The root ball should be at the same depth it was in the old pot — do not bury the crown of the plant deeper than it was growing previously.
Water thoroughly after repotting. Add water until it flows from the drainage hole, then let it drain completely. Place the plant in bright, indirect light and do not fertilize for at least a month — the fresh soil provides enough nutrients and adding fertilizer too soon risks burning the adjusting roots.
After Repotting Care
The first two weeks after repotting are the critical recovery period. Keep the soil slightly more moist than you normally would — not wet, but not allowing it to dry out completely. The roots have been disturbed and need time to regenerate fine root hairs that absorb water. Bright indirect light supports this recovery without adding the stress of direct sun or the strain of low light.
After two weeks, return to a normal watering routine: water when the top inch of soil is dry. Do not fertilize until at least a month has passed. Watch for new growth emerging from the center of the rosette — this is the signal that the plant has recovered and is establishing in its new pot. Once the waiting period is over, follow the schedule outlined in our guide to fertilizing spider plants.
Special Case: Repotting After Root Rot
If you are repotting because of root rot, use fresh potting mix and a clean or new pot. Do not reuse the old soil and do not use the old pot without sterilizing it first with a 10% bleach solution. Remove all affected roots before repotting as described in the root rot article, and use a fast-draining mix with extra perlite to reduce the chance of recurrence. Water very sparingly after repotting and keep the plant in bright indirect light while it recovers.
From PDF to Excel in one click
Forget retyping line by line. Upload any bank statement, get a spreadsheet you can actually use. Your files are never stored, and you can test the converter with 3 free conversions.
Try it free