Brown tips on a spider plant are the most common issue owners face, and they are rarely a sign that your plant is dying.
Spider plant leaves turning brown, a sign that something in its environment is not quite right — and because spider plant tips turn brown for several different reasons at once, it can take a little detective work to find the actual cause. The good news: every one of those causes is fixable.
This article walks through each cause in order of how common it is, so you can rule things in or out quickly and get your plant producing clean, green growth again.
For general spider plant care guidelines, visit our full care guide.
1. Fluoride and Chlorine in Tap Water
This is the leading cause of brown leaf tips on spider plants, and most owners never suspect it. Public water systems in many countries add fluoride for dental health, and chlorine is used universally to kill pathogens. Spider plants are particularly sensitive to both. Even if you are watering correctly in every other way, treated tap water will cause brown tips over time.
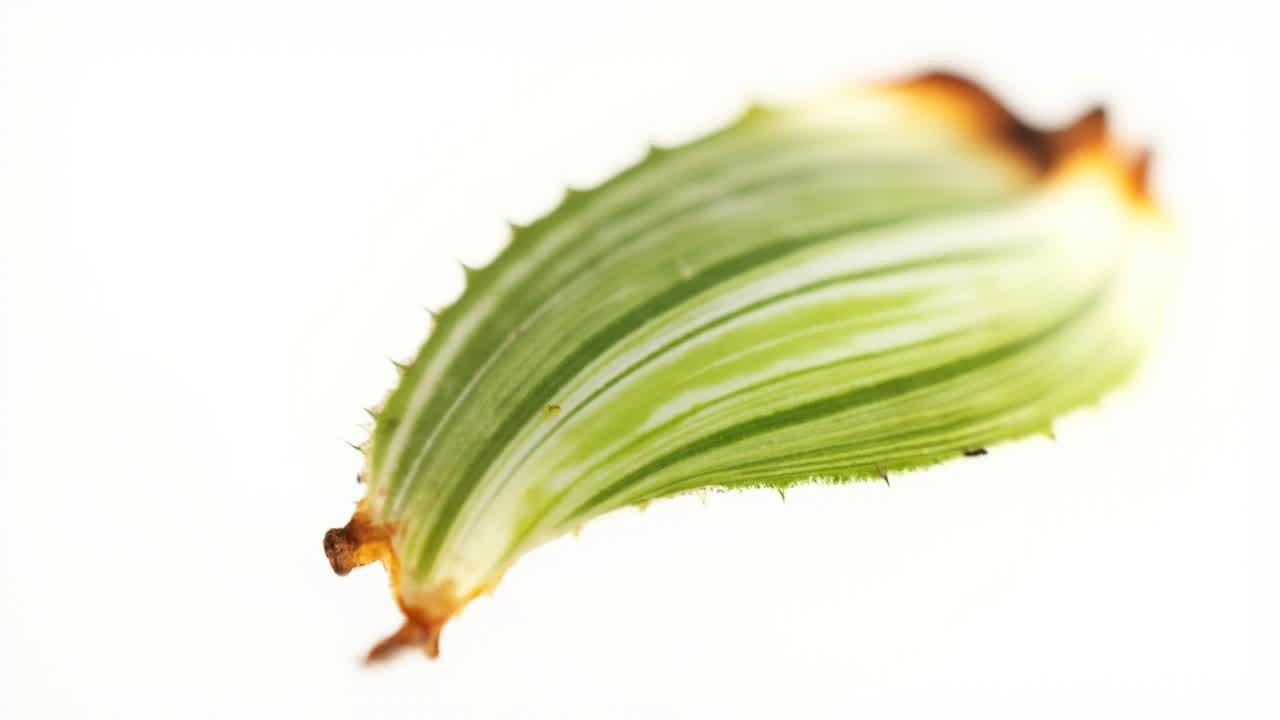
How to identify it: the very tip of the leaf turns brown, sometimes with a slight yellow border between the green leaf and the brown tip. The browning appears gradually and spreads from the tip inward. Your watering schedule and light conditions are otherwise correct.
The fix: switch to filtered water, rainwater, or distilled water. If you want to keep using tap water, leave it in an open container for 24–48 hours before watering — this allows the chlorine to dissipate. Fluoride does not evaporate the same way, so filtered or distilled water is more reliable if your water is fluoridated.
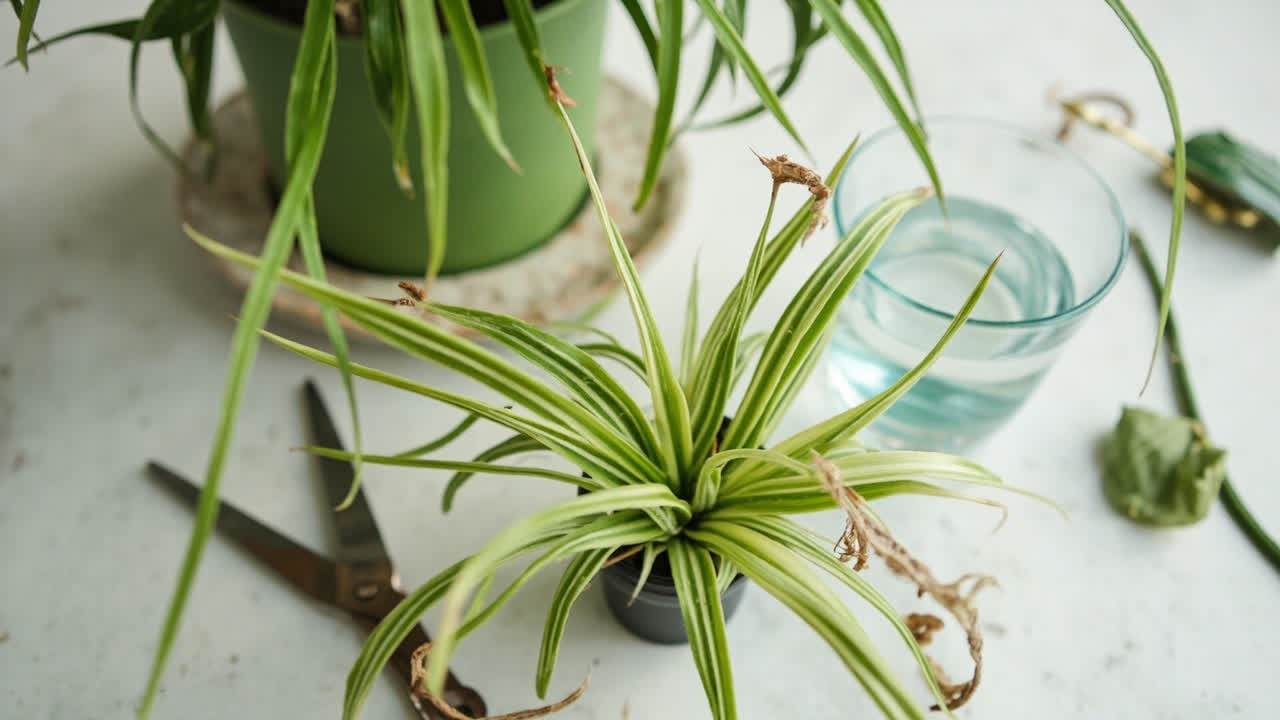
After switching water sources, you will see clean new growth within a few weeks. The existing brown tips will not heal, but you can trim them with clean sharp scissors for a neater appearance once the plant is pushing out unblemished leaves.
2. Direct Afternoon Sunlight
Spider plants do not appreciate direct afternoon sun — the kind that comes through a west- or south-facing window in the middle of summer. The leaves will scorch, turning brown at the tips and along the edges. This is different from fluoride damage because the browning often affects entire sections of the leaf, not just the tip.
How to identify it: brown tips that appeared after you moved the plant to a sunnier spot, or brown patches alongside the tips. The browning appears on the side of the plant facing the window.
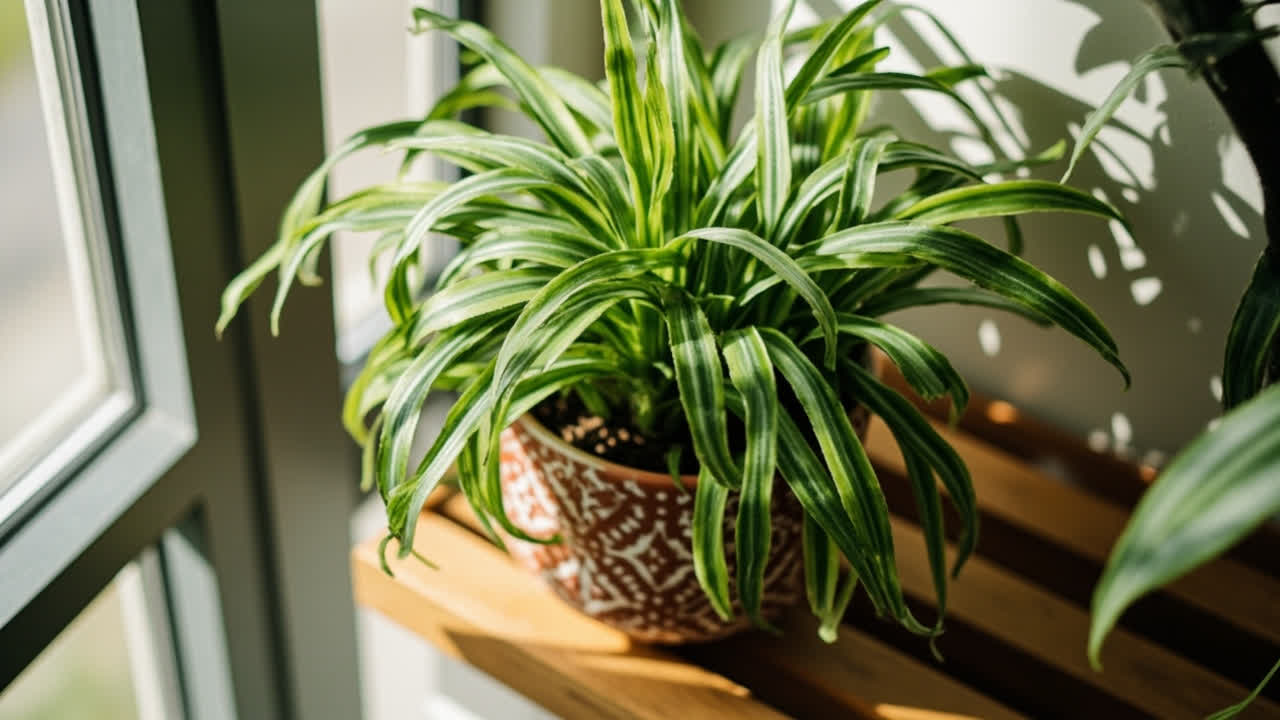
The fix: move the plant back from the window or to a location with bright indirect light. Morning sun is fine — it is gentler and less likely to cause damage. If you have no alternative to a sunny spot, a sheer curtain between the plant and the window diffuses the light enough to prevent burning.
3. Overwatering and Root Rot
Spider plants store water in their rhizomes and are more drought-tolerant than many houseplants. When the soil stays wet for days after watering, the roots begin to suffocate and rot. As the root system degrades, the plant cannot transport water and nutrients effectively, and the leaves show it through browning tips and yellowing.
How to identify it: soil that stays wet for more than a week after watering, a musty smell from the pot, yellowing leaves alongside browning tips, or a plant that looks generally tired even when the soil is moist. If you gently remove the plant from its pot, the roots may be dark, mushy, and malodorous instead of firm and cream-colored.
The fix: let the soil dry out more between waterings — the top inch should be dry before you water again. If root rot is present, you need to act fast. Remove the plant from its pot, trim away all dark and mushy roots with clean scissors, and repot in fresh, fast-draining soil in a clean or sterilized pot. Water sparingly at first and resist fertilizing until the plant has recovered.
4. Underwatering
The flip side of overwatering. While spider plants are forgiving of occasional neglect, chronically dry soil will cause the leaf tips to brown and curl. This is easier to distinguish from other causes because the plant will look visibly thirsty — the leaves will droop or curl before browning appears.
How to identify it: the soil is bone dry, the leaves look droopy or curled, and the pot feels very light when you lift it. Brown tips from underwatering tend to appear on the outermost, oldest leaves first.
The fix: water thoroughly — add water until it flows freely from the drainage hole — and then return to a normal watering schedule of watering when the top inch of soil is dry. The plant usually perks up within a few hours of being watered.
5. Over-Fertilizing
Too much fertilizer causes salt buildup in the soil, which draws moisture away from the roots and burns the leaf tips. The pattern is similar to fluoride damage — a brown tip with a yellow transition zone — but it usually comes after a recent feeding or if you have been using a strong concentration of fertilizer.
How to identify it: you recently fertilized, especially at full strength rather than half-strength dilution, or you notice a white crust on the surface of the soil (salt deposits). The browning usually appears a day or two after feeding.
The fix: stop fertilizing for at least a month. If there is heavy salt buildup — visible as white crust on the soil surface — flush the soil thoroughly with clean water several times to wash out the salts. Going forward, always dilute fertilizer to half strength and fertilize no more than once a month during the growing season.
6. Low Humidity
Spider plants tolerate average household humidity well, but very dry air — particularly in winter when heating systems are running — can cause the leaf tips to brown. This is less common than the other causes and usually coincides with other dry-air symptoms like static electricity or dry skin.
How to identify it: it is winter or you are running heating or air conditioning constantly, the browning appears in winter and eases in summer, and you also notice dry skin or static in your home.
The fix: move the plant away from heating vents and radiators. A humidity tray — a shallow tray filled with pebbles and water with the pot sitting on top, not sitting in water — adds ambient moisture without wetting the leaves. Misting the leaves occasionally also helps, though it is not a permanent solution for chronically dry air.
Diagnosing Your Spider Plant: A Quick Checklist
When you see brown tips, work through these questions in order:
Are you using tap water? → Try filtered or distilled water for two weeks and watch for new clean growth.
Is the plant in direct afternoon sun? → Move it back from the window.
Is the soil staying wet for more than a week? → Let it dry out, check the roots for rot.
Did you fertilize recently? → Flush the soil with water, reduce concentration.
Is it winter or very dry in your home? → Try a humidity tray or move away from heating vents.
Most cases of brown tips trace back to water quality or light. If you have ruled those out and the plant is still declining, check the roots — root rot is the most serious cause and needs immediate intervention.
Can You Trim Brown Tips?
Yes, and it will not hurt the plant. Use clean, sharp scissors or micro-tip pruners. Cut at an angle to follow the natural shape of the leaf — a straight-across cut looks unnatural and the tip often browns again quickly. Snip just above the brown tissue, leaving a small margin of brown rather than cutting into green. This way you preserve as much photosynthetic leaf surface as possible while removing the damaged area.
After trimming, monitor the plant for a few weeks. If the new growth comes in clean, the issue is resolved. If the new tips are still browning, go back through the checklist — the underlying cause has not been fully addressed.
Prevention: The Consistent Care Routine
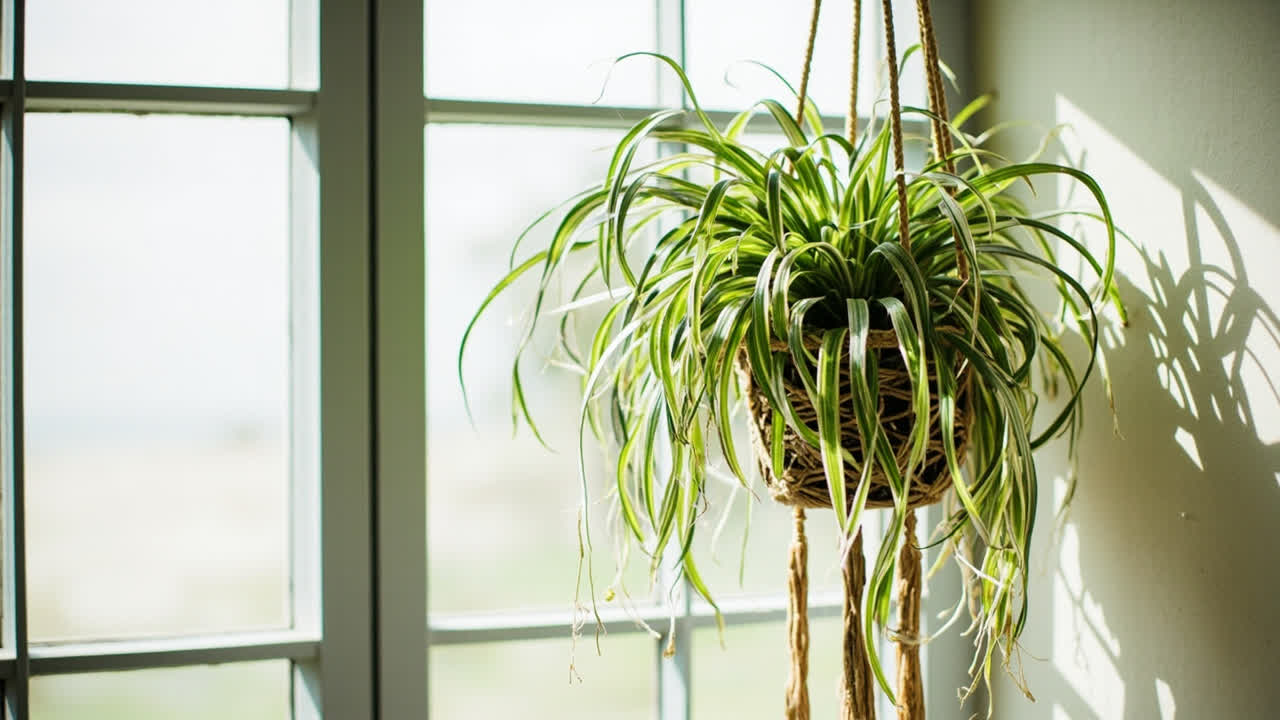
The key to preventing brown tips is consistency. Water when the top inch of soil is dry with filtered or sitting water. Keep the plant in bright, indirect light with no direct afternoon sun. Fertilize at half strength no more than once a month in spring through early fall. And when you first bring a spider plant home, observe it closely for the first few weeks — it will tell you quickly if something in your home’s conditions is not agreeing with it.
Once you find the right spot and the right watering rhythm, spider plants are impressively self-sufficient. The brown tips stop, the variegation stays crisp, and those long stems will start producing spiderettes before you know it.
Turn PDF Bank Statements Into Workable Spreadsheets
Your bank statement is a mess of numbers, but your books shouldn't be. Use our converter to get Excel, CSV, or QBO files — ready for QuickBooks.
Try It Free Now