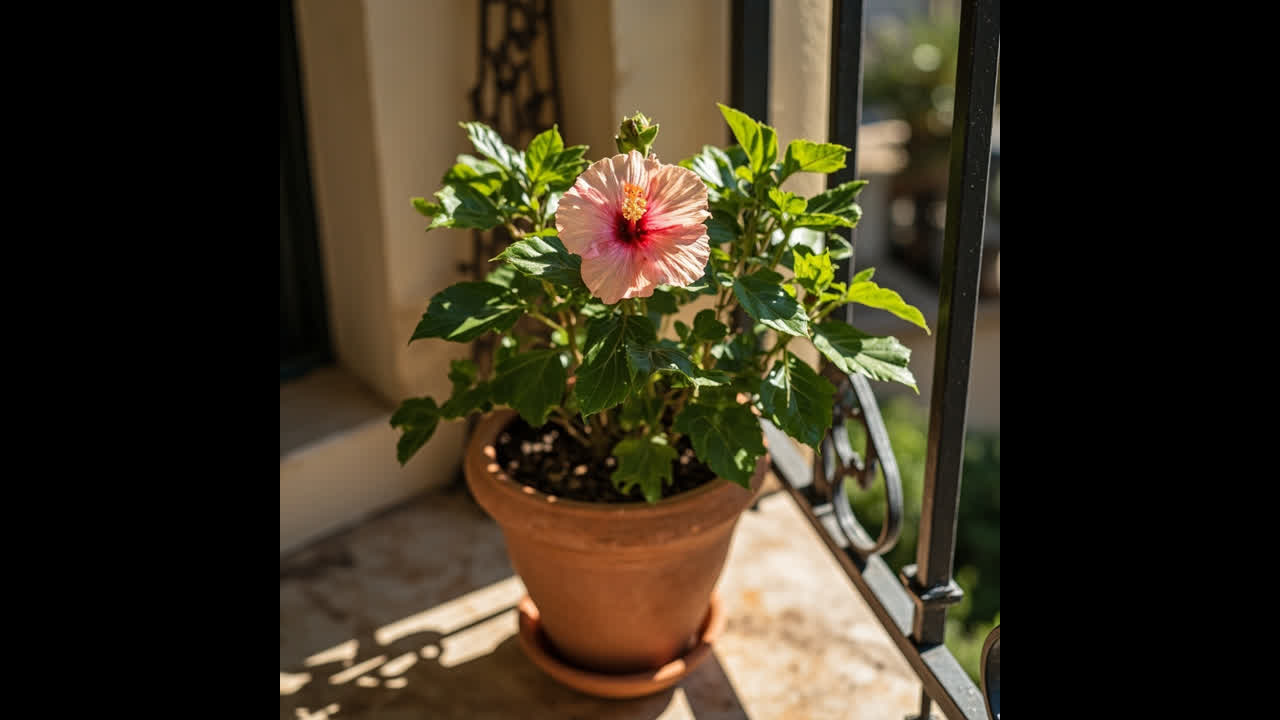
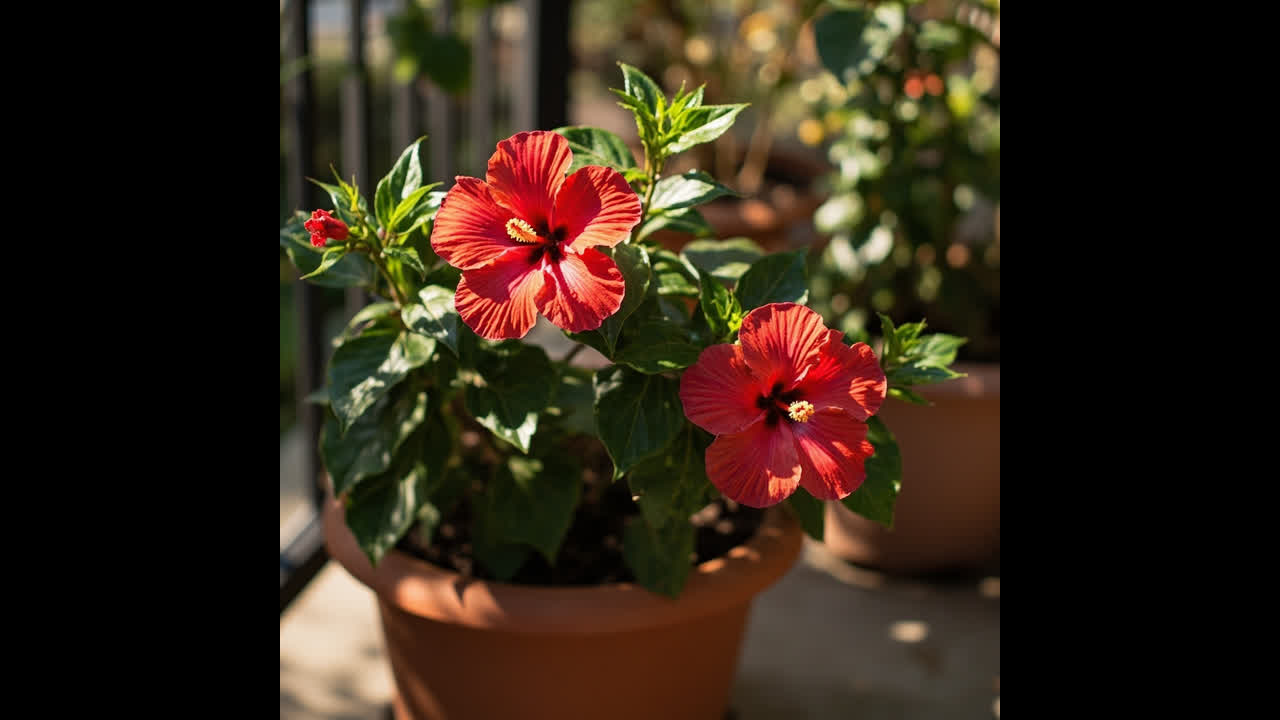
A dying hibiscus (Hibiscus rosa-sinensis) is almost always suffering from overwatering, poor drainage, or temperature stress — not disease or old age. Most wilting, yellowing hibiscus plants can be saved by pruning affected growth, checking roots for rot, repotting in well-draining soil, and correcting the watering schedule. Tropical hibiscus responds fast once the root cause is fixed, often showing new leaves within three to six weeks.
Buds forming then falling off before opening usually signals temperature stress or sudden environmental change. Hibiscus is tropical and reacts to cold drafts, sudden moves, or inconsistent light by aborting its flowers. This is a stress response, not a death sentence, but it tells you conditions need adjustment, such as learning how to increase humidity indoor environments.
Signs Your Hibiscus Is Dying (Visual Symptom Guide)
Before treating the problem, match what you see to the most likely cause. Different symptoms point to different issues, and treating the wrong one can make things worse.
Yellow Leaves with Soft, Wet Soil
Leaves turning yellow from the bottom up while the soil stays damp is the classic sign of overwatering and root suffocation. The roots cannot take up oxygen when the soil is constantly saturated, and the lower leaves are the first to show the stress. If the soil surface feels wet three days after watering, drainage is the problem.
Yellow Leaves with Dry, Crumbly Soil
When soil pulls away from the pot edges and leaves turn pale yellow or crispy brown, the hibiscus is underwatered. This is less common than overwatering but happens when the plant outgrows its pot or temperatures spike. Check by inserting a finger two inches into the soil — if it is completely dry, the plant needs water.
Drooping Despite Wet Soil
A hibiscus that wilts even though the soil is moist is experiencing root rot. The damaged roots cannot absorb water even though plenty is available, causing the plant to droop as if drought-stressed. This paradox — wet soil, wilting plant — is the strongest indicator that roots are in trouble.
Bud Drop and Failure to Bloom
Buds forming then falling off before opening usually signals temperature stress or sudden environmental change. Hibiscus is tropical and reacts to cold drafts, sudden moves, or inconsistent light by aborting its flowers. This is a stress response, not a death sentence, but it tells you conditions need adjustment.
Sticky Leaves or Fine Webbing
Buds forming then falling off before opening usually signals temperature stress or sudden environmental change. Hibiscus is tropical and reacts to cold drafts, sudden moves, or inconsistent light by aborting its flowers. This is a stress response, not a death sentence, but it tells you conditions need adjustment, such as learning how to increase humidity indoor environments.
Why Is My Hibiscus Dying? (5 Common Causes)
Understanding the cause determines the fix. Here are the five reasons most responsible for hibiscus decline, ranked by how frequently they occur.
1. Overwatering and Poor Drainage
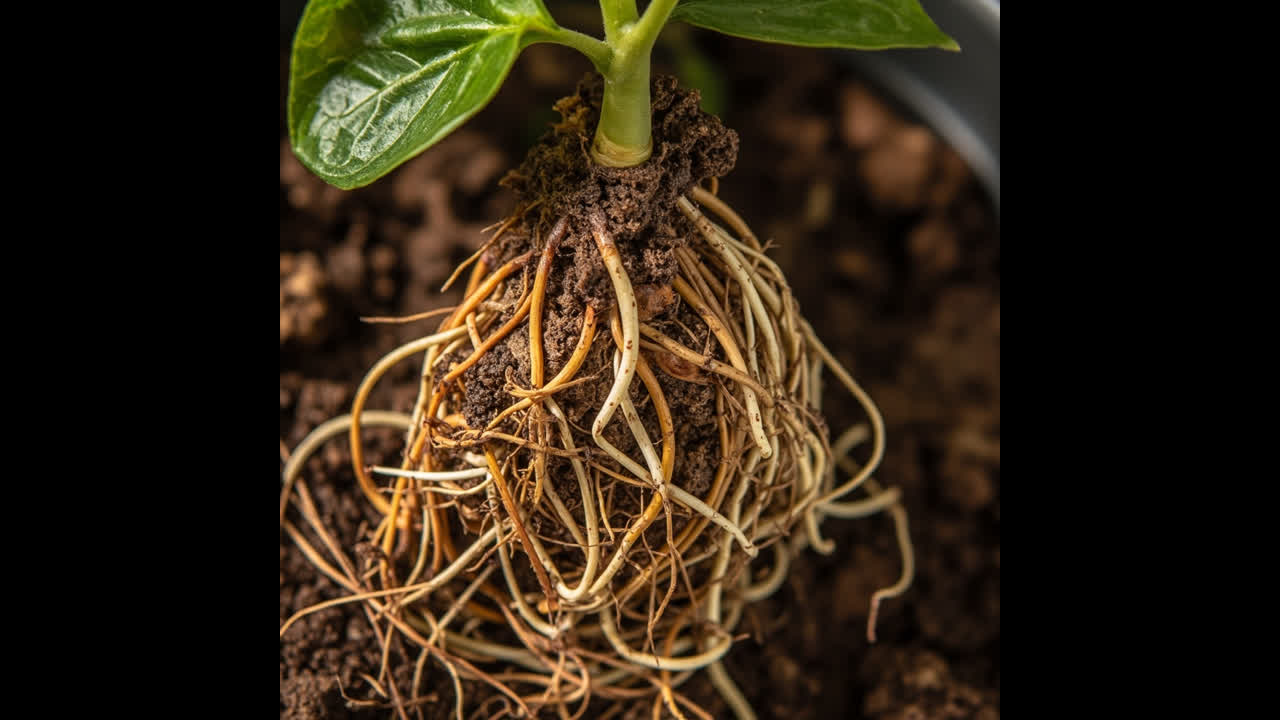
The number one killer of potted hibiscus is too much water combined with soil that does not drain freely. When roots sit in standing water, they lose access to oxygen and begin to rot. Brown, mushy roots replace firm white ones, and the plant can no longer absorb nutrients or moisture. Check for root rot in house plants by gently removing the plant from its pot and inspecting the root ball.
2. Temperature Stress and Cold Drafts
Hibiscus rosa-sinensis is a tropical plant native to warm, humid climates. It suffers when temperatures drop below 50°F (10°C) or when exposed to cold drafts near windows, doors, or air conditioning vents. Cold stress causes rapid leaf drop and bud abortion as the plant shuts down non-essential functions to survive.
3. Underwatering
While less fatal than overwatering, chronic underwatering causes leaf curl, dry brown edges, and stunted growth. A hibiscus that has dried out completely may drop all its leaves and go dormant. The plant can recover if caught before the stems become brittle and hollow.
4. Pest Infestations
Aphids cluster on new growth and flower buds, draining sap and secreting sticky honeydew. Spider mites thrive in dry, warm conditions and produce fine webbing under leaves. Both pests weaken the plant steadily, and a severely infested hibiscus may lose its ability to produce new growth entirely.
5. Nutrient Deficiency or Toxicity
Yellowing between leaf veins (chlorosis) while veins stay green points to iron deficiency, common when soil pH rises above 6.5. Conversely, over-fertilizing with high-nitrogen products burns roots and causes leaf tip browning. A stressed hibiscus should never be fertilized — feeding a sick plant makes recovery harder, not easier.
How to Save a Dying Hibiscus: Step-by-Step Rescue
Follow these steps in order. Each one builds on the previous, and skipping steps is the most common reason rescue attempts fail.
Step 1: Inspect the Roots
Gently slide the hibiscus out of its pot. Healthy roots are firm and white or light tan. If you find brown, black, or mushy roots that smell sour, root rot has set in. Trim all affected roots with clean scissors or a sterilized knife, cutting back to where the tissue is firm and white. Remove at least one inch beyond any discolored area to be safe.
Step 2: Prune Affected Growth
Cut back all yellowing, wilting, or dead branches to just above a node where green tissue is visible. Remove any stems that are brittle, hollow, or snap easily. Pruning Hibiscus plant does two things: it removes tissue the plant is wasting energy on, and it stimulates new growth from dormant buds below the cut. Do not be conservative — severe pruning often produces faster recovery than leaving struggling branches intact.
Step 3: Repot in Fresh, Well-Draining Soil
If root rot was present, the old soil is contaminated and must be discarded. Repot in a fresh mix of one part potting soil to one part perlite or orchid bark for drainage. Choose a pot with drainage holes that is only slightly larger than the remaining root ball — too much soil around damaged roots retains excess moisture and restarts the rot cycle. Adding a gentle organic amendment like worm castings provides slow-release nutrients that will not burn recovering roots.
Step 4: Water Correctly
After repotting, water thoroughly until moisture runs from the drainage holes, then do not water again until the top two inches of soil are dry to the touch. Stick your finger into the soil up to the second knuckle — if it feels moist, wait. In most indoor conditions, this means watering every five to seven days, not on a fixed schedule.
Step 5: Relocate to Ideal Conditions
Place the recovering hibiscus in a warm location between 65–85°F (18–29°C) with bright, indirect light. Avoid direct afternoon sun while the plant is stressed — it cannot regulate water efficiently with damaged roots. Keep it away from cold drafts, heating vents, and air conditioning. A spot near an east-facing window is ideal during recovery.
Step 6: Monitor and Wait
Resist the urge to fertilize, repot again, or fuss with the plant during the first three weeks. New leaf buds appearing on pruned stems are the first sign of recovery. Once new growth is underway, you can gradually resume a normal care routine, including diluted fertilizer at half strength.
Indoor vs. Outdoor Hibiscus: Different Rescue Plans
Indoor and outdoor hibiscus face different threats and need different recovery approaches. Treating them the same way is a mistake most resources make.
Indoor Hibiscus Rescue
Indoor hibiscus almost always suffers from overwatering, poor light, or dry air. The rescue plan is straightforward: check for root rot, prune back leggy growth, move to a brighter window, and establish a proper watering rhythm. Indoor plants also benefit from increased humidity — increase humidity for indoor plants with a humidity tray or small humidifier — place the pot on a tray of pebbles with water, or group it near other tropical plants. A hibiscus recovering indoors alongside other tropical species can thrive alongside plants like those in our lucky bamboo care for beginners guide, which shares similar humidity and indirect light needs.
Outdoor Hibiscus Rescue
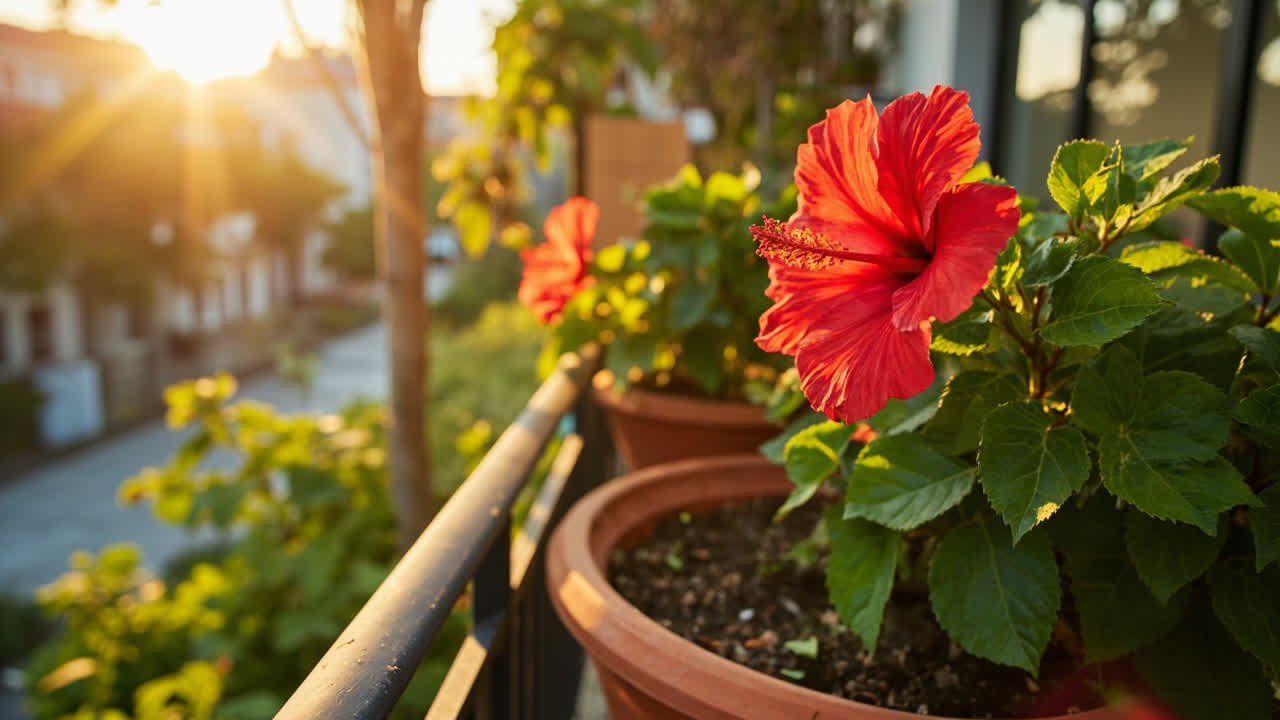
Outdoor hibiscus in containers face wind desiccation, heat stress, and rapid soil drying. In-ground hibiscus may suffer from soil compaction, poor drainage, or exposure to cold snaps. For outdoor potted plants, check if the soil has become hydrophobic (water runs off instead of soaking in) and soak the entire pot in a basin of water for 30 minutes to rehydrate. For in-ground plants, improve drainage by working perlite or coarse sand into the surrounding soil. Outdoor hibiscus should also be checked carefully for spider mites, which thrive in hot, dry outdoor conditions.
Common Mistakes That Kill Hibiscus Faster
Well-meaning rescue attempts often make things worse. These four mistakes are the most common and the most damaging.
Fertilizing a Stressed Plant
Adding fertilizer to a hibiscus with root damage burns the remaining healthy roots and pushes the plant further into decline. Never fertilize a hibiscus until new growth has started and the root system has had at least three weeks to recover. When you do resume feeding, use half the recommended strength for the first two applications.
Misting the Leaves
Misting raises humidity for about five minutes before the water evaporates — and it creates damp leaf surfaces that encourage fungal diseases. Instead of misting, use a humidity tray or a small humidifier placed near the plant. Fungal infections on stressed hibiscus foliage spread fast and are harder to treat than the original problem.
Using the Wrong Soil
Standard potting mix retains too much moisture for hibiscus. These plants need a mix that drains within seconds of watering, not minutes. Heavy, peat-based soils compact over time and choke the roots. Always amend standard potting soil with at least 30 percent perlite, pumice, or orchid bark.
Ignoring Cold Drafts
A hibiscus placed near a frequently opened door or a single-pane window in winter may look fine during the day but suffer cold damage each night. Tropical hibiscus has no cold tolerance — even a few hours below 50°F causes leaf drop and root slowdown. Move the plant to a thermally stable location during recovery.
Hibiscus Recovery Timeline: What to Expect
Setting realistic expectations prevents premature intervention. Hibiscus recovery follows a predictable pattern when done correctly.
| Timeframe | What to Expect | Action |
|---|---|---|
| Days 1–7 | Plant may look worse — more leaf drop, some wilting | Do nothing extra. Maintain proper watering only. |
| Weeks 2–3 | New leaf buds appear at pruned nodes | Begin monitoring for pests on tender new growth. |
| Weeks 4–6 | Steady new leaves, stems elongating | Resume half-strength fertilizer. Move to brighter spot if ready. |
| Weeks 7–8 | Full leaf coverage, possible flower bud formation | Return to normal care routine. |
Recovery takes three to eight weeks depending on how severely the plant was affected. The most critical period is the first two weeks — this is when the plant is re-establishing its root system and is most vulnerable to overwatering or temperature shifts.
How to Keep Your Hibiscus Healthy Long-Term
Once your hibiscus has recovered, adjust the care routine to prevent the same problem from recurring. Prevention is always easier than another rescue.
Watering Schedule
Water only when the top two inches of soil are dry. In summer, this may be every four to five days for outdoor plants and every seven to ten days indoors. In winter, reduce frequency further — hibiscus slows its growth in shorter days and needs less moisture. Always water until it drains from the bottom, then empty the saucer. Never let a hibiscus sit in standing water.
Light Requirements
Hibiscus needs at least six hours of bright light daily to bloom. Indoors, a south or west-facing window is best. Outdoors, morning sun with afternoon shade protects against heat stress while providing enough energy for flowering. Leggy growth with large gaps between leaves means the plant needs more light.
Feeding Routine
During the active growing season (spring through early fall), feed hibiscus every two weeks with a balanced liquid fertilizer diluted to half strength. A formula with slightly higher potassium (the K in NPK) encourages blooming over foliage growth. Stop fertilizing entirely from late fall through midwinter when growth slows naturally.
Seasonal Adjustments
Tropical hibiscus benefits from being outdoors in warm months but must come inside before temperatures drop below 55°F. When transitioning between indoors and outdoors, do it gradually over seven to ten days to avoid shock. Indoor plants for tropical environments can also be grown using setups described in our best hydroponic systems guide, which covers climate-controlled growing methods ideal for heat-loving species. Similarly, gardeners working through plant recovery for other species — like those trying to save a dying blueberry — will find the same diagnostic principles apply across fruiting and flowering plants.
When a Hibiscus Cannot Be Saved
Not every hibiscus can be rescued, and recognizing when recovery is impossible saves time and prevents frustration. Look for these definitive failure signals.
All Stems Are Brittle and Hollow
Scratch the bark on several stems with your fingernail. If every stem is dry, brittle, and brown underneath with no green cambium layer visible anywhere, the vascular system has completely shut down. A hibiscus in this state cannot transport water or nutrients regardless of care changes.
The Entire Root Ball Is Rotted
If every root is brown, mushy, and disintegrating — with no firm white roots remaining — the plant has no functional root system left. Even if the foliage looks partially green, the plant cannot sustain itself without roots to absorb water and anchor new growth.
Widespread Fungal Infection
If the stems and leaves are covered in black or dark brown lesions, the soil smells strongly of decay, and fungus gnats swarm the pot, a systemic fungal infection may have progressed beyond treatment. At this stage, the healthiest option is to discard the plant and soil to prevent spreading the pathogen to other house plants.
Save a Dying Hibiscus: Quick Action Plan
Use this summary checklist when you need to act fast and cannot read through the full guide above:
- Inspect roots — slide plant out of pot, check for brown mushy roots (rot) vs. firm white roots (healthy)
- Trim rotten roots — cut back to firm white tissue with clean scissors
- Prune dead growth — remove all yellow, brown, or brittle stems back to green wood
- Repot if root rot found — fresh potting mix with 30%+ perlite or orchid bark, clean pot with drainage holes
- Water correctly — soak thoroughly, then wait until top two inches of soil are dry before watering again
- Move to warm spot — 65–85°F, bright indirect light, no cold drafts or direct afternoon sun
- Do not fertilize — wait until new growth appears (typically 3–4 weeks), then use half strength
- Monitor for pests — check new growth for aphids and undersides of leaves for spider mites weekly
- Be patient — full recovery takes 3–8 weeks with consistent, correct care