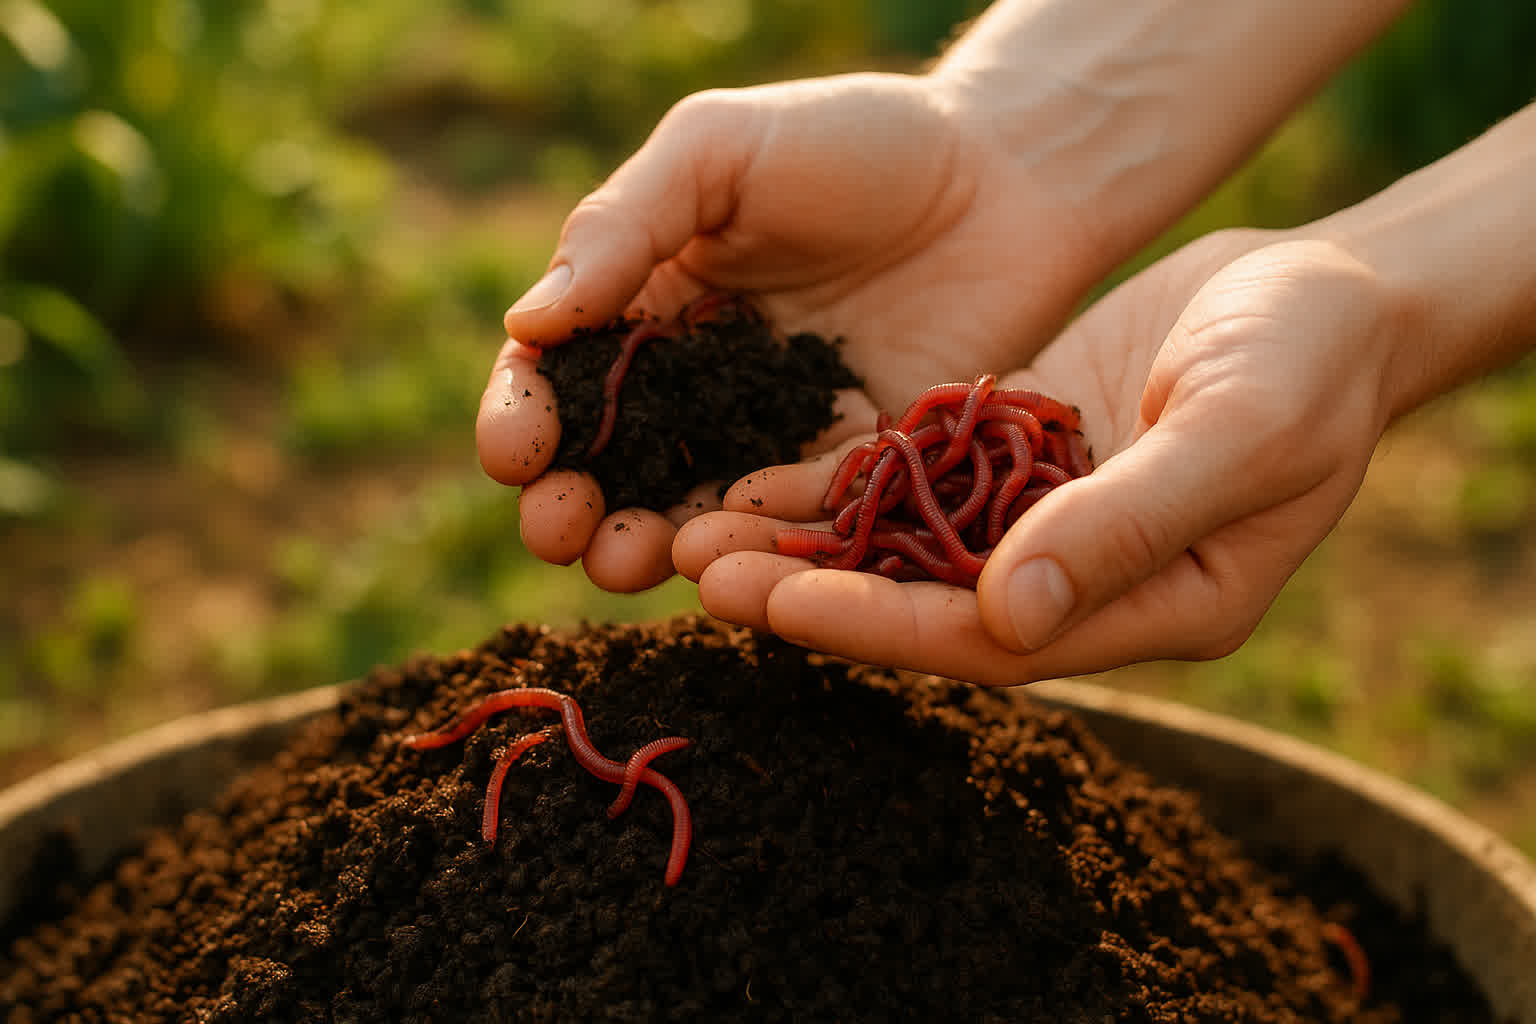
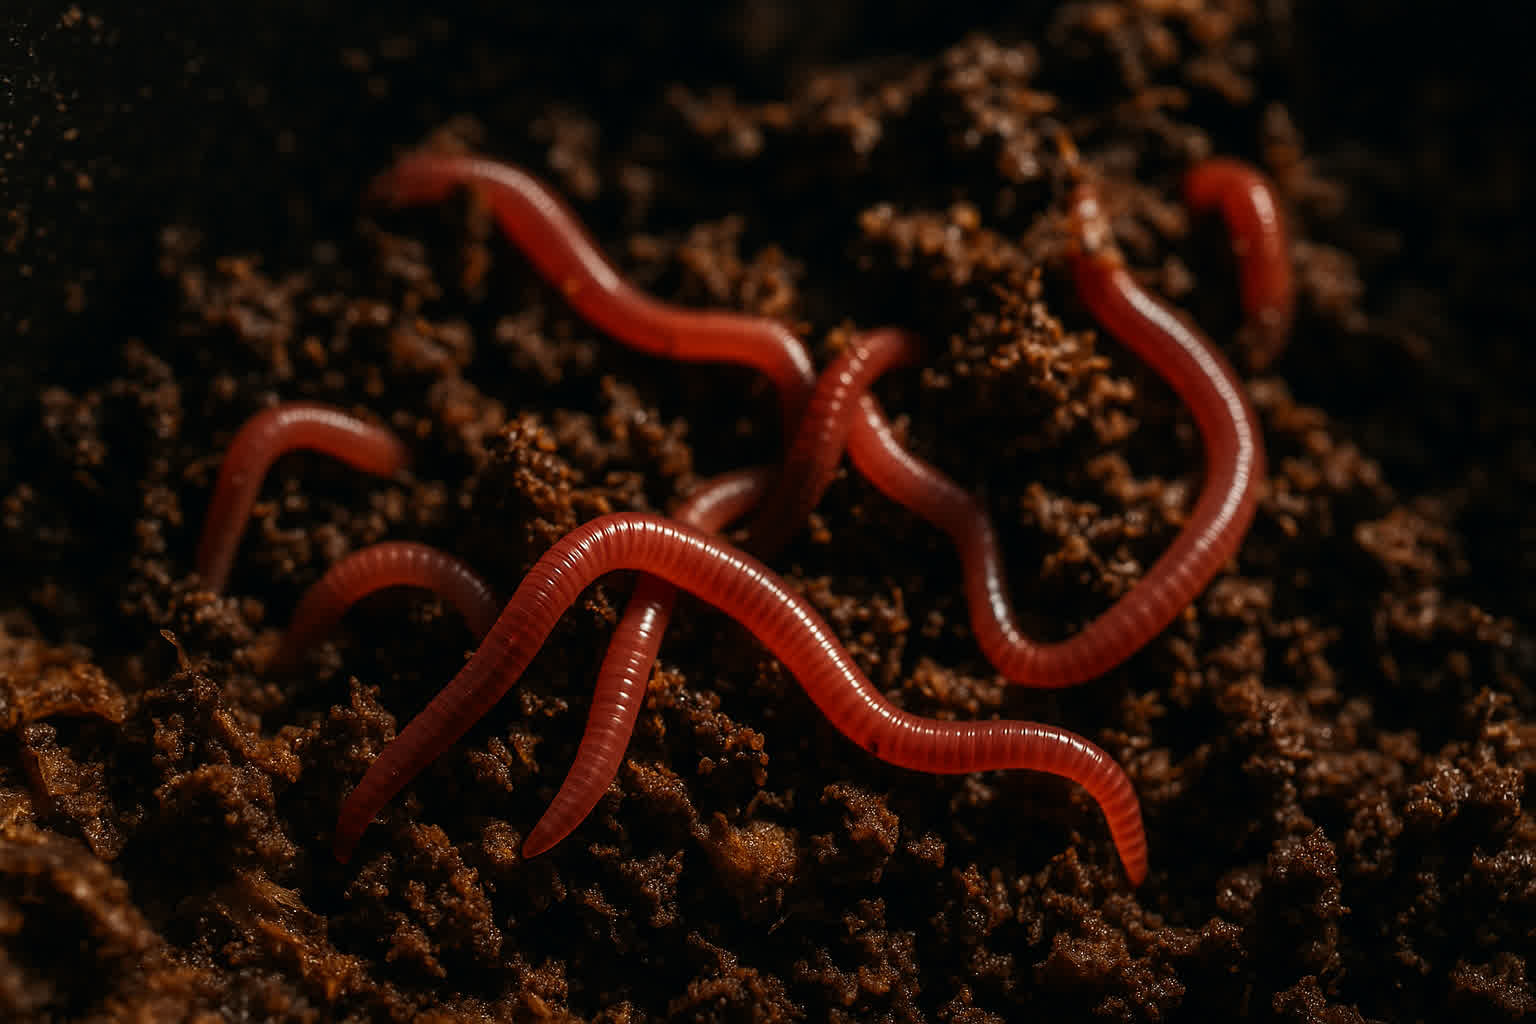
Worm castings — also called vermicast or vermicompost — are the nutrient-rich byproduct of earthworm digestion, produced primarily by red wigglers (Eisenia fetida) processing organic waste. Packed with beneficial microbes, humic acids, and trace minerals, they improve soil structure without risking the root burn that synthetic fertilizers cause. For house plants, where over-fertilizing with chemical products is a common mistake, worm castings offer a slow-release organic alternative that feeds roots gently over weeks rather than flooding them with a single nutrient spike.
The short answer: yes, worm castings are safe and highly beneficial for virtually all indoor plants. The key is using the right amount — about 1–2 tablespoons per 6-inch pot — and choosing the right application method. Top dressing, mixing into potting soil, and brewing worm casting tea are the three main approaches, and most gardeners see richer green growth and improved soil health within 2–4 weeks of the first application.
Why House Plants Need Worm Castings
Potted indoor plants live in a closed system — the soil in that container is the only source of nutrients, and it depletes over time. Every time you water, nutrients leach out the drainage holes. Synthetic fertilizers refill the gap quickly, but they also build up soluble salts in the root zone, which damages fine root hairs and causes brown leaf tips on plants like spider plants and peace lilies.
Worm castings solve both problems at once. They add organic matter that holds moisture and nutrients in the root zone, while introducing beneficial microorganisms — bacteria, fungi, and actinomycetes — that break down organic material and make existing nutrients more available to roots. A detailed breakdown of the science behind this is in the worm castings pillar article, which covers production, nutrient profiles, and sourcing.
For indoor growers specifically, worm castings eliminate the guessing game. Because the nitrogen in vermicast is primarily in organic form, it releases slowly as microbes process it — meaning there is virtually no risk of the nitrogen burn that plagues synthetic fertilizer users.
What Worm Castings Actually Do for Indoor Plants
The nutrient profile of worm castings is modest in NPK terms — typically around 1-0.5-1 — but the real value lies in what the numbers do not capture. Worm castings contain humic acids, plant growth hormones (auxins and cytokinins), and a dense population of soil microbes that synthetic NPK blends completely lack.
These microbes form symbiotic relationships with plant roots. Mycorrhizal fungi extend the root network, helping the plant absorb phosphorus and micronutrients from soil that would otherwise be locked up and unavailable. Bacteria like Pseudomonas and Bacillus species produce antibiotics that suppress soil-borne pathogens, reducing the risk of root diseases without any chemical intervention.
Worm castings also improve the physical structure of potting soil. The castings contain a high proportion of stable humus, which acts like a sponge — holding up to 9 times its weight in water while still allowing excess moisture to drain freely. This balance between water retention and drainage is exactly what potted plants need, and it directly helps prevent root rot by keeping the root zone moist but never waterlogged.
How to Use Worm Castings on House Plants (3 Methods)
There are three practical ways to apply worm castings to indoor plants, each suited to different situations. The dosage varies by pot size, and using the right amount matters more than most people think.
Method 1: Top Dressing (Easiest)
Spread a thin layer of worm castings on the surface of the soil and gently scratch it into the top inch with a fork or your fingers. Water normally — the nutrients will slowly wash down into the root zone over the next few waterings.
| Pot Diameter | Worm Castings | Frequency |
|---|---|---|
| 4 inches | ½ tablespoon | Every 4–6 weeks |
| 6 inches | 1–2 tablespoons | Every 4–6 weeks |
| 8 inches | 2–3 tablespoons | Every 4–6 weeks |
| 10+ inches | ¼ cup | Every 4–6 weeks |
Top dressing is ideal for established plants you do not plan to repot soon. Apply during the growing season only (spring through early fall) — most house plants slow their growth in winter and need little to no fertilizer during dormancy.
Method 2: Mixing Into Soil (Best at Repotting)
When repotting, blend worm castings directly into the fresh potting mix at a ratio of 1 part castings to 4 parts soil. This distributes nutrients evenly throughout the root zone and introduces beneficial microbes right where new roots will grow. A 6-inch pot typically needs about ¼ cup of castings mixed into roughly 1 cup of potting soil.
This method gives the longest-lasting results because the castings are integrated throughout the soil column rather than sitting on top. Plants repotted with worm castings often show visible improvement in leaf color and new growth within 2–3 weeks.
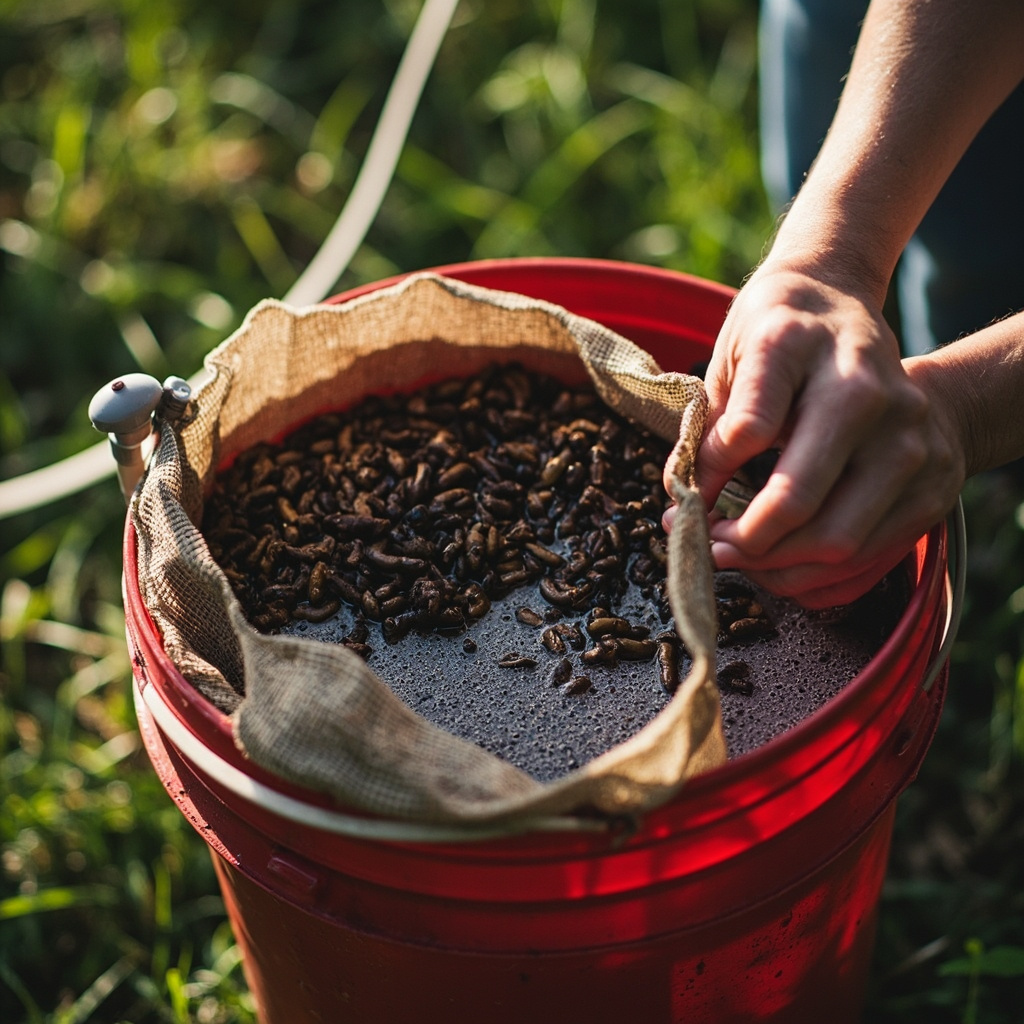
Method 3: Worm Casting Tea (Fastest Absorption)
Steep 1 cup of worm castings in 1 gallon of dechlorinated water for 24 hours, stirring occasionally. Strain the liquid and use it to water your house plants at the base. The resulting tea delivers nutrients and microbes in a form roots can absorb immediately — often showing results faster than dry application.
For a complete brewing guide with ratios, aeration tips, and shelf life, see the worm casting tea article. Worm casting tea is also useful as a foliar spray for plants showing signs of nutrient stress, though indoor growers should apply it to soil rather than leaves to avoid mess.
Worm Castings vs. Other Fertilizers for Indoor Plants
House plant owners typically choose between synthetic liquid fertilizers, organic liquid feeds (like fish emulsion), compost, and worm castings. Each has trade-offs worth understanding.
| Fertilizer | NPK | Burn Risk | Odor | Microbes | Best For |
|---|---|---|---|---|---|
| Worm Castings | ~1-0.5-1 | None | Earthy, mild | High | All-purpose indoor feeding |
| Synthetic Liquid (10-10-10) | 10-10-10 | High | Chemical | None | Fast growth push |
| Fish Emulsion | 5-1-1 | Low | Strong, fishy | Low | Leafy growth |
| Compost | ~2-1-1 | Low | Earthy | Variable | Outdoor beds, large pots |
Worm castings sit in a unique position: they carry enough nutrients to feed plants steadily, but their organic nitrogen form means zero burn risk regardless of slight over-application. Fish emulsion works well for nitrogen-hungry foliage plants but the odor makes it impractical for most indoor spaces. Synthetic fertilizers deliver fast results but require precise measuring and risk salt buildup over months of use.
The trade-off with worm castings is cost and availability — they are more expensive per unit of nitrogen than synthetic options. But for indoor growers who value plant safety, soil health, and convenience, that premium pays for peace of mind and long-term soil quality.
Which House Plants Benefit Most from Worm Castings
Not all house plants respond equally to worm castings. The difference comes down to where each species evolved — plants from nutrient-rich forest floors with active soil ecosystems respond far more strongly than desert-adapted species from arid, mineral-poor soils.
High response: Tropical foliage plants like pothos, monstera, philodendron, peace lily, and lucky bamboo thrive with regular worm casting applications. These species evolved under dense rainforest canopies where constant leaf litter decomposition created soils rich in organic matter and microbial life — conditions that vermicast closely replicates. Expect deeper green leaves and faster vine elongation within 3–4 weeks.
Moderate response: Flowering indoor plants like African violets, anthurium, and bromeliads benefit from the microbial and humic acid content in worm castings but need additional phosphorus for bloom production. Pair castings with a bloom-friendly supplement such as a 2-4-2 organic liquid feed during flowering periods for best results.
Low response: Succulents, cacti, and snake plants naturally grow in nutrient-poor, fast-draining soils and have evolved to thrive with minimal organic input. They do not need regular fertilization and can actually suffer if the soil becomes too rich or retains too much moisture. A light top dressing once or twice per year is plenty for these species.
Common Mistakes When Using Worm Castings Indoors
Even though worm castings are forgiving, a few pitfalls trip up indoor growers.
- Applying too thick a layer. More than ¼ inch of castings on the soil surface can form a crust that blocks water from penetrating. Keep it thin — just enough to barely cover the soil surface.
- Using fresh, unfinished castings. If the vermicompost still contains visible food scraps or smells sour (like ammonia), it has not fully processed. Unfinished castings can introduce fruit flies and fungus gnats into your home. Always use fully cured, earthy-smelling castings.
- Fertilizing dormant plants. Most house plants enter a slow-growth or dormant phase from late fall through winter. Applying worm castings during this period wastes the product and can keep soil too bioactive for a resting root system. Stick to spring and summer applications.
- Storing castings incorrectly. Worm castings lose their microbial population if they dry out completely or are sealed in airtight plastic bags for months. Store them in a breathable container in a cool, dark place and use them within 6 months for best results.
If you want to avoid quality and storage concerns entirely, setting up a small indoor vermicomposting bin with red wigglers gives you a continuous supply of fresh castings. A standard 10-gallon bin fits under a sink and processes enough kitchen scraps to feed 15–20 house plants on a rotating schedule.
When to Expect Results from Worm Castings
Worm castings work on two timelines: soil-level changes happen quickly, while visible plant growth takes a bit longer.
Within 7–14 days, the microbial population in the potting soil increases measurably. You may notice the soil holding moisture more evenly — the surface stays damp longer between waterings, and water is less likely to run straight through the drainage holes. This is the humus and microbial activity at work, improving the soil’s water-holding capacity.
By 3–4 weeks, most tropical foliage plants show deeper green coloration on new leaves and slightly faster growth rates. Plants that were pale or slow-growing due to mild nutrient deficiency often show the most dramatic improvement. The key word here is gradual — worm castings are not a rescue product for severely deficient plants. Those need targeted synthetic correction first, followed by worm castings for long-term maintenance.
Over 2–3 months of regular application, the overall soil structure in the pot improves significantly. Root systems become denser, the potting mix resists compaction, and plants become noticeably more resilient to inconsistent watering. This is the compound benefit of repeated microbial inoculation and humus buildup.
Signs You’ve Used Too Much
Worm castings are nearly impossible to over-apply in a way that kills a plant — but there are signals that you have gone beyond what the plant needs.
White crust on the soil surface is the most common sign. This is salt and mineral buildup from excess organic material. It is harmless in small amounts but indicates you should skip the next scheduled feeding and flush the pot with plain water.
Fungus gnat activity around your indoor plants can increase if the castings layer is too thick or too moist. Gnats breed in decaying organic matter on the soil surface. Reducing the casting depth to a thin sprinkle and allowing the top inch of soil to dry between waterings usually solves this within a week.
Stunted new growth that appears pale or curled can indicate that the soil has become too rich in organic matter, creating conditions where nitrogen is locked out despite being abundant. This is rare indoors but can happen when castings are mixed at concentrations higher than 1 part castings to 3 parts soil. If you suspect this, repot the plant in fresh potting mix with a more dilute casting ratio.
Worm Castings for House Plants: Quick Application Guide
Here is the cheat sheet for dosing worm castings on common house plant pot sizes — print it, screenshot it, stick it on the fridge.
| Pot Size | Top Dressing Amount | Soil Mix Ratio (Repotting) | Tea Concentration |
|---|---|---|---|
| 4 inch | ½ tbsp | 1 tbsp per cup of soil | 1 tbsp per quart of water |
| 6 inch | 1–2 tbsp | ¼ cup per 1 cup of soil | ¼ cup per gallon of water |
| 8 inch | 2–3 tbsp | ⅓ cup per 1 cup of soil | ⅓ cup per gallon of water |
| 10+ inch | ¼ cup | ½ cup per 2 cups of soil | 1 cup per gallon of water |
Apply every 4–6 weeks during spring and summer. Reduce to once in fall. Skip entirely in winter for most species. Always water after top dressing to activate the microbial content and start moving nutrients into the root zone.
For hydroponic growers exploring organic nutrients, worm casting tea can serve as a gentle organic nutrient solution in passive hydroponic systems — the growing hydroponic tomatoes guide covers this application in a hydroponic context.
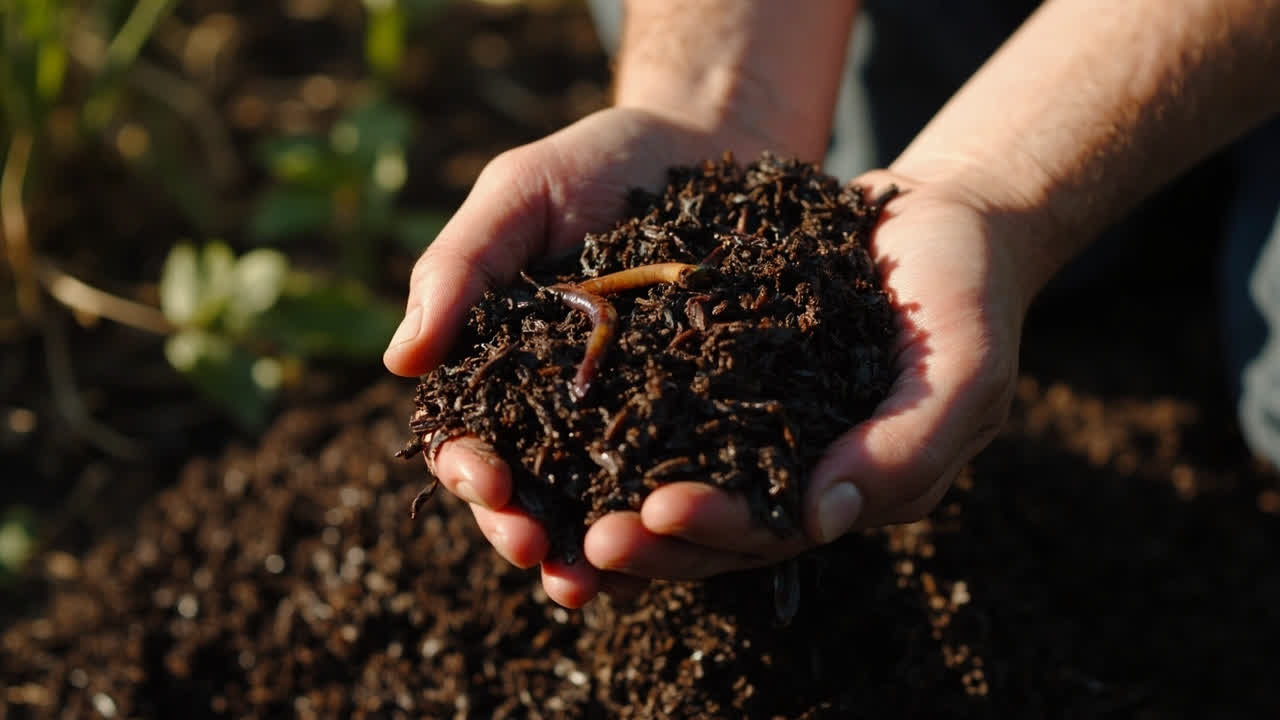
Quality matters more than quantity. Look for castings that are dark brown, crumbly, and smell like fresh forest soil — not sour, not ammonia-like, and not completely dry. Store-bought castings in sealed bags from reputable suppliers are consistent and screened for pathogens, making them the safest choice for indoor use.