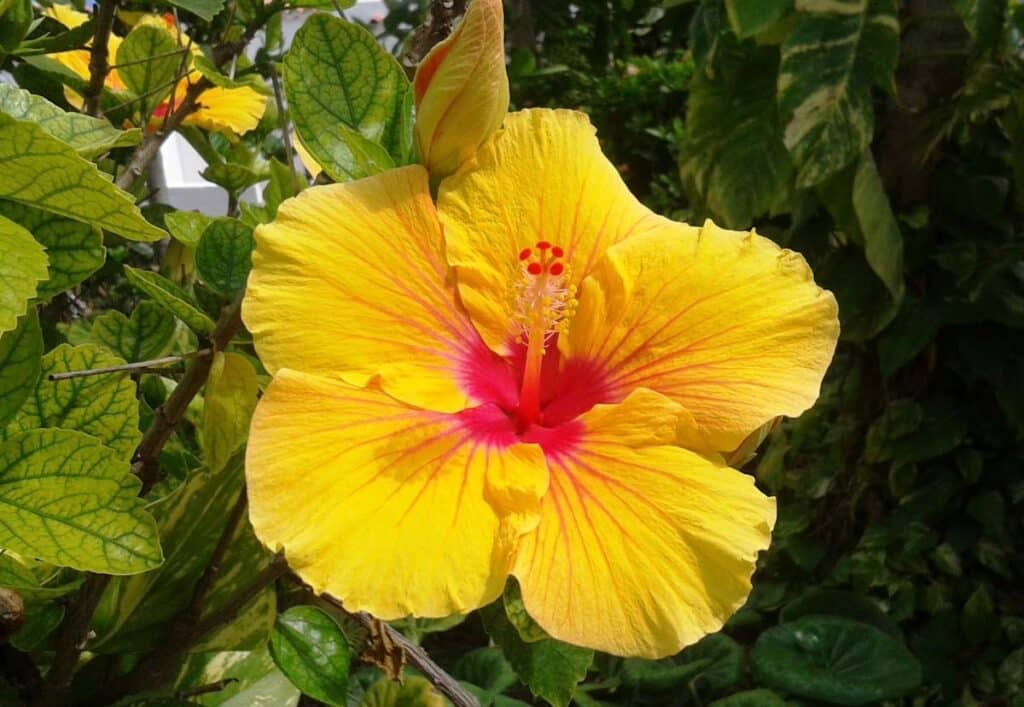
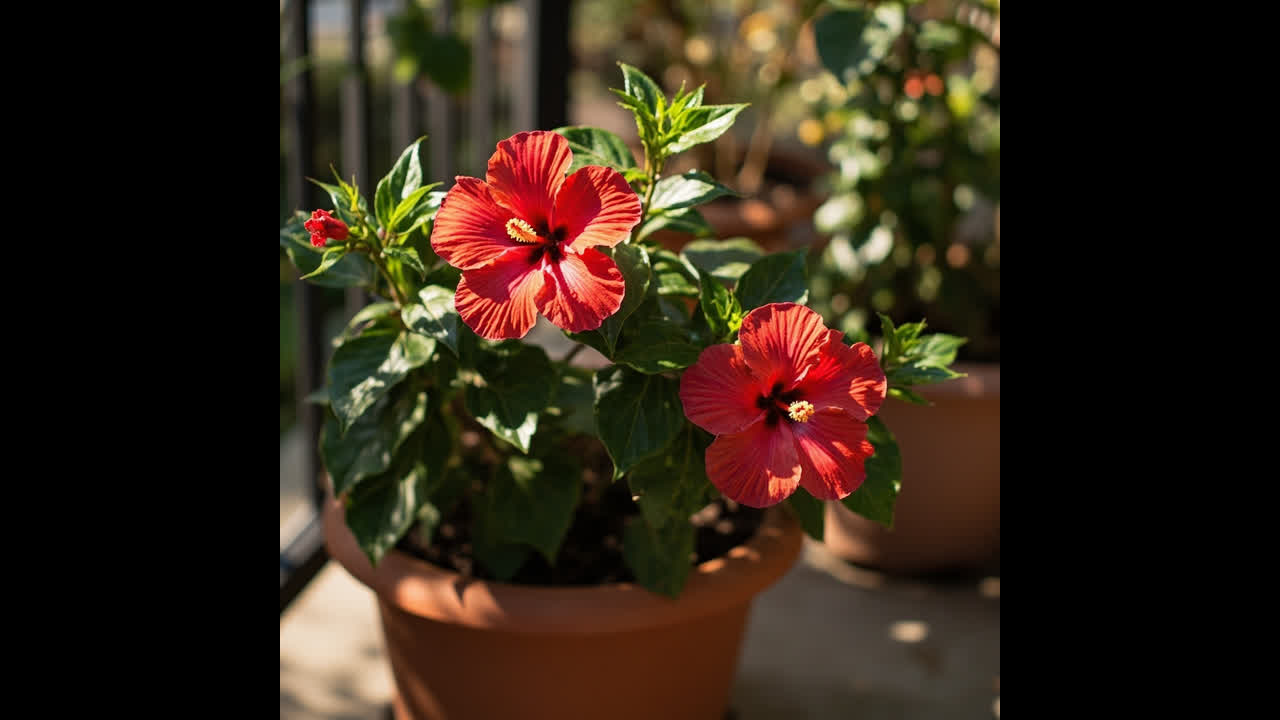
Your hibiscus leaves are yellowing. Not just one or two older leaves at the base — the yellowing seems to be spreading, or it is appearing across the plant in a pattern that does not look like normal ageing. This is a common and alarming symptom, and it has several possible causes that require different treatments. Getting the diagnosis right matters because applying the wrong fix can make the problem worse.
Natural Leaf Ageing vs Problem Yellowing
First, check whether the yellowing is normal. Hibiscus sheds older leaves as part of regular growth — one or two yellowing leaves at the base of a healthy, growing plant, especially the oldest leaves, is normal. These leaves yellow and fall as the plant redirects resources to new growth at the tips.
Problem yellowing is different: it appears suddenly, spreads across multiple leaves or across the whole plant, affects young leaves as well as old, or appears in a specific pattern (whole leaf yellow, interveinal yellowing, or spots with yellow halos).
Cause 1: Overwatering and Root Rot
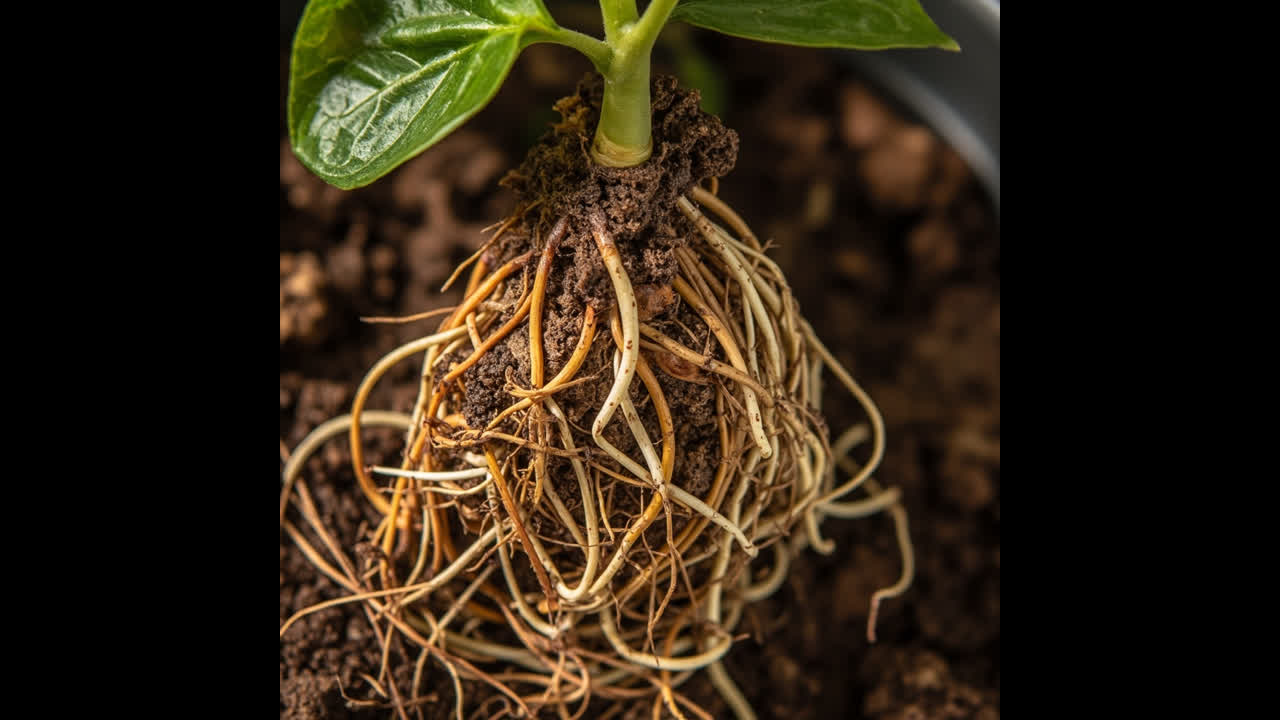
The most common cause of hibiscus yellowing is overwatering leading to root rot. When roots sit in waterlogged soil, they cannot absorb water properly — the plant effectively drought-stresses even though the soil is wet — and leaves yellow as a result.
The yellowing pattern: often starts with lower, older leaves, then progresses up the plant. The leaves may yellow evenly across the whole leaf surface (not just the edges). The soil stays wet for days after watering, and the plant may look wilted despite the moist soil.
If root rot has set in, stems may darken or soften at the base, and the soil may smell sour. For full diagnosis, see our hibiscus root rot guide.
The fix: reduce watering immediately. Only water when the top 2–3 cm of soil is dry to the touch. If the pot has poor drainage, repot into a pot with working drainage holes and fresh, well-draining potting mix. If root rot is present, treat as described in the root rot article.
Cause 2: Underwatering
Underwatering causes yellowing too, but the pattern is different. The leaves yellow from the edges inward, the edges go dry and crispy, and the plant looks wilted. The soil feels dry and may pull away from the sides of the pot.
This is common in summer when container hibiscus on a hot patio needs daily watering, or when a plant has been accidentally neglected.
The fix: give the plant a thorough watering — water until it flows from the drainage holes. If the soil has dried completely, water in stages to rehydrate properly. Return to a regular watering routine and the yellowing should stop within a week.
Cause 3: Nitrogen Deficiency
Nitrogen deficiency causes uniform yellowing across the whole plant — older leaves yellow first (as the plant remobilizes nitrogen from old tissue to feed new growth), but the yellowing spreads to the whole canopy. The plant looks generally pale and sickly, not just in one section.
Nitrogen deficiency is most common in container plants that have not been fertilized for an extended period, or in plants that have been in the same soil for more than a year.
The fix: apply a balanced liquid fertilizer (10-10-10) at half strength. Within two to three weeks, new growth should emerge green and the yellowing should stop spreading. Maintain a regular fertilizing schedule to prevent recurrence.
Cause 4: Iron Chlorosis (pH-Induced)
This is a specific type of yellowing that looks distinctive: leaves yellow between the veins while the veins themselves stay green. This interveinal chlorosis is a classic sign of iron deficiency — and in most cases, it is caused not by lack of iron in the soil but by the iron being locked out by high pH.
Hibiscus needs slightly acidic soil (pH 6.0–7.0) to access iron and other micronutrients. If the soil is too alkaline (pH above 7.0), the iron becomes chemically unavailable even if you are fertilizing with an iron-containing product.
The fix: test the soil pH. If it is above 7.0, lower it with elemental sulfur, an acidifying fertilizer, or by switching to an acidic potting mix. Once the pH is corrected, the plant will be able to access iron naturally from the soil and the yellowing will stop. For soil pH correction details, see our hibiscus soil requirements guide.
Cause 5: Magnesium Deficiency
Magnesium deficiency also causes interveinal chlorosis, but with a key difference: the yellowing starts in older leaves, and the veins stay green but the tissue between them turns yellow. As it progresses, you may see small brown spots appearing in the yellowed areas.
The fix: apply Epsom salts (magnesium sulfate) dissolved in water — 1 teaspoon per litre of water, applied as a soil drench. Magnesium deficiency is common in acidic soils or in plants that have been heavily fertilized with high-potassium fertilizers (which compete with magnesium uptake).
Cause 6: Spider Mite Damage
Spider mites cause yellowing that is patchy and spotty rather than uniform. The mites feed on leaf cells, creating tiny pale stippling dots across the leaf surface. As the damage accumulates, the leaf turns yellow and dies. Spider mite damage typically starts on the upper surface of lower leaves and works upward.
You may also see fine webbing on the undersides of leaves, especially in dry indoor conditions. The leaves may also look dusty or dirty — this is actually mite waste.
The fix: isolate the affected plant. Spray thoroughly with insecticidal soap or neem oil, covering both the upper and lower surfaces of all leaves. Repeat every five to seven days for three weeks to catch new hatchlings. Increase humidity around the plant — spider mites thrive in dry conditions, so misting or using a pebble tray helps. See our pest identification guide for full treatment steps.
Cause 7: Cold Damage
Hibiscus exposed to temperatures below 50°F (10°C) develops yellowing and leaf drop. This is different from the leaf drop caused by cold — it starts as yellowing on exposed leaves (those closest to a cold window, for example) and progresses from there.
Cold damage yellowing typically appears within 24–48 hours of a cold exposure event and affects leaves on the side of the plant closest to the cold source.
The fix: move the plant away from cold sources. Keep temperature stable between 60–85°F (15–29°C). Do not fertilize a cold-stressed plant — its root activity is reduced and nutrients cannot be properly absorbed. Recovery takes two to three weeks in stable warm conditions.
Diagnostic Summary
Use this quick reference to identify the cause:
- Yellowing + wet soil + wilted appearance = overwatering or root rot
- Yellowing + dry soil + crispy edges = underwatering
- Uniform yellowing across whole plant, old leaves first = nitrogen deficiency
- Yellow between green veins = iron chlorosis (check soil pH)
- Yellow between green veins, old leaves first = magnesium deficiency
- Yellowing with stippling dots + webbing = spider mites
- Yellowing after cold night, one side of plant worse = cold damage
If multiple symptoms apply, address them in order: fix any root rot or watering issues first, then correct pH if needed, then address nutrient deficiencies. For a struggling hibiscus that has multiple issues at once, see our guide to saving a struggling hibiscus.
Turn PDF Bank Statements Into Workable Spreadsheets
Your bank statement is a mess of numbers, but your books shouldn't be. Use our converter to get Excel, CSV, or QBO files — ready for QuickBooks.
Try It Free Now