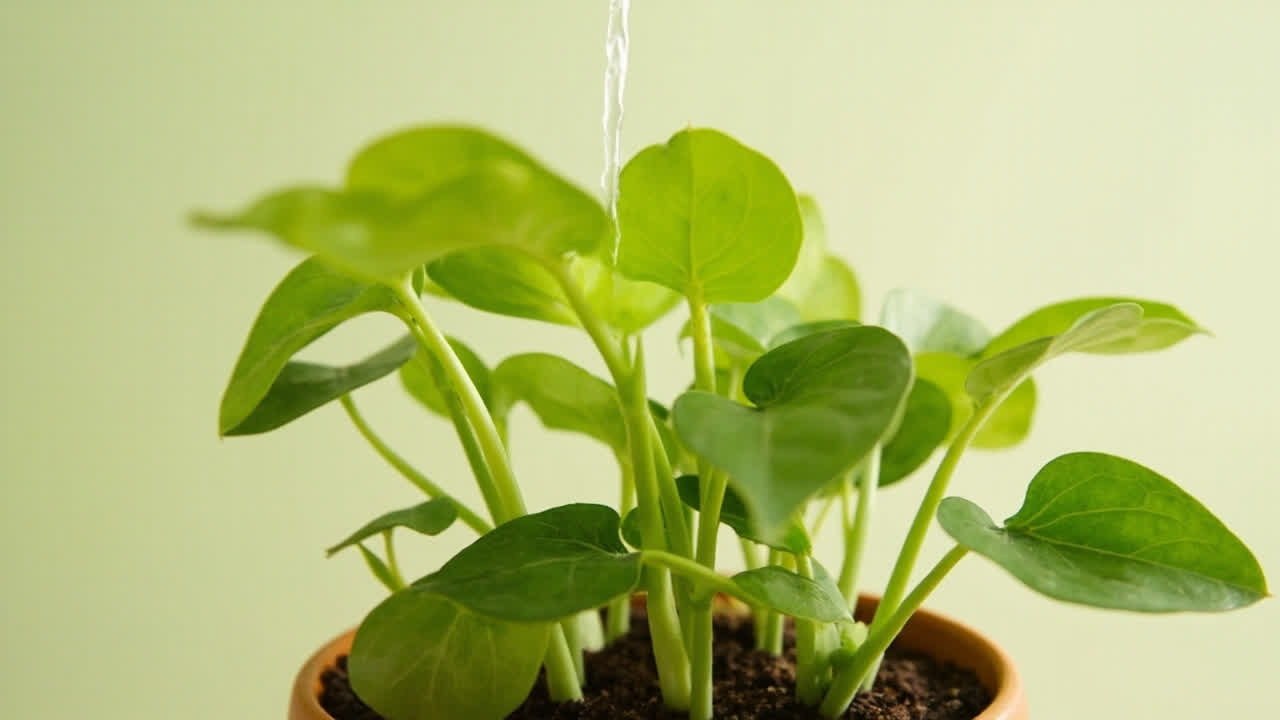
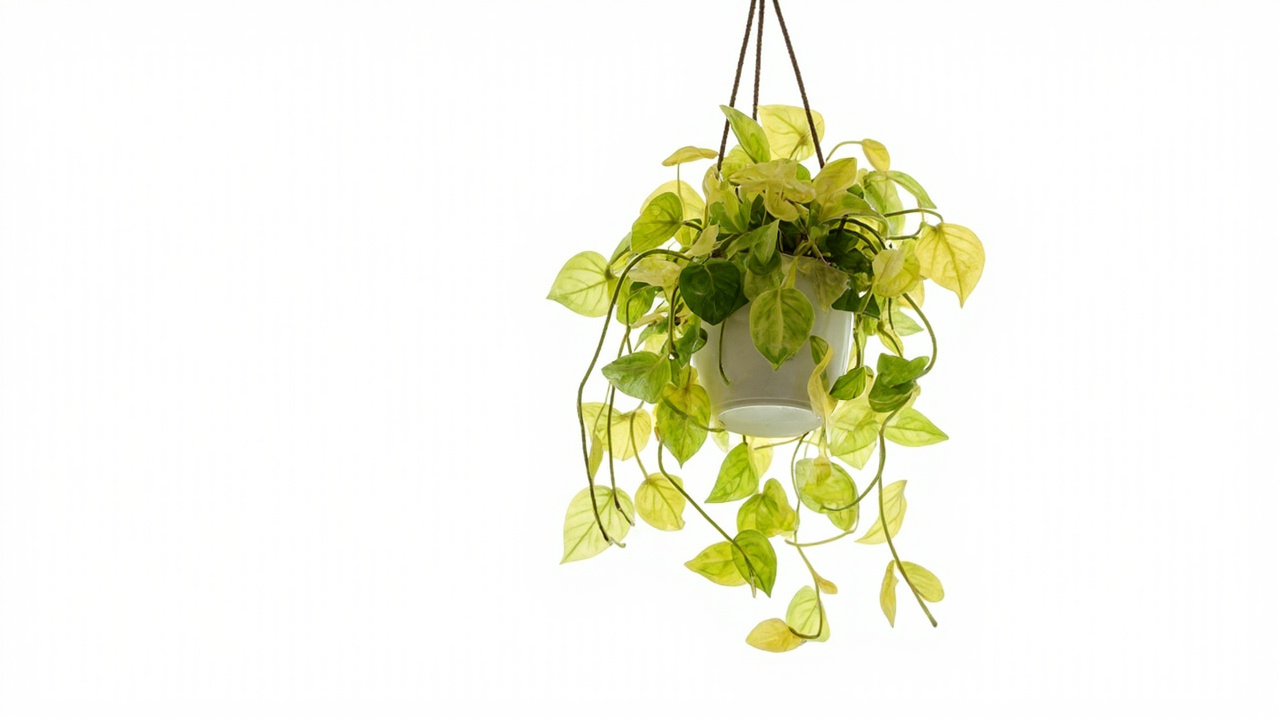
If you’ve ever dropped a pothos stem in a cup of water and watched it slowly wilt instead of root, you already know the problem: pothos water propagation sounds effortless but fails at three predictable points. The node wasn’t fully submerged. The water went cloudy without a refresh. Or the roots finally appeared—then rotted the moment you moved the cutting to soil.
The good news is that water propagation is genuinely one of the easiest ways to expand your pothos collection, provided you get three things right: node position, water quality, and the timing of the transfer. This guide covers each step in the order you’ll encounter the problems.
Why Pothos Root in Water Before Soil
Pothos (Epipremnum aureum) is a tropical vining plant that naturally produces aerial roots from nodes—the small brown bumps along the stem that look like little knees. When a stem touches moist substrate in nature, those aerial roots anchor the vine and draw water and nutrients. In water propagation, you’re essentially recreating that moisture-triggered root response on a cutting you’ve removed from the mother plant.
The advantage over soil propagation is visual: you can see the roots developing without disturbing the cutting. That transparency means you catch root rot early and adjust your watering schedule before the cutting declines. The trade-off is that water roots and soil roots are structurally different—water roots are thinner, paler, and adapted to dissolved oxygen, while soil roots are thicker and designed to pull from a denser medium. This is why transferring a cutting too early (with roots under 5cm) often causes transplant shock that kills the new plant. For a full rundown of what can go wrong at the root level, see our pothos root rot guide.
The Node Rule: Every Cutting Needs One (And Only One Spot Submerged)
Every successful pothos water propagation starts and ends with the node. The node is the brownish raised bump where a leaf petiole meets the stem—this is where adventitious roots will emerge. Without a node submerged, you have no roots. The internodal stem tissue between nodes will soften, brown, and rot without producing roots, regardless of how clear your water is or how much light the cutting gets.
A single healthy node should be fully submerged. That’s it. The leaf itself (and the remaining internodal stem above it) stays above the waterline where it can photosynthesize and transpire without rotting. Place the cutting so the node sits about 2–3cm below the surface. The surface tension of the water will hold the stem in place in a narrow-necked jar. For more on how bright light affects overall pothos plant health and root development, see our pothos light requirements guide.
How to Identify a Node on a Pothos Stem
Run your finger along the vine. You’ll feel a slight ridge or bump—this is the node. The leaf petiole extends from one side of the node, and the vine continues through it. The node is usually slightly darker than the surrounding stem and may have a tiny dormant bud visible inside the ridge. Aerial root nubs (small white or tan bumps) are a reliable indicator: they’re already pre-positioned to become water roots and typically respond within 5–7 days when submerged.
What to avoid: cutting from a section of vine with no visible node (smooth internodal tissue), cutting from a section where the node is already producing a large aerial root that has hardened off. Both will fail. A fresh, firm node with tiny white root nubs is the ideal cutting stock.
Why More Than One Node Doesn’t Help
It’s tempting to bury two nodes to increase the odds, but in a jar this creates a larger zone of submerged stem that restricts airflow and promotes anaerobic bacterial growth between the nodes. One node, fully submerged, with the leaf well above the waterline, is the optimal configuration. If your cutting has three nodes, trim the stem just below the bottom node and discard the excess.
Setting Up the Jar: Water, Light, and Container Selection
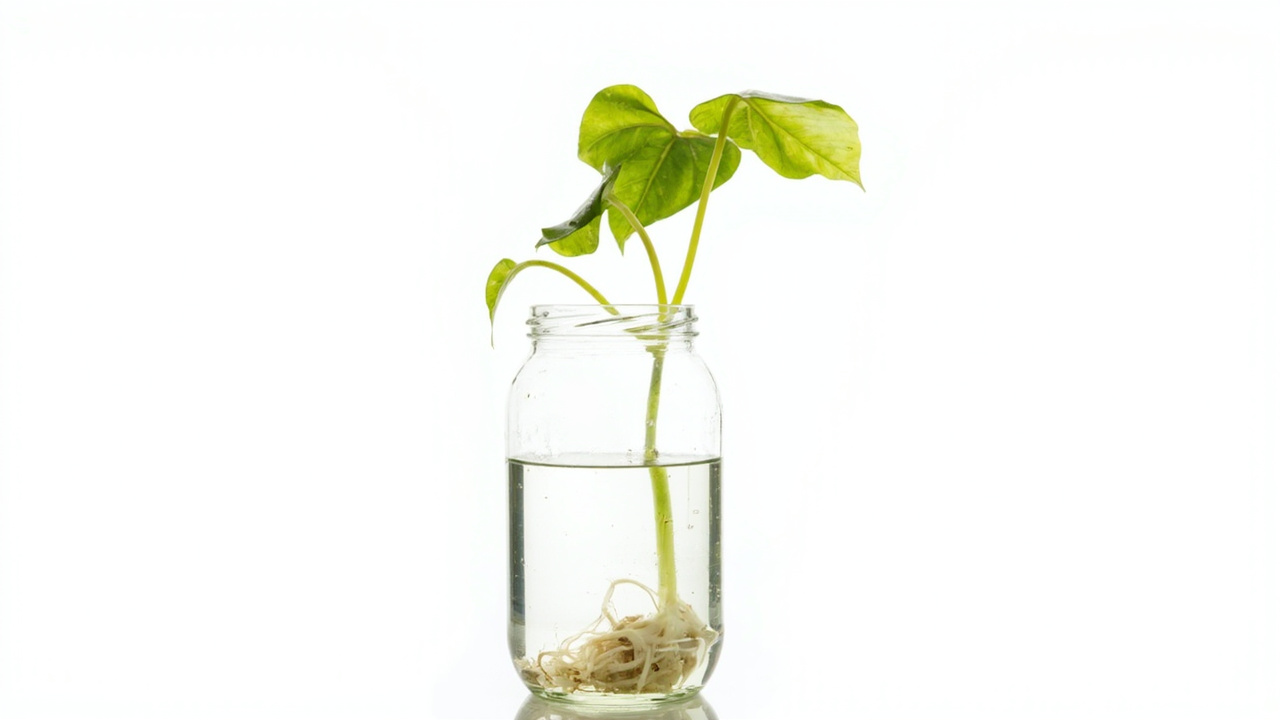
Any clear glass or plastic container works, but the neck of the container matters more than most guides admit. A narrow-mouthed jar (like a spice jar or small vase) holds the cutting’s node at the bottom while the stem sits stable and upright. A wide-mouthed jar like a drinking glass lets the cutting tip sideways, which repeatedly submerges the leaf and eventually causes petiole rot.
Fill the jar with room-temperature water—roughly 68–72°F (20–22°C)—until the node is covered. Tap water is acceptable in most municipalities. If your tap water is heavily chlorinated (noticeable sharp chemical smell), fill the jar and let it sit uncovered on the counter for 2–4 hours before placing the cutting; the chlorine will dissipate. Distilled or filtered water removes the variable entirely and is worth using if you have soft filtered water available. For the specific watering schedule that works best for mature pothos plants (which directly affects cutting quality), see our pothos watering guide.
Bright indirect light—not direct sun—is ideal. A north-facing windowsill or a spot 1–2 meters back from an east or west-facing window gives enough light for the leaf to photosynthesize without heating the water to temperatures that accelerate bacterial growth. Direct sunlight on a clear jar heats the water quickly, and cuttings in sun-warmed water (above 80°F / 27°C) rot significantly faster than those in stable room-temperature conditions. Pothos are popular houseplants for homes with pets, but if you have cats or dogs that like to chew on leaves, be aware that pothos is toxic—see our pothos toxicity guide for details.
What Happens Next: The First Two Weeks
In the first 3–5 days, the cut end of the stem seals over with a callus—a slightly white, firm tissue that prevents rot from entering the vascular system. During this window, the water may begin to look slightly murky; this is normal bacterial activity from the cut surface, not a sign of failure. Change the water every 3–4 days, using the same water temperature as the original (room temperature, not cold from the tap).
Between day 5 and 10, you’ll see either nothing happen (in which case check your node position and water quality) or small white nubs appearing at the node. Those nubs are root initials. Once you see them, resist the urge to “help” by adding fertilizer or rooting hormone—both will burn the nascent root tissue in plain water. If your cutting is struggling, it may be showing early signs of the same issues covered in our general pothos propagation guide.
By day 10–14, visible roots should be present—typically 1–3cm long in healthy conditions. This is the most common failure point for beginners: the roots appear adequate, and the impulse is to transfer to soil immediately. Don’t. Water roots at 1–3cm are fragile and haven’t yet developed the thicker root hairs needed to absorb from soil. Transfer at this stage and the cutting will often wilt dramatically within 48 hours as the root system adjusts to a completely different moisture environment. If you’ve never moved a water-rooted cutting to soil before, our soil mix guide covers the blend that gives water roots the best transition environment.
When to Move to Soil: The 5cm Rule
Wait until your water roots are at least 5cm long and visibly branching. Branching roots—thin white side shoots extending from the primary root—signal that the root system is mature enough to handle the transition. At this stage, the transfer to soil is far less traumatic for the cutting.
Use a well-draining potting mix: a standard indoor plant mix with added perlite (roughly 3:1 ratio) or a succulent blend. The mix should be damp—moist enough to hold together when squeezed but not dripping—before you backfill around the rooted cutting. Place the cutting at the same depth it sat in water (the node just below the mix surface) and gently firm the soil around the roots without compacting it heavily. For the soil blend that works best for transferred cuttings, see our pothos soil mix guide.
What happens next: the plant will look slightly wilted in the first 24–48 hours after transfer. This is expected—it’s adjusting to soil moisture absorption after the constant supply it had in water. Do not compensate by overwatering. Wait until the top 2–3cm of soil are dry before watering again. If the cutting perks back up within 3 days, the transfer was successful. If it continues to decline past day 4, the root system likely wasn’t ready; at this point, the best option is to return the cutting to water and wait for more root development before attempting another transfer.
The Long-Term Water vs. Soil Debate
Pothos can live in water long-term—many growers keep rooted pothos cuttings in decorative jars indefinitely, top-up only. The trade-off is that water-only culture depletes micronutrients faster than soil and requires periodic liquid fertilizer at half-strength to prevent yellowing leaves. There’s also a practical durability difference: soil-rooted pothos handles drought and inconsistent watering better than water-kept specimens, whose root systems are adapted to continuous moisture. For most home growers, starting in water and moving to soil gives you the visual feedback of watching roots grow while ending with a plant that tolerates normal home care routines. For the fertilizer routine that keeps water-grown pothos from yellowing, see our pothos fertilizer guide.
Common Failure Points
The node wasn’t submerged. This is the most common cause of failure—everything above the node will stay green for weeks, fooling you into thinking the cutting is fine. No node under water, no roots. Ever.
The water went untreated or stagnant. Cloudy, foul-smelling water means bacterial or fungal growth in the jar. Change the water immediately, rinse the roots under running water, and inspect for any brown, mushy sections on the stem. Trim those back to firm white tissue before returning to a fresh jar of clean water.
The cutting was too immature. A fresh tip cutting with no visible node nubs will root, but slower and less reliably than a semi-mature section of vine with pre-formed aerial root bumps. When given a choice, cut from a section that already shows small aerial root bumps rather than from the newest growth at the vine tip. For more on selecting the right cutting material, see our full pothos propagation guide.
The transfer to soil came too early. Roots under 5cm lack the branching structure needed for soil absorption. The plant wilts, the owner over-waters to compensate, and the roots—already stressed by the medium transition—rot. Patience at this stage pays off.
From PDF to Excel in one click
Forget retyping line by line. Upload any bank statement, get a spreadsheet you can actually use. Your files are never stored, and you can test the converter with 3 free conversions.
Try it free