Container vegetable gardening is growing vegetables in pots, planters, or other vessels instead of garden beds — it works in any space with adequate light, from a sunny balcony to a patio.
The key difference from in-ground gardening is that container soil dries faster and loses nutrients more quickly, which means containers need more frequent watering and regular fertilization to keep plants healthy.
Most beginners choose containers first and vegetables second, then wonder why their plants struggle — the problem is usually the container size, the potting mix, or a mismatch between the plant’s root depth and the pot’s available space.
Understanding how container growing works differently from soil-level gardening prevents the most common failures before they start.
This guide covers everything you need to go from no experience to a productive container vegetable garden: container selection, soil requirements, the best vegetables and herbs to start with, and a step-by-step setup.
By the end, you will know exactly what works in containers, what does not, and how to set yourself up for your first successful harvest.
Why Container Gardening Works (And Where Most Beginners Go Wrong)
Container gardening works because it gives you full control over the growing environment. You choose the soil, the container size, the drainage, and the position — no bare ground required. That control is also the trap. Most beginners assume containers are just smaller versions of garden beds, so they fill a cheap pot with garden soil, plant a tomato seedling, and are confused when it dies by midsummer.
The three most common beginner mistakes are: using garden soil in a container (it compacts and drains poorly in a pot), choosing a container that is too small for the plant’s root system (leading to root-bound stress), and treating a container like a garden bed with the same watering frequency (containers dry out much faster). None of these are plant problems — they are system mismatches. Once you understand why containers behave differently from garden beds, avoiding every one of them becomes obvious.
How Container Growing Differs From In-Ground Gardening
Container soil behaves differently from ground soil in three measurable ways. These differences are not minor — they directly determine whether your plants thrive or struggle, and they explain why the same tomato plant that produces 30 pounds in a raised bed might produce 10 pounds in a container.
First, drainage speed is faster in containers. A pot has no groundwater connection and fewer soil organisms to maintain soil structure. Water passes through faster, which prevents root rot but also means the soil dries out between waterings — something that does not happen in a raised bed or in-ground plot where surrounding soil acts as a moisture reservoir.
Second, root zone temperature fluctuates more in containers. A terracotta pot in direct summer sun can heat the root zone to 40°C (104°F) or higher, damaging fine feeder roots even when the air temperature is a comfortable 28°C (82°F). In-ground roots are insulated by the surrounding soil mass and stay within a much narrower temperature range. If you have ever seen a plant wilt even when the soil is visibly moist, root heat stress is often the cause — the roots are being cooked, not dried out.
Third, nutrients leach out of containers faster. Every time you water, some nitrogen, phosphorus, and potassium flush out through the drainage holes. In garden soil, the root system accesses a much larger nutrient reservoir extending well beyond the planting hole. In a container, you are working with a finite volume — typically 15 to 50 liters for a standard 12- to 18-inch pot — and that reservoir needs regular replenishment through fertilization, not just occasional top-dressing.
These three differences explain why container vegetable gardening requires its own care logic, not a scaled-down version of in-ground gardening. If you want to understand the broader principles before going container-specific, our beginner vegetable garden guide covers soil preparation, sun requirements, and crop planning for any growing format.
Choosing the Right Container
Containers are not interchangeable. Three independent attributes determine whether a container works for a given plant: material, size (depth and width), and drainage. Get any one wrong and the plant will struggle regardless of the other two.
Container Materials
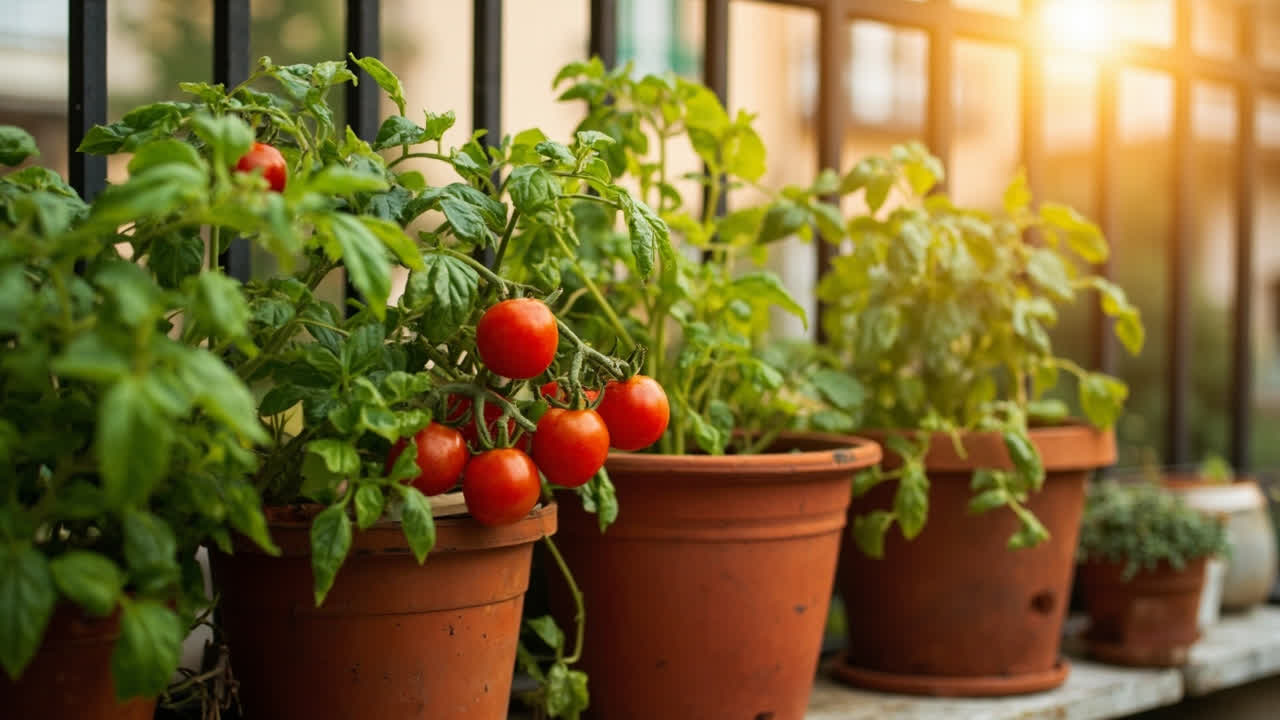
Terracotta and clay pots are breathable, which means they air-prune roots naturally at the container walls and prevent the circling that leads to root-bound plants. They also lose water faster through the porous walls — up to 30% faster than plastic in the same conditions — so they need more frequent watering in hot weather. Terracotta is best for plants that prefer drier soil conditions: rosemary, thyme, oregano, and sage are all well-suited to terracotta.
Plastic and resin planters retain moisture longer and weigh less than clay, making them practical for balcony gardening where floor weight limits apply. They are inexpensive, which makes them a good choice for larger vegetables like tomatoes where you need multiple large pots. The trade-off is that cheap plastic can become brittle and crack after one or two years of UV exposure and freeze-thaw cycles in cold climates.
Fabric grow bags are the most root-friendly option available in container gardening. The fabric air-prunes roots at the container walls, which forces branching throughout the entire root mass rather than allowing roots to circle unchecked. This produces a denser, more efficient root system with better access to oxygen. Fabric bags also drain completely and keep the root zone cooler in hot weather — but they dry out faster than plastic pots, sometimes requiring watering twice daily in peak summer.
Container Size
The most important dimension is depth, not width. A plant’s root system needs enough depth to develop properly, and shallow pots restrict root growth even if they look spacious at the surface. Width determines stability on windy surfaces and how many plants fit side by side.
For most leafy greens and culinary herbs, a container depth of 6 to 8 inches is sufficient — this includes lettuce, spinach, arugula, basil, and cilantro. For fruiting vegetables like tomatoes, peppers, and eggplant, you need a minimum of 12 inches depth; 18 inches is better for indeterminate tomato varieties that produce for four months or longer. Root vegetables like carrots need at least 12 inches of depth for short varieties; full-length carrots require 18 inches or more.
A single tomato plant in a 12-gallon pot (roughly 14 inches diameter and 14 inches deep) will grow well and produce 10 to 20 pounds of fruit per season. A single pepper plant needs a minimum of 5 gallons (roughly 10 inches diameter). Lettuce and herbs grow fine in a window box 6 inches deep, but only if you water it twice daily during hot summer months.
Drainage Holes
No exceptions here — your container must have drainage holes. Without them, water pools at the bottom, the roots sit in saturated soil, and root rot develops within weeks. If you find a pot you love that has no holes, drill at least three holes — each at least 1/2 inch diameter — in the base before planting. If you are using a saucer to protect your balcony surface, raise the pot on pot feet or small risers so the container bottom sits above the water level in the saucer.
Selecting the Best Soil and Potting Mix
Container vegetables depend entirely on what you fill the pot with. This is not an exaggeration — the soil in a container is the plant’s entire world, providing roots with water retention, aeration, drainage, and nutrients. Garden soil — the dirt from your yard — is too dense and poorly structured for containers. It compacts quickly in a pot, drains poorly, and introduces soil-borne pathogens and weed seeds into the enclosed container environment.
Use only potting mix (sometimes labeled “container mix” or “soilless mix”). It is formulated to be light, fast-draining, and free of weed seeds and pathogens. A good potting mix contains peat moss or coco coir for moisture retention, perlite or pumice for aeration and drainage, and compost or worm castings for slow-release nutrients and microbial life. Avoid any potting mix that contains added fertilizers or wetting agents designed for decorative potted flowers — these are not always appropriate for food crops.
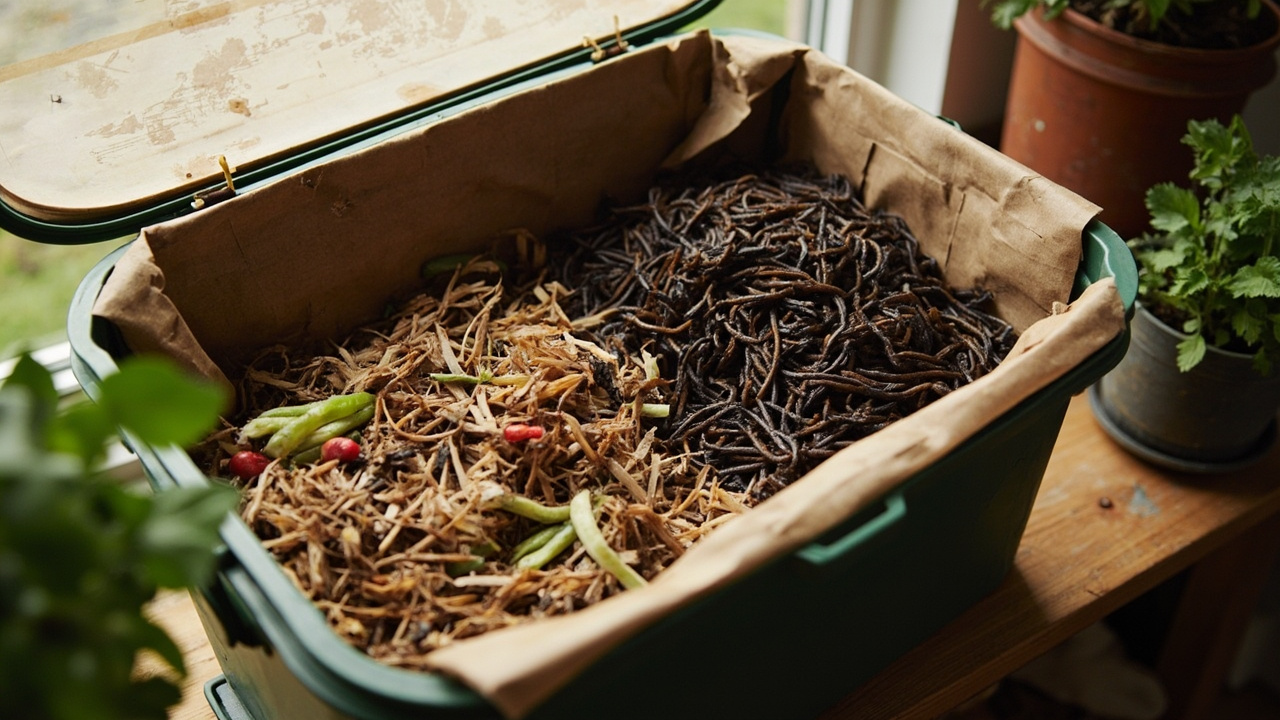
Adding worm castings for vegetable gardens at roughly 20% by volume significantly improves moisture retention while providing slow-release nutrition. Worm castings also introduce beneficial microorganisms — including plant growth-promoting rhizobacteria — that help protect container plants from soil-borne diseases. If you have only one amendment to add to your container potting mix, worm castings is the highest-impact choice per volume.
For deeper understanding of container growing media, the best soilless growing medium guide covers perlite, vermiculite, coco coir, and peat — how each affects drainage, aeration, and water retention — so you can make an informed choice for your specific crop and climate.
What Container Gardening Can and Cannot Do
Container gardening is one of the most versatile growing formats available, but it has real limits. Stating them clearly here prevents frustration and poor plant choices later.
Containers work well for: leafy greens (lettuce, spinach, arugula), culinary herbs (basil, cilantro, mint, parsley, rosemary), compact fruiting vegetables (cherry tomatoes, bush peppers, dwarf eggplants), and small root vegetables (radishes, green onions, dwarf carrots in deep pots). Containers also let you move plants to follow seasonal sun patterns — something no other growing format allows. On a balcony, you can literally rotate pots to give each plant its turn at the brightest corner.
Containers struggle with: large vining crops that need extensive root systems (winter squash, watermelon, pumpkins), deep-root crops unless you have very large containers (parsnips and full-length carrots need 18+ inches of depth), and perennial food crops that need to overwinter in the same container for multiple seasons. A fig tree can grow in a large container for a few years, but eventually the root system outgrows the container and the plant declines.
Yields per plant are lower in containers than in raised beds or in-ground gardens because the root volume is physically restricted. A single cherry tomato plant in a container might produce 10 to 20 pounds of fruit per season. The same variety in a raised bed might produce 20 to 40 pounds. You trade some yield for the flexibility of container growing — that trade makes sense for gardeners with limited space, renters who cannot install garden beds, or anyone who wants to move their garden with the sun.
Best Vegetables for Container Gardening
Not all vegetables are equal candidates for container growing. The best choices share two traits: they tolerate restricted root systems without a significant yield penalty, and they produce a useful harvest in a modest container volume.
Cherry tomatoes are the most rewarding container vegetable for beginners. A single plant in a 12-gallon pot with a cage or stake will produce fresh tomatoes for three to four months. Compact determinate varieties like ‘Tumbling Tom’ and ‘Tiny Tim’ thrive in hanging baskets and need no staking. Indeterminate varieties like ‘Sweet 100’ and ‘Sun Gold’ produce more but require a larger pot (minimum 18 inches deep) and a support structure. Growing tomatoes in containers differs from growing them in the ground — watering frequency is higher, root zone temperature management matters more, and nutrient demand peaks sharply when fruit is setting. A dedicated tomato container guide is worth consulting before you start.
Lettuce and salad greens grow fast, take minimal space, and can be harvested leaf by leaf over weeks. A standard window box 6 inches deep will support three to four lettuce plants. Cut outer leaves first, and the plant keeps producing from the center. Loose-leaf varieties (‘Salad Bowl’, ‘Red Sails’, ‘Buttercrunch’) are more forgiving of heat stress than heading lettuce and extend your harvest window significantly. Leaf lettuce also tolerates partial shade better than most fruiting vegetables — 4 to 6 hours of sun is sufficient in cool seasons.
Peppers — especially compact sweet peppers and hot peppers — perform well in 5-gallon containers. They need warmth and do not tolerate frost, which makes container growing advantageous: you can move them indoors or into a sheltered position when temperatures drop below 10°C (50°F). Jalapeños, banana peppers, and mini bell peppers are all proven container performers. Compact pepper varieties bred for patio containers — like ‘Mohawk’ and ‘Redskin’ — produce well in 8-inch pots.
Radishes are the fastest harvest in container gardening — most varieties are ready in 25 to 30 days from seed. They need a minimum depth of 4 to 6 inches and do not tolerate heat, making them ideal for spring and fall planting in most climates. The quick turnaround means you can grow three or four successive radish crops in a single season. French Breakfast and ‘Cherry Belle’ are reliable varieties that perform consistently in containers.
Green onions and scallions grow in almost any container depth and can be started from seed or from kitchen scraps (the root end of a store-bought bunch regrows in water and then transfers to soil). They take up minimal horizontal space — a single pot 6 inches wide and 6 inches deep produces enough for regular kitchen use. From seed, they are ready to harvest in 60 days.
One unexpected container candidate worth knowing: growing pineapple as a container plant works well in a 5-gallon pot. Pineapples have a surprisingly shallow root system relative to their top growth, making them well-suited to container culture. A single pineapple plant will produce one fruit after roughly 18 months of growing — and it makes a striking ornamental plant in the meantime.
Best Herbs for Container Gardening
Herbs are often lumped in with vegetables in beginner guides, which is a mistake — they have different care attributes and deserve their own section. Herbs generally need less water and better drainage than fruiting vegetables, and they perform better in smaller containers. Many kitchen herbs are also more shade-tolerant than vegetable crops.
Basil is the most popular culinary herb and one of the easiest to grow in a container. A single plant in a 6-inch pot produces enough basil for weekly cooking during warm months. The key to a productive basil plant is consistent harvesting — cutting the growing tips every few days encourages branching and prevents the plant from flowering too early. Once basil flowers, leaf production drops sharply and the flavor turns bitter. ‘Genovese’ is the standard large-leaf basil for cooking; ‘Spicy Globe’ is a compact variety better suited to small pots.
Cilantro is fast-growing but heat-sensitive, which makes container growing practical because you can move it into shade during hot months. From seed to first harvest takes roughly 30 days. Because cilantro has a short usable window before it bolts (flowers and sets seed), succession planting — seeding every two weeks — is the strategy that keeps a steady supply going through the growing season. Bolt-resistant varieties like ‘Santo’ extend that window by a week or two.
Mint is aggressively spreading and should never be planted directly in garden soil — it will take over a bed within one season. Containers contain mint’s runways effectively. A single mint plant in a 12-inch pot produces enough for fresh use and drying. Mint tolerates partial shade better than most herbs, which makes it suitable for north-facing balconies and kitchen windows with less than six hours of sun.
Parsley — both flat-leaf (Italian) and curly varieties — grows well in containers 8 inches deep and tolerates light frost, meaning it produces through fall and early winter in mild climates. Parsley is a biennial, which means it grows vegetatively the first year and then flowers the second year. For kitchen use, grow it as an annual and replant each spring for the best leaf production — second-year parsley is tougher and less flavorful.
Rosemary thrives in containers because it prefers drier conditions and lean soil — exactly the environment a terracotta pot with gritty mix creates. Rosemary needs excellent drainage and cannot tolerate “wet feet” (roots sitting in standing water). A 12-inch terracotta pot with a fast-draining potting mix and added coarse sand suits it perfectly. In zones with cold winters, bring potted rosemary indoors to a south-facing window — it survives indoors but grows more slowly without full sun.
Setting Up Your First Container Garden (Step by Step)
Here is the complete setup sequence for your first container vegetable garden. Follow these steps in order — each one matters for what comes after.
Step 1: Choose your position. Most vegetables need a minimum of 6 hours of direct sunlight per day. Tomatoes and peppers need closer to 8 hours. Observe your space for a full day before buying anything — morning sun versus afternoon sun makes a real difference for warmth-loving crops. Afternoon sun in summer is more intense and dries out pots faster than morning sun of the same duration.
Step 2: Select containers and check drainage. Confirm every pot has at least one drainage hole. If you are using a saucer (common on balcony setups to protect surfaces), do not let the pot sit in standing water — use pot feet or risers to elevate the container above the water level in the saucer.
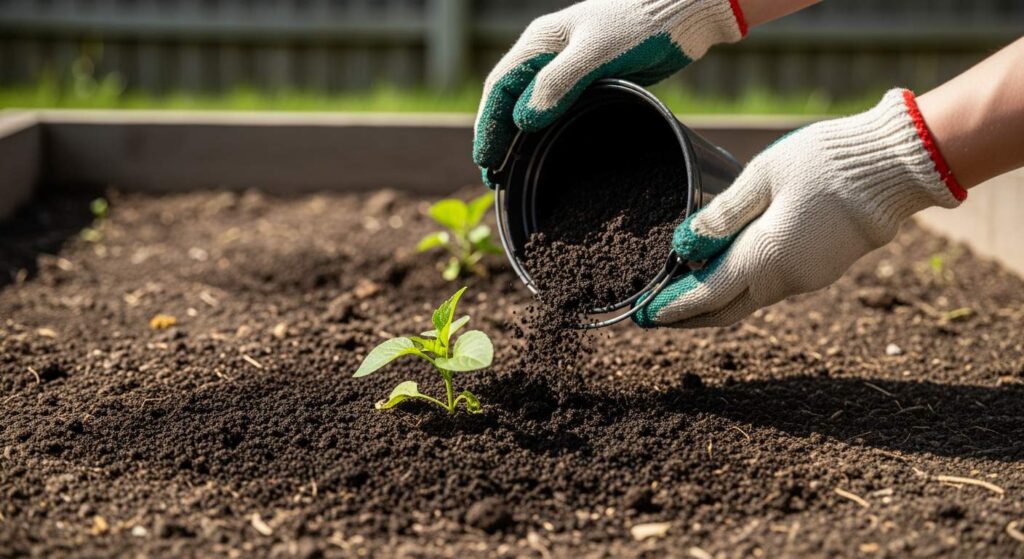
Step 3: Fill with potting mix. Do not pack the mix — pour it in loosely and settle the container gently on the ground. Leave a 1 to 2 inch gap at the top of the pot; this prevents overflow when you water and allows room for top-dressing with compost or mulch.
Step 4: Add base fertilizer. Most potting mixes contain minimal nutrition — they are designed to be a neutral medium you amend yourself. At planting time, mix in a slow-release organic granular fertilizer at the manufacturer’s recommended rate. For heavy-feeding vegetables like tomatoes and peppers, add worm castings at 20% volume blended into the top few inches of mix. You will supplement with liquid feed every two weeks starting when the first flower buds appear.
Step 5: Plant at the correct depth. Most vegetable seedlings (tomatoes, peppers, eggplant) should be planted with two-thirds of the stem below the soil line. This triggers additional root growth from the buried stem and produces a more stable, vigorous plant. Leafy greens and herbs are planted at the same depth they were in their nursery pot — no deeper.
Step 6: Water thoroughly after planting. Water until you see it draining from the bottom holes. This settles the soil around the roots and eliminates air pockets that would dry out fine root tips. Do not fertilize at planting time — wait at least two weeks for the plant to establish before starting a liquid feeding schedule.
Watering and Feeding Container Vegetables
Watering is the single most important care task in container vegetable gardening, and it is the one most beginners get wrong. The reason is straightforward: containers dry out faster than garden beds, and the drying rate changes daily with weather, pot material, plant size, and season. There is no fixed schedule that works for all conditions.
The correct method is to check the soil with your finger before every watering. Insert your finger into the top inch of soil. If it feels dry, water. If it feels moist, wait. In hot summer weather, a large tomato container may need watering once or twice per day. In cool or cloudy weather, it may need water only every three days. The soil tells you what it needs — your job is to listen.
Signs of underwatering are unmistakable: wilting leaves that do not recover by morning, soil pulling away from the sides of the pot, and fruit that develops blossom-end rot. Blossom-end rot — a dark, leathery spot on the bottom of tomatoes and peppers — is caused by inconsistent watering, not by a lack of water per se. The inconsistent moisture disrupts calcium uptake into the developing fruit. The fix is more consistent watering, not more water at each session.
Overwatering has its own symptoms: yellowing lower leaves, a musty smell from the soil surface, and fungus gnats hovering around the pot. The cure is simple — stop watering until the top two inches of soil is dry.
For fertilization, container vegetables need feeding more often than in-ground plants because nutrients flush out with each watering. Apply a balanced liquid fertilizer (such as a 10-10-10 or equivalent organic blend) every two weeks at half the label rate for leafy vegetables and herbs. For fruiting vegetables like tomatoes and peppers, switch to a fertilizer lower in nitrogen and higher in phosphorus and potassium (such as 5-10-10 or 8-32-16) once the first flower buds appear — this shift supports flower and fruit development rather than leafy growth.
If you are new to fertilizer ratios and what the numbers on the label actually mean, the NPK ratio explained covers the role of nitrogen, phosphorus, and potassium in plant growth and how to choose the right formula for each stage of the growing season.
Light Requirements for Container Gardens
Light drives everything in plant growth: photosynthesis, flowering, fruiting, and even the speed at which soil dries. Most beginners underestimate how much light a vegetable garden actually needs and are surprised when their plants grow tall and weak without producing anything.
As a baseline: 6 hours of direct sunlight is the minimum for leafy greens and most culinary herbs. 8 hours or more is required for tomatoes, peppers, squash, and any fruiting vegetable. If you are growing on a north-facing balcony or a location with significant shade from buildings or trees, container vegetables will grow leggy, weak, and largely unproductive — no amount of fertilizer will compensate for insufficient light.
The movable nature of containers is one of container gardening’s biggest practical advantages. You can shift pots to track seasonal sun patterns as the sun’s angle changes from spring through fall. In early spring and late fall, the sun is lower and weaker, so positions that work in midsummer may be too shaded in the shoulder seasons. Move your containers to the brightest available spot as the season changes — the effort is rewarded with measurably faster growth.
Signs of insufficient light appear first in leaf color and plant form, not always in obvious wilting. A vegetable plant that is not getting enough light will become pale green or yellow, grow leggy (long, thin stems with wide spacing between leaves), and fail to flower or fruit. These symptoms are frequently misdiagnosed as nutrient deficiency, which leads to over-fertilizing and makes the problem worse. Before adding fertilizer to a struggling container plant, check whether it is receiving enough hours of direct sunlight first.
For container herb gardens, mint, parsley, and cilantro tolerate partial shade (4 to 6 hours of sun) better than most vegetable crops. If your available light is limited, these herbs are the most forgiving choices and will still produce a useful harvest.
Common Container Gardening Mistakes (And How to Avoid Them)
These are the most frequent failures seen in container vegetable gardens, organized by cause so you can identify and resolve them quickly.
Mistake 1: Using garden soil instead of potting mix. Garden soil is too dense and poorly draining for container use. It brings weed seeds, fungi, and soil pests into an enclosed environment where they spread faster and are harder to control. Always use a commercial potting mix — no exceptions.
Mistake 2: Underwatering in summer. Containers dry out quickly in heat, especially terracotta and fabric bags. Check your pots every day during hot weather. If you travel for more than two days in summer, arrange for someone to water or install a simple drip irrigation system with a timer and a battery-operated faucet timer.
Mistake 3: Overwatering in cool weather. More container plants die from overwatering than from underwatering. The fix is straightforward: water only when the top inch of soil is dry. In cool or cloudy weather, this might mean watering once every four to five days. In peak summer heat, it might mean twice a day. The soil moisture, not a calendar, determines watering frequency.
Mistake 4: Using containers that are too small. A tomato plant in a 1-gallon pot will not produce a meaningful harvest — it will be root-bound and stunted from the start. Match container size to the plant’s expected root depth. When in doubt, go bigger: a 12-gallon pot for tomatoes always outperforms a 5-gallon pot, and the plant will be healthier and less prone to stress.
Mistake 5: Neglecting fertilization. Container soil nutrition depletes within four to six weeks of planting, especially for heavy-feeding fruiting vegetables. If your plants look pale, stop growing actively, or develop small yellowing leaves after the first month, they are likely nutrient-hungry. Start a liquid fertilizer schedule and watch for visible improvement within one week.
Mistake 6: Ignoring container weight. A 12-gallon pot filled with wet potting mix can weigh 60 to 80 pounds. If your balcony has a structural weight limit — common in apartment buildings — check it before placing large containers. Lightweight resin pots and fabric grow bags are safer for weight-restricted balconies; they typically weigh under 30 pounds when filled and moist.
A pattern that catches beginners off guard: a plant that grows well for the first few weeks and then suddenly declines is usually experiencing either a root-bound condition (roots have filled the pot and have nowhere left to grow) or nutrient depletion from the potting mix being exhausted. If your plant looks healthy but stalls in growth mid-season, move it to a larger container or apply a liquid fertilizer — one of those two is almost always the explanation.
For organic approaches to container feeding that rely on slow-release nutrition rather than synthetic fertilizers, worm castings for house plants describes how to incorporate worm castings into container growing medium for long-term, microbe-rich nutrition that supports plant health in a closed container environment without the risk of fertilizer burn.
Turn any PDF statement into a clean sheet
Skip the typos and the hours of copying. Our converter handles any bank statement format and outputs Excel, CSV, or QBO for QuickBooks. No file retention, free to try.
Convert your statement