
Vermicomposting is the process of using red wiggler worms to convert food scraps into worm castings — a nutrient-dense, slow-release soil amendment that improves soil structure, microbial diversity, and plant nutrient availability in ways no synthetic fertilizer can replicate. The process requires a contained worm habitat (a worm bin), regular feeding with suitable organic material, and time for the worms to process waste into finished castings. It is the most efficient home-scale composting method available for people who have limited outdoor space and want to build soil quality over months rather than seasons.
Most beginners make two mistakes that cause their worm bins to fail: overfeeding and forgetting the bedding layer. A properly set up worm bin is low-maintenance, nearly odorless, and produces finished castings in 8–16 weeks depending on conditions. The failure rate is high precisely because people assume it is simpler than it is — not because the process is actually complicated, but because the two rules are not intuitive in a world that says “just add food scraps.”
What Vermicomposting Actually Is
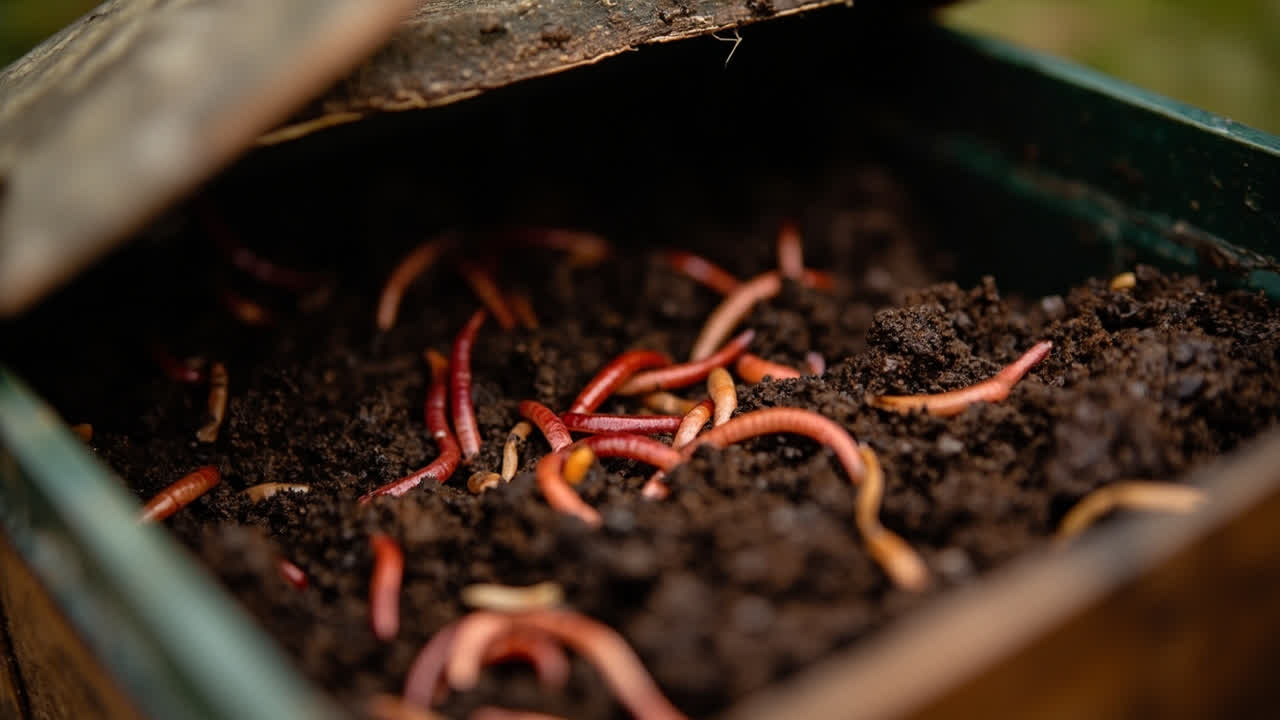
Vermicomposting uses Eisenia fetida — the red wiggler worm — which is not the same as the earthworm you find in a garden. Red wigglers are surface dwellers by preference; they process organic material at the soil surface layer where microbial activity is highest. This is why they are suited to contained bins rather than being released into garden soil — they thrive in the dense, moist, organic-rich environment of a wormerie but would struggle in open soil.
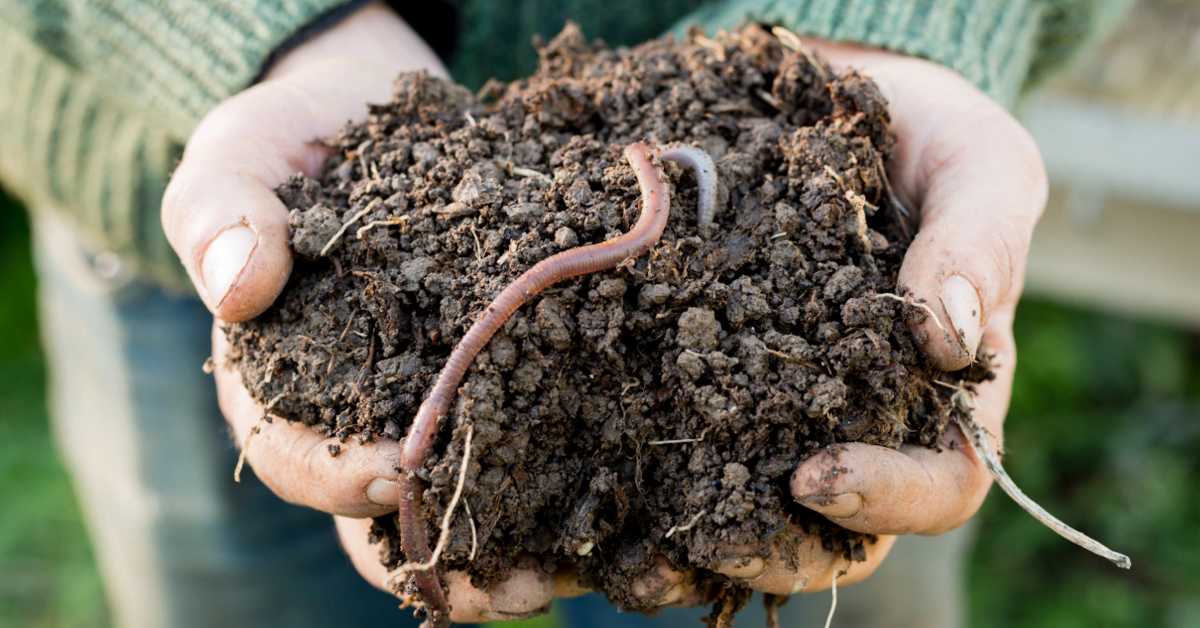
The output of vermicomposting is worm castings — the end product after food scraps have passed through the worm’s gut and been deposited as粪便. Worm castings contain 5 times more nitrogen, 7 times more phosphorus, and 11 times more potassium than ordinary soil, along with beneficial microorganisms, enzymes, and humic acids that improve soil structure and plant immune response. No synthetic fertilizer delivers this profile, and the slow-release nature means nutrients are available to plants over 4–6 months rather than being washed out in the first rain.
Unlike hot composting, vermicomposting does not require high temperatures and works in any season — including winter, since the bin can be kept indoors. The process is slower (weeks vs days for hot composting) but the output is more stable, more plant-available, and produced with less effort per batch.
Honest trade-off: vermicomposting requires ongoing attention every 2–3 days (feeding and moisture checks) — it is not a set-it-and-forget-it system. If you travel frequently or want results faster, buying finished worm castings directly is more practical.
The Two Things That Determine Whether Your Worm Bin Succeeds
The research on vermicomposting failures is consistent: two preventable mistakes account for the majority of failed worm bins. Both are easy to avoid once you understand them.
Overfeeding. New worm keepers assume that because worms eat a lot, more food is better. The opposite is true. Food scraps in a worm bin decompose at the surface and at the bottom of the bin simultaneously. When you add more than the worms can process in 2–3 days, the excess goes anaerobic — it rots instead of composting. Anaerobic decomposition is what produces the rotten smell that gives vermicomposting its bad reputation. A healthy bin smells like damp earth. If it smells like garbage, something is rotting faster than the worms can process it. Solution: add less food, add it less often, and bury it under bedding.
Dry bedding. Red wigglers breathe through their skin, which requires consistent moisture. Bedding that dries out kills worms from the inside — they suffocate even though oxygen is present in the air around them. The target moisture level is “like a wrung-out sponge.” The bedding should feel damp to the touch, hold its shape when squeezed, and not drip. If it dries out, the worms move to the bottom of the bin where moisture is higher — but if the entire bin dries, the worms die. Check the bedding every time you feed; mist it if it looks dry.
How to Set Up Your Worm Bin in 6 Steps
A functional worm bin requires six components. None of them are expensive or complicated to source.
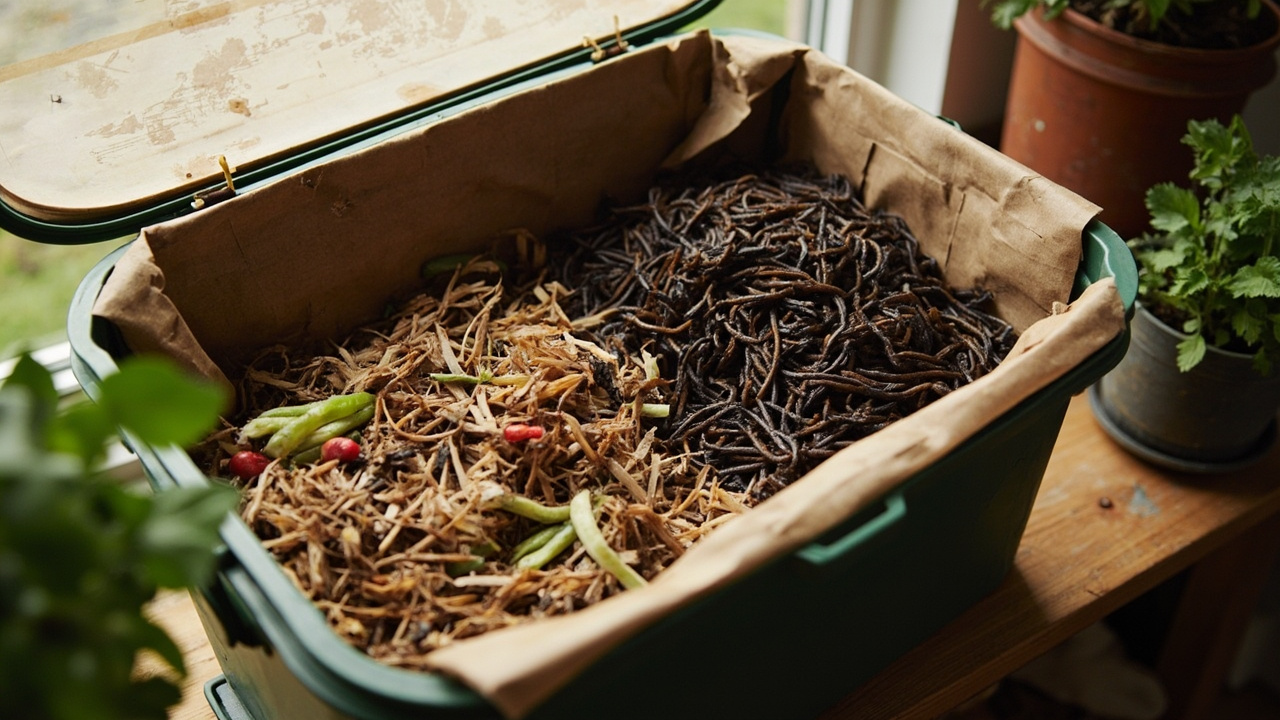
Step 1: Container. A plastic storage bin with a lid works well — avoid wood or metal as they either absorb moisture and rot or conduct heat too quickly. The container should be opaque (worms prefer darkness) and have a lid that fits loosely — worms need oxygen, a sealed container suffocates them. Drill 8–12 holes in the sides near the top for air circulation and 4–6 holes in the bottom for drainage. Place the bin on a tray to catch any excess liquid (worm tea).
Step 2: Drainage layer. Add 1–2 inches of coarse material at the bottom — gravel, broken pottery shards, or expanded clay pebbles. This prevents the bin from becoming waterlogged and keeps air circulation at the base.
Step 3: Bedding. Fill the bin 3–4 inches deep with dampened coir (coconut fiber), shredded newspaper, or cardboard — avoid glossy or colored paper. Moisten the bedding with a spray bottle until it holds its shape without dripping. The bedding is not just comfort for the worms — it is the carbon source that balances the nitrogen in food scraps and prevents the bin from going anaerobic.
Step 4: Introduce the worms. Red wiggler worms (Eisenia fetida) are available from garden supply shops, fishing stores, or online worm suppliers. Do not use earthworms from your garden — they will not adapt to bin life. Buy 1 pound of red wigglers per square foot of bin surface area as a starting guide. Add them to the top of the bedding and let them burrow in — they will disappear into the bin within an hour in a properly dark, moist setup.
Step 5: Initial feeding. Start with a small amount of food — a handful of fruit or vegetable scraps buried 2–3 inches into the bedding, not just placed on top. Wait a week before adding more. Let the worms establish before pushing their capacity.
Step 6: Cover the surface. After feeding, cover the surface with a layer of damp cardboard or newspaper. This keeps light out, retains moisture, and gives worms a surface to feed under — fruit flies are less likely to land on covered bedding than exposed scraps.
What to Feed Your Worms (and What to Keep Out)
Red wigglers process most organic kitchen waste, but some materials cause specific problems that are worth knowing before you add them to the bin.
Suitable food scraps: fruit and vegetable peels, coffee grounds and filters, tea bags (if not synthetic), crushed eggshells, bread and pasta (in small amounts), rice and grains. These decompose relatively fast and provide the nitrogen-to-carbon balance that worms need.
Hard no — causes anaerobic rot and fruit flies: citrus fruit and peels (including lemon, orange, grapefruit), onions and garlic, meat and fish (any protein that rots fast), dairy products, oily foods and fats. Citrus is the most common violation — it is acidic and can make the bin inhospitable to red wigglers if added in quantity. Small amounts of citrus are tolerated by established bins, but it should not be a staple.
Hard no — causes systemic problems: spicy peppers (capsaicin can harm worms), processed foods with preservatives, anything that was exposed to pesticides or herbicides.
Feeding frequency: 2–3 times per week is better than once a week in larger amounts. Worms process small, regular inputs more effectively than large, irregular additions. Think of it like feeding a pet — regular small meals are better than occasional large ones.

How to Know If Your Bin Is Healthy
The bin communicates its condition through smell and worm behavior. Learn to read both.
The smell test. A healthy worm bin smells like damp earth — the same smell as forest floor after rain. If it smells like rotting garbage, you have anaerobic decomposition happening. The fix: remove the excess food, add fresh dry carbon bedding on top, and reduce feeding frequency. If the smell persists, the bin is too wet — add dry bedding and check drainage holes.
The worm behavior test. Worms at work stay in the bin, buried in the bedding, especially near fresh food additions. If you see worms trying to escape — climbing up the sides, hanging from the lid — something is wrong. Usually it is one of three causes: the bin is too wet, the bin is too hot (above 85°F), or there is too much food and it is rotting. Fix the cause and the escapes stop within hours.
Fruit fly prevention. Fruit flies are attracted to exposed food scraps, especially sweet fruit. The prevention is mechanical: always bury food under at least 2 inches of bedding. If you see fruit flies, do not use chemical traps — just cover the food better. A layer of damp newspaper on top of the bedding also prevents fruit fly access. Fruit flies are a nuisance, not a bin-killer — the bin is still functioning, the feeding technique just needs adjustment.
When and How to Harvest Your First Worm Castings
First usable worm castings appear in 8–16 weeks depending on bin density, temperature, and feeding consistency. The timeline is longer than most guides admit — “worm castings in 30 days” is marketing, not biology. In practice, expect 2–4 months for the first meaningful harvest.
The harvest method uses light to separate worms from castings. Worms move away from light — this is their strongest behavioral response after feeding. Spread the contents of the bin in a thin layer on a tarp in sunlight or under a bright lamp. Within 15–20 minutes, the worms will move to the bottom of the pile, away from the light. Scrape the top layers of castings off — these are worm-free. Continue scraping and re-shifting until you reach the worm mass at the bottom. The worm mass goes back in the bin with fresh bedding. The castings are your harvest.
Do not throw the worms away. They are your colony. Without them, you have no vermicomposting system — only a bin of slowly decomposing food. Handle them gently, keep them out of direct sunlight (they will die quickly in full sun), and return them to the bin as soon as possible.
Castings can be used immediately or stored. Stored castings should be kept moist and in a sealed bag in a cool place — dried-out castings lose microbial activity but last for months in a sealed bag if kept dark and cool.
Using Worm Castings in Your Garden
Worm castings are concentrated. More is not automatically better — the slow-release nature means plants access nutrients gradually, and over-application does not accelerate results. Follow application guidelines.
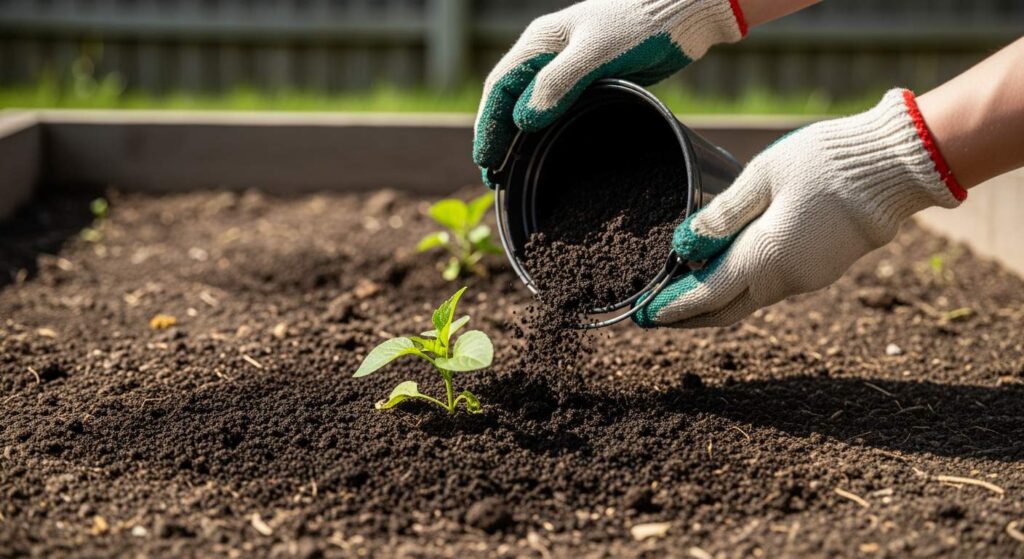
For houseplants: top-dress with a 1/4 to 1/2 inch layer of castings every 2–3 months. Gently work it into the top inch of soil. Castings improve moisture retention and add gentle nutrition without burning roots.
For potting mix: mix castings at 20% by volume with your base potting medium. This is enough to significantly improve soil structure and nutrient availability without changing drainage characteristics.
For making worm casting tea: steep 1 cup of castings in 1 gallon of water for 24–48 hours, aerate with an air stone if available, and use the liquid within 24 hours. Worm casting tea is a liquid fertilizer — apply directly to soil or as a foliar spray. It is not a replacement for proper castings application; it is a supplement. Use it to maximize the efficiency of your castings batch.
Is Vermicomposting Right for You?
Vermicomposting is worth the effort if you generate food scraps consistently, have space for a bin (a 2×2 foot area), and are willing to check and feed the system every 2–3 days. The output is genuinely useful — houseplant health, vegetable garden performance, and potting mix quality all measurably improve with regular worm casting application.
Skip it if you need results within weeks (composting is faster), have no space for even a small bin indoors (or outdoors in a shaded spot), or are sensitive to any organic smell — even a healthy bin has an earthy scent, which is pleasant but present. If the smell would bother you or your household, the honest answer is to buy finished worm castings instead and apply them directly.
Turn That PDF Into a Spreadsheet in Minutes
You've seen how to do it manually — now let the tool handle the heavy lifting. Upload your bank statement and get Excel, CSV, or QBO in a few clicks.