
Worm castings in vegetable garden applications are widely misunderstood — most gardeners either use too little to make any difference, or apply so much they waste money without seeing better results worm castings house plants. Worm castings, also called vermicompost, are the rich, dark waste produced by earthworms as they digest organic matter. Unlike raw compost, worm castings contain humic acids, beneficial bacteria, and a near-neutral pH that makes nutrients immediately available to plant roots. For the full breakdown of worm castings benefits, see our detailed guide at aqualogi.com. This guide covers exactly how much to apply, which methods work best for different crops, and how to combine worm castings with your existing fertilizing routine.
Used correctly, worm castings improve soil structure, boost moisture retention, and support the microbial life that plants need to absorb nutrients efficiently. The catch is that they are not a standalone fertilizer — worm castings are a soil builder, not a plant food replacement. Getting the application rate and method right for your specific garden setup is what separates gardeners who see real results from those who are just spending extra money on a product that sits on top of the soil doing nothing.
What Worm Castings Actually Are
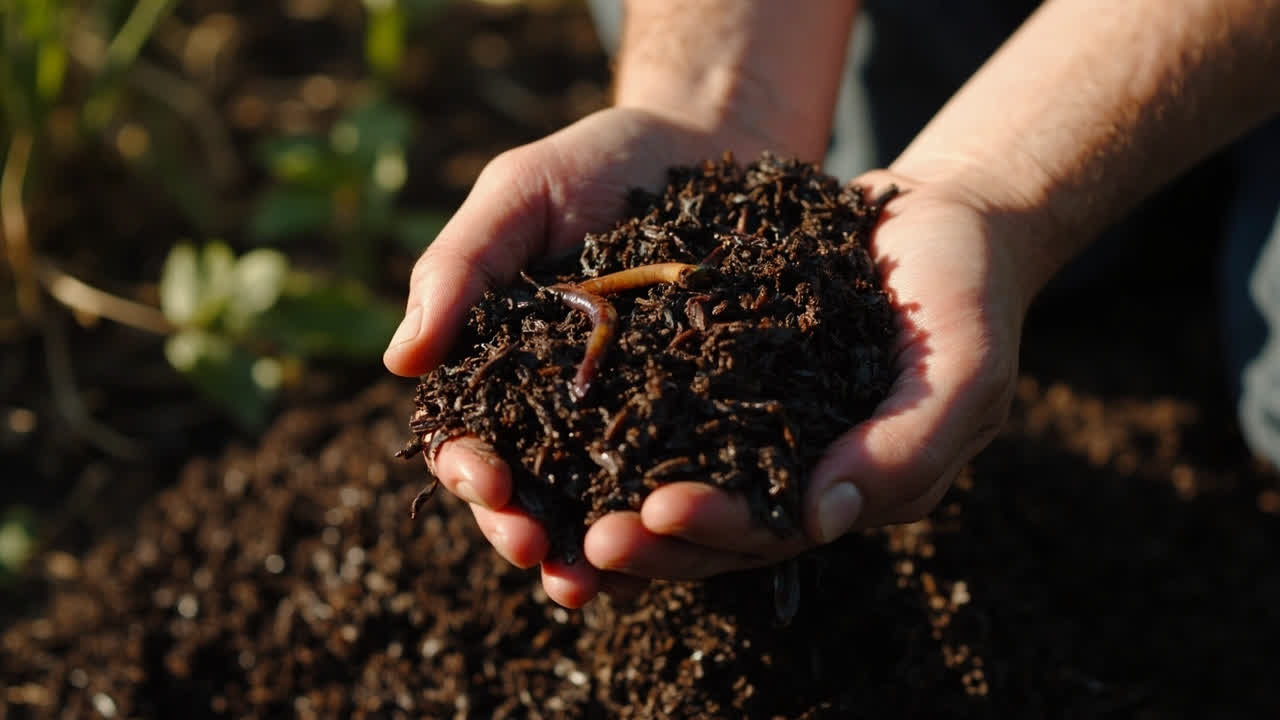
Worm castings are not simply “worm manure.” The process of vermicomposting transforms raw organic material through the earthworm’s digestive system, which is fundamentally different from passive composting. As earthworms consume kitchen scraps, cardboard, and aged manure, their gut bacteria deposit beneficial microorganisms alongside the castings. The result is a material rich in humic acid — a compound that chelates locked-up nutrients in soil, making them available to plant roots within days rather than weeks.
The microbial population in worm castings is dominated by bacteria in the Bacillus and Pseudomonas genera, along with nitrogen-fixing bacteria and mycorrhizal fungi spores. These organisms colonize the rhizosphere — the narrow zone of soil immediately surrounding roots — and form a symbiotic relationship with vegetable crops. Research from multiple university extension programs confirms that soil drenched with worm casting tea develops measurably higher microbial biomass within three weeks compared to untreated soil.
The particle size of worm castings is finer than conventional compost, which gives it an exceptional water-holding capacity of 2–3 times its weight. A pound of quality worm castings can retain roughly a quart of water while still maintaining good aeration — a combination that benefits root development in almost any soil type. Understanding this chemistry is essential because it explains why worm castings work differently from bagged compost and why application rates differ accordingly.
Application Rates by Crop Type
The single biggest mistake gardeners make with worm castings is applying a fixed handful across all crops. Vegetable plants have dramatically different nutrient demands, and matching castings to those demands is what produces results. Heavy feeder crops — tomatoes, peppers, corn, squash, and cucumbers — deplete soil nitrogen and potassium rapidly during fruit production. These crops benefit from the microbial boost and slow nutrient release that worm castings provide, but they need supplementary nitrogen from other sources to sustain heavy fruiting.
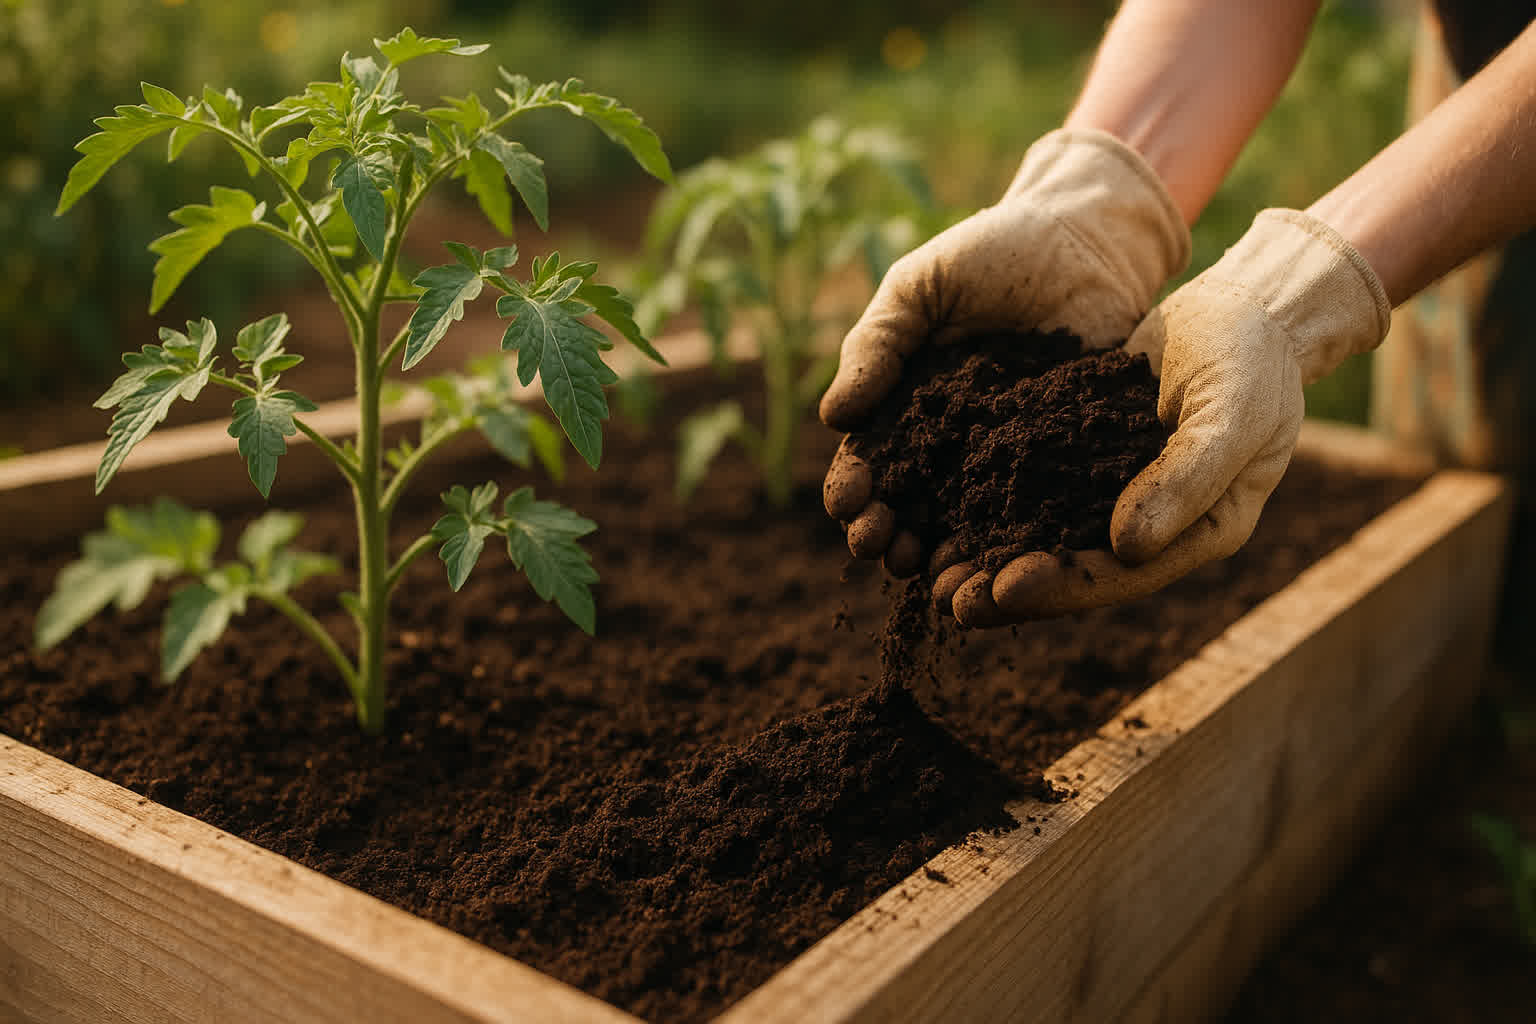
For heavy feeders, work 1–2 inches of worm castings into the top 6 inches of soil before planting, then supplement with a balanced organic fertilizer or composted manure during the growing season. If you are growing worm castings specifically for tomato plants, the worm castings provide the microbial foundation that helps roots access the calcium and potassium they need to set fruit — but calcium sulfate or kelp meal will still be necessary to prevent blossom end rot.
Light feeder crops — herbs, carrots, garlic, beets, and onions — require far less supplementation. Apply a thin layer of worm castings as a top-dress at planting time, roughly ½ inch worked into the soil surface. Over-feeding light feeders with worm castings does not harm the plants, but it wastes the material and your money. These crops rely more on the soil structure benefits than the nutrient aspects of worm castings.
Leaf crops such as lettuce, spinach, kale, and Swiss chard fall in the middle. Work 1 inch of worm castings into the top 4–5 inches of soil before sowing or transplanting. Worm castings support the rapid leaf expansion these crops need, and the improved soil structure helps them retain moisture through hot weather without waterlogging. Because leaf crops are harvested before fruit set, they require less nitrogen than heavy feeders and do well on the moderate microbial activity that worm castings provide.
Application Methods
Four primary methods exist for getting worm castings into your vegetable garden, and the best one depends on your planting stage and crop type. Top-dressing is the simplest: spread a ¼–½ inch layer of worm castings around the base of established plants, keeping it 1–2 inches away from stems to prevent rot. Scratch it lightly into the top inch of soil and water thoroughly. This method works well for tomatoes, peppers, and squash that are already growing.
Side-dressing involves creating a shallow trench alongside row crops and filling it with worm castings before covering with soil. Apply this method mid-season for heavy feeders — roughly ¼ cup of worm castings per linear foot of row. Side-dressing is especially effective for crops like corn, where roots extend laterally and can access the castings from a band rather than a single point.
For seed starting, mix worm castings into your soilless seed-starting mix at a rate of 10–15% by volume. Using more than 20% castings in a seed mix can create excessive moisture retention and cause damping-off in sensitive seedlings. The beneficial bacteria in worm castings colonize the young root zone, giving seedlings a protective advantage from day one.
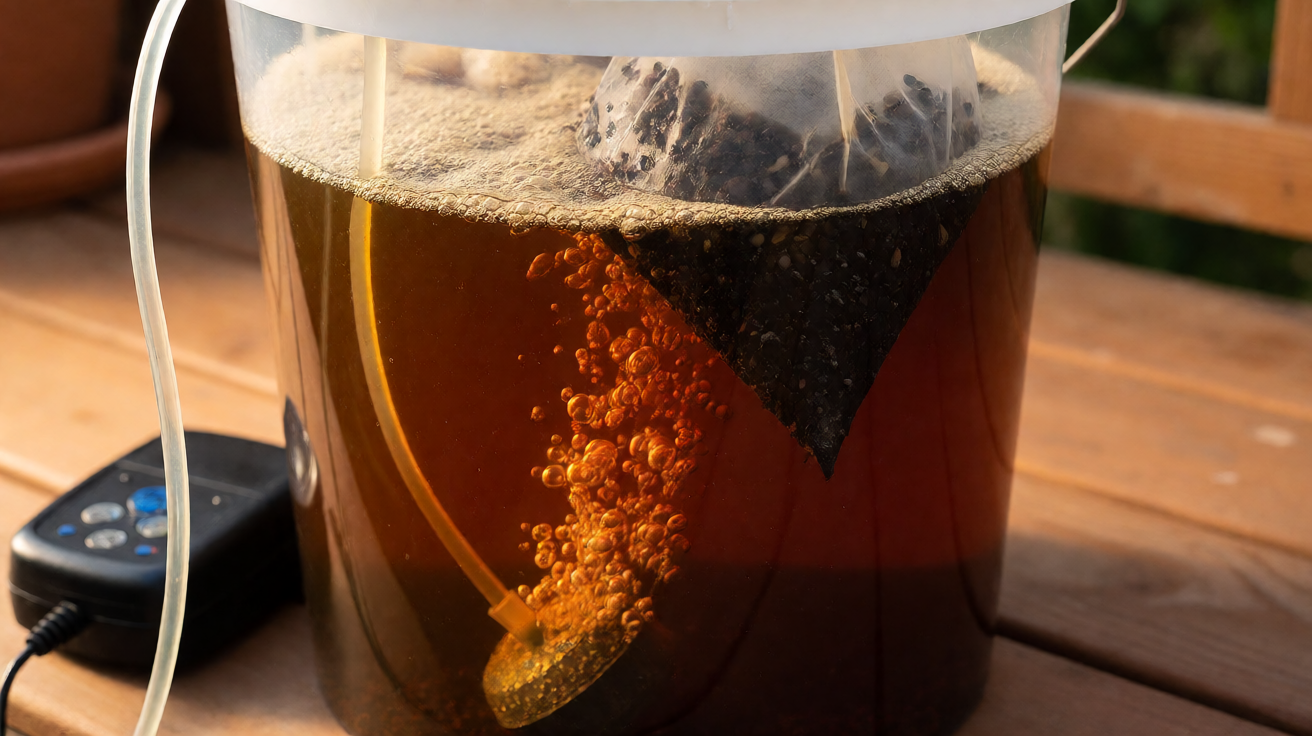
Compost tea brewing is a fourth method that many gardeners overlook. Steep 1 cup of worm castings in 5 gallons of non-chlorinated water for 24–48 hours, stirring occasionally. The resulting liquid contains soluble nutrients and suspended beneficial bacteria that can be applied as a soil drench or foliar spray. Compost tea should be used within 4 hours of brewing — after that, the oxygen-depleted solution becomes anaerobic and beneficial microbes die off.
The NPK Reality
Worm castings typically contain an NPK ratio of roughly 0.5–1% nitrogen, 0.5–1% phosphorus, and 0.5–1% potassium by weight — far lower than any conventional fertilizer. This low nutrient density is not a deficiency; it is a design characteristic. Worm castings act as a biological activator, not a primary fertilizer. The nitrogen present is largely in organic form, released slowly as soil microbes break down humic compounds over weeks and months.
The real value of worm castings lies in their ability to make existing nutrients in your soil more available. Humic acids in worm castings chelate calcium, magnesium, and iron that would otherwise be locked up in alkaline soils. A vegetable garden that has been built with worm castings over multiple seasons will show gradually increasing yields even without additional fertilizer — because the soil biome is being rebuilt season after season.
For gardeners whose soil test shows a nitrogen deficiency, worm castings alone will not correct it. Apply blood meal, fish emulsion, or composted manure alongside worm castings to address the immediate deficit while building long-term soil health. Think of worm castings as the delivery system for whatever nutrients you add — they help plants absorb what you feed them more efficiently.
Container, Raised Bed, and In-Ground Calculations
Applying worm castings to containers, raised beds, and in-ground rows requires volume-based calculations rather than eyeballing. For containers, mix worm castings into potting medium at a rate of 10–20% by volume. In a 5-gallon container, that is roughly ½ to 1 cup of worm castings mixed into the soil before planting. Top-dress containers with ¼ inch of worm castings mid-season, scratch it in gently, and water.
For raised beds, calculate the square footage and apply a uniform 1-inch layer of worm castings across the surface, then work it into the top 4–6 inches of soil before planting. A 4×8 raised bed (32 square feet) requires approximately 0.25 cubic feet of worm castings — roughly 20 quarts or about 40 pounds by weight. This is a significant investment but provides the biological foundation for the entire growing season.
In-ground rows are most efficiently treated with a broadcast application rate of 5–10 pounds per 100 square feet worked into the top 4 inches of soil before planting. For individual planting holes, add a handful of worm castings — roughly ¼ cup — mixed with the native soil. This localizes the microbial boost exactly where roots will establish, maximizing the return on your investment.
What Worm Castings Cannot Do
Worm castings improve soil structure, increase microbial activity, and enhance nutrient availability — but they have clear limitations that honest gardening advice requires acknowledging. Worm castings will not correct a nitrogen deficiency in depleted soil. If your plants show pale yellow leaves and stunted growth caused by insufficient nitrogen, applying worm castings is like taking a probiotic when you need an antibiotic — the soil health support is real, but it cannot replace an immediate nutrient source.
Worm castings are also not PH high tolerance. Despite their near-neutral pH, they will not significantly shift soil pH in either direction. If you are gardening in highly acidic soil (below pH 5.5) or alkaline soil (above pH 8.0), address that with agricultural lime or sulfur before relying on worm castings to improve plant health. Worm castings work best in soil with a pH between 6.0 and 7.0.
Finally, worm castings are a long-term investment in soil biology. Most gardeners do not see dramatic results the first season. The real benefit accumulates over 2–3 years of consistent application as the soil microbial community becomes established and self-sustaining. Gardens treated annually with worm castings develop a rich, dark, crumbly soil texture that resists compaction and drought stress — but this transformation takes time.
Worm Castings vs. Compost vs. Synthetic Fertilizer
Choosing between worm castings, traditional compost, and synthetic fertilizer depends on your soil condition, budget, and growing goals. Traditional compost made from yard waste and kitchen scraps is higher in bulk organic matter and better for building soil structure in severely degraded soils. It provides moderate nutrient levels and is inexpensive to make at home. The trade-off is that compost nutrient content is highly variable and often unpredictable depending on what was composted.
Worm castings are superior to standard compost for microbial diversity and nutrient availability in the root zone, but they cost more per pound and the nutrient content is lower. If your primary need is rebuilding soil biology and improving root access to existing nutrients, worm castings outperform compost. If your soil is sandy and you need to dramatically increase organic matter content, start with bulk compost and top-dress with worm castings.
Synthetic fertilizers deliver nutrients immediately and at precise NPK ratios, which is useful when correcting specific deficiencies. However, synthetic salts build up in soil over time, harm beneficial microorganisms, and require increasingly heavy application as soil biology degrades. The most effective approach for home vegetable gardens is to use synthetic fertilizers as a tactical correction tool while building soil health with worm castings and compost as the long-term foundation.
Sourcing Quality Worm Castings
Quality matters more with worm castings than with almost any other garden product. Industrial by-product marketed as worm castings — often called “worm compost” or “earthworm processed organic matter” — frequently contains unfinished material that has not fully passed through the earthworm digestive system. True vermicompost has a uniform, fine granular texture, a rich earthy smell with no ammonia or rot odor, and should not attract flies when spread on the surface.
Look for worm castings that have been finished and cured for at least 30 days after the earthworms have processed the material. Finished worm castings should have a moisture content of 30–40% — damp but not wet — and should crumble easily when squeezed. If the material compacts into a muddy lump, it is too wet and likely unfinished.
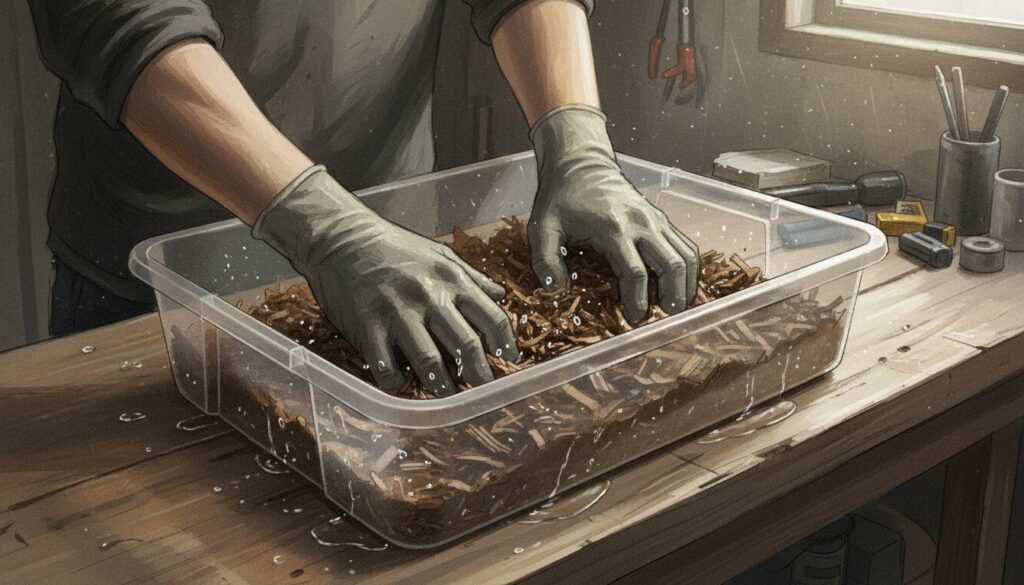
Making your own worm castings at home with a worm bin is the most cost-effective approach for gardeners who use more than 50 pounds of castings per year. A well-maintained 2×3 foot worm bin with roughly 1 pound of red wigglers (Eisenia fetida) per square foot of bedding can produce 5–10 pounds of finished castings every 3–4 months. Home production ensures quality control and eliminates the risk of contaminants from industrial sources.
If purchasing, buy from a reputable local supplier or garden center rather than big-box store bags that may be months old and fully cured. Quality worm castings stored in breathable bags retain their microbial viability for 3–6 months in a cool, dark location. Do not store in sealed plastic bags — anaerobic conditions will kill the beneficial bacteria within weeks.
Turn That PDF Into a Spreadsheet in Minutes
You've seen how to do it manually — now let the tool handle the heavy lifting. Upload your bank statement and get Excel, CSV, or QBO in a few clicks.
Try It Free