
Before you buy anything, it helps to understand what a hydroponic farm actually does , and what it doesn’t. The word “farm” suggests scale, but most people searching this query are looking to grow food at home or in a small greenhouse, and the decisions they make early on determine whether the system stays manageable or becomes a weekend job they resent.
The core difference between hydroponic growing and soil growing is that roots access nutrients directly from water instead of extracting them from soil. That sounds simpler, and in some ways it is , no watering, no weeds, no soilborne pests. But it also means every variable in the root environment is amplified. pH, EC, temperature, dissolved oxygen , these things that matter in soil but can be ignored for a while matter constantly in hydroponics.
What follows is the actual foundation for building a home-scale hydroponic farm that works consistently, not just in the first month.
What Makes Something a Hydroponic Farm vs. a Hydroponic Garden
The distinction matters because it shapes expectations. A hydroponic garden is typically one or a few systems , a DWC bucket, a small NFT channel , aimed at supplementing a kitchen with fresh herbs or a handful of tomatoes. A hydroponic farm implies continuous production, multiple crop cycles, and some volume of output.
At home, this usually means a setup with at least 12 to 20 plant sites and a reservoir of at least 20 liters, where you’re growing on a cycle rather than as a one-off experiment. The management intensity scales with size , a 4-liter reservoir needs checking every 2 to 3 days; a 50-liter reservoir can often go a week.
The Three Core Systems for Home Farms
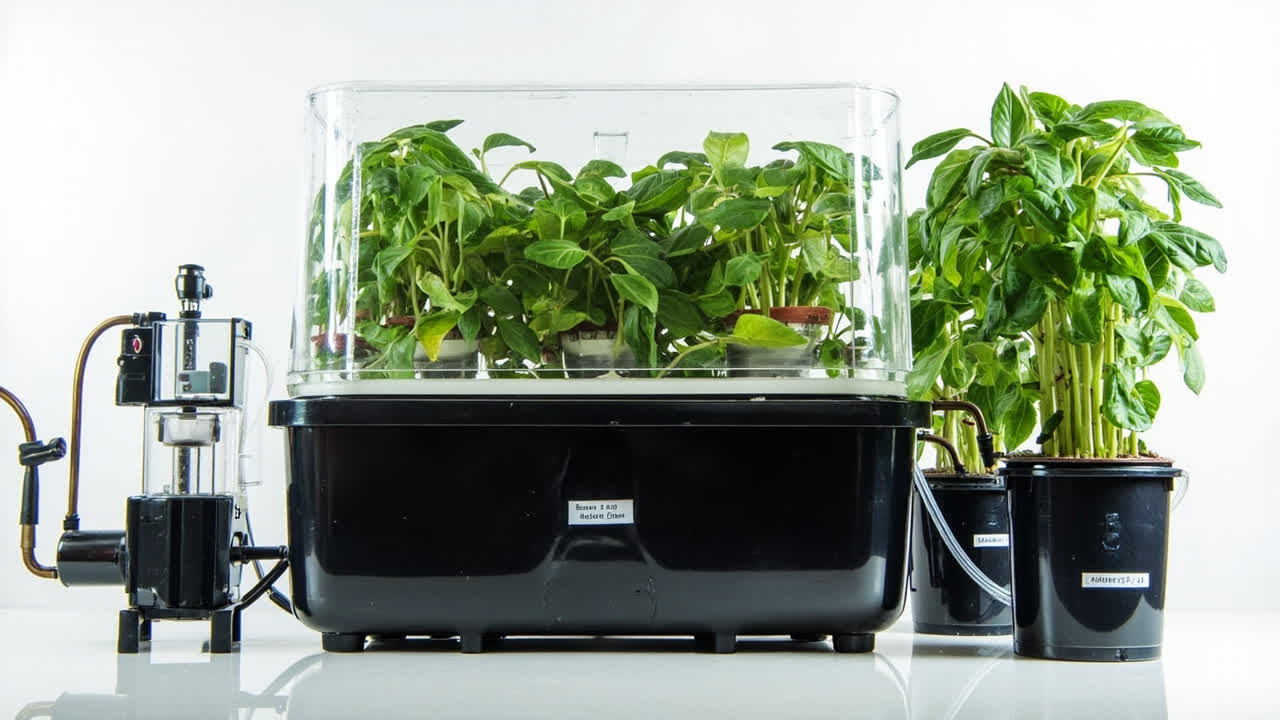
Most home-scale hydroponic farms use one of three system types (compare all options in our hydroponic systems guide):
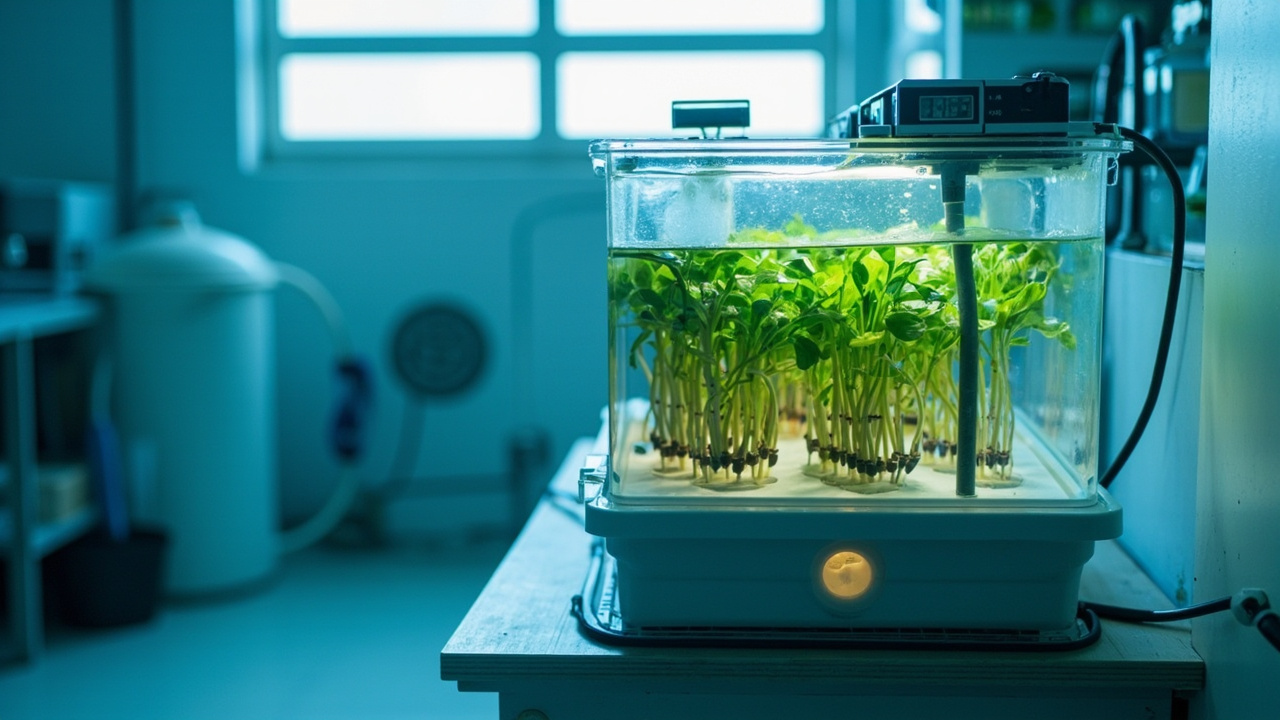
Deep Water Culture (DWC) , Roots hang directly in aerated nutrient solution. Simple to build, fast to set up, but temperature-sensitive because the entire volume is the root zone. Best in cooler environments or in controlled indoor spaces.
NFT (Nutrient Film Technique) , A thin film of nutrient solution runs continuously over the roots, which sit in channels. More efficient with water and nutrients than DWC, but more vulnerable to pump failures , if the flow stops, roots dry out fast.
Ebb and Flow (Flood and Drain) , The growing bed floods with nutrient solution, then drains back to the reservoir. Roots get both water/nutrients and air as the bed fills and empties. The most versatile for mixed crop types and the most forgiving of temperature swings in the reservoir.

What You Actually Need to Run a System Reliably
People overestimate the complexity of hydroponic farms, then underestimate the one variable that matters most: water temperature. Everything else can be managed with basic equipment. Water temperature between 18 to 22°C keeps the root zone aerobic; above 24°C, dissolved oxygen drops sharply and root pathogens become much more likely.
For equipment, the minimum reliable setup is:
- A reservoir with at least 10 liters per 10 plants , more is better for stability
- An air pump running continuously, rated for your reservoir size
- An air stone to distribute bubbles through the solution
- A pH meter , the cheap drop-test kits are insufficient for a working farm
- An EC meter , nutrient concentration management without this is guesswork
- A timer for any system with a pump (NFT, ebb and flow)
That’s it. No specialty controllers, no automated dosers, no remote monitoring to start. A farm that needs constant attention isn’t a farm , it’s a hobby that costs money. Build the simplest system that does the job, then add automation as you learn what actually needs managing.
Choosing What to Grow in Your First Farm
Start with crops that justify the setup and grow reliably in hydroponic conditions. Leafy greens , lettuce, basil, chard, kale , are the highest-confidence starting point. They have short growth cycles (30 to 45 days to harvest), grow well in moderate light, and produce a usable harvest from even a small system.
Avoid fruiting crops like tomatoes and peppers as your first system. They need higher light (often supplemental LED), more nutrients (higher EC), longer cycles (60 to 90 days to first harvest), and more stable environmental conditions. They are not harder to grow in hydroponics , they just require more from the system, and a first-time grower learning pH management and nutrient dosing while also managing a tomato’s needs will have a harder row to hoe.
The Light Requirement Reality
Hydroponics doesn’t eliminate the need for light , it just removes soil from the equation. If your farm location gets less than 6 hours of direct sunlight, you need supplemental lighting. For leafy greens under artificial light, 12 to 16 hours of LED grow light at the correct spectrum (400 to 700nm, heavy on blue and red) produces equivalent or better results than natural light in most indoor setups.
The Nutrient Solution: What Actually Goes In the Water
The nutrient solution is not fertilizer dissolved in water , it is a precisely balanced mix of macronutrients (nitrogen, phosphorus, potassium, calcium, magnesium, sulfur) and micronutrients (iron, manganese, zinc, copper, boron, molybdenum, chlorine) in specific ratios matched to the growth stage of the plant.
For most hydroponic crops, a 2-part liquid nutrient formula at half-strength for seedlings, full strength for vegetative growth, and reduced nitrogen with higher potassium for the early flowering stage is sufficient for consistent results. The mixing ratio matters more than the brand , follow the label but start at 75% of the stated concentration and work up based on how your plants respond.
Check pH daily , it drifts as plants uptake nutrients and water evaporates. Check EC every 2 to 3 days , it rises as water is used and concentration increases, or drops if you have a heavy-feeding crop depleting nutrients fast.
What Will Go Wrong , and How to Catch It Early
A hydroponic farm will have failures. The question is whether you catch them early enough to recover the crop or late enough that you start over.
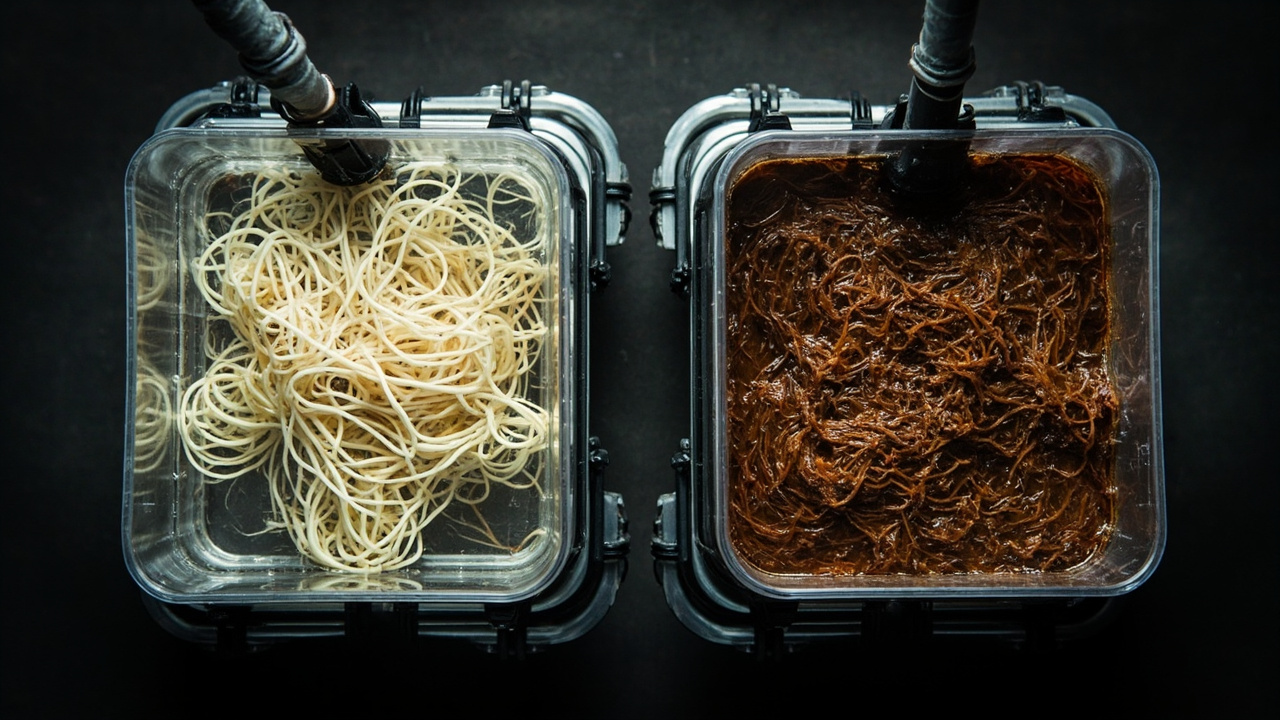
The most common failure mode (covered in detail in our hydroponic problems and solutions guide) is root rot in DWC and NFT systems, caused by warm nutrient solution, low dissolved oxygen, or both. The first sign is typically a smell , a sour, anaerobic odor from the reservoir. By the time roots show visible browning or sliminess, the infection is already established.
The fix is prevention: keep water temperature below 22°C, run air stones continuously, change the nutrient solution every 2 to 3 weeks regardless of how the plants look, and rinse the reservoir between changes.
Nutrient deficiency shows up in leaves before it shows up in growth rate. Pale new growth means nitrogen deficiency. Purple-tinged older leaves means phosphorus deficiency. Interveinal chlorosis on newer leaves means magnesium or iron deficiency. If something looks off, check the leaves before you check the roots.
pH Drift: The Silent Killer
pH drift that goes uncorrected for 5 to 7 days will cause nutrient lockout , the plants can’t access certain nutrients even if they are present in the solution. Symptoms often look like deficiency: yellowing leaves, stunted growth, leaf edges that look burned. The fix is simple , correct pH , but only if you catch it. Measure every 2 days minimum.
Building Your First Reliable Setup: The Practical Path
Start with an ebb-and-flow system with a 30-liter reservoir and a single 1.2m × 0.6m grow bed. This size is large enough to produce meaningful quantities of leafy greens, small enough to manage without automation, and has enough thermal mass in the reservoir to not swing temperature wildly between checks.
Run the flood cycle 3 to 4 times per day for 15 minutes per cycle. This gives roots access to nutrients and water 3 to 4 times, with long dry periods in between that keep the root zone well-aerated. More frequent cycles are not better , roots need air as much as they need water.
Place the reservoir below the grow bed (gravity return), add a 600l/h air pump with an air stone in the reservoir, and a simple digital timer. Fill with reverse osmosis water or filtered tap water to avoid chlorine issues, add nutrients at half the label strength for the first week, then move to full strength. Check pH, check water level, check reservoir temperature daily.
That system will grow lettuce, basil, kale, cilantro, and mint reliably. Add a crop of cherry tomatoes once you have 30 days of clean runs under your belt and understand how your system behaves through a full nutrient change cycle.
System Types Beyond the Core Three
While Deep Water Culture, Nutrient Film Technique, and Ebb and Flow cover most home-scale operations, a few additional methods deserve mention for specific use cases. Wick systems are passive and require no pumps, making them ideal for small herb gardens where reliability matters more than yield. The trade-off is that wick systems cannot support heavy-feeding fruiting crops like tomatoes or peppers because the capillary action simply cannot move enough nutrient solution for those plants.
Kratky methods represent the simplest possible hydroculture approach: a static nutrient solution in a reservoir with no aeration, where the plant roots grow down to just touch the water surface. This works for lettuce and other leafy greens because their nutrient demand is low and their root zones do not require constant oxygen renewal. Once the nutrient level drops below the root zone, the upper roots develop in air and continue functioning. The limitation is that Kratky systems are single-cycle only; you cannot top them off without disrupting the root structure.
Substrate-based systems use an inert growing medium such as coco coir, rockwool, or perlite to anchor the plant while a nutrient solution floods or drips through it. These systems are more forgiving than substrate-less designs because the medium buffers against pH swings and provides a larger root zone volume. They are also heavier and more expensive to set up, which is why they are less common among beginners.
Turn PDF Bank Statements Into Workable Spreadsheets
Your bank statement is a mess of numbers, but your books shouldn't be. Use our converter to get Excel, CSV, or QBO files — ready for QuickBooks.
Try It Free Now