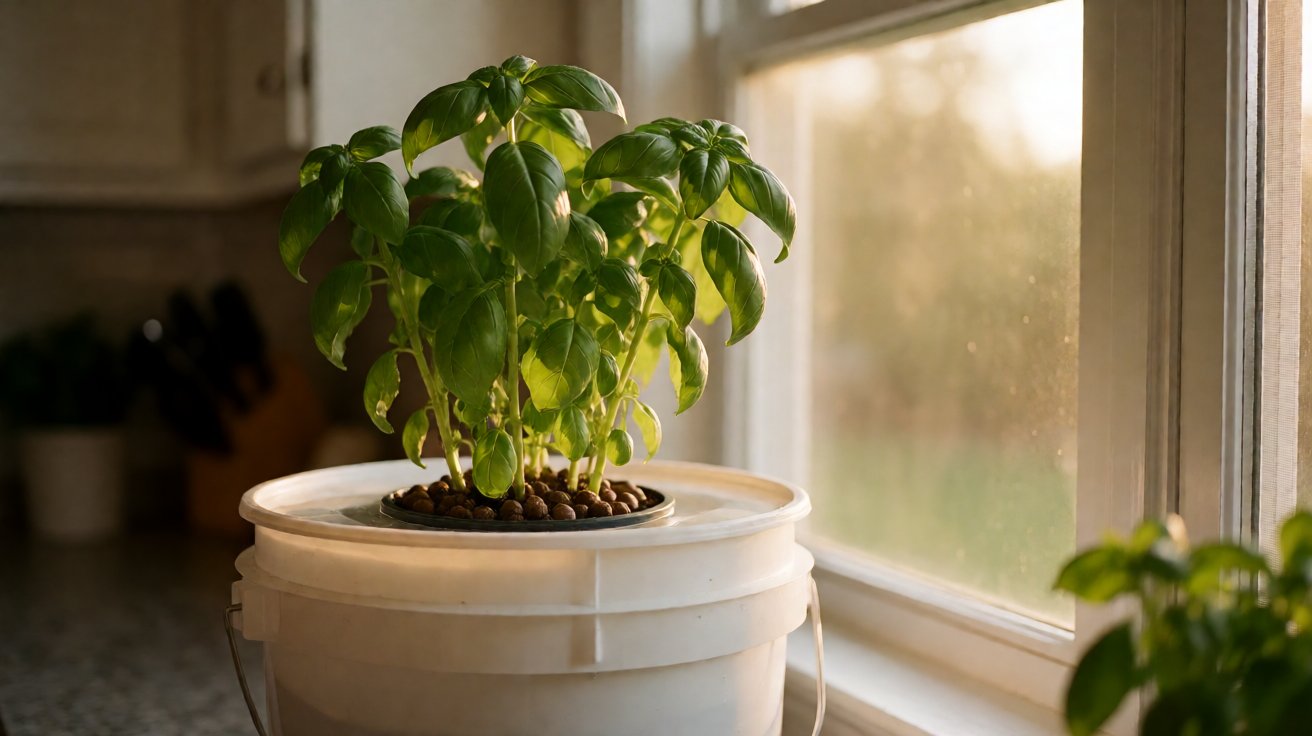

A plant does not actually need soil. It needs water, the mineral ions dissolved in that water, oxygen at the root surface, and light on the leaf. Soil is just one delivery system for those four things, and it is a slow, lossy one. Hydroponic farming at home replaces soil with a reservoir and a pump, which means the plant gets what it needs directly, on a timer, without the buffering effects of organic matter. That is also where the trouble starts.
The failure mode at home is not the plant. It is the room. An apartment bedroom is not a greenhouse. The humidity around the leaf, the air movement over the root, the temperature swing between day and night, the salt concentration that drifts up between reservoir changes — every one of those variables behaves differently inside a closed bedroom than inside a 50% RH grow tent. Most growers who fail hydroponic farming at home fail because they copied a tent setup into a closet and did not adjust for the room. The biology is the same. The room is not.
One honest limit up front: no reservoir fixes a clogged nozzle, and no nutrient recipe fixes a room with no airflow. Hardware can be replaced; environment cannot be ignored.
Latin names that come up in this guide: Lactuca sativa (lettuce), Ocimum basilicum (basil), Fragaria × ananassa (strawberry), Spinacia oleracea (spinach).
The Three Failure Modes You Will Hit Before You Hit Anything Else
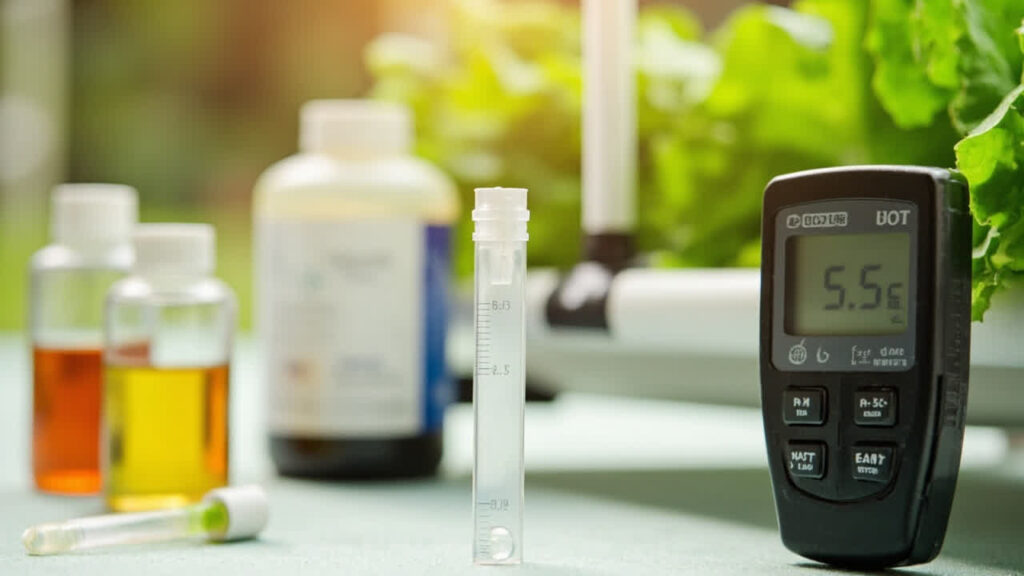
Home hydroponic systems fail in three predictable ways before any plant biology shows up on the leaves. The first is salt creep. Dissolved mineral ions do not stay dissolved forever. Water evaporates from the reservoir, the nutrient concentration rises, and the electrical conductivity (EC) creeps upward between changes. A lettuce plant that wants 1.2 mS/cm will burn at 2.4 mS/cm within a week if you never top up with plain water.
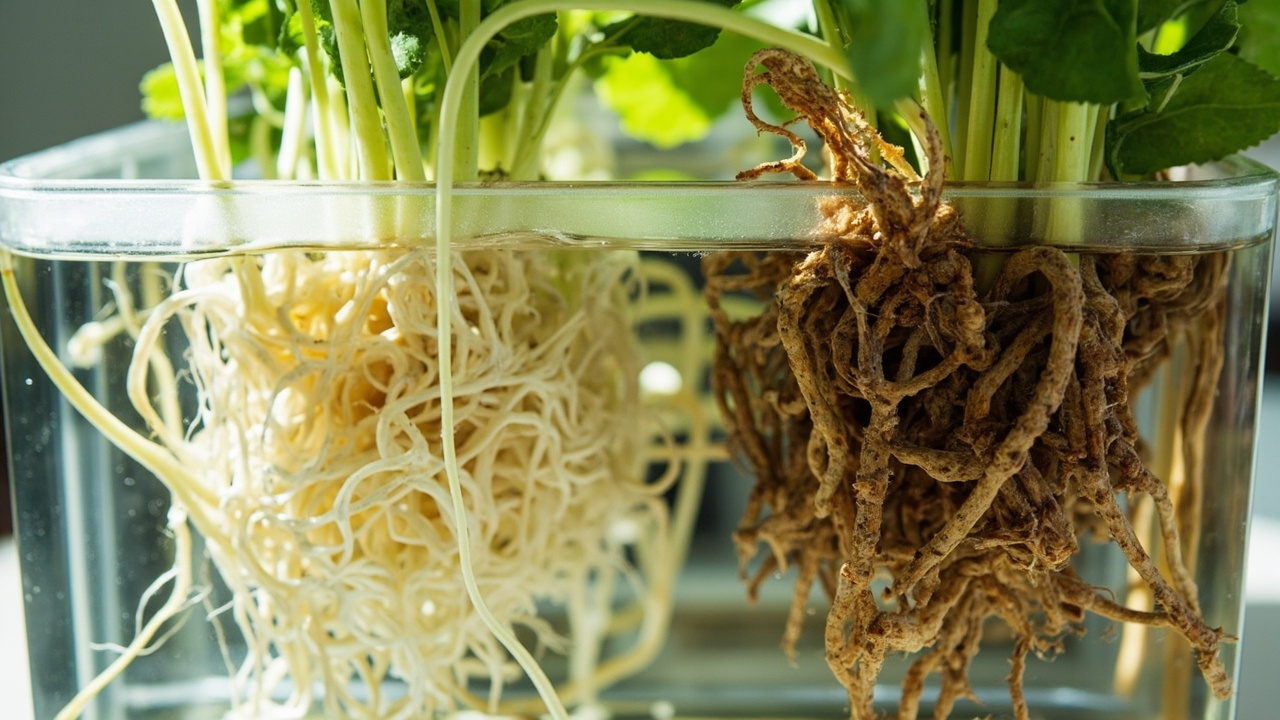
The second is root oxygen. Roots in a static water column will suffocate in 4 to 6 hours if the dissolved oxygen (DO) drops below 5 mg/L. A Deep Water Culture (DWC) bucket without an air pump is a bucket of rotting roots by day three. Air stones are not optional. The third is pH drift. As the plant takes up nitrate (NO₃⁻) faster than calcium (Ca²⁺), the solution becomes more basic; if ammonium dominates early on, it shifts more acidic. Either way, the pH leaves the 5.5–6.5 absorption band within 7–10 days, and the plant cannot pull iron or manganese even when both are present in the solution.
What “Without Soil” Actually Means
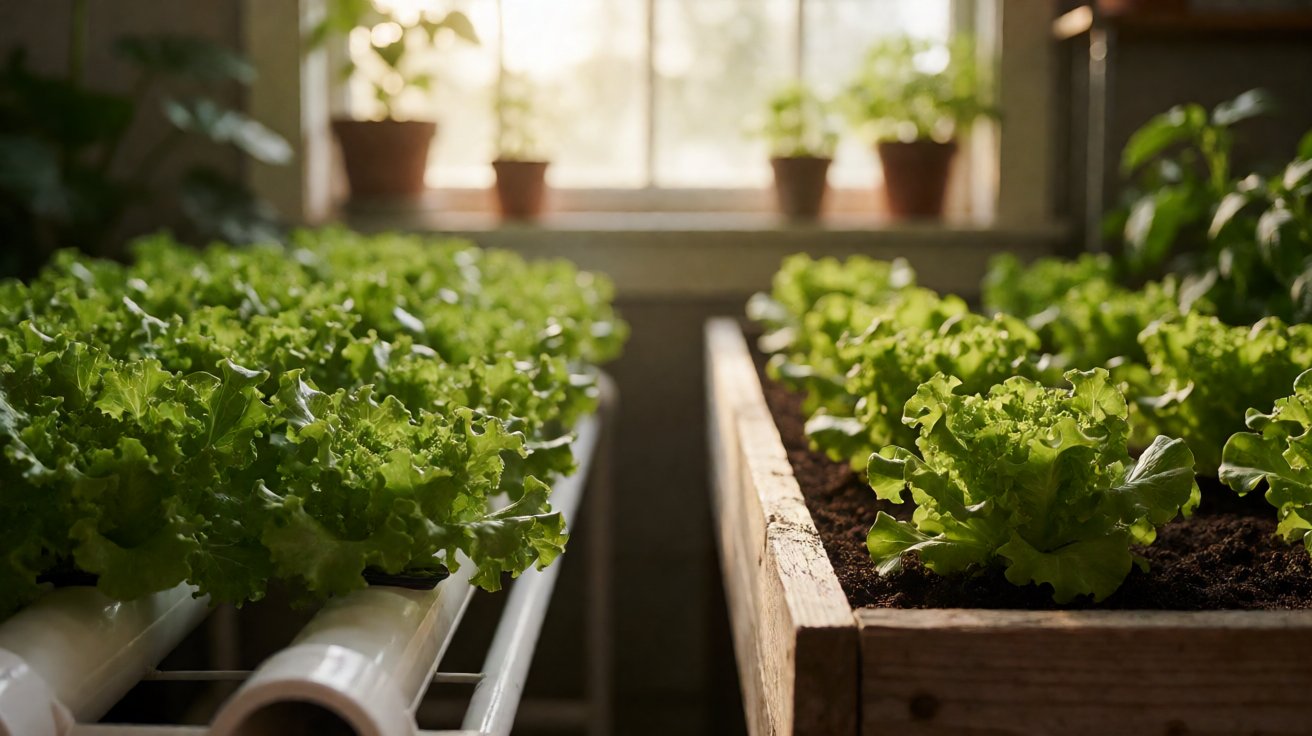
Hydroponic farming at home runs on six system families, and each one delivers water and oxygen to the root in a different geometry. Choosing the right one for your room is 80% of the decision.
- Deep Water Culture (DWC). Roots hang in oxygenated nutrient solution 24/7. Cheap, fast to build, ideal for lettuce and basil. Air pump required; root rot is one pump failure away. Detail in our DWC setup guide.
- Nutrient Film Technique (NFT). A thin film of solution flows through a sloped channel; roots sit in a wet airstream. Excellent for leafy greens, weak for heavy feeders like tomatoes.
- Ebb and Flow (Flood & Drain). A tray floods with solution on a timer, then drains back to the reservoir. Cyclic wet/dry stimulates root branching. More moving parts, more failure points.
- Drip System. A emitter drips solution onto the root ball on a timer. Common in commercial tomato setups; works at home but emitter clogging is a recurring headache.
- Wick System. Passive; a wick draws solution from the reservoir into the root zone by capillary action. No pump. Slow. Works for herbs; fails for hungry crops.
- Kratky Method. Passive DWC variant. The plant drinks the water down, the air gap widens, no pump ever runs. Works for lettuce; collapses for tomatoes. Covered in the hydroponic farm basics guide.
Each system has its own root-zone oxygen profile, and that profile is what you match to your room. A Kratky jar on a kitchen counter at 22°C is a different machine than the same Kratky jar in a 28°C garage.
What Actually Works in Each Room
The “best” system for your home depends entirely on which room gets the grow. Each room imposes a different climate envelope, and each climate envelope imposes a different bottleneck. Pick the room before you pick the system.
Kitchen Counter or Spare Shelf
Ambient temperature 18–24°C. Light from a south-facing window is enough for lettuce. The bottleneck is salt creep — a small reservoir under 4 L swings EC by ±0.4 mS/cm per day. Top up with plain water between nutrient changes; do not add more nutrients when EC is already in range.
Best fit: Kratky jars, small DWC buckets, or a single NFT channel. Lettuce, basil, parsley. A 2-liter jar of basil under a kitchen light is the cheapest possible hydroponic farming at home.
Bedroom Closet
Ambient temperature 16–22°C. Limited airflow. The bottleneck is humidity — once the reservoir darkens, transpiration slows, and the room can spike above 70% RH, which invites botrytis and root mold. Add a small clip fan running 4 hours/day. Keep the door cracked or the closet will overheat the nutrient solution above 24°C, which collapses dissolved oxygen below 5 mg/L.
Best fit: a 4-bucket DWC system with a single air pump rated for 4 outlets. Lettuce, basil, mint. Avoid fruiting crops in a closet without CO₂ supplementation — you will get leaves, not fruit.
Living Room Shelf or Bay Window
Light is good. The bottleneck is aesthetics. Visible plumbing leaks, algae on the reservoir sides, and salt creep on the floor all become daily friction. Use opaque reservoirs (no light → no algae → no pH swings from photosynthesis inside the tank) and wipe the outside weekly.
Best fit: a single DWC bucket with a small grow light clipped to the shelf above. One tomato plant in a 5-gallon bucket is a 6-month project; one basil plant in a 2-gallon bucket is a 6-week cycle.
Garage or Basement
Temperature is the variable. Uninsulated garages swing from 10°C to 32°C across the year. Below 16°C, lettuce grows slowly; above 26°C, dissolved oxygen in a DWC reservoir drops below the saturation point and roots start to brown. A water chiller or an insulated reservoir is not optional in a garage.
Best fit: NFT or Dutch bucket systems with a 100–200 L reservoir, chiller, and dedicated air pump. The garage is where commercial-scale hydroponic farming at home starts to make sense, because the room can absorb the heat load of a 200 W grow light.
Outdoor Balcony or Patio
Full sun is the asset. The bottleneck is wind, which dries leaves and topples tall plants, and rain, which dilutes your reservoir. A simple roof over the system is enough; a full enclosure is overkill.
Best fit: Kratky or drip systems in food-grade 5-gallon buckets. Tomatoes, peppers, strawberries. Use an opaque reservoir to keep algae out and keep the solution cool by painting the outside white.
What You Actually Need to Buy (and What You Don’t)
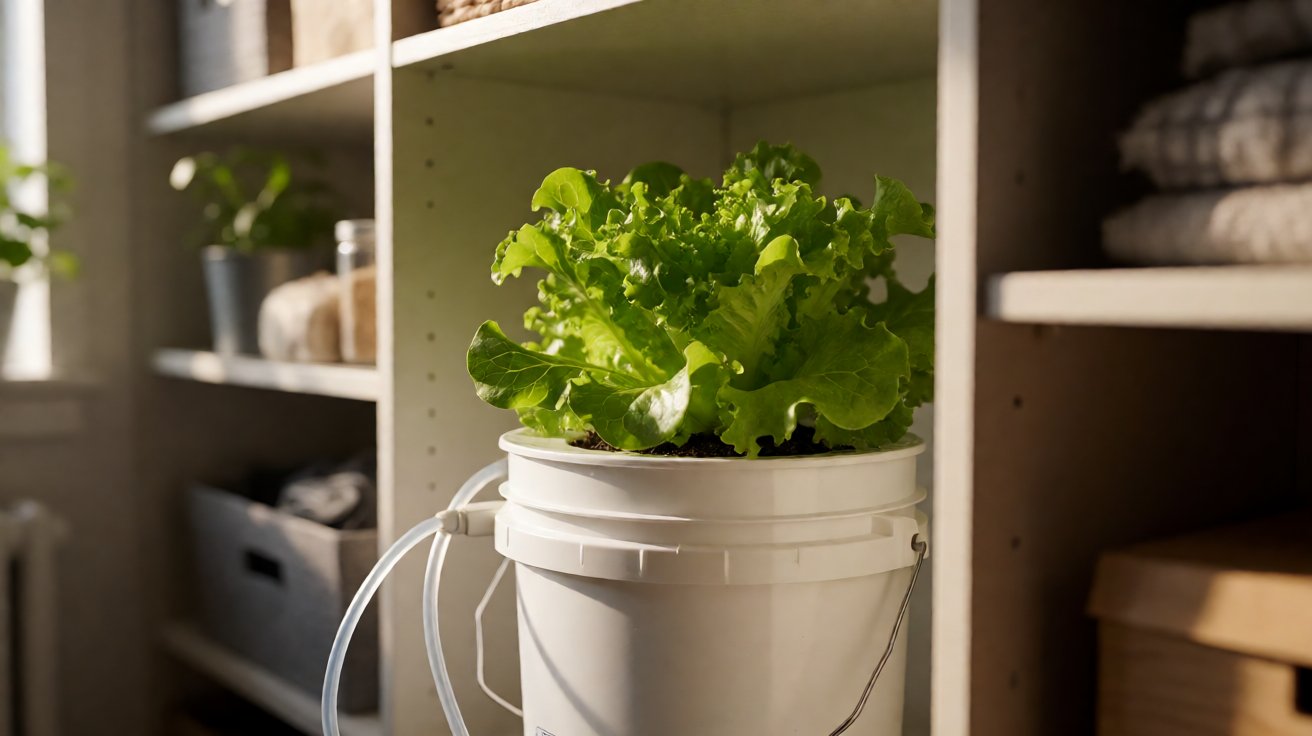
The minimum kit for hydroponic farming at home is smaller than the marketing suggests. For a single DWC bucket growing two basil plants, the required hardware is: one 5-gallon opaque bucket with lid, one 4-inch net pot, one air pump rated for a 5-gallon reservoir, one air stone, one quarter roll of clay pebbles, and one bag of pH-down. That is the entire system. Total cost: $35–60 in the US.
What you do not need on day one: a water chiller (only if your room exceeds 24°C), a TDS meter (start with the recipe; add a meter when the recipe drifts), a full-spectrum LED panel (a $25 desk lamp with a 6500K bulb outperforms most $80 “grow bulbs”), or a pH controller (a $12 pH pen and manual dosing covers a single bucket).
What you do need on day one: a notebook. EC, pH, temperature, and any visible change go in once per day. The pattern matters more than any single reading.
Common Mistakes That Kill Hydroponic Farming at Home
Mixing nutrients into a full reservoir before pH is correct. Most concentrated nutrient solutions come in at pH 7.0 or higher. Adding them straight to RO or tap water and then trying to lower the pH with acid is harder than filling the bucket, adding nutrients, then adjusting pH to 5.8–6.0 with a pH-down solution a few drops at a time.
Topping up with nutrient solution instead of plain water. When the water level drops, the salt concentration rises. Adding more nutrient concentrate on top of that raises EC further and burns the roots. Top up with plain water until the original EC reading is restored, then change the entire reservoir every 7–14 days.
Skipping the air pump “because the roots are already wet.” Wet roots in stagnant water drown within 4–6 hours. The pump is not aerating the leaves; it is keeping the dissolved oxygen above the 5 mg/L threshold the root cells need for aerobic respiration. A DBC pump failure looks like healthy roots on Monday and brown mush by Thursday.
Setting the light on a 24-hour cycle. Plants need a dark period for root growth and for the translocation of sugars from leaf to root. A 16/8 or 18/6 cycle (hours on / hours off) outperforms continuous light at every EC level. Lettuce specifically wants 14–16 hours; basil wants 16–18.
Putting the reservoir in direct sun. Algae bloom within 5 days in any clear or translucent container under grow lights. Algae consumes the nutrients, raises pH through photosynthesis, and coats the roots. Opaque buckets only.
What to Expect in the First 30 Days
The honest timeline for hydroponic farming at home, assuming a 5-gallon DWC bucket with two basil plants under a 30 W LED at 18°C ambient: day 3 shows visible root growth; day 7 shows the first true leaves beyond the seedling pair; day 14 shows the root mass reaching the bottom of the net pot and entering the solution; day 21 is the first pinch-and-eat moment for basil. Lettuce is similar but slower — 30–35 days from transplant to first harvest.
The mistakes in that window are predictable. EC will drift up; pH will drift up; temperature will rise under the light. The fix is not heroic intervention. The fix is plain water top-up, pH adjustment to 5.8 with a single drop of pH-down, and a reservoir change every 14 days. That is the rhythm of hydroponic farming at home.
Two readers from the next articles in this cluster will help you decide which direction to go next: if you are still weighing whether the system is worth the setup, the hydroponic farming advantages and disadvantages page lays out what you trade and what you gain when soil disappears; if you are ready to start tomorrow, how to start a small hydroponic farm at home walks through a 30-day plan with a budget and a parts list.
Turn That PDF Into a Spreadsheet in Minutes
You've seen how to do it manually — now let the tool handle the heavy lifting. Upload your bank statement and get Excel, CSV, or QBO in a few clicks.
Try It Free