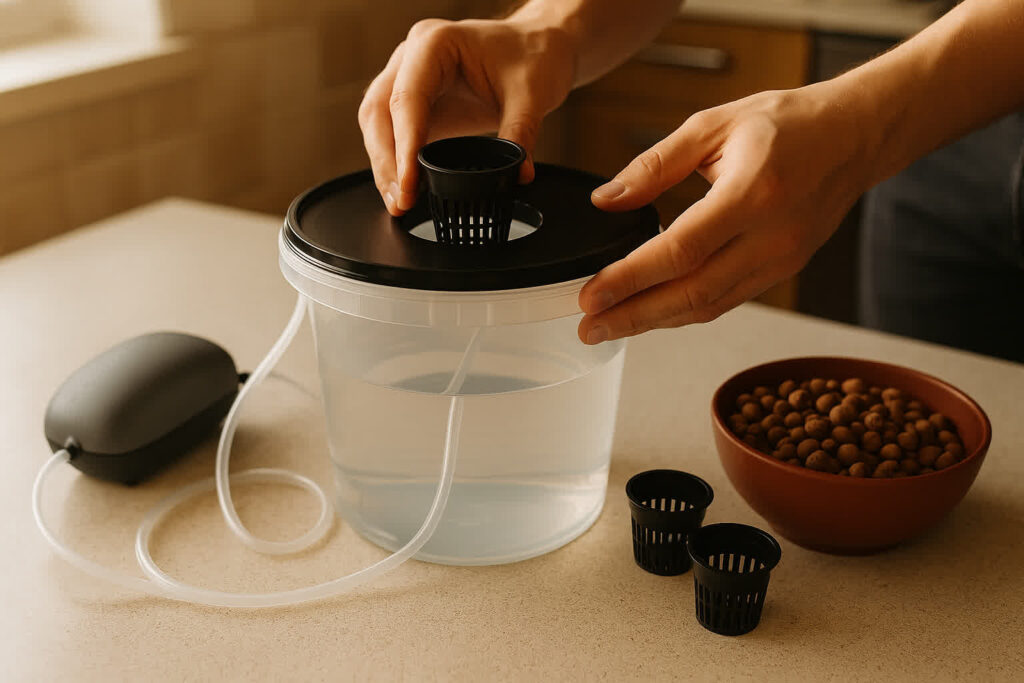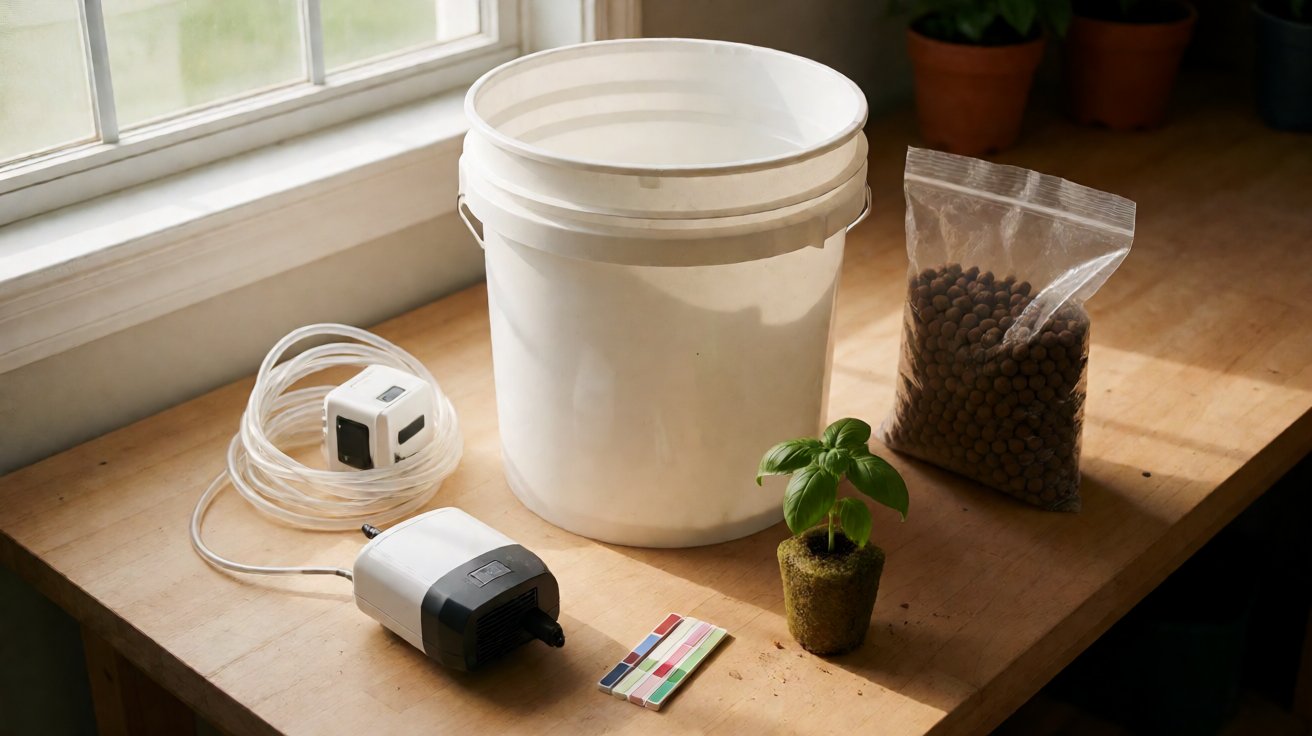

A first hydroponic system is not a science project. It is a 5-gallon bucket, an air pump, one bag of clay pebbles, and a basil seedling. The biology will run by itself once the hardware is correct. The first month is mostly about not racing the equipment and not racing the plant — the system needs to cycle through one full nutrient change before you trust the EC reading, and the plant needs 14 days of root growth before you trust the canopy.
One honest limit up front: this guide assumes a 5-gallon Deep Water Culture (DWC) bucket as the starter system. It is the cheapest, fastest-to-build, and most forgiving home hydroponic setup. NFT, aeroponics, and ebb-and-flow each have their own first-month checklists; this guide does not cover them.
Latin names in this guide: Ocimum basilicum (basil, the recommended starter crop), Lactuca sativa (lettuce, the second-best starter), Spinacia oleracea (spinach), Fragaria × ananassa (strawberry).
The Decision Before the Build
Before buying hardware, three decisions set the size of the system and the calendar of the first harvest. The wrong choice on any of them produces a working system that grows the wrong plant in the wrong room.
Which room? The room sets the temperature, humidity, and light envelope. A south-facing window gives enough light for lettuce and basil at 18–22°C. A closet with a $25 LED panel gives enough light year-round. A basement without a heater holds temperatures too low for tropical herbs in winter. The hydroponic farming at home page maps each room to the system family that fits.
Which crop? Basil is the best first crop because it forgives EC drift between 1.0 and 2.0 mS/cm, grows visibly each day under a kitchen window, and recovers from over-pruning by branching. Lettuce is the second-best because it tolerates cooler temperatures and is harvested whole, but it bolts under heat above 24°C. Strawberries and tomatoes are third-month crops, not first-month.
How much harvest? A single 5-gallon DWC bucket grows two basil plants. That is one to two pinches per week per plant. A 4-bucket closet system grows 8 basil or 4 lettuce heads. A garage-scale NFT with 8 channels grows 60+ lettuce heads per cycle. The size is set by the weekly harvest the kitchen will actually eat.
Parts List for the First System (Under $60)
The minimum kit, sourced from any hardware store and one online nutrient supplier, totals $35–60 USD in 2026. Every item has a reason; none of them is optional.
- 5-gallon opaque bucket with lid. Food-grade HDPE. Opaque to block light (no algae). Lid holds the net pot. $5–10.
- 4-inch net pot. Sits in a hole cut in the lid, holds the clay pebbles and the plant. $2–3.
- Clay pebbles (LECA). One 10-liter bag is enough for 4 refills. Inert, pH-neutral, reusable. $8–12.
- Air pump rated for 5+ gallons. A single-outlet diaphragm pump with a 4–8 L/min airflow rating is the right size. $12–18.
- Air stone + tubing. 4-inch cylindrical stone, 3 feet of 1/4-inch tubing. $4–6.
- General-purpose hydroponic nutrient. One bottle of 2-part or 3-part nutrient covers the first 6 months. $10–15.
- pH-down solution. Phosphoric acid-based, the smallest bottle. $5–8.
- pH test strips or pen. Strips work for the first 3 months; a $12 pen is worth it once you are past the starter phase. $5–12.
Total: $51–84 USD, depending on nutrient and pump choice. The same setup on Amazon with Prime shipping lands in 2 days.
The First 30 Days, Day by Day
The honest timeline of a hydroponic farm from empty bucket to first harvest. Day numbers assume a 5-gallon DWC bucket started in a temperate room at 20–22°C with a single basil seedling.
Day 0 — Build and Fill
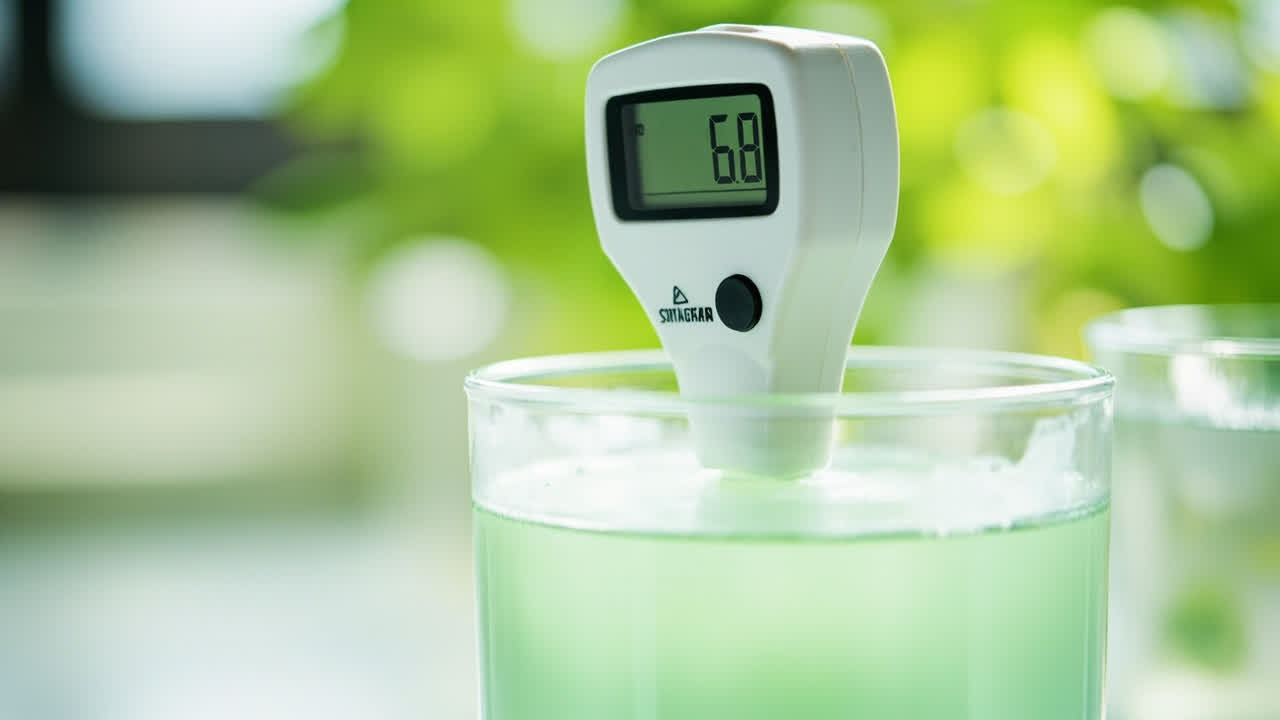
Drill or cut a 4-inch hole in the bucket lid. The hole should be the same diameter as the net pot so the lip of the pot rests on the lid. Fill the bucket with 4 gallons of tap water (room temperature, not cold). Add nutrients per the bottle’s “seedling” or “vegetative” recipe — most 3-part nutrients call for 5–10 mL each of A, B, and calmag per gallon at this stage. Add pH-down one drop at a time, stir, test, repeat until pH reads 5.8–6.0. Place the air stone on the bottom of the bucket, connect the tubing, run the pump. The water should look like a low-grade aquarium — fine bubbles, not a violent boil.
Rinse the clay pebbles until the runoff water is clear. Place the basil seedling (started in rockwool or soil) into the net pot, backfill with rinsed clay pebbles so the plant stands upright on its own.
Day 1 — Verify
Check the pH. It will have drifted up overnight because the nutrients, the bucket, and the clay pebbles all carry a small alkaline load. Adjust back to 5.8–6.0. Confirm the pump is running. Confirm the root crown is above the water line and the roots are dangling into the nutrient solution through the bottom of the net pot.
Day 3 — First Top-Up
The water level has dropped 1–2 inches through plant uptake and evaporation. Top up with plain water (no nutrients) until the original level is restored. Test EC and pH. The EC may have climbed 0.1–0.2 mS/cm; the pH may have climbed 0.2–0.5 units. Adjust both back to the original targets.
Day 7 — First Real Sign
The plant should have visibly grown. New true leaves (beyond the seedling pair) should be visible. The roots should be visibly longer and whiter than on day 0. If the roots are brown and the plant is wilting, the air pump is undersized or failing; address now, not on day 14.
Day 14 — First Full Change
Drain the entire bucket. Rinse the bucket, rinse the air stone, refill with fresh water and fresh nutrients at the seedling recipe. This is the first full reservoir change. From this point forward, change the reservoir every 14 days (lettuce, basil, mint) or every 10 days (tomato, pepper, strawberry).
Day 21 — First Pinch
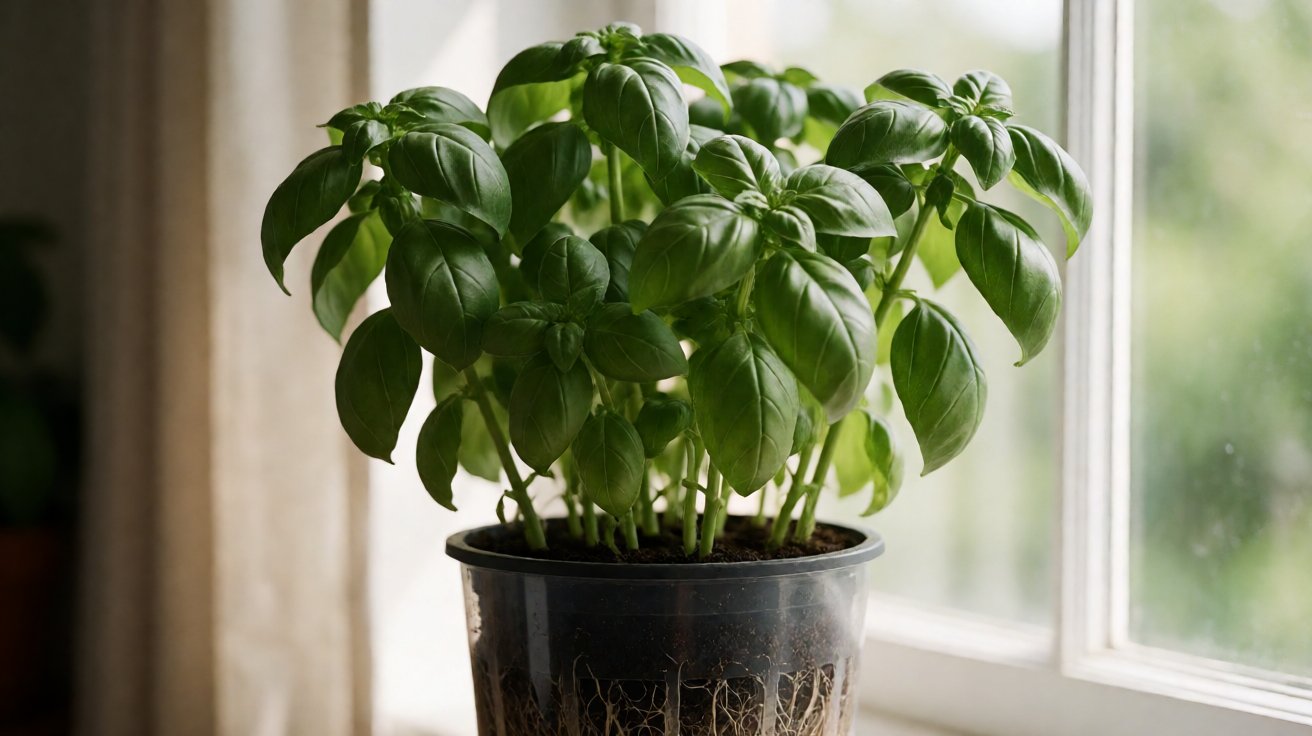
Basil tops out at 6–8 inches of growth. Pinch off the top 2 inches above a leaf pair; this forces the plant to branch. You have your first harvest. The plant will produce 2–4 more harvests in the next 30 days from the branches.
Day 30 — Steady State
By day 30 the system has cycled through 2 reservoir changes, the plant has been pinched 2–3 times, and the routine is set. From here forward, the pattern is: plain-water top-up every 2–3 days; pH adjust when it drifts above 6.2; full change every 14 days. That is the entire maintenance schedule.
What to Buy in Month 2 (Once the First System Works)
The first month tells you if hydroponics is your method. The second month is when the system expands, because a working 5-gallon bucket is the cheapest possible proof of concept and most growers who pass that test want at least one more bucket within 60 days.
Buy in month 2 based on what you actually want, not on what the YouTube channels sell:
- EC meter ($15–25). Useful once the recipe starts drifting outside its initial range. Useless in month 1 because the recipe is fresh.
- Second 5-gallon bucket ($5–10) + second air pump ($12–18). Double the harvest; same maintenance routine.
- Small grow light ($20–35). 30 W full-spectrum LED panel on a 16/8 timer. Useful if your window gets less than 6 hours of direct sun.
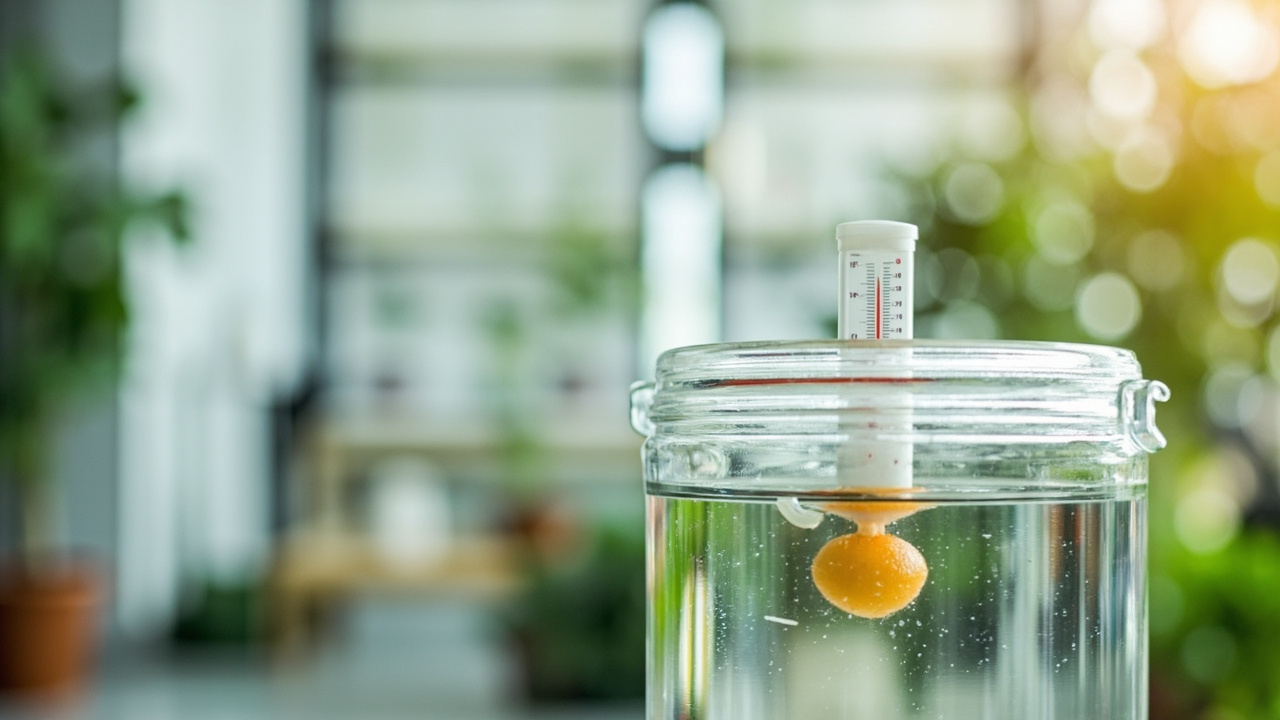
- Water chiller ($80–150). Worth it once your room temperature exceeds 24°C in summer or your reservoir sits above 22°C. Skippable in temperate climates.
What to skip in month 2: pH controllers (your $12 pen is enough for two buckets), RO filters (tap water at 100–250 ppm is fine for the crops above), and any nutrient line marketed as “pH-balanced” (all nutrient solutions need pH adjustment).
What Can Go Wrong on the First Bucket (and How to Fix It)
Every first bucket hits at least two of these. Knowing them in advance turns a crisis into a 5-minute fix.
Roots turn brown and mushy. The air pump is undersized or the air stone is clogged. Replace the stone first (cheap); if the pump is over a year old, replace the pump. Trim any brown roots back to white tissue with clean scissors.
Leaf tips burn. EC is too high. Drain 25% of the reservoir, replace with plain water, retest EC. Continue the dilution until EC returns to the recipe’s range.
Yellowing between the veins on new leaves. Iron or manganese deficiency, almost always a pH issue (above 6.5 locks out both). Drop pH to 5.8, retest the next day. New leaves should green up within 4–5 days.
Algae bloom inside the bucket. Light is leaking into the reservoir. Wrap the bucket in opaque tape or replace with an opaque bucket. Existing algae can be killed by a 30-minute soak in 1:10 hydrogen peroxide:water before the next refill.
Pump is loud. Diaphragm pumps vibrate. Place the pump on a folded towel or on a foam pad, not directly on a hard surface. Vibration at the right frequency on a hardwood shelf will be audible from one room over.
What Comes After the First 30 Days
Once the first 30 days are behind you and the basil has been pinched 2–3 times, the question is not whether hydroponics works for you. The question is what to do next.
Three paths, each with a different next article in this cluster: if you want to scale to a 4-bucket closet system, the best hydroponic systems for home page ranks 6 setups by room type and budget; if you want to add the science side (pH, EC, dissolved oxygen, light spectrum), the pH in hydroponics page and the hydroponic light spectrum guide cover the physics; if you want to start over with a different crop, the best plants for hydroponics list maps 12 common home crops to the system family each one prefers.
The first 30 days are about not overthinking it. The next 30 are about the routine.
For the broader system family comparison that this article opened with, the hydroponic farm basics guide maps every major hydroponic system type to the room it fits, and explains the physics of nutrient delivery without soil in a way this 30-day build assumes you already understand.
Turn PDF Bank Statements Into Workable Spreadsheets
Your bank statement is a mess of numbers, but your books shouldn't be. Use our converter to get Excel, CSV, or QBO files — ready for QuickBooks.
Try It Free Now