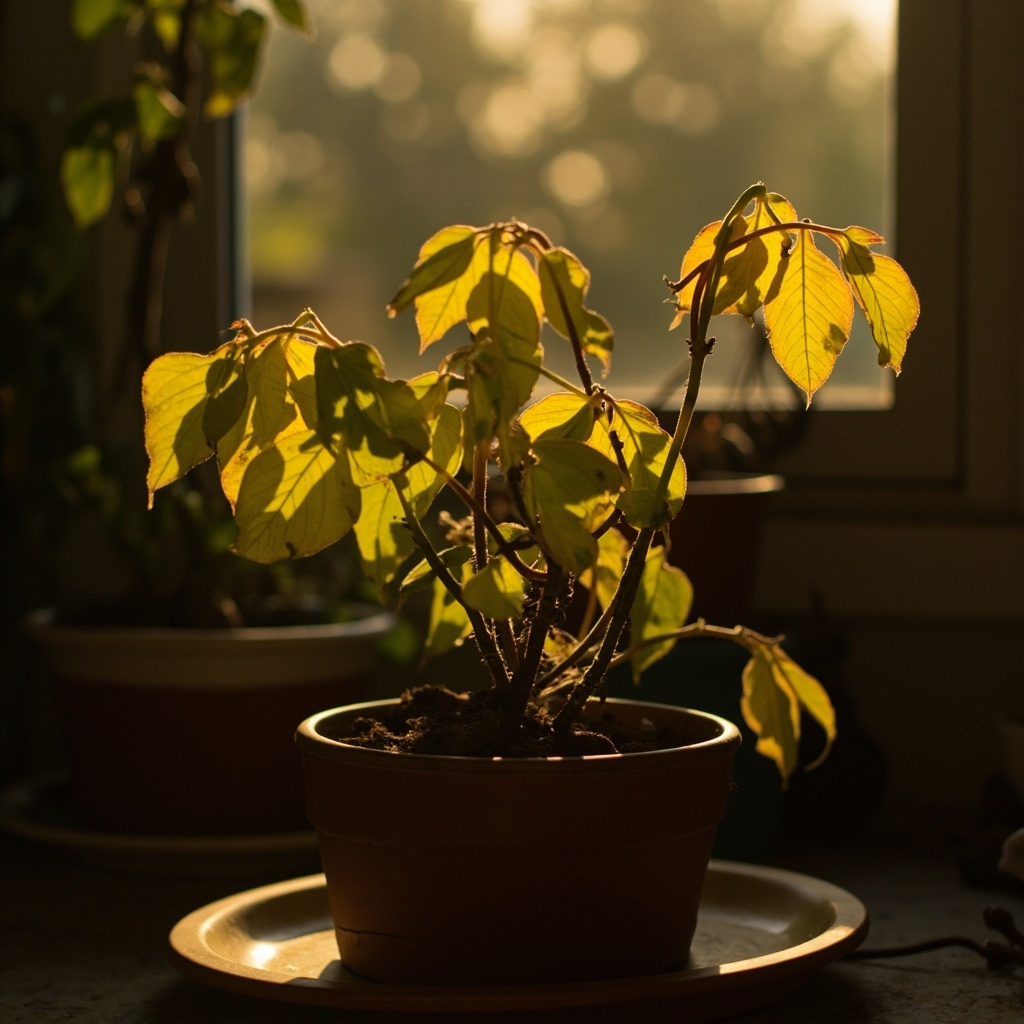
Most dying orchids suffer from overwatering and root rot. The rescue: unpot the orchid, trim mushy roots, repot in fresh bark mix, and water only when the medium feels dry. Most recover within 4–8 weeks.
Phalaenopsis orchids are epiphytes — they evolved to cling to tree bark, absorbing moisture from humid air. When potted, they decline because their roots sit in soggy bark instead of the fast-draining medium they need.
Signs Your Orchid Is Dying (Symptom Checklist)
A dying orchid shows specific visual symptoms that map directly to different underlying causes. Identifying what you see is the first step to choosing the right fix.
- Yellow leaves dropping from the bottom — usually overwatering or natural aging of the oldest leaf (if only one leaf, it may be normal; if multiple leaves yellow rapidly, suspect root rot)
- Wrinkled, shriveled, or limp leaves — dehydration from dead roots that can no longer absorb water, even if you’re watering regularly
- Mushy, brown, or hollow roots — classic root rot; healthy orchid roots are firm, green when wet, and silvery-white when dry
- Black or brown soft spot at the base of leaves (crown) — crown rot, caused by water sitting in the center growth point
- Bud blast (flowers or buds dropping suddenly) — stress response from sudden temperature change, drafts, or ethylene exposure
- White cottony patches on leaves or roots — mealybugs or scale insects feeding on plant sap
Most orchid problems come down to roots you cannot see. An orchid with beautiful leaves but rotting roots underneath will collapse within weeks because the water-delivery system is destroyed.
Why Is My Orchid Dying? (Root Cause Analysis)
Orchid decline traces back to four main causes, each with a distinct mechanism and a different fix.
1. Overwatering and Root Rot
Overwatering kills more orchids than any other cause. Phalaenopsis roots need to cycle between wet and dry — they absorb water quickly during watering, then need air around them as the bark dries. When bark stays constantly wet, roots suffocate and opportunistic fungi (Pythium, Phytophthora) colonize the dead tissue, turning firm roots into mush. The potting medium is the hidden variable: fresh bark drains in seconds and dries within a week, but bark breaks down over 12–18 months into a dense, water-retentive mush that traps moisture around roots.
If your orchid’s bark is more than a year old and looks like dark, compacted soil rather than chunky pieces, the medium itself is the problem — not your watering frequency. For a deeper dive into this failure mode across all house plants, see our guide on how to prevent root rot in house plants.
2. Underwatering and Dehydration
Underwatered orchids develop wrinkled, limp leaves because the roots cannot supply enough moisture to keep the leaves turgid. This happens when the bark has become hydrophobic — old, dried bark repels water instead of absorbing it, so water runs straight through the pot without wetting the roots. Dehydrated roots look thin, papery, and gray. Unlike rotting roots, they are still firm but clearly shrunken.
3. Light Stress
Too much direct sunlight causes sunburn — bleached, yellow, or black patches on the upper leaves. Too little light causes slow decline: dark green leaves (darker than normal), no new growth, and failure to rebloom. Phalaenopsis orchids need bright, indirect light — an east or west window with sheer curtains, or a spot a few feet back from a south window.
4. Crown Rot
Crown rot is an orchid-specific failure where water pools in the center growth point (the “crown” where new leaves emerge) and fungal bacteria rot the stem from the top down. It starts as a dark, soft spot at the base of the uppermost leaves and spreads downward. Unlike root rot, crown rot is not caused by overpotting — it’s caused by watering from above and letting water sit in the crown, or by misting the leaves so water runs down into the center.
How to Save a Dying Orchid: Step-by-Step Rescue
The rescue process is the same regardless of cause: remove the orchid from its current conditions, eliminate the damaged tissue, and restart with a clean growing environment.
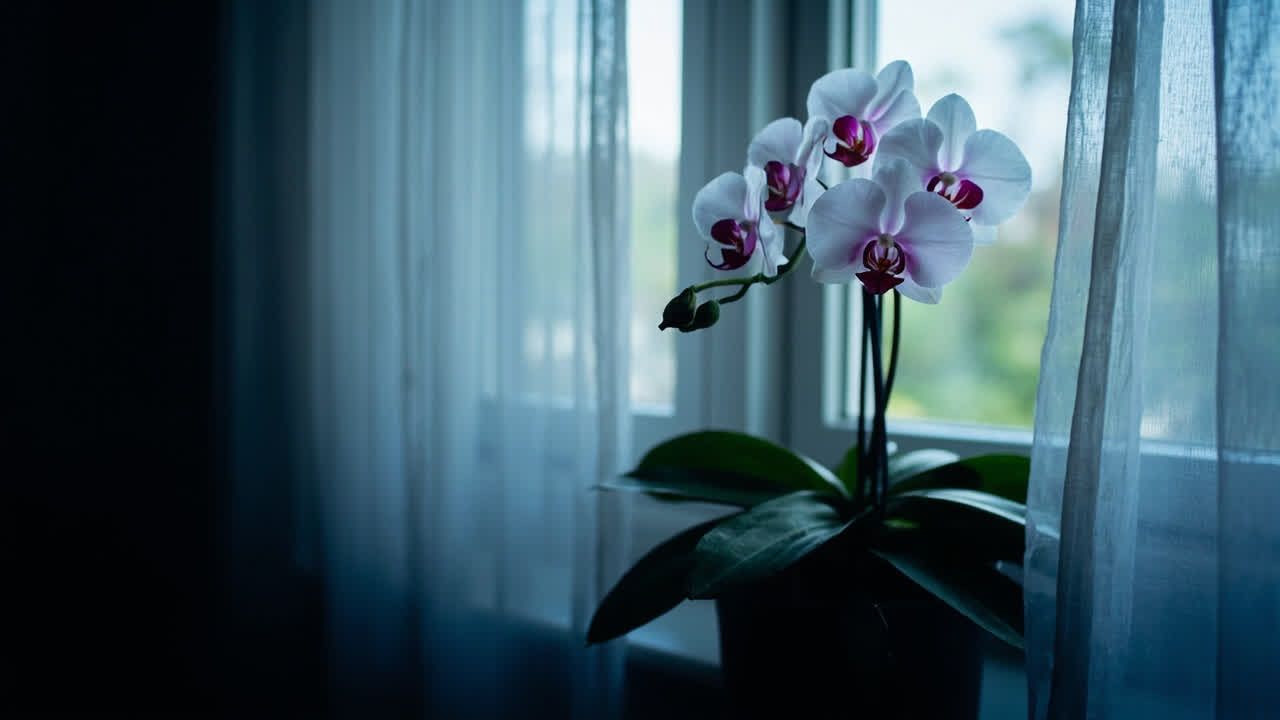
Step 1: Unpot and Inspect the Roots
Gently slide the orchid out of its pot. Shake off the old bark and rinse the root ball under lukewarm water so you can see every root clearly. Healthy roots are firm, plump, and green (when wet) or silvery-white (when dry). Any root that is mushy, brown, black, papery-thin, or hollow is dead and must be removed.
Step 2: Trim Dead Roots
Use sterilized scissors or a razor blade (wipe with rubbing alcohol first) to cut away every dead or rotting root. Cut back to where the root is firm and white or green. Do not leave any mushy stubs — rot spreads from dead tissue into living tissue. A severely rotted orchid may lose 80% of its roots; that’s normal for a rescue. The plant regrows new roots from the base once repotted in fresh medium.
Step 3: Treat with Fungicide (Optional but Recommended)
Dust all cut root ends with cinnamon powder (a natural antifungal) or spray with a diluted hydrogen peroxide solution (1 part 3% peroxide to 2 parts water). This prevents remaining fungal spores from colonizing the fresh cuts. Let the orchid sit bare-root for 2–4 hours so the cuts dry and callus over.
Step 4: Repot in Fresh Bark Mix
Choose a clean pot with drainage holes — clear plastic pots work well because they let you monitor root health without unpotting. Fill the bottom with fresh orchid bark mix (medium-grade fir bark, not regular potting soil). Place the orchid in the pot, spreading remaining roots naturally, and fill around them with bark. Gently press the bark to anchor the plant — do not pack it tightly. The goal is air pockets around every root.
Never reuse old bark. It harbors fungal spores and has lost its structure. The same diagnostic approach used to save a dying blueberry bush applies here: eliminate the contaminated medium, prune the damaged tissue, and restart with fresh growing conditions.
Step 5: Water Correctly
Wait 5–7 days after repotting before the first watering — the cut roots need time to heal and the bark needs to settle. After that, water only when the bark feels dry to the touch 1 inch below the surface, usually every 7–10 days. Run room-temperature water through the bark for 30 seconds, let it drain completely, and never let the pot sit in a saucer of standing water.
Step 6: Place in Recovery Conditions
Put the recovering orchid in bright, indirect light — no direct sun. Maintain temperatures between 65–80°F (18–27°C). Avoid drafts, heating vents, and air conditioning. Humidity around 50–70% speeds root regrowth. For a full guide to increase humidity for indoor plants, see our practical methods overview. A humidity tray (pebbles and water beneath the pot, not touching it) helps without risking crown rot.
Should You Repot or Just Adjust Care?
Not every struggling orchid needs a full repot. The decision depends on the root condition and the age of the potting medium.
Repot if: the bark is older than 12–18 months and breaking down, roots are visibly mushy or rotten, the orchid is toppling over because roots have rotted away, or water sits on the surface instead of draining through in seconds.
Adjust care only if: the bark is still fresh and chunky, roots are mostly firm and healthy, and the problem is recent underwatering or a temporary light issue. In these cases, correcting the watering schedule or moving the plant to better light is enough.
When in doubt, unpot and check. Repotting an orchid that doesn’t need it causes minimal stress compared to leaving a rotting orchid in old, compacted bark. During recovery, a light dose of worm castings top-dressed on the bark provides gentle organic nutrients without the burn risk of synthetic fertilizer on damaged roots.
What NOT to Do When Saving an Orchid
Several common “rescue” actions actually make orchid decline worse.
- Do not use ice cubes. The ice-cube watering method delivers water too slowly and at a temperature that damages tropical roots. Phalaenopsis evolved in Southeast Asian forests where water is warm — room-temperature thorough watering mimics a tropical rain.
- Do not mist the crown. Misting leaves sends water running down into the crown, creating the exact conditions for crown rot. Misting also does not meaningfully raise humidity — it wets the surface temporarily and evaporates in minutes.
- Do not fertilize a sick orchid. Fertilizer forces new growth that the damaged root system cannot support. Wait until the orchid shows new root tips (green or reddish growing tips) and new leaf growth — usually 4–6 weeks after repotting — before resuming a diluted fertilizer routine.
- Do not use regular potting soil. Orchid roots are adapted to air and bark, not dense, water-retentive soil. Soil suffocates orchid roots faster than any other medium.
- Do not cut aerial roots. Silver or green roots growing above the pot are normal and functional — they absorb moisture from the air. Trimming them reduces the plant’s ability to recover.
How Long Does Orchid Recovery Take?
Orchid recovery follows a predictable timeline, though it depends on how much root mass survived the rescue.
Weeks 1–2: The orchid appears unchanged or slightly worse. This is normal — the plant is using stored energy to grow new root tips, not to maintain leaves. Yellowing of the bottom leaf during this period is common as the orchid reallocates resources.
Weeks 3–4: New root tips appear as tiny green or reddish nubs at the base of the stem. Leaves begin to regain firmness. This is the signal that recovery is underway.
Weeks 5–8: Roots extend into the fresh bark. Leaves fully rehydrate and feel firm. The orchid is stable but not yet growing vigorously.
Months 3–6: Full recovery with active new growth. A new leaf may emerge, and the orchid may produce a flower spike when it has enough root mass to support blooming.
Severely rotted orchids with fewer than three remaining roots take 8–12 weeks to stabilize. Orchids caught early with mostly intact roots recover in 4–6 weeks.
How to Keep Your Orchid Healthy After Recovery
Preventing relapse means building a care routine that matches how Phalaenopsis orchids actually grow.
Water on a dry-bark schedule, not a calendar. Check the bark every few days by sticking a finger 1 inch into the mix. Water only when it feels dry. In summer this may be every 5–7 days; in winter, every 10–14 days. The orchid’s needs change with light, temperature, and humidity — a fixed weekly schedule will eventually overwater.
Repot every 12–18 months. Fresh bark is the single most important orchid care habit. Bark decomposes into a dense, water-holding mush that triggers the same root rot you just rescued the plant from. Set a calendar reminder.
Fertilize weakly, weekly. Once the orchid has active root growth, use a balanced orchid fertilizer at half the label strength with every other watering. Orchid roots are sensitive to salt buildup — flushing with plain water between fertilizer applications prevents accumulation.
Provide bright, indirect light year-round. An east-facing window is ideal for most homes. If you only have a south window, place the orchid 2–3 feet back or behind a sheer curtain. Dark green leaves mean the orchid needs more light; red-tinged leaves mean it’s getting too much.
Many orchid growers eventually explore semi-hydroponic growing (LECA clay pebbles with a water reservoir) as a low-maintenance alternative to bark. For those interested in soilless growing methods, our overview of the best hydroponic systems covers the principles that apply to orchid semi-hydro culture.
Recovery also builds plant-care skills that transfer to other species. The same attention to root health, appropriate medium, and correct light that revives an orchid applies to lucky bamboo care and other sensitive house plants.
When an Orchid Cannot Be Saved
Some orchids have passed the point of recovery. Knowing when to stop prevents weeks of effort on a plant that will not survive.
All roots are gone. If every root has rotted away and the base of the stem is mushy, the orchid has no way to absorb water. Even aggressive rescue (sphagnum moss wrapping, humidity dome) rarely succeeds when zero functional roots remain.
Stem rot has reached the crown. If crown rot has softened the entire stem and the top leaves pull away easily with a wet, black base, the growing point is dead. Phalaenopsis orchids have a single growth meristem — once it rots, no new leaves or roots can form.
Multiple leaves are yellowing simultaneously from different points. Widespread systemic collapse, where leaves yellow from the tip and base at the same time and stems feel soft throughout, indicates a fungal infection that has spread beyond the root system.
If the orchid still has a firm stem and at least 2–3 roots (even short ones), it is worth attempting rescue. Orchids are remarkably resilient when given the right conditions.
Save a Dying Orchid: Quick Action Plan
Use this checklist to act fast when an orchid shows decline symptoms.
- Unpot the orchid and rinse all old bark off the roots
- Inspect every root — firm and green/silver = alive; mushy, brown, or hollow = dead
- Trim all dead roots with sterilized scissors, cutting back to healthy tissue
- Dust cuts with cinnamon or spray with diluted hydrogen peroxide
- Repot in fresh bark-based orchid mix in a pot with drainage holes
- Wait 5–7 days, then water thoroughly with room-temperature water
- Water only when bark is dry 1 inch below the surface (every 7–10 days)
- Place in bright, indirect light — no direct sun during recovery
- Do not fertilize until new root tips appear (4–6 weeks)
- Repot every 12–18 months to prevent bark breakdown and recurring root rot
Most “dead” orchids are not dead — they are suffocating in broken-down bark with rotting roots. Fresh medium, clean roots, and corrected watering bring the majority of declining Phalaenopsis orchids back to full health within two months.
From Bank Statement to QuickBooks-Ready File
That manual cleanup you just read about? This tool skips it. Turn your PDF into QBO for QuickBooks without storing your data anywhere.
Start Converting