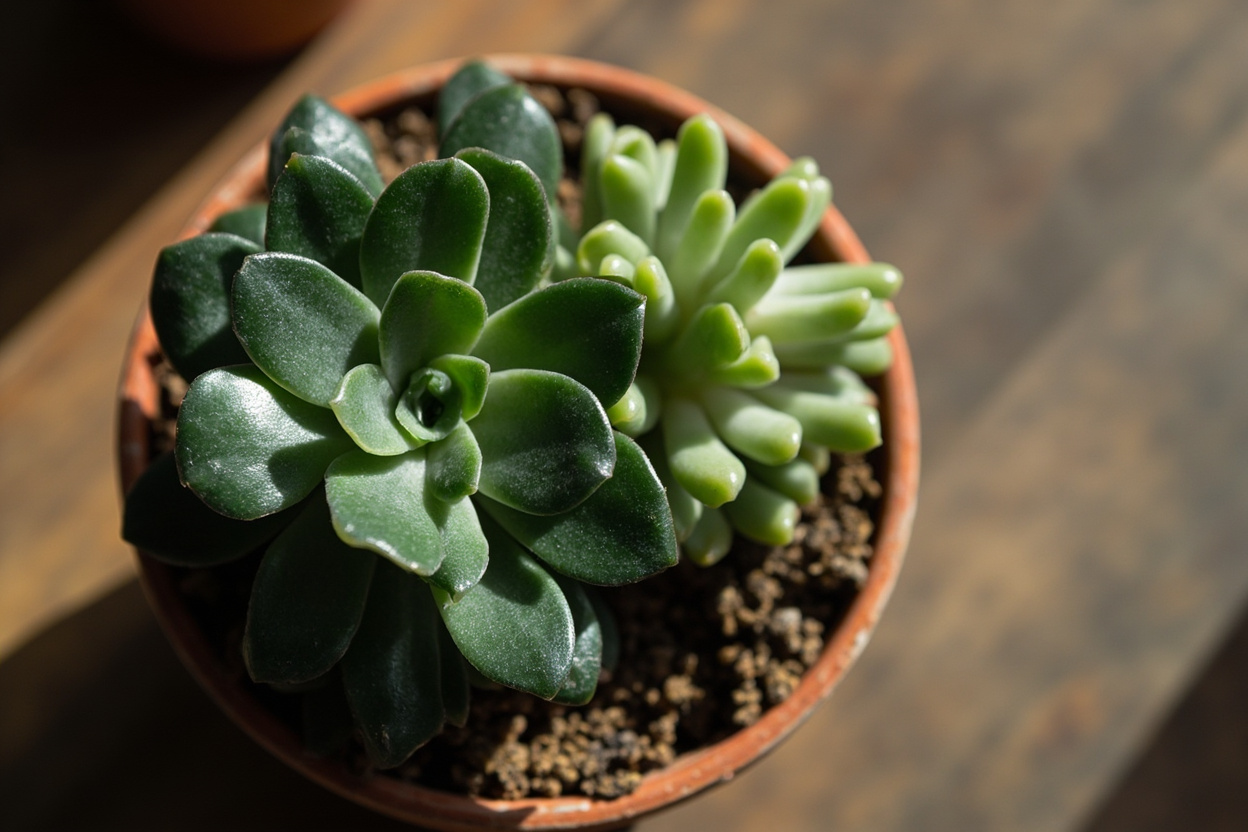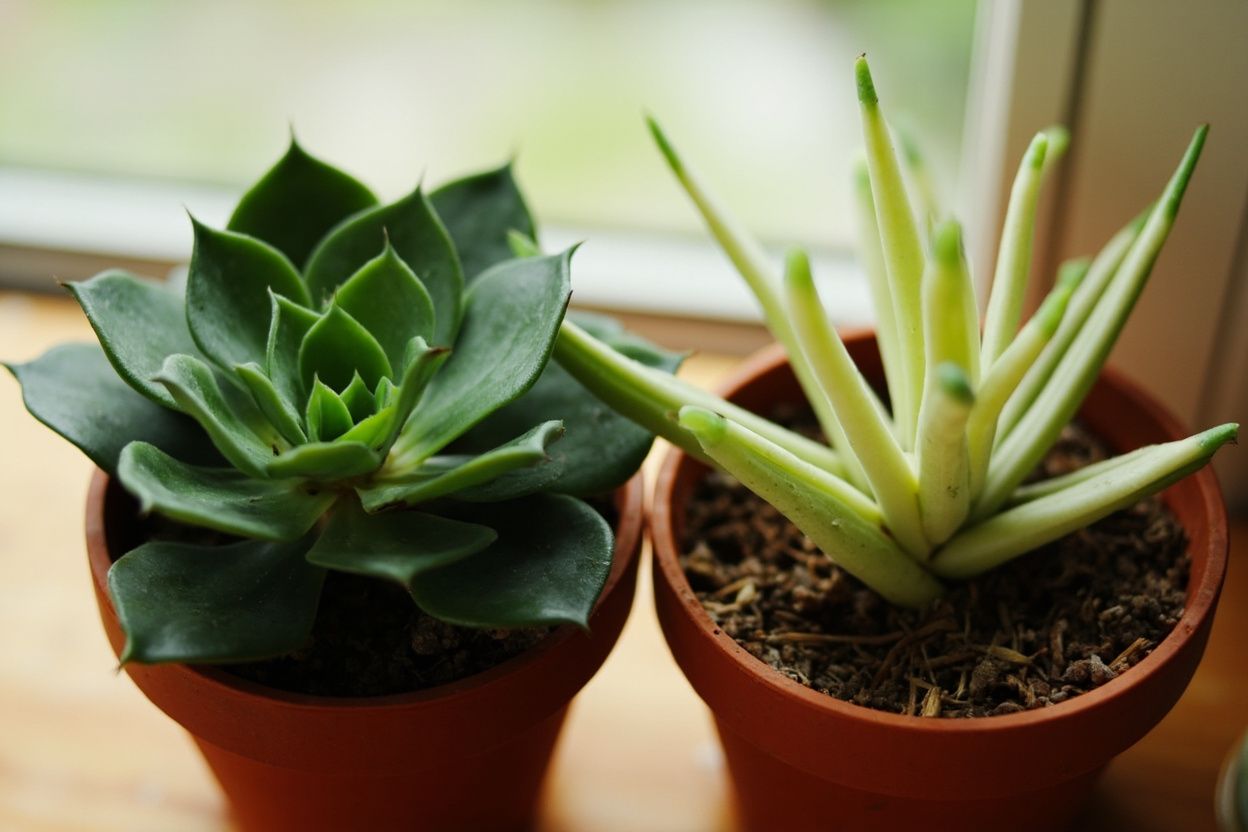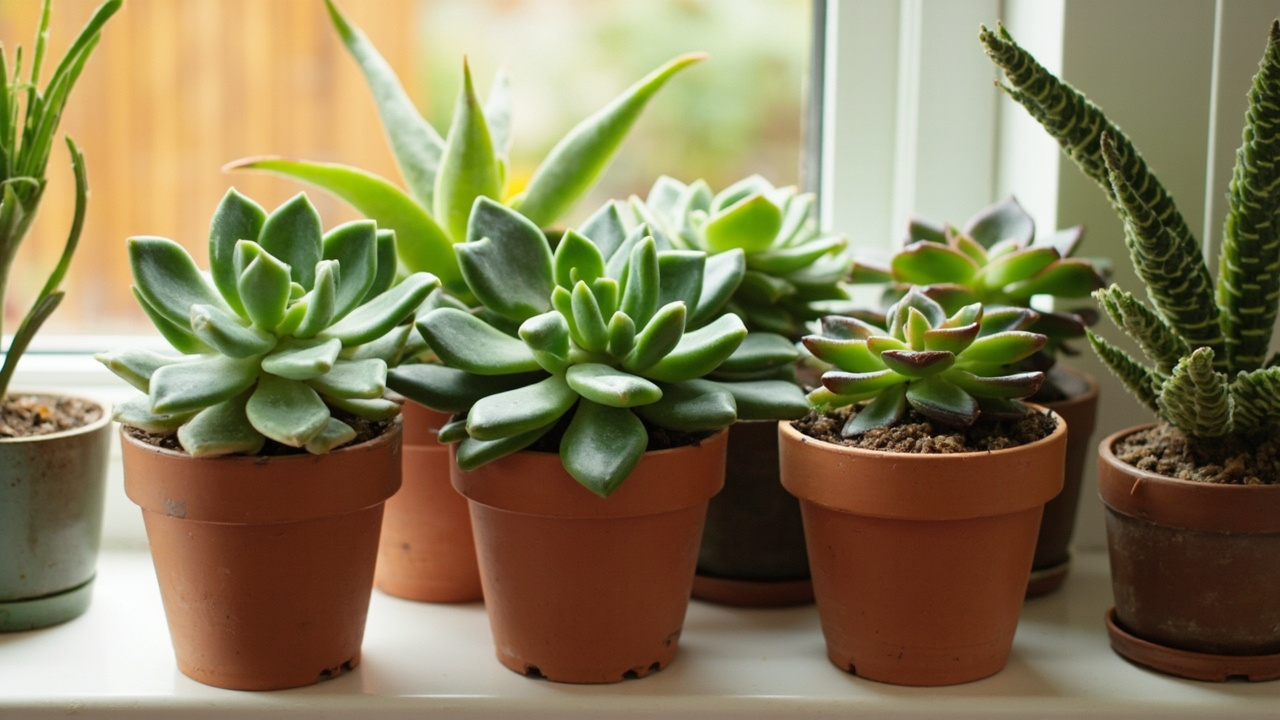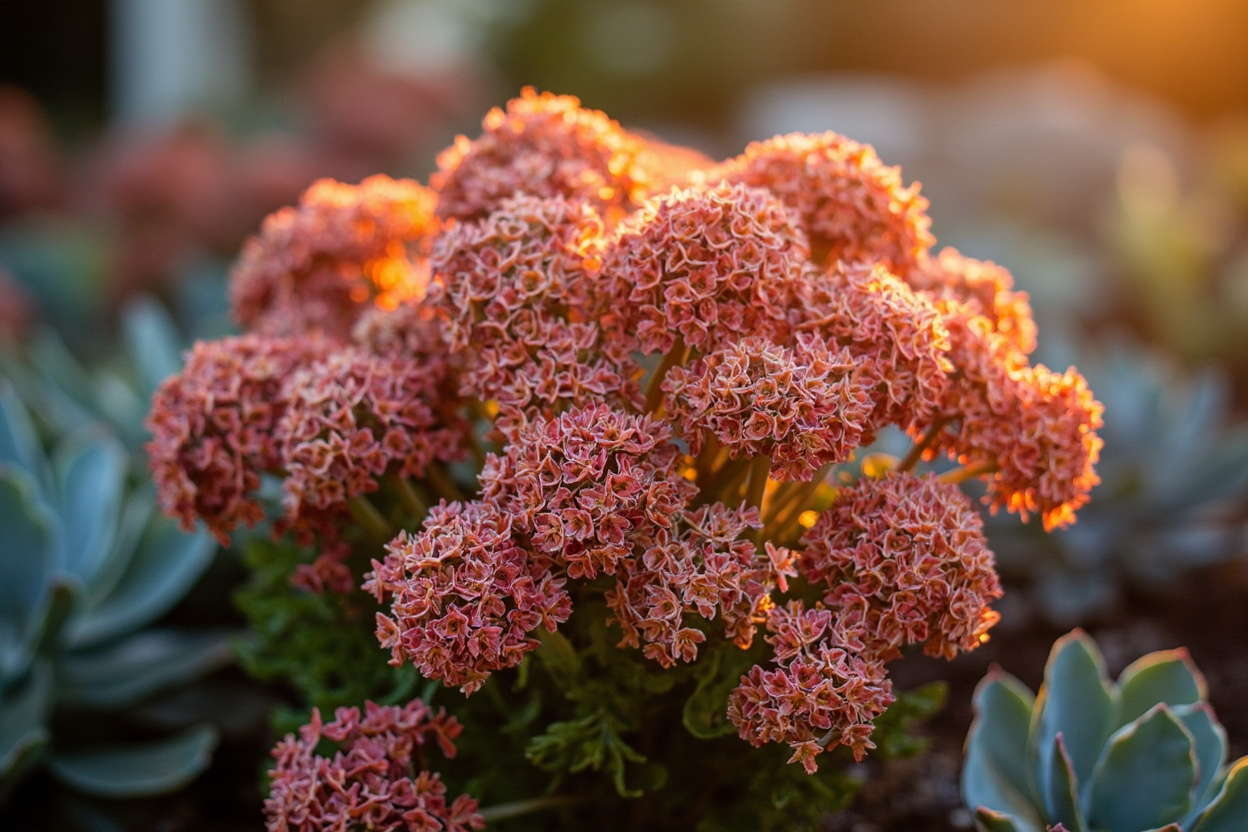

Sedum — commonly called stonecrop — is the succulent that thrives on the kind of neglect that kills everything else in your garden, but only if you understand what “low-maintenance” actually means for this genus. Overwatering, rich soil, and too much shade are the three mistakes that kill sedum faster than any pest or disease. Get those three right, and stonecrop is one of the most reliable plants you’ll ever grow.
The genus includes over 400 species split into two distinct growth categories. Upright sedums like ‘Autumn Joy’ and ‘Matrona’ grow 18 to 30 inches tall on sturdy succulent stems, forming architectural clumps that anchor perennial borders. Low-growing sedums like ‘Dragon’s Blood’ and ‘Angelina’ stay under 6 inches and spread into dense mats for groundcover, rock gardens, and container spillers. The National Garden Bureau named 2026 the Year of the Sedum, citing the genus’s resilience, pollinator value, and adaptability — and search demand from home gardeners has surged in response.
This guide covers everything you need to grow sedum successfully: light, watering, soil, variety selection, propagation, problem diagnosis, and winter care. Whether you’re planting your first stonecrop or adding to an established collection, start with the light requirements below. Get that right, and the rest is straightforward.
What Makes Sedum Different from Other Succulents
Sedum — the genus behind what most gardeners call stonecrop — occupies a different niche than the succulents you’re used to seeing on windowsills. While echeveria and haworthia are tropical succulents that demand careful watering and frost-free conditions, sedum is a cold-hardy perennial that survives freezing temperatures, thrives in poor soil, and blooms in late summer when most other plants are fading. That distinction matters because the care routine that keeps a haworthia alive will kill a sedum.
The genus splits into two growth categories you need to understand before choosing a plant. Upright sedums like ‘Autumn Joy’ and ‘Matrona’ grow 18 to 30 inches tall on sturdy succulent stems, forming architectural clumps that anchor perennial borders. Low-growing sedums like ‘Dragon’s Blood’ and ‘Angelina’ stay under 6 inches and spread outward into dense mats, making them ideal for groundcover, rock gardens, and container spillers. Both types share the same core needs — full sun, lean soil, minimal water — but their growth habit determines where and how you use them.
The National Garden Bureau named 2026 the Year of the Sedum, citing the genus’s resilience, pollinator value, and adaptability across climate zones. Homes & Gardens, Garden Design, and Planet Desert have all published sedum features this year, reflecting a surge in search demand from gardeners who want drought-tolerant plants that don’t sacrifice visual impact. The timing is right: water restrictions are tightening across more U.S. and European regions, and sedum is one of the few genera that looks better under stress than under coddling.
This guide covers everything you need to grow sedum successfully — light, watering, soil, variety selection, propagation, problem diagnosis, and winter care. If you’re new to succulents generally, our succulent care guide covers the foundational principles that apply across genera. Start with the light requirements below — get that right, and the rest is straightforward.
Light Requirements — Full Sun or Nothing
Sedum needs a minimum of six to eight hours of direct sunlight per day to maintain compact growth and produce flowers. This is not a “bright indirect light” situation. In less than full sun, sedum etiolates — stems stretch, leaf spacing widens, and the plant takes on a pale, leggy appearance that cannot be reversed. The stretched growth is permanent; you can pinch it back to encourage branching, but the etiolated stem itself will never compact. For a comparison of how different succulents handle light stress, see our echeveria light guide — echeveria etiolates faster but recovers better from indoor conditions.
Indoors, sedum is a challenge. A south-facing window is the minimum for upright varieties, and even then, most indoor growers supplement with a grow light during fall and winter. East and west windows provide enough light for low-growing varieties like ‘Angelina’ but rarely sustain compact growth in upright types. If you’re growing sedum indoors, place it within 30cm of a full-spectrum LED grow light running 12-14 hours daily. Without supplemental light, indoor sedum stretches within weeks and becomes prone to stem breakage.
Seasonal light shifts matter more than most growers realize. Sedum moved abruptly from indoor winter conditions to full summer sun will scald — leaves develop brown, crispy patches that invite fungal infection. Acclimate gradually over 7-10 days in spring: start with morning sun only, increase exposure by an hour every two days. By the time summer heat arrives, the plant will have built sufficient tolerance to handle midday sun without damage.
From PDF to Excel in one click
Forget retyping line by line. Upload any bank statement, get a spreadsheet you can actually use. Your files are never stored, and you can test the converter with 3 free conversions.
Try it freeWatering Sedum — The “Forget to Water” Schedule
Overwatering kills more sedum than every other cause combined. Sedum stores water in its thick, fleshy leaves and can survive weeks without irrigation once established. The most common mistake new growers make is treating sedum like a thirsty perennial — watering on a schedule rather than reading the plant. If you water sedum the same way you water your lawn or your tomatoes, you will kill it. Our succulent watering guide covers the soak-and-dry method in detail across genera.
The soak-and-dry method is the standard: water thoroughly until it drains from the pot bottom, then wait until the soil is completely dry at least 7-10cm down before watering again. In practice, this means weekly watering during peak summer heat for container plants, every 2-3 weeks for in-ground plantings in spring and fall, and almost never during winter dormancy. Stick your finger into the soil — if there’s any moisture at the second knuckle, wait another week.
Seasonal adjustment is non-negotiable. Sedum enters dormancy in late autumn; growth slows or stops entirely, and the plant’s water requirements drop to near-zero. Watering a dormant sedum the same way you watered it in July guarantees root rot. Resume normal watering only when you see new growth emerging in spring — typically when daytime temperatures consistently exceed 10°C for a week or more.
The leaf test gives you a reliable diagnostic. Slightly soft, flexible leaves that bounce back when gently squeezed mean the plant is thirsty and ready for water. Yellow, translucent, or mushy leaves mean you’ve overwatered — stop immediately, check drainage, and trim any affected tissue before rot spreads to healthy stems.
Soil and Drainage — Lean Mix, Not Rich Compost
Sedum evolved on rocky slopes and dry meadows where nutrients are scarce and drainage is instant. Rich, moisture-retentive potting mix — the kind that works for tropical houseplants — causes sedum to produce weak, floppy growth that collapses under its own weight and develops root rot within weeks. The single most impactful change you can make for container sedum is switching to a lean, mineral-heavy mix.
The ideal ratio is two parts mineral grit to one part organic matter. Use pumice, perlite, or coarse horticultural sand as the mineral component and standard potting soil or coconut coir as the organic base. A 5:1:1 mix (five parts pine bark fines, one part perlite, one part coarse sand) works well for container-grown upright varieties. For in-ground planting in heavy clay, amend the planting area with 5cm of gravel worked into the top 20cm of soil, or build a raised bed with a 50/50 mix of native soil and coarse sand.
Container choice is equally important. Terracotta pots with drainage holes are the standard for sedum — the porous clay wicks moisture from the soil, reducing the window for overwatering errors. Glazed ceramic and plastic containers retain too much moisture and require even leaner soil mixes to compensate. Whatever container you choose, it must have at least one drainage hole. Sedum roots sitting in standing water will rot within days, not weeks. For soil mix ratios that work across succulent genera, our succulent soil guide provides specific blends for different container types.
Sedum tolerates a pH range of 6.0 to 7.0 but handles slightly alkaline conditions better than most succulents. If your tap water is hard and your soil pH drifts above 7.5, the plant will still perform — unlike echeveria, which shows chlorosis in alkaline conditions. This tolerance makes sedum a practical choice for gardeners in limestone-heavy regions where other succulents struggle.
For the exact mineral ratios, ingredient options, and container-specific recipes, our sedum soil mix guide covers every scenario.
Best Sedum Varieties for Home Gardens
Choosing a sedum variety comes down to two decisions: upright or low-growing, and flower color. Upright varieties anchor borders and provide late-season cut flowers. Low-growing varieties cover ground, spill over container edges, and fill rock garden crevices. Both types share the same care requirements, so your choice is about function and aesthetics, not difficulty.
Top upright varieties include ‘Autumn Joy’ (Sedum spectabile), the most widely grown sedum in temperate gardens — its broccoli-shaped flower heads emerge green in July, turn pink in August, and deepen to copper by October. ‘Matrona’ offers bronze stems and pale pink flowers with a more refined, architectural habit. ‘Stardust’ produces white flower clusters that bloom late in the season when color is scarce. All three reach 45-60cm tall and perform best in USDA zones 3-9.
Top low-growing varieties include ‘Dragon’s Blood’ (Sedum spurium), which spreads rapidly into a dense mat of green leaves that turn burgundy in autumn, with pink star-shaped flowers in mid-summer. ‘Angelina’ (Sedum rupestre) delivers chartreuse needle-like foliage that shifts to orange-copper in cold weather — one of the best trailing sedums for containers. ‘Blue Spruce’ (Sedum reflexum) offers blue-green foliage resembling miniature evergreen sprigs with yellow summer blooms. ‘Tricolor’ (Sedum spurium) features green leaves edged in creamy white with pink undertones that intensify in cool weather.
For containers and hanging baskets, trailing varieties are the standouts. Donkey Tail (Sedum morganianum) produces cascading stems up to 60cm long covered in plump, blue-green leaves — spectacular in elevated planters but fragile when handled. Jelly Bean (Sedum rubrotinctum) has round, jelly-bean-shaped leaves that blush red at the tips under bright light. Burro’s Tail (Sedum burrito) is similar to Donkey Tail but with shorter, denser leaves and a slightly more forgiving growth habit. All three need bright light and careful watering to prevent leaf drop. If you’re choosing between upright and trailing varieties for your space, our echeveria varieties guide shows how we approach variety selection across succulent genera.
For specific variety recommendations — upright, low-growing, and trailing types with hardiness zones and ideal uses — our sedum varieties guide covers the 15 best performers for home gardens.
How to Propagate Sedum — Leaf Cuttings, Stem Cuttings, and Division
Sedum is widely considered the easiest succulent to propagate. Three methods work reliably — leaf cuttings, stem cuttings, and division — and all three produce rooted plants within 4-8 weeks during the growing season. If you’ve failed to propagate echeveria or haworthia from leaves, sedum will restore your confidence.
Leaf propagation is the simplest method. Gently twist a healthy leaf from the stem, ensuring you get the entire base without leaving tissue behind. Let the leaf dry in open air for 2-3 days until the wound calluses over — skipping this step invites rot. Place the callused leaf on top of dry gritty mix (do not bury it) and mist lightly once a week. Roots and a tiny rosette will emerge from the wound site within 2-4 weeks. Keep the soil barely moist until the new plant establishes, then treat it like a mature sedum.
Stem cuttings work faster and produce larger plants sooner. Cut a 5-10cm section of stem below a leaf node using a clean, sharp blade. Remove the lower leaves to expose 2-3cm of bare stem, then let the cutting callus for 3-5 days. Insert the bare stem into moist gritty mix and place in bright indirect light. Water sparingly — only when the top 2cm of soil is dry. Roots typically form within 2-3 weeks, and you’ll see new leaf growth by week 4. This method is ideal for upright varieties that have stretched or become top-heavy.
Division is the best method for mature clumps that have outgrown their space. Lift the entire plant in early spring before new growth begins, separate the rooted sections by hand or with a clean knife, and replant each division at the same depth it was growing before. Water once after planting, then resume the normal soak-and-dry schedule. Division is also the quickest way to fill a large groundcover area — one mature ‘Dragon’s Blood’ clump divides into 6-8 new plants.
Timing matters. Propagate in spring or early summer when the parent plant is actively growing and root development is fastest. Avoid propagating during winter dormancy — cuttings will sit dormant for months before rooting, and the extended wait in moist soil invites fungal problems.
For the exact step-by-step process — leaf cuttings, stem cuttings, and division with timing and troubleshooting — our sedum propagation guide covers every method in detail.
Common Sedum Problems — Yellow Leaves, Floppy Stems, and Root Rot
Yellow, translucent, or mushy leaves are the universal signal of overwatering and the earliest stage of root rot. Stop watering immediately, remove the plant from its container, and inspect the roots. Healthy sedum roots are white or light tan; rotted roots are brown, soft, and often smell musty. Trim all affected tissue with a sterile blade, let the plant dry for 2-3 days, and repot in fresh, dry gritly mix. Resume watering only when new growth appears — typically 1-2 weeks later.
Stretched, floppy stems indicate etiolation from insufficient light. Upright varieties are especially prone: stems elongate, leaves space out, and the plant leans or splits open at the base. Move the plant to full sun immediately. For upright varieties, you can pinch back the elongated stems by one-third in late spring to encourage bushier, more compact growth. The pinched tip can be used as a stem cutting. Prevention is simpler: ensure 6-8 hours of direct sun from the start, and supplemental grow lights for indoor plants during winter months.
Aphids and mealybugs occasionally colonize new sedum growth, particularly on plants stressed by overcrowding or excessive moisture. Aphids cluster on flower buds and leaf undersides; mealybugs appear as white cottony masses in leaf joints. Both are treatable with insecticidal soap or neem oil applied every 5-7 days for 2-3 applications. Healthy sedum in full sun with good airflow rarely sustains serious infestations — most problems resolve once you correct the growing conditions.
The prevention formula is straightforward: full sun, lean soil with excellent drainage, and infrequent watering. Get these three right and you’ll avoid 90% of sedum problems. For a diagnostic framework that applies across succulent problems, our echeveria yellow leaves guide walks through the same decision tree. The genus is genuinely low-maintenance — the challenge is resisting the urge to care for it too much.
Overwintering Sedum — Cold Hardiness and Winter Care
Most sedum varieties are reliably hardy in USDA zones 3-9, surviving winter temperatures as low as -40°C once established. Unlike tropical succulents that die at the first frost, sedum is a herbaceous perennial that dies back to the ground in autumn and returns from its root system each spring. This cold hardiness is one of the genus’s defining advantages over echeveria and haworthia, both of which are frost-tender.
For upright varieties, leave the dried flower heads standing through winter. They provide visual interest in the dormant garden, catch snow beautifully, and offer seeds for goldfinches. Cut the dead stems back to 5cm above ground in early spring — wait until you see new growth at the base to avoid cutting into living tissue. Low-growing varieties are semi-evergreen in zones 6-9 and may retain some foliage through winter; in zones 3-4, add a light layer of straw mulch after the ground freezes to prevent frost heave.
Container-grown sedum needs extra winter protection in cold climates. Terracotta pots crack when soil freezes and expands; move containers to an unheated garage, shed, or against a south-facing wall. Reduce watering to near-zero — the plant is dormant and any moisture in frozen soil damages roots. In zones 3-5, wrapping containers with bubble wrap or burlap provides additional insulation. Alternatively, bury the pot in the ground up to its rim and mulch over the top.
Spring emergence timing varies by variety and climate. Upright sedums typically show new growth in April to May in zones 5-7, slightly later in northern zones. Don’t panic if your sedum looks dead in early spring — the root system is dormant but alive, and new shoots will emerge once soil temperatures consistently exceed 7°C. Resume normal watering only when you see active growth.