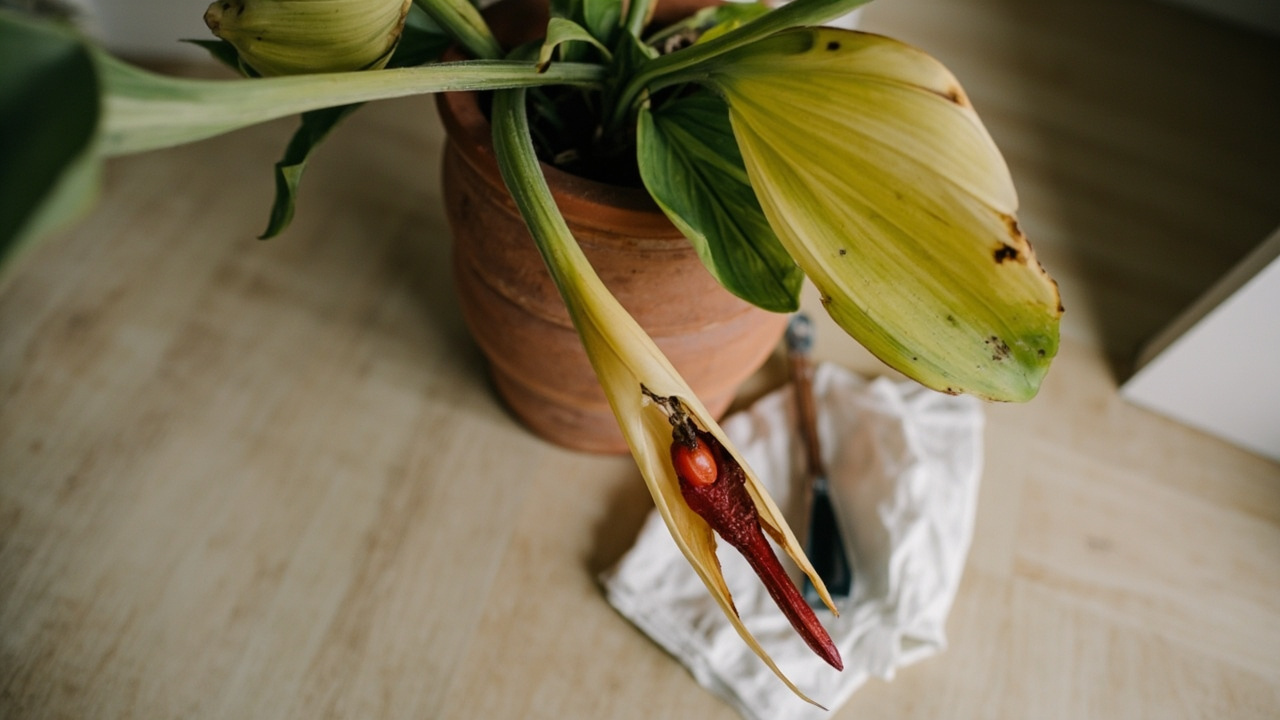
Yellow sedum leaves are almost always a drainage story, not a hunger story — most of the seven causes below trace back to soil that stayed wet too long, light that didn’t show up, or a crown that got buried. A handful of gardeners underwater their sedum or push it too hard with fertilizer, but the dominant case is the bed-rot case, and the second most common is the indoor dim-corner case.
This guide walks through seven real causes, in order of how often they show up in home gardens and on windowsills. Each one names the visual cue, the actual cause, and the specific fix. Together, they cover the overwhelming majority of yellow-leaf sedum situations — both outdoor and indoor, both in-ground and in pots.
The reader’s first move is to check the soil at 5 cm depth, not the leaves. The leaves tell you what the symptom is; the soil tells you the cause. By the end of the diagnostic below, the answer is usually one fix, not a cocktail of treatments.
Quick Diagnosis: Which of the Seven Causes Fits?
The seven causes produce different visual cues, and most sedum yellow leaves can be sorted by checking three checkpoints in under a minute.
First, soil moisture at 5 cm depth. If the soil is wet to the touch and the pot still feels heavy 24 hours after the last watering, the cause is almost certainly water-related. If the soil is dry down to the root zone, the cause is either drought-stress, dormancy, or light. Second, stem base firmness. Pinch the base of the main stem just above the soil. If it is soft, brown, or mushy, the plant has root rot and the diagnostic is over — go to Cause 1 immediately. Third, leaf position. Are the lower leaves yellowing first, or the upper leaves? Lower leaves suggest water or dormancy; upper leaves suggest light or scorch.
Run through this quick mental table: if the soil is wet + stem is soft → overwatering. If the soil is wet + stem is firm → poor mix. If the soil is dry + leaves are pale + stems are long → insufficient light. If the soil is dry + leaves are papery + sun is recent → sun stress. If the soil is dry + leaves are thin + summer is hot → underwatering. If the soil is dry + leaves are lush + crust is visible → nutrient excess. If the soil is dry + leaves are dropping cleanly + it’s late fall → dormancy.
The diagnostic decider: if the stem base is soft, stop reading and start the recovery steps in Cause 1. Every other cause can wait a day.
Cause 1 — Overwatering and Root Rot (The Most Common Cause)
More sedum die from overwatering than from any other cause. The plant evolved in dry, rocky soils where the roots expect to dry out between rain events, and a pot or bed that stays wet suffocates them.
The visual signs of overwatering are specific. The leaves turn translucent and soft rather than yellow and papery. The stem base, when pinched, gives slightly instead of feeling firm. The soil smells sour or stagnant rather than earthy. A gentle tug on the main stem may lift the entire plant, exposing black, mushy roots. At this point, the yellow leaves are the surface symptom of a root system that has been drowning for weeks.
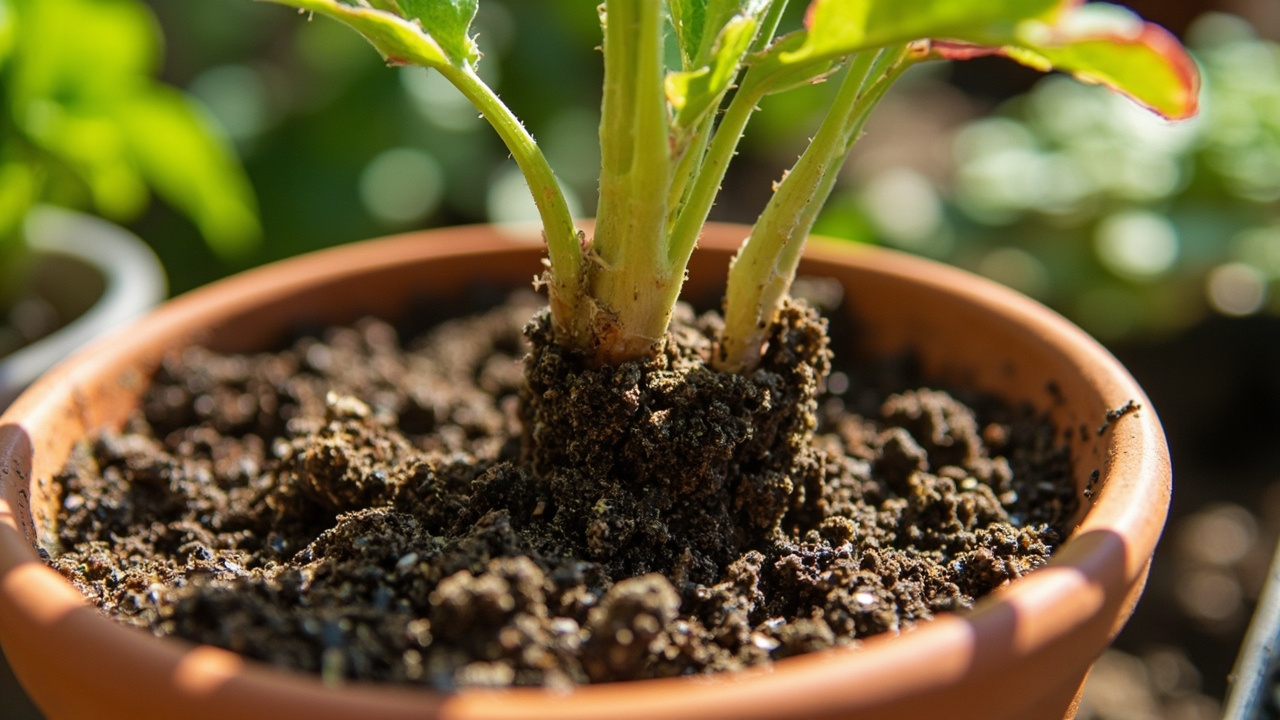
Recovery steps: stop watering immediately. Lift the plant from the pot or dig it from the bed. Brush off the wet soil and inspect the roots. Any root that is black, soft, or smells bad needs to be cut back to firm white tissue with a clean, sharp knife. Replant in fresh dry mix — 50% cactus mix, 25% pumice, 25% coarse sand — in a terracotta pot with a drainage hole. Do not water for 5 to 7 days. Then resume the soak-and-dry rhythm from the watering guide.
What to watch for the next 14 days: a firm stem base means recovery. If the stem base stays soft for more than 14 days, the plant is gone — at that point, take 5 cm of healthy stem tip and propagate it as the recovery guide covers. Don’t keep watering a plant that isn’t recovering.
Cause 2 — Soil That Stays Too Wet (Even Without Overwatering)
Watering less doesn’t fix a soil that holds water. If the soil mix is wrong, even a careful soak-and-dry rhythm will keep the roots too wet.
The test is simple. Water the plant deeply as usual, then weigh the pot. Wait 24 hours and weigh it again. A sedum in proper gritty mix loses 30–50% of its weight in that window. A sedum in dense, organic, or compost-heavy soil might lose 10–15%. The lighter pot is the healthy one. The weight gap is the diagnostic.
The fix is to replace the soil mix entirely — don’t try to amend the existing soil in place. Empty the pot, brush off the roots, and refill with the lean gritty mix from the sedum soil mix guide. Terracotta is the preferred pot because it breathes through the sidewalls; a plastic pot holds moisture longer than sedum prefers. For sedum in the ground, the fix is to amend with coarse sand and pumice, raise the bed 15–20 cm, or relocate the plant to a slope.
If the sedum is in a decorative pot without a drainage hole, repotting into a proper container is the only real fix. Double-potting with gravel at the bottom does not work — water collects in the lower layer and stays there, rotting the roots from below. The full soil recipe and container choice is in the soil guide.
Cause 3 — Insufficient Light (Etiolation and Pale Leaves)
Without six or more hours of direct sun, sedum softens and yellows. Indoor sedum is the case this lands most often — a windowsill that looks bright to human eyes is dim to a plant evolved for open fields.
The visual signs of light-starved sedum are unmistakable once you’ve seen them. The gaps between leaves (called internodes) stretch out, so the plant looks leggy rather than compact. The leaves themselves stay small and pale rather than filling out into the characteristic fat, colored leaves. The whole stem leans toward the window or the brightest light source. Pale yellow leaves on the lower and inner parts of the plant are the typical sign. Companion symptom: long, soft, pale stems. The full picture of this growth pattern is covered in the sedum stretching guide.
The fix is to relocate to a sunnier spot — south-facing window, sunroom, or outdoor bed — and to acclimate the plant over five days. On day 1, give the sedum direct morning sun only. Day 2, add an hour of midday sun. Day 3, push to full morning sun plus an hour of afternoon. By day 5, the sedum should be in its final full-sun spot. Expect some leaf drop during the transition; the new growth will be compact and properly colored.
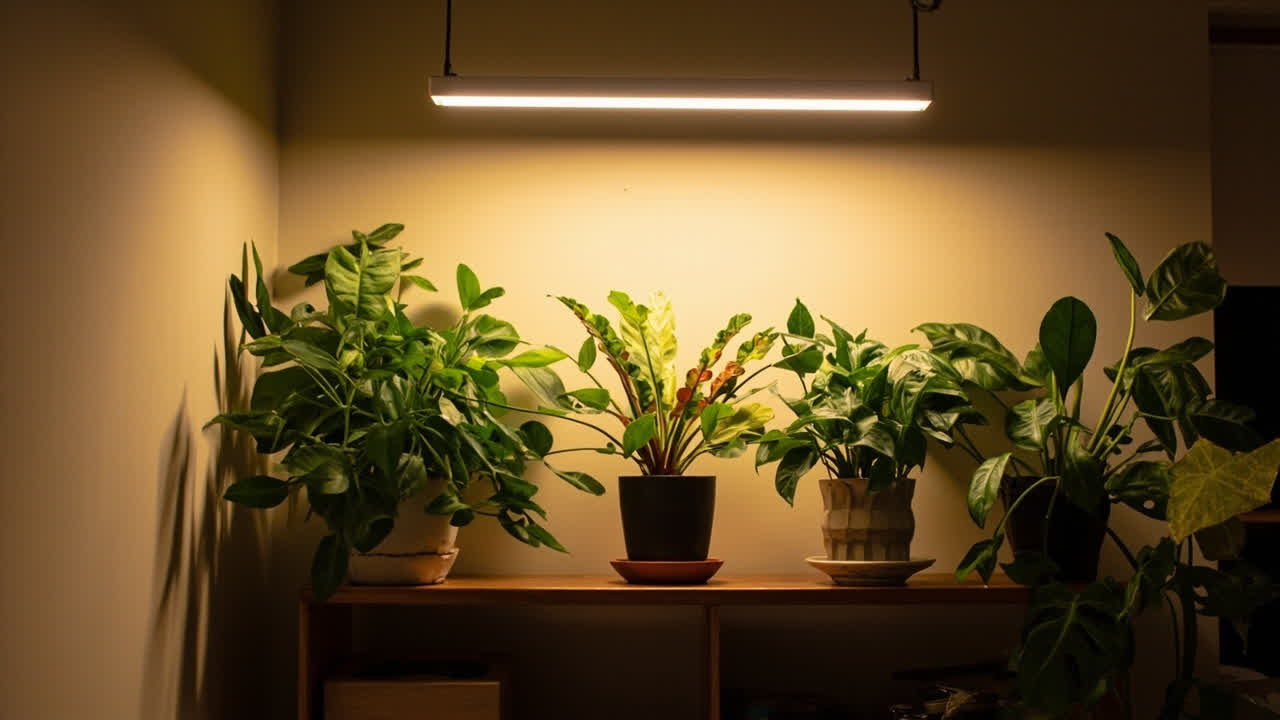
For indoor sedum without a south-facing window, a full-spectrum grow light on a 12-hour timer is the only real fix. Position the light 20–30 cm above the plant and rotate the pot a quarter turn weekly so the growth stays even. The full light requirements are in the sedum light guide; the headline is six hours of direct sun, not “bright indirect.”
Cause 4 — Sun Stress and Leaf Scorch (The Indoor-to-Outdoor Move)
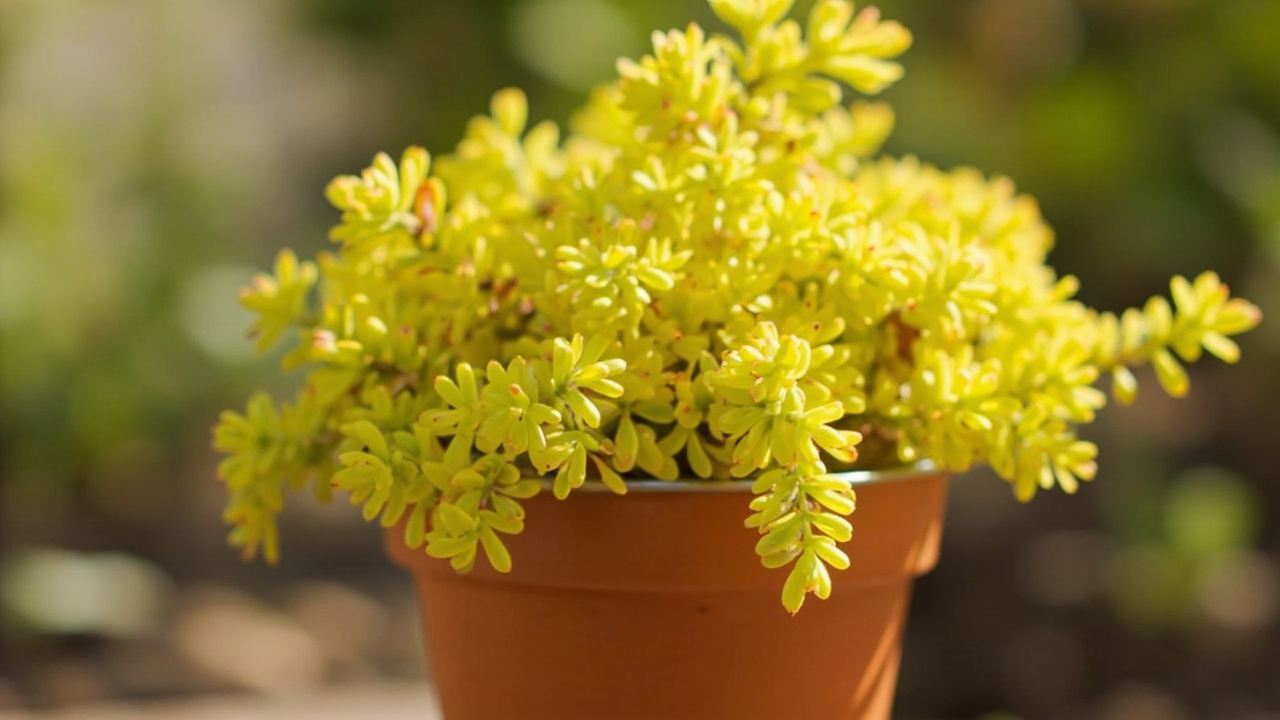
A sudden jump from indoors to full sun burns leaves. The mechanism is the same as a human sunburn — the plant hasn’t built up the protective pigments (anthocyanins and farina) that diffused sun encourages, and the chloroplasts get damaged.
The visual signs are localized to the most-exposed leaves. Yellow or white patches appear on the top of the plant where the sun hits hardest. The patches feel papery or bleached, not soft. Sometimes the leaf edges turn pink or red before going white. The contrast with shaded leaves on the same plant is the tell. Indoor sedum moved outdoors in late spring without hardening off is the most common case.
The fix is prevention: a five-day acclimation before the move. Start the sedum in morning sun only, then morning sun plus an hour of afternoon, then full sun by day 5. For sedum that is already burned, the damaged leaves will not recover — pull them off cleanly with your fingers, leaving the protective farina (the waxy powder on the leaves) intact on the others. New growth will be sun-adapted and will not burn.
For permanent outdoor sedum in zones 8–11, the most intense afternoon sun combined with reflected heat from a wall or paving can scorch even acclimated plants. A 30% shade cloth between 1 p.m. and 4 p.m. during heat waves is the lightest-touch fix. The full light guide covers the threshold tolerances by variety.
Cause 5 — Underwatering (Less Common but Real)
Yes, sedum can be too dry. It is rarer than overwatering, but it happens — usually in small pots during summer heat or in freshly planted groundcover that hasn’t rooted out yet.
The visual signs of drought-stressed sedum are the opposite of overwatering. The leaves go thin, soft, and slightly translucent — but they wrinkle slightly rather than turning mushy. The lower leaves are the first to suffer, and they often turn a paler yellow before browning at the edges. The plant looks deflated rather than bloated. The soil is bone-dry to 5 cm depth and the pot feels light when lifted.
The fix is one deep soak. Submerge the pot in a bucket of water for 10 minutes, or water from above until the pot drains freely. Then let the soil dry to the root zone before the next watering. The recovery is dramatic — leaves plump up within 24 hours, and the lower leaves will continue to yellow and drop as the plant redirects energy to the top.
If the pot is under 15 cm in diameter, consider repotting to a larger container. Small pots dry out so quickly that even a careful soak-and-dry rhythm becomes a daily chore. Terracotta in a 20 cm pot is the sweet spot for most upright sedum. The full watering cadence is in the sedum watering guide.
Cause 6 — Nutrient Excess (Especially Nitrogen and Minerals)
Sedum is a low-feed plant — too much fertilizer is worse than too little. Most sedum wants no feeding at all in its first year, and a half-strength kelp or compost tea at most once a year after that.
The visual signs of nutrient excess are subtle. The plant looks lush and well-grown, but the new leaves are soft and slightly yellow. The internodes are unusually long. A white crust on the soil surface or the pot rim is the most specific clue — that’s mineral salt buildup from over-fertilizing or from hard tap water. In outdoor beds, leaves may yellow after a heavy dose of lawn fertilizer nearby, since sedum is more sensitive to nitrogen than most perennials.
The fix is to flush the pot. Place the pot in a sink and run distilled water through the soil three times the volume of the pot, letting it drain freely each time. This leaches the excess mineral salts out of the root zone. Skip all fertilizer for the next six months. For outdoor sedum, stop using any high-nitrogen lawn fertilizer nearby and switch to a half-strength kelp or compost tea at most once a year.
If the water in your region is hard (above 180 ppm calcium), switching to rainwater or filtered water for the sedum is the long-term fix. The full watering and feeding guidance is in the complete sedum care guide.
Cause 7 — Seasonal Dormancy and Natural Leaf Drop)
Outdoor sedum often drops lower leaves in late fall as it goes dormant. This is the cause most often missed because the gardener assumes the worst.
The visual signs of dormancy are gentle. Lower leaves yellow and drop cleanly — no mush, no spots, no translucence. The upper leaves stay firm and may even develop reddish or purple tones as the cool weather sets in. The stem base is firm. The soil is at normal moisture, not bone-dry or soggy. The timing is the diagnostic: late October through early December in zones 4–7, somewhat later in warmer zones.
The fix is to do nothing. Reduce watering to once a month or less, do not fertilize, and leave the plant alone. In spring, new growth will emerge from the crown and the cycle restarts. Mulch the crown lightly with gravel for winter protection in zones 3–5, but never pile bark or compost on the crown — that’s a rot invitation.
When to worry: if the upper leaves yellow too, treat as Cause 1 or 2. If the stem base softens, treat as Cause 1. If the plant is dropping leaves in midsummer, treat as Cause 3 or 5 instead. Dormancy is specifically a late-fall and early-winter pattern. The full dormancy and overwintering guidance is in the complete care guide. For plants that don’t recover in spring, the save-dying-sedum recovery guide walks through the steps.
From PDF to Excel in one click
Forget retyping line by line. Upload any bank statement, get a spreadsheet you can actually use. Your files are never stored, and you can test the converter with 3 free conversions.