
Setting up a worm bin is mostly about getting the environment right, not buying fancy gear. When oxygen, moisture, and a carbon-rich bedding stay in balance, composting worms settle fast and process scraps without smells For choosing the right best worms for composting for your setup, see our comparison guide..
This worm bin setup guide walks you through choosing a bin, building bedding, adding worms, and feeding for the first weeks. You will also learn a simple maintenance rhythm and how to fix the most common startup problems.
Understand worm bin ecology (oxygen, moisture, carbon)
A healthy worm bin works like a living filter. The goal is to keep it aerobic and lightly damp so microbes and worms can break food down cleanly.
Oxygen: Worms breathe through their skin and need air spaces in the bedding. Compacted, soggy bins turn anaerobic and start to smell. Fluffy bedding, proper drainage, and not overfeeding keep oxygen available.
Moisture: Bedding should feel like a wrung-out sponge. Too dry and worms slow down or try to leave. Too wet and air disappears. Moisture is controlled by the bedding mix, how wet your food is, and whether excess liquid can drain.
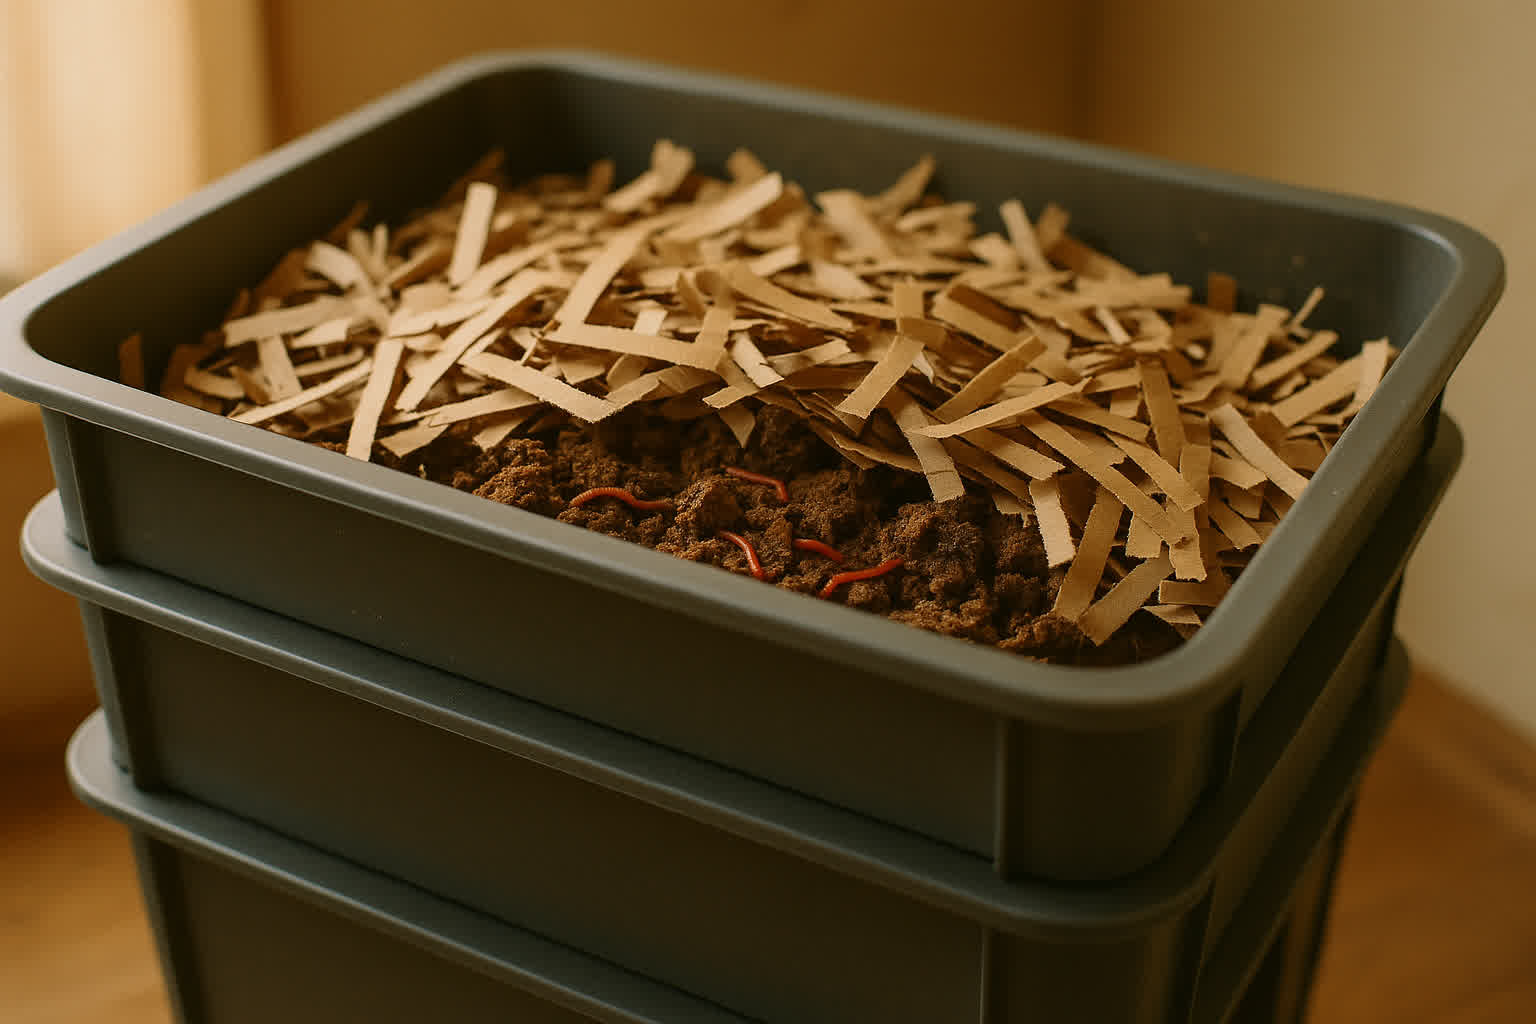
Carbon bedding: Shredded paper and cardboard provide structure, absorb moisture, and balance nitrogen-rich food scraps. Think of bedding as both habitat and “brown” material that keeps the system stable.
Choose a worm bin style that fits your space and volume
You can compost with worms in many containers, but the best bin is the one you will actually maintain. Pick a size that matches your weekly scraps and a location that stays within a comfortable temperature range for composting worms.
Simple tote (most beginner-friendly)
A plastic storage tote with a lid is the easiest start. It is inexpensive, easy to drill for ventilation, and easy to move. Aim for a wide footprint rather than a deep bin, because worms prefer working in the top layers.
Stacking tray system (convenient harvesting)
Tray systems make harvesting castings easier because worms migrate upward into fresh food. They cost more, but they are tidy and efficient if you want a long-term setup with less digging.
Indoor bucket-style (small volumes only)
Small bins can work for apartments, but they swing faster. If you choose a compact bin, be conservative with feeding and extra careful about moisture control.
Key bin features to include
- Ventilation: Small air holes near the top, or a breathable lid design.
- Drainage: Either a false bottom and spigot, or a way to catch excess liquid so bedding does not sit in it.
- Darkness: A lid helps worms feel secure and reduces fruit flies.
- Access: You should be able to fluff bedding and bury food easily.
Gather materials before you start (keep it simple)
Having everything ready prevents a rushed setup that ends up too wet or too dense. You do not need many “special” items, but each one has a purpose in the system.
- Composting worms: Red wigglers (Eisenia fetida) are the standard for bins.
- Bedding: Shredded cardboard, plain paper, paper egg cartons, or brown kraft paper.
- Food scraps: Start with easy items like melon rinds, pumpkin, leafy greens, and crushed eggshells.
- Grit/minerals: Crushed eggshells help with pH stability and provide grit for digestion.
- Water spray bottle: For small moisture adjustments.
- Optional cover layer: A piece of damp cardboard or burlap helps regulate moisture and discourages flies.
If you want the full beginner flow in a single place, follow this step-by-step companion guide: how to start vermicomposting.
Build bedding correctly (the setup step that prevents odors)
Bedding should be the majority of your bin at the start. It creates air pockets, holds moisture, and gives worms a safe place to retreat while they adjust.
Step 1: Shred and pre-moisten the bedding
Shred cardboard and paper into thin strips. Soak it, then squeeze hard so it is damp but not dripping. If water streams out when you squeeze, it is too wet.
Step 2: Add structure and a little biology
Fluff bedding into the bin instead of packing it down. If you have a handful of finished compost or old worm castings, mix a small amount in to introduce helpful microbes.
Step 3: Add eggshell grit and a cover layer
Sprinkle crushed eggshells through the bedding. Then place a damp cardboard sheet on top. This top layer keeps the surface humid and makes it easier to check the bin.
Introduce worms gently (avoid “worm shock”)
Worms need time to adjust to a new home. A calm first week reduces escapes, stress, and stalled processing.
Step 1: Add worms on top, leave the lid ajar briefly
Place the worms on top of the bedding and let them burrow down on their own. Keep bright light over the bin for the first hour if you notice them trying to crawl out, because worms avoid light.
Step 2: Skip heavy feeding for the first few days
Worms can live in bedding while microbes establish. Start with a very small amount of food and wait to see how fast it disappears before adding more.
Do the first feeding the right way (small, buried, and spaced out)
Most beginner problems come from feeding too much, too soon. Your first feedings should be small test portions that help you learn your bin’s pace.
- Chop scraps: Smaller pieces break down faster and are less likely to rot.
- Bury food: Dig a small pocket, add food, then cover completely with bedding.
- Rotate zones: Feed in a different corner each time so the bin stays balanced.
- Pair with dry bedding: Add a handful of dry shredded cardboard with wetter foods.
Good starter foods include melon, squash, soft leafy greens, and a little coffee grounds mixed with bedding. Avoid oily foods and large amounts of onion or citrus at the beginning, because they can cause odors and slowdowns.
Set a simple maintenance cadence (10 minutes a week)
A worm bin does best with light, consistent care. A quick weekly check prevents most issues and keeps processing steady.
Weekly check
- Moisture check: Grab a handful of bedding and squeeze. If it is dusty, mist lightly. If it drips, add dry bedding and fluff.
- Smell check: A healthy bin smells earthy. Sour or rotten smells signal anaerobic pockets or overfeeding.
- Food check: If the last feeding is mostly gone, you can feed again. If it is still recognizable and slimy, pause and add bedding.
- Fluffing: Gently lift and loosen the top layers to keep air moving.
Monthly habits
- Add bedding: Worms slowly consume bedding, so top it up regularly.
- Balance minerals: Add crushed eggshells as needed to support digestion and reduce acidity.
Know when castings are ready, and what to do with them
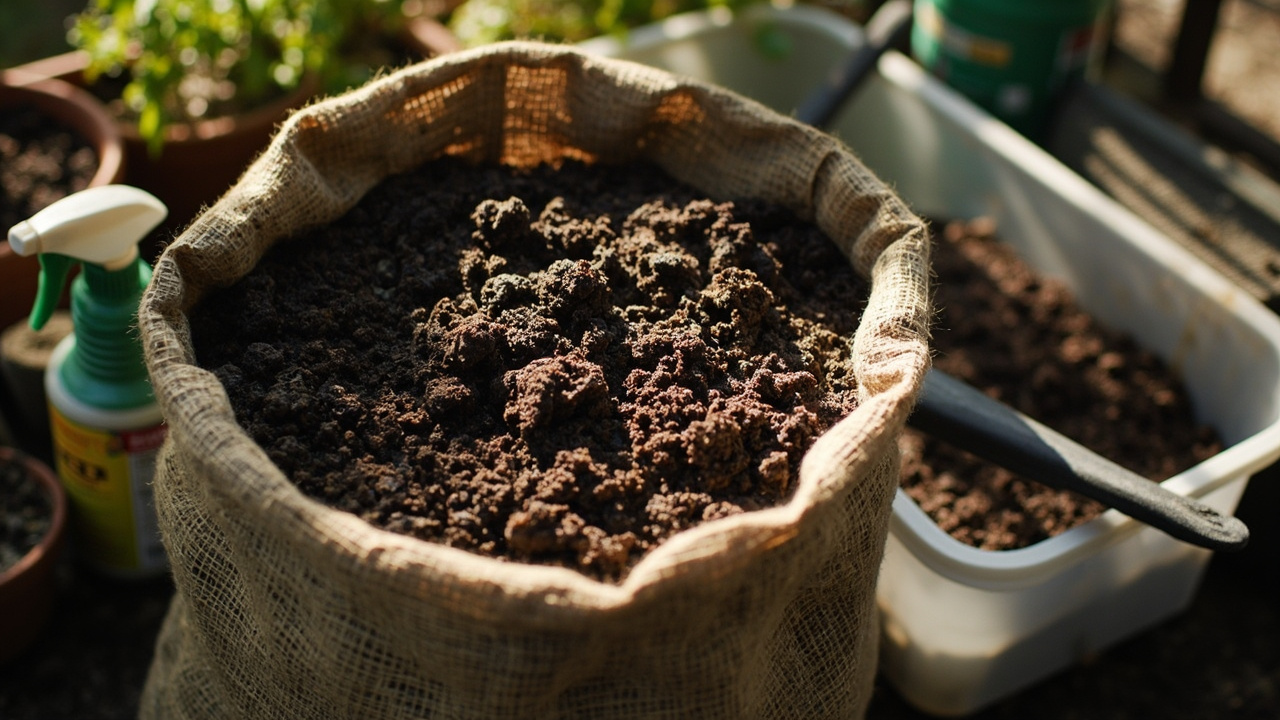
Worm castings are ready when much of the bedding has turned into dark, crumbly material with an earthy smell. Depending on temperature, feeding, and bin size, this can take a few months in a new bin.
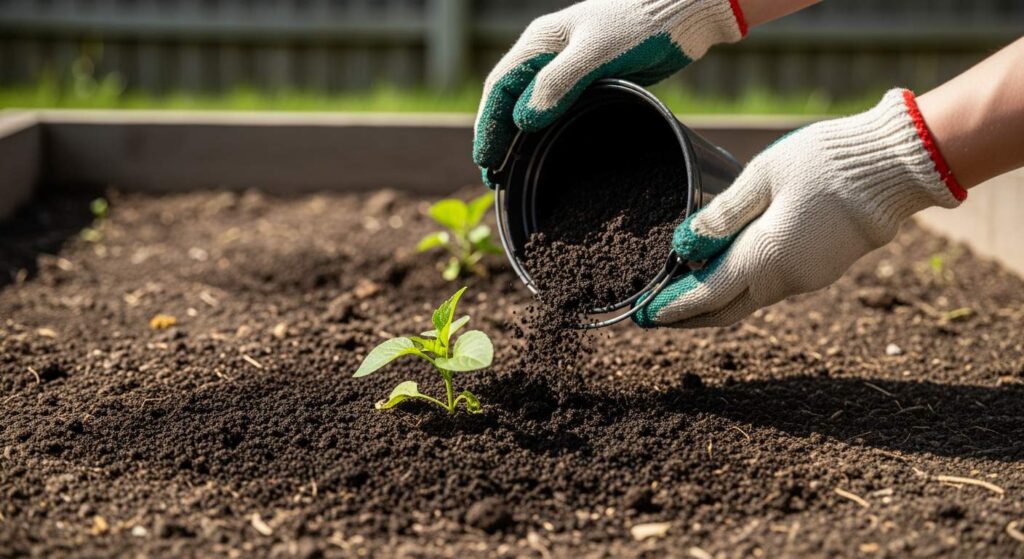
Castings can be used as a top-dress for houseplants, mixed into potting soil, or turned into a gentle liquid extract. If you want to use castings for plant nutrition, start here: the benefits of worm castings.
If you plan to make a liquid feed, use this guide so you do it safely and effectively: how to make worm casting tea.
Troubleshoot common worm bin startup issues
New bins are more sensitive, so small corrections early make a big difference. Use the symptom first, then apply the simplest fix.
Bad odor (rotten, sour, or ammonia smell)
This usually means too much food, too much moisture, or compacted bedding. Stop feeding for 1 to 2 weeks, remove any obviously rotting pockets if needed, add dry bedding, and fluff the top layers to restore airflow.
Fruit flies or gnats
Always bury food and keep a cover layer (damp cardboard) on top. Freeze scraps first if fly pressure is high. If you already have flies, pause feeding, remove exposed food, and add more bedding to seal the surface.
Worms trying to escape
Some wandering is normal in the first few days. If it continues, check moisture (not too wet), smell (no anaerobic rot), and temperature (not too hot). Keeping a light over the bin overnight can help until conditions stabilize.
Bin is too wet
Add dry shredded cardboard, mix gently, and improve drainage. Feed drier foods for a while or drain any liquid collection tray. Avoid pouring water into the bin, mist only when needed.
Bin is too dry
Mist the bedding, add water-rich foods (like melon), and keep the cover layer damp. Dry bins slow down fast, so correct gradually over a couple of days rather than soaking everything at once.
Food is not disappearing
In a new bin, microbes need time to colonize. Reduce feeding, chop scraps smaller, and give the bin a week. Also confirm you are using composting worms, not garden earthworms, because earthworms do poorly in bins.
Worm bin setup guide: the fastest path to a stable, odor-free bin
If you keep bedding as the main material, feed lightly at first, and maintain “wrung-out sponge” moisture, your bin will stabilize quickly. Once it does, you can increase feeding slowly and start harvesting castings on a predictable schedule.
From PDF to Excel in one click
Forget retyping line by line. Upload any bank statement, get a spreadsheet you can actually use. Your files are never stored, and you can test the converter with 3 free conversions.
Try it free