
Overwatering kills more sedum than every other cause combined — this guide covers the soak-and-dry method, seasonal adjustments, and the simple leaf test that tells you exactly when your stonecrop needs water. If you’ve been watering your sedum on a fixed schedule and wondering why the leaves are turning yellow and falling off, the answer is almost always that you’re watering too much, not too little.
This guide covers the exact watering technique for sedum — how to water, how often in each season, how to diagnose overwatering before it’s fatal, and what changes for container vs in-ground plantings. Whether your sedum is a potted ‘Autumn Joy’ on a sunny patio or a spreading groundcover in a rock garden, the principles below apply across the genus. For the full sedum care picture including light, soil, and variety selection, our sedum plant care complete guide covers everything in one place.
Start with the soak-and-dry method below — it’s the single technique that separates sedum growers from sedum killers.
The Soak-and-Dry Method — Sedum’s Non-Negotiable Watering Rule
Overwatering kills more sedum than every other cause combined. Sedum stores water in its thick, fleshy leaves and can survive weeks without supplemental irrigation once established. The most common mistake new growers make is treating sedum like a thirsty perennial — watering on a fixed schedule rather than reading the plant. If you water sedum the same way you water your lawn, your tomatoes, or your tropical houseplants, you will kill it.
The soak-and-dry method is the standard: water thoroughly until it drains freely from the pot bottom, then wait until the soil is completely dry at least 7-10cm down before watering again. This mimics sedum’s natural habitat — rocky slopes and dry meadows where heavy rainfall is followed by extended drought. The key word is “completely.” Sedum roots are adapted to dry soil; any persistent moisture at the root zone invites fungal infection and root rot.
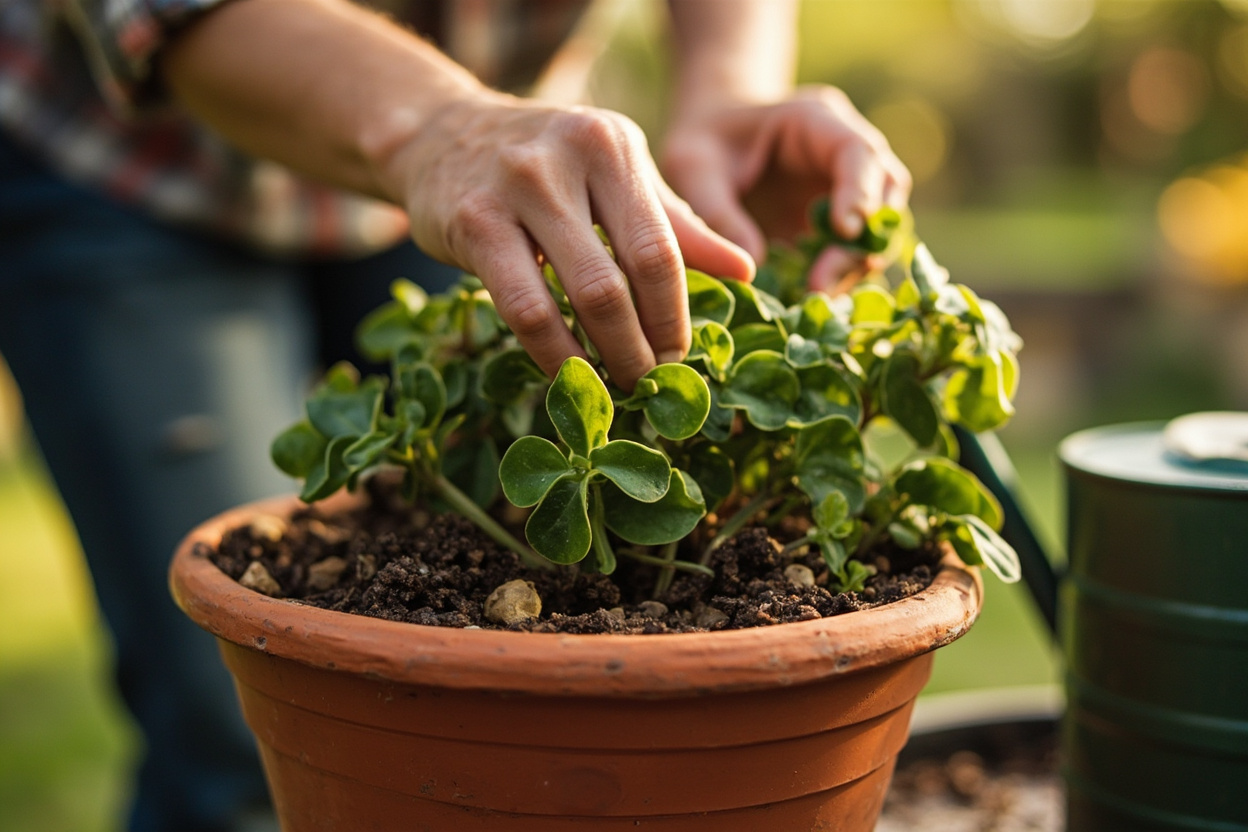
Watering on a schedule fails because the drying time changes with weather, humidity, soil type, and container material. A sedum in terracotta in full sun dries out in 5 days during a hot, windy week but might hold moisture for 18 days in cool, humid conditions. If you water every Saturday regardless, you’ll underwater in July and drown in May. The finger test removes the guesswork: insert your finger to the second knuckle. If you feel any moisture at all, wait another week.
Seasonal Watering Schedule — Summer, Fall, Winter, and Spring
Summer is sedum’s active growing season, and container plants typically need weekly watering during peak heat. In-ground plantings with established root systems go 10-14 days between waterings in summer, depending on rainfall and soil type. Sandy soils dry faster and need more frequent attention; clay soils hold moisture longer and require longer intervals. When daytime temperatures exceed 35°C, container sedum may need water every 4-5 days — but always check the soil first.
Fall marks the transition to dormancy. Reduce watering to every 2-3 weeks as growth slows and temperatures drop. Stop entirely when you notice the plant has stopped producing new leaves and the lower leaves begin to yellow naturally — this is the plant shutting down for winter, not a watering problem. Continuing to water a sedum that’s entering dormancy is the fastest way to cause winter root rot.
Winter is when most container sedum dies. Dormant sedum needs near-zero water — any moisture in cold soil sits against the roots and causes rot. If your sedum is outdoors in a container and the soil is frozen, do not water. If it’s in an unheated garage and the soil is dry but not frozen, a tablespoon of water once a month is sufficient to prevent total desiccation. In-ground sedum in zones 3-7 needs no winter watering at all; snow and spring rains provide everything the plant needs.
Spring resumption should be gradual. Wait until you see new growth at the base — typically when daytime temperatures consistently exceed 10°C for a week. Start with half the normal watering amount for the first two weeks, then resume the standard soak-and-dry schedule. Don’t fertilize until the plant has been actively growing for at least 3-4 weeks; feeding dormant or semi-dormant sedum burns the roots.
Turn PDF Bank Statements Into Workable Spreadsheets
Your bank statement is a mess of numbers, but your books shouldn't be. Use our converter to get Excel, CSV, or QBO files — ready for QuickBooks.
Try It Free NowThe Leaf Test — How to Tell if Sedum is Thirsty or Drowning
The leaf test is the most reliable diagnostic tool for sedum watering. Healthy sedum leaves are firm, plump, and slightly rigid. Gently squeeze a middle leaf between your thumb and forefinger: if it feels slightly soft and flexible but bounces back immediately, the plant is ready for water. If it feels firm and rigid, the plant still has adequate internal water stores — wait another week.
Overwatered sedum shows a distinctly different pattern. Lower leaves turn yellow, then become translucent and mushy. They fall off at the slightest touch. The stem near the soil line may turn black or dark brown and feel soft. If you notice these symptoms, stop watering immediately and check the root zone. A musty or sour smell from the soil confirms root rot has begun.
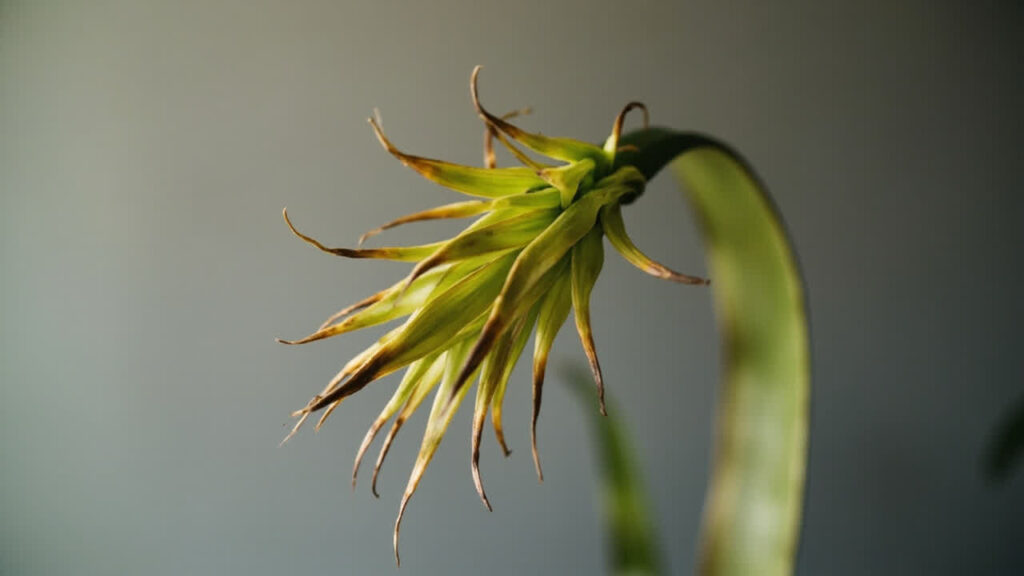
True underwatering is rare in sedum but does happen in extreme heat or when a plant has been neglected for months. Underwatered leaves become wrinkled, shriveled, and dry at the edges — they look deflated rather than translucent. The plant may drop older leaves to conserve water for new growth. If you see these signs, water thoroughly and the plant typically recovers within 48 hours. The rule that prevents most problems: when in doubt, wait another week. Sedum tolerates drought far better than it tolerates excess water. There is one exception: newly planted sedum (within the first 2 weeks after transplanting) needs slightly more frequent water to establish roots — check every 3-4 days and water when the top 3cm of soil is dry. Once established, switch to the standard soak-and-dry schedule.
Container vs In-Ground Watering — What Changes
Container sedum dries out significantly faster than in-ground plantings. In summer, check container soil every 3-4 days by inserting a wooden skewer to the bottom — if it comes out with damp soil particles attached, wait another 2-3 days. Terracotta pots dry 30-40% faster than glazed ceramic or plastic containers because the porous clay wicks moisture from the soil surface. If your sedum is in plastic or glazed ceramic, extend the interval between waterings by 2-3 days compared to terracotta.
In-ground sedum, once established (after the first full growing season), rarely needs supplemental water except during extended drought. The root system spreads laterally and accesses moisture from a wide soil volume. In regions with regular summer rainfall (more than 25mm per week), established in-ground sedum needs no additional watering at all. Overwatering in-ground sedum is almost always a drainage problem, not a frequency problem — if water pools after rain, amend the soil with gravel before planting.
The drainage factor cannot be overstated. A container without drainage holes will kill sedum regardless of how carefully you water. Excess water collects at the bottom of the pot, creating an anaerobic zone where root rot fungi thrive. Even if the top 5cm of soil feels dry, the bottom layer remains saturated. Always use containers with at least one drainage hole, and prefer terracotta over plastic for sedum. For a complete guide to soil mixes and container selection for sedum, our sedum plant care complete guide covers the specifics.
Mulch choice matters more than most growers realize. Organic mulches — bark, straw, compost — retain moisture and create humid conditions at the soil surface that sedum dislikes. If you mulch around in-ground sedum, use gravel, pebbles, or crushed stone instead. Stone mulch reflects heat, suppresses weeds, and allows water to drain quickly away from the stem base. A 2-3cm layer of pea gravel is ideal for both moisture control and aesthetic finish.
Overwatering and Root Rot — Diagnosis and Recovery
Root rot is the consequence of overwatering, and it progresses fast in sedum. The earliest sign is yellowing of the lower leaves — the oldest ones closest to the soil. This is easily confused with natural aging, but natural aging produces dry, papery leaves that detach cleanly. Root rot produces wet, translucent leaves that leave a mushy residue on your fingers. As the condition worsens, the stem base turns black and soft, and the plant may lean or collapse entirely.
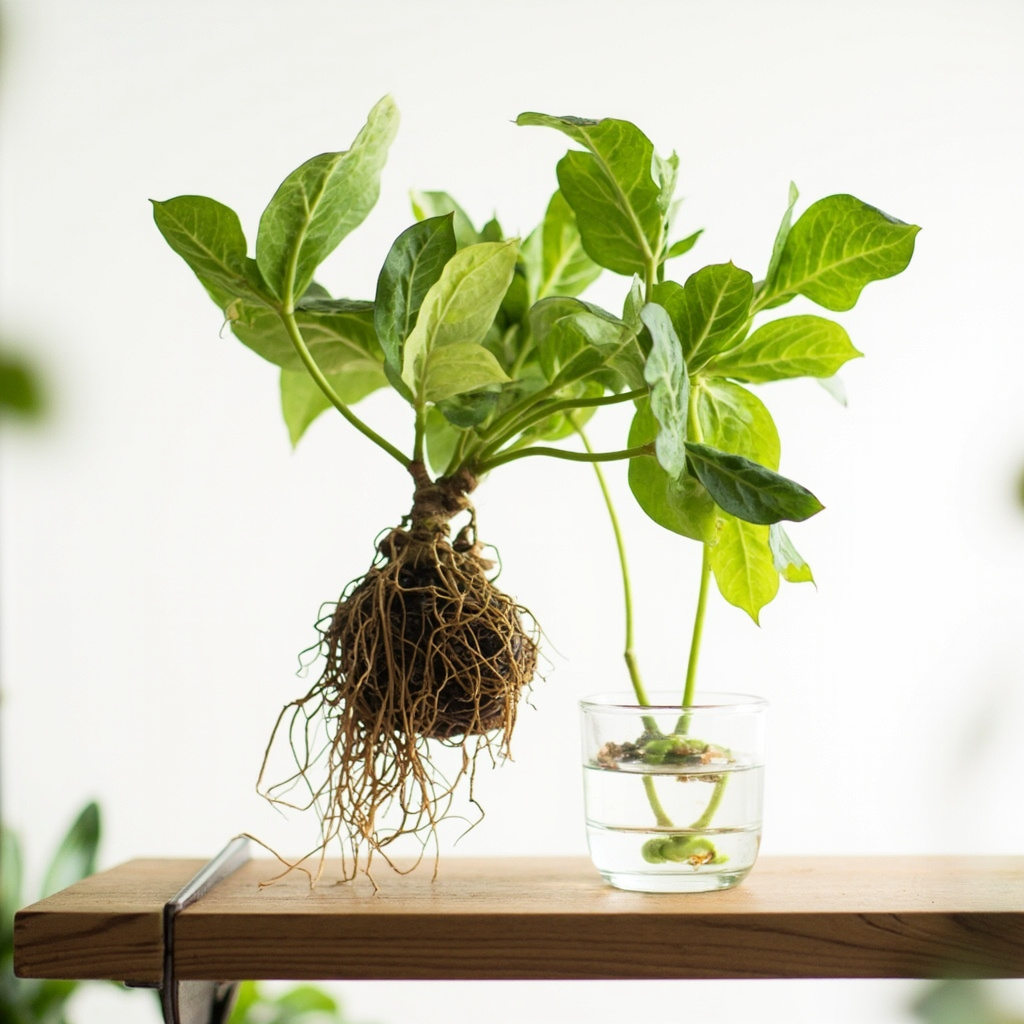
Immediate action can save a sedum with early-stage root rot. Remove the plant from its container and gently wash the soil from the roots. Healthy sedum roots are white or light tan and firm to the touch. Rotted roots are brown or black, soft, and often fall apart when handled. Trim all affected tissue with a sterile blade until only healthy white roots remain. Let the plant dry in open air for 2-3 days until the cut surfaces callus over. Repot in fresh, dry gritty mix in a terracotta pot with drainage holes. Wait 3-5 days before the first light watering.
When more than 50% of the root system is affected, recovery is unlikely. Instead of trying to save the rotting base, take healthy leaf or stem cuttings from the upper portions of the plant and propagate them. Sedum propagates readily from both methods — leaf cuttings root within 2-4 weeks, stem cuttings within 2-3 weeks. This is actually the fastest way to get a new, healthy plant rather than nursing a severely compromised one back to health. For step-by-step propagation instructions that apply across succulent genera, our succulent watering guide covers the recovery protocol in detail.
Prevention is simpler than cure: use the soak-and-dry method, ensure excellent drainage, reduce water in fall, and stop entirely in winter. Get these four things right and root rot is almost impossible. For a comparison of how different succulents handle water stress, the echeveria watering guide covers a genus that’s even more sensitive to overwatering than sedum. And if you’re growing sedum alongside other succulents, the haworthia watering guide shows how a tropical succulent’s needs differ from sedum’s drought-hardy rhythm.