Standard potting mix is the fastest way to kill sedum — this genus evolved in rocky, nutrient-poor soil and needs a lean, gritty blend that most commercial mixes simply don’t provide. If you planted your sedum in the same potting mix you use for your ferns or tomatoes and watched it turn yellow and floppy within weeks, the soil is the culprit, not your watering habits.
This guide covers the exact soil composition sedum needs — the mineral-to-organic ratio, the best ingredients, container choices, pH range, and how to adapt the mix for containers, ground cover, and propagation. Whether you’re repotting a struggling ‘Autumn Joy’ or setting up a new rock garden with low-growing stonecrop, the principles below apply across the genus. For the complete sedum care picture, our sedum plant care complete guide covers light, watering, and variety selection in one place.
Start with the mix ratio below — it’s the single change that rescues most sedum currently dying in moisture-retentive soil.
Why Standard Potting Mix Kills Sedum
Sedum evolved in rocky alpine meadows, cliff faces, and gravelly slopes where nutrients are scarce and water drains away within hours. The genus developed fine, shallow roots adapted to dry mineral substrates — not the moisture-retentive organic mixes that work for tropical houseplants. When you plant sedum in standard potting mix, you’re placing a drought-adapted succulent in an environment that stays damp for days, and the roots simply can’t handle it.
The mechanism is straightforward: standard potting mix retains too much moisture around sedum’s fine root system, creating anaerobic conditions at the root zone. This triggers root rot — a fungal attack that turns roots brown and mushy, cutting off water and nutrient uptake. Above ground, the first sign is yellowing lower leaves, followed by stems that go soft at the soil line. By the time you see the symptoms, the root damage is already advanced.
Rich organic matter causes a different problem: fast but weak growth. Sedum planted in compost-heavy soil produces tall, stretched stems that can’t support their own weight. The plant looks lush for a few weeks, then collapses. This is the same principle behind why over-fertilizing sedum produces floppy growth — the plant is getting more resources than it’s adapted to use.
The practical test: if the soil around your sedum stays damp for more than three days after watering, it’s too moisture-retentive. Sedum needs soil that dries completely within 2-4 days in summer heat. Anything longer is a root rot risk. Stick your finger into the soil to the second knuckle — if you feel any coolness or moisture at that depth, the mix is holding too much water and needs more mineral content.
The Ideal Sedum Soil Mix — Ratios and Ingredients
The golden ratio for sedum is 2 parts mineral grit to 1 part organic matter by volume. This means roughly 65-70% inorganic mineral material and 30-35% organic content. That’s the inverse of most commercial potting mixes, which are 70-80% organic. Getting this ratio right is the single most impactful change you can make for sedum health.
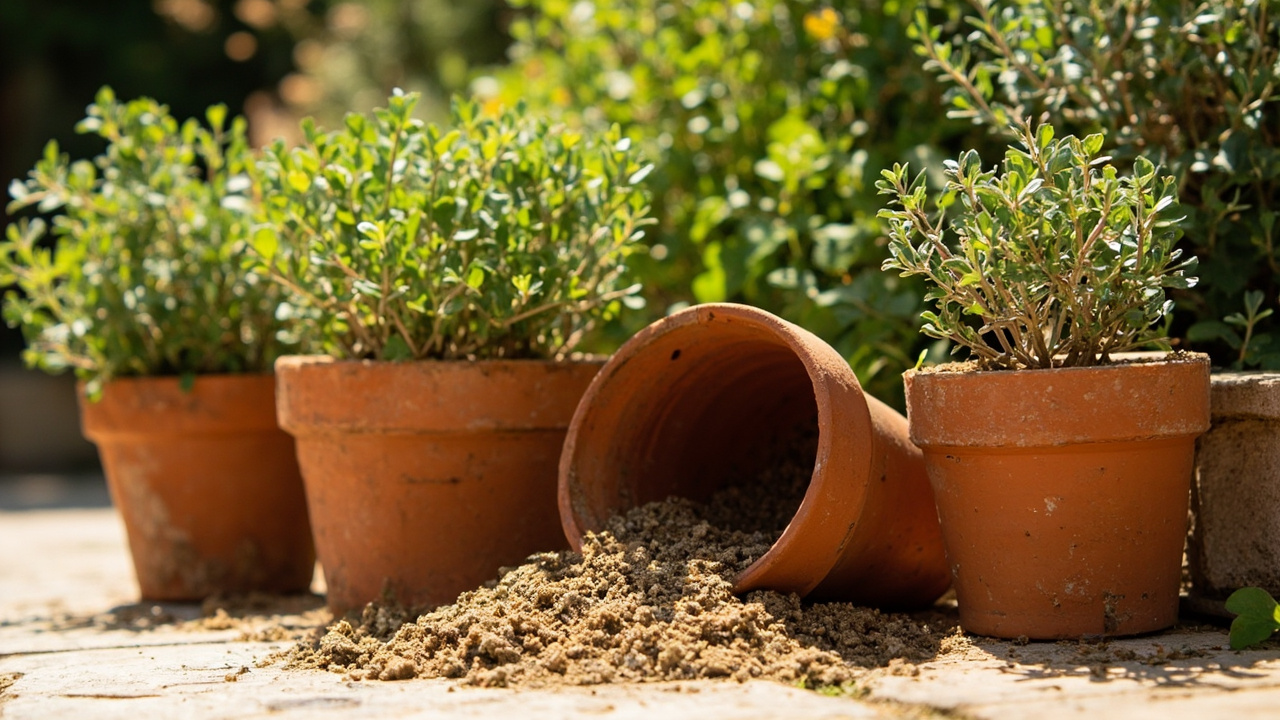
Mineral options vary in quality and purpose. Pumice is the best all-around choice: it’s lightweight, porous (holds a small amount of water inside its structure while letting excess drain), and doesn’t compact over time. Perlite works well too — it’s cheap and widely available, but it’s so lightweight that it floats to the surface after repeated watering and eventually washes out. Coarse horticultural sand (2-4mm grit) is excellent for upright varieties because its weight stabilizes taller stems. Avoid fine sand and builder’s sand — they compact and reduce drainage.
For the organic component, use coconut coir or sifted compost. Never use peat moss in sedum mix — it retains far too much water when wet and becomes hydrophobic when dry, creating inconsistent moisture conditions. Coir holds less water than peat while still providing the slight organic content sedum needs for root establishment.
If you’re buying pre-bagged mix, start with any quality cactus and succulent mix, then add 30% extra pumice by volume. Most commercial succulent mixes are still too organic-heavy for sedum’s preferences. The extra pumice pushes the ratio toward what sedum actually needs. For a complete sedum care overview including how soil interacts with light and watering, our sedum watering guide covers the full picture.
Container Choice — Terracotta, Drainage Holes, and What to Avoid
The container is half the drainage equation. Terracotta is the best material for sedum because its porous walls actively wick moisture away from the soil, reducing overwatering risk by 30-40% compared to glazed ceramic or plastic. In humid climates or for growers who tend to overwater, terracotta is the difference between sedum that survives and sedum that thrives.
Drainage holes are non-negotiable. Every sedum container needs at least one drainage hole for small pots (under 10cm diameter) and 3-5 holes for containers over 15cm. Without drainage, water pools at the bottom of the pot, creating a permanently saturated zone where root rot develops silently. No soil mix — no matter how gritty — can compensate for a pot that traps water at the base.
Materials to avoid: glazed ceramic (seals moisture inside), metal (heats up rapidly in sun and cooks shallow sedum roots), and self-watering pots (designed to keep soil permanently damp — the opposite of what sedum needs). Plastic pots work in a pinch but dry out much more slowly than terracotta, so reduce watering frequency by about 30% if you use them.
Sedum has a shallow, spreading root system. Wide, shallow pots (pan-style or bowl-shaped) outperform deep containers because they let soil dry evenly from surface to bottom. Deep pots retain moisture at the base long after the top layer is dry, creating the damp conditions sedum roots can’t tolerate.
Soil pH — The Range Sedum Prefers
Sedum prefers a soil pH between 6.0 and 7.0 — neutral to slightly acidic. The genus tolerates mildly alkaline conditions (up to 7.5) better than most succulents, which is one reason it thrives in limestone-rich rock gardens where other succulents struggle. Most commercial cactus mixes fall in the 5.5-6.5 range, which is acceptable but slightly below the ideal.
If your soil tests below pH 5.5 (too acidic), add one tablespoon of garden lime per litre of mix and re-test after two weeks. Alkaline soils above pH 7.5 are less common but can be corrected by working in a small amount of peat-free ericaceous compost. In practice, sedum is forgiving on pH — drainage and mineral content matter far more than hitting a precise pH number.
Soil Mix for Different Sedum Scenarios — Containers, Ground Cover, and Propagation
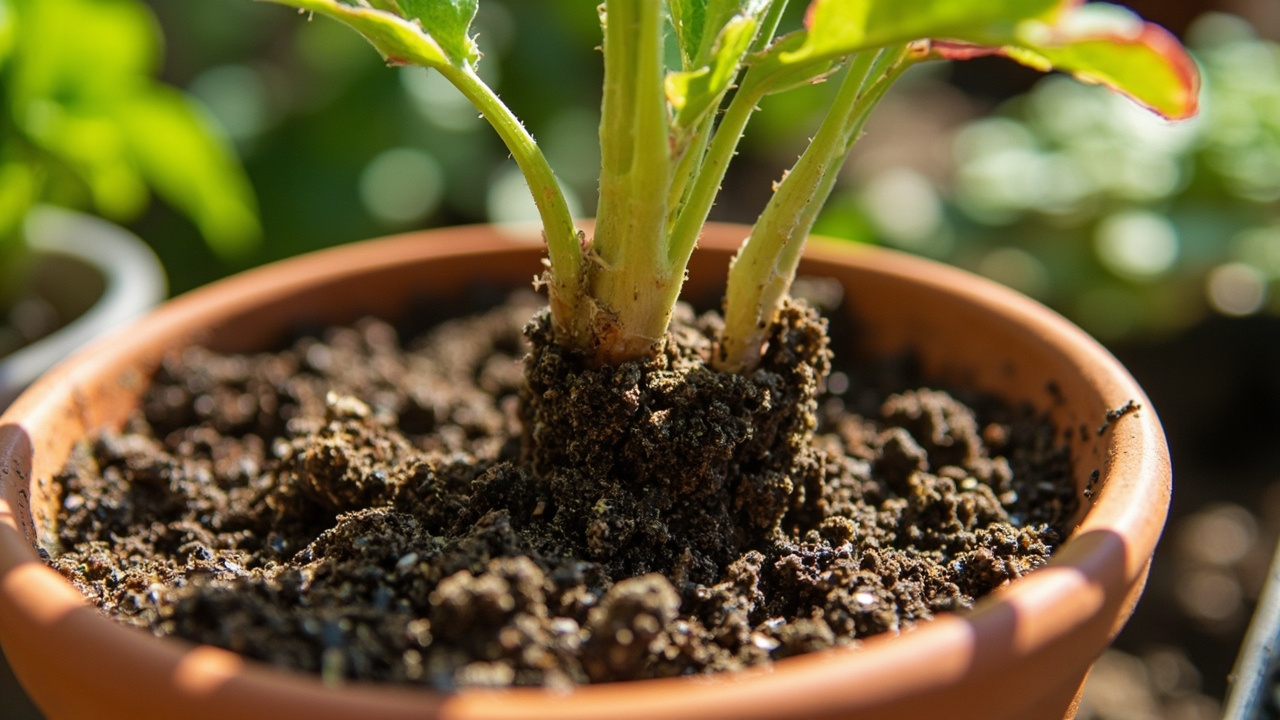
The base 2:1 mineral-to-organic ratio works for most situations, but specific growing scenarios benefit from adjustments. Container-grown sedum in humid climates should lean toward 3:1 mineral-to-organic — the extra grit compensates for slower evaporation in high-humidity environments. In arid climates, the standard 2:1 ratio provides enough moisture retention without risking rot.
For in-ground planting in rock gardens or borders, amend native soil with 50% coarse sand and gravel by volume. Heavy clay soils need raised beds or mounds at least 15cm above grade to ensure drainage. Sedum planted directly in unamended clay will not survive the first wet season — the clay holds water like a bowl and suffocates the roots.
Propagation requires a different approach entirely. Use 100% dry pumice or perlite for leaf and stem cuttings — zero organic matter until roots form. Organic material on unrotted cuttings invites fungal infection and rot. Once roots are established (usually 2-3 weeks), transplant the young plant into the standard 2:1 mix. For green roof and xeriscape plantings, use 80% mineral content (expanded shale, crushed brick, or coarse pumice) with 20% compost — these installations need extreme drainage and minimal weight.
When to Repot and Refresh Sedum Soil
Even the best sedum mix breaks down over time. Organic components decompose, mineral particles compact, and the soil gradually retains more moisture. Signs that your sedum soil has degraded: water sits on the surface instead of draining through, the soil stays wet for more than 4 days after watering, a crust forms on the surface, or roots circle densely at the bottom of the pot.
Repot container sedum every 2-3 years in early spring, just as new growth begins. In-ground sedum rarely needs soil amendment after the first year — established plants root deeply enough to find drainage in surrounding soil. When repotting, gently remove old soil from the roots, trim any dead or brown roots with clean scissors, and replant in fresh mix. Wait 5 days before the first watering to let damaged roots callus over.
Reusing old sedum soil is possible but requires sterilization. Bake used soil at 90°C for 30 minutes to kill fungal spores and pathogens, then mix it 50/50 with fresh mineral grit before reusing. Never reuse soil from a plant that showed signs of root rot without sterilizing it first — the fungal spores survive in dormant soil and will infect the next plant.
From PDF to Excel in one click
Forget retyping line by line. Upload any bank statement, get a spreadsheet you can actually use. Your files are never stored, and you can test the converter with 3 free conversions.
Try it free