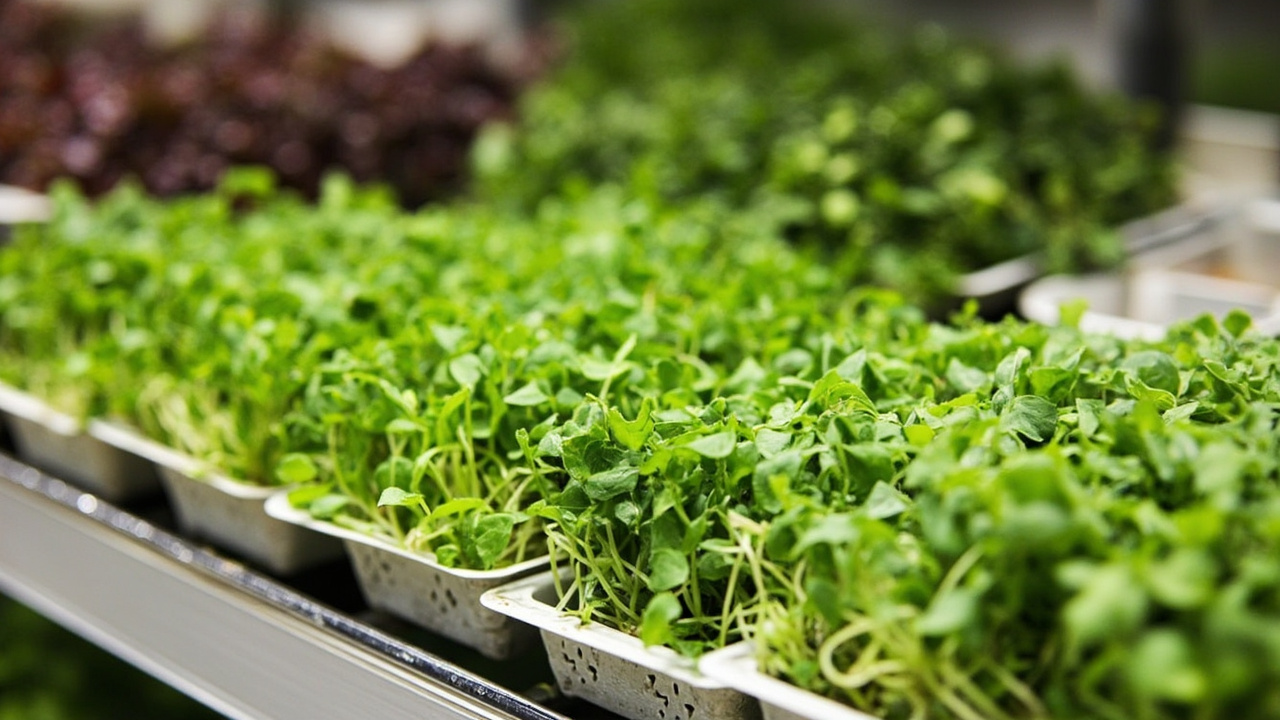
The best microgreens growing medium is a fine-textured, sterile, moisture-retentive mix that holds water around the seed without staying soggy at the surface. A loose medium like coco coir or a fine seed-starting blend is the safest beginner pick because it forgives small mistakes in watering and drains freely. Mats, rockwool, and other tidy alternatives work in specific situations, but they have trade-offs that show up within the first two or three trays.
The choice of medium changes watering rhythm, mold risk, and how clean the harvest looks, more than it changes the final yield. A microgreens tray only needs the medium to hold moisture and oxygen for 7 to 21 days, and the seed itself carries most of the energy the plant needs to push up to the cotyledon stage. A rich, compost-heavy mix is not just unnecessary for that short cycle; it is often a liability, because it holds water, slows drainage, and gives mold a head start.
What A Microgreens Medium Has To Do
A microgreens medium has three jobs in a short crop cycle: hold moisture against the seed, drain freely so the roots get oxygen, and stay clean enough that mold and damping-off do not get a head start. Anything that does those three things at the same time will work. Anything that fails any one of them will fail the tray, even if the seeds germinate and the cotyledons open on schedule.
Moisture retention is the medium’s first job. Seeds need to stay wet against the medium for the first 24 to 48 hours, which is why a very loose, dry medium (like coarse perlite on its own) makes germination uneven and slow. The medium should hold water without dripping, the way a wrung-out sponge feels when you squeeze it.
Drainage is the second job. After germination, the roots need oxygen as much as water, and a medium that stays saturated at the bottom of the tray suffocates the roots. The fastest test is the one-minute drain: water the tray thoroughly, then lift it after 60 seconds. A healthy tray will be lighter and the surface will feel damp but not pooling.
Cleanliness is the third job. A fresh, sterile medium gives the microgreens a clean runway for the first 5 to 7 days, when mold and damping-off are most likely. Reusing a medium from a previous tray, or using outdoor garden soil, imports the spores and the pathogens from the last grow, and the new tray often pays the cost within the first week.
This medium choice sits inside the basic tray method in how to grow microgreens at home. The tray, the seed density, the light, and the watering rhythm all interact with the medium, and the right medium is the one that lets the other three variables stay simple.
Coco Coir And Seed-Starting Mix
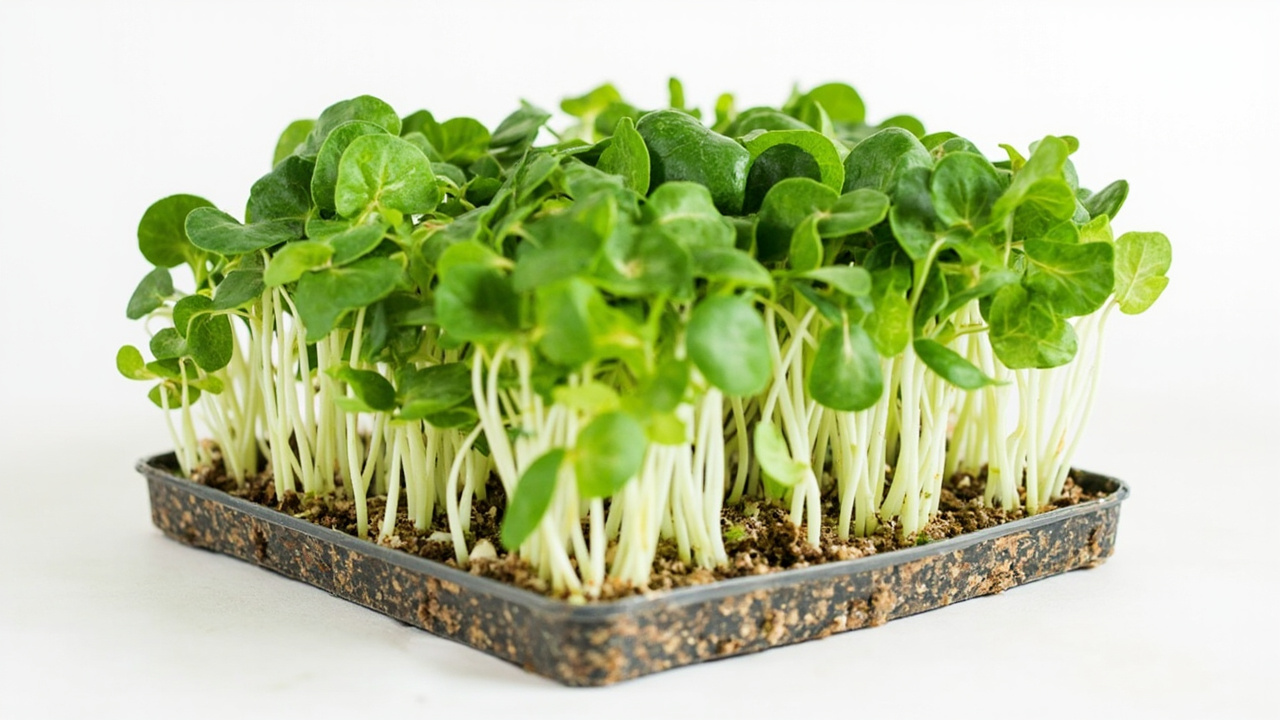
Coco coir and a fine seed-starting mix are the two most forgiving loose media for home microgreens. Both hold moisture evenly, drain well, and arrive clean. The difference between them is mostly texture, weight, and how they behave over a 14-day grow.
Coco coir comes as a compressed brick that rehydrates into a loose, fluffy medium. It holds about 8 to 10 times its weight in water, releases moisture slowly as the medium dries, and has a near-neutral pH of 5.5 to 6.5. It is also reusable across multiple trays if you compost the used coir between grows. The trade-off is that coco coir on its own has no nutrients, which is fine for microgreens (the seed carries the energy for the first week) but means a coir-only tray will not push a true-leaf stage as easily as a coir-and-compost blend.
A fine seed-starting mix is a peat-based or coir-based blend with perlite or vermiculite mixed in. It is heavier than pure coir, holds slightly less water, and has a more consistent particle size. The advantage is that the perlite keeps the medium loose at the bottom of the tray, which helps the lower roots stay oxygenated. The disadvantage is that a peat-based mix is more acidic (pH 4.5 to 5.5) and may need a light dusting of garden lime for crops that prefer a higher pH, although most microgreens are tolerant of the natural peat range.
Coco coir works here for the same reason it appears in broader soilless growing medium comparisons. The honest trade-off between the two is that coco coir is a single-ingredient medium you can adjust by hand, and a seed-starting mix is a balanced multi-ingredient medium that needs less fiddling. Both are good picks; the difference is whether you want to fine-tune or just sow.
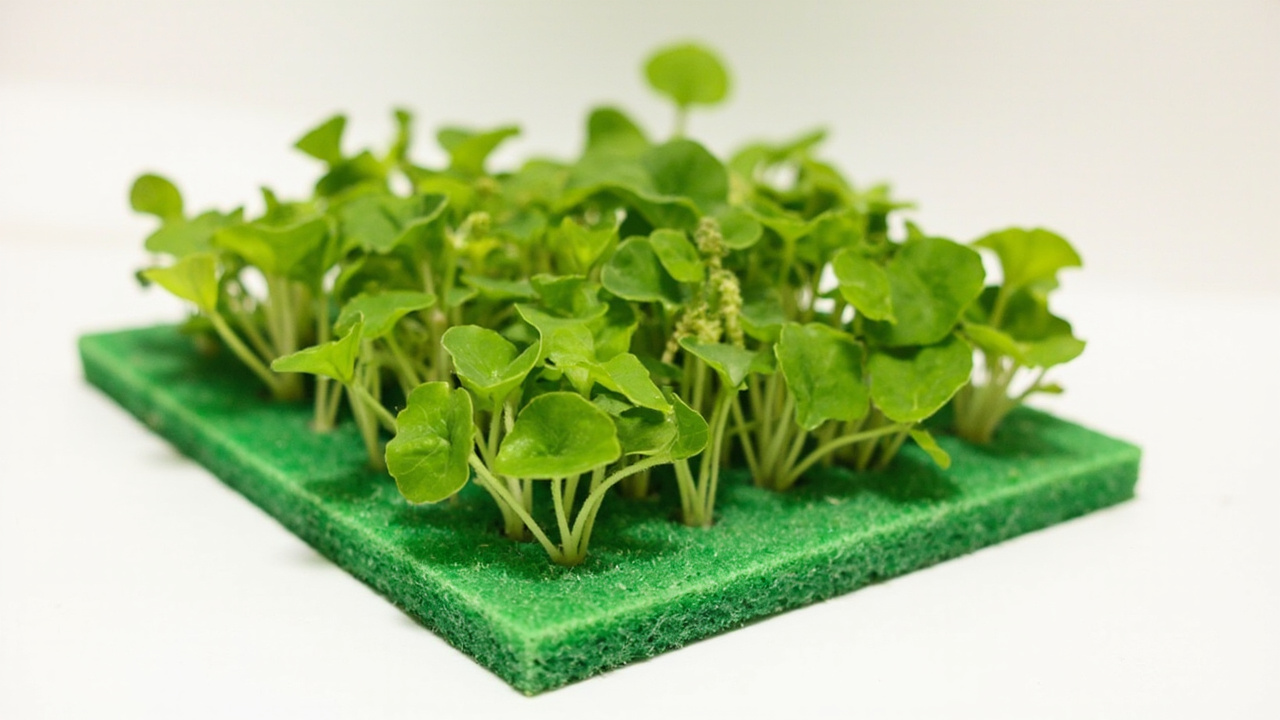
Mats, Paper, And Rockwool
Microgreens mats, paper towels, and rockwool are tidy alternatives for situations where a loose medium is inconvenient. Each has clear use cases and clear limits.
- Hemp or jute fiber mats: biodegradable, single-use, and very tidy at harvest. The cut greens come up clean with no medium clinging to the roots. Best for crops that finish in 7 to 10 days and for growers who want compostable cleanup.
- Paper towels or unbleached coffee filters: cheap and easy to find, but they dry out fast and can tear at harvest. Acceptable for a single test tray; not a long-term medium.
- Rockwool cubes or sheets: sterile, consistent, and pH-neutral, but they require pre-soaking and pH adjustment (rockwool starts at pH 7 to 8) and they are not biodegradable. The cut greens may carry fiber fragments at the root, which is a problem for crops eaten whole.
If you use cubes or sheets, handle them with the same care described in the rockwool hydroponic guide. The pH adjustment and the pre-soak are not optional. The fiber mats are the easiest tidy option for a beginner because they require no pre-soak and no pH balancing, and the cleanup is the simplest of the three.
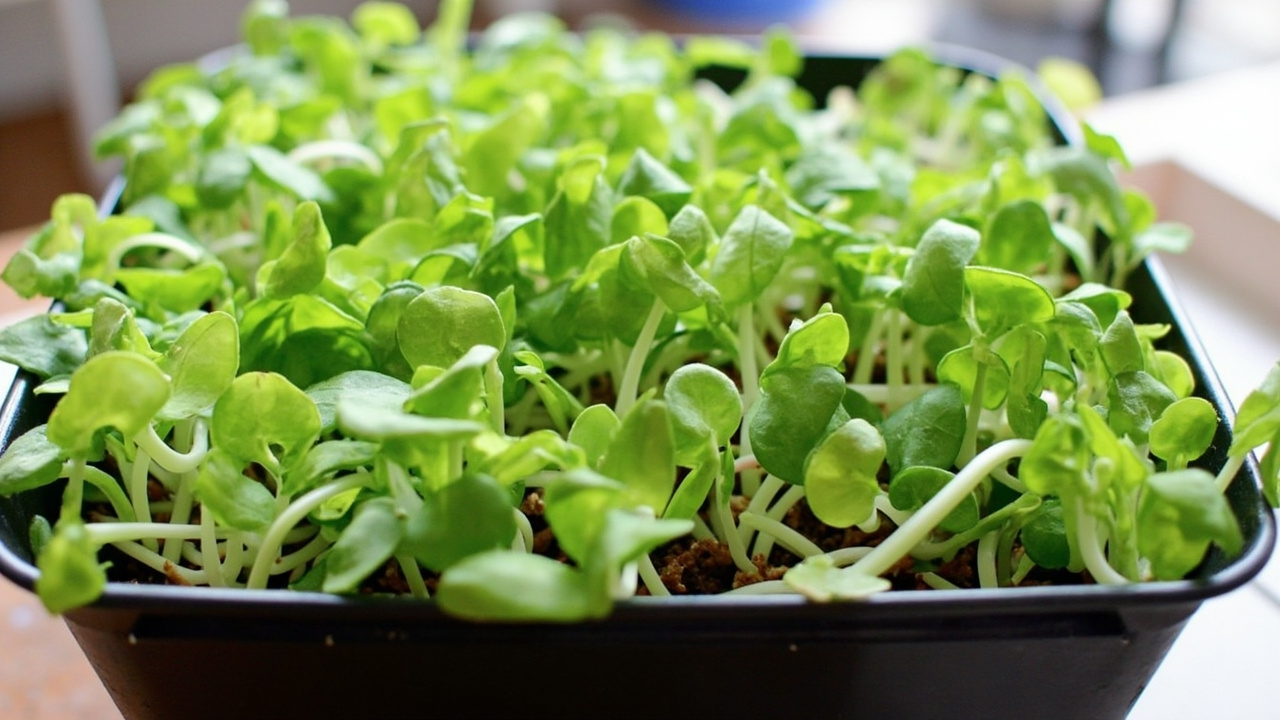
Soil, Compost, And Nutrients
A microgreens tray does not need the nutrient density of a regular garden bed or a long-cycle potted plant. The seed carries enough energy to push the cotyledons and the first set of true leaves without external feeding, and adding compost to a microgreens tray often creates more problems than it solves. Compost holds water, slows drainage, and introduces biological activity that competes with the seedling in the first 7 to 10 days.
A seed-starting mix with a small percentage of compost (under 10%) is a reasonable middle ground, especially for slower-growing crops like chard, beet, and basil that take 14 to 21 days to reach the harvest window. The compost provides a small buffer of slow-release nutrients for the second half of the grow, while the rest of the mix keeps drainage and aeration high.
For most beginner crops, a plain coco coir or a plain seed-starting mix is the safer choice. The microgreens will not run out of energy before the harvest window, and the lower risk of mold and sogginess is worth more than the small yield boost from a richer mix. Save the compost-heavy blends for the second or third tray, when the watering rhythm is in hand.
A microgreens tray rarely needs the precision of a hydroponic nutrient solution. The seeds carry enough energy to push the cotyledons, and adding nutrients to a short-cycle tray is a complication the plant does not need. Nutrient solutions make sense for hydroponic lettuce or long-cycle greens, not for a 10-day microgreens tray.
How To Match Medium To Your Room
The room affects the medium choice more than most beginner guides admit. A dry room and a humid room are different environments, and the medium that works in one will fail in the other.
- Dry room (humidity below 40%): coco coir or a peat-based seed-starting mix, both of which hold more water than fiber mats or paper. Bottom-water daily and mist the surface during the blackout period.
- Average room (humidity 40 to 60%): any of the loose media work. Coco coir is the easiest; a fine seed-starting mix is the most forgiving.
- Humid room (humidity above 60%): lean toward a peat-based or perlite-blended mix that drains faster. Fiber mats and paper towels are risky in humid conditions because they stay wet at the surface and invite mold.
- Tight cleanup (small kitchen, no outdoor compost): a fiber mat. The tray empties into the bin in one step, with no loose medium to sweep up.
- Reuse across multiple trays: coco coir composts into the next outdoor pot or a worm bin. A peat-based mix is a one-use medium; the spent mix goes into the bin.
The simplest matching rule is to start with a fine seed-starting mix in an average room, switch to coco coir if the room is dry, and switch to a perlite-blended mix if the room is humid. After two or three trays the right medium for the actual room is usually obvious, and the next batch of medium is the one that just worked.
The Medium Mistakes That Cause Mold
Most microgreens mold outbreaks trace back to one of three medium-related choices, and they are all fixable.
- Medium too thick: more than 2 cm of medium holds water in the lower half and suffocates the roots. Stick to 1.5 to 2 cm for most crops.
- Medium reused from the last tray: the spent medium carries mold spores from the previous grow. Empty, wash, and refill the tray every cycle.
- Compost-heavy or outdoor garden soil: too much biological activity for a short sterile cycle. Stick to fresh coco coir or a fresh seed-starting mix.
The same moisture-and-oxygen trade-off also appears in beginner hydroponic systems. The microgreens tray is a smaller version of the same problem: a wet root zone with enough air space to keep the roots alive. The medium is what controls that balance, and a fine, loose, fresh medium is what gets it right.
More in the Microgreens series: How to Grow Microgreens at Home · Microgreens Trays · Microgreens vs Sprouts · When to Harvest Microgreens