Microgreens need bright light after germination, not while they are still covered for the blackout period. Once the seedlings lift and the cover comes off, light keeps the stems short, green, and sturdy. Without enough light, the tray stretches quickly and may look tall before it is ready to harvest.
Light affects color, stem strength, drying speed, and harvest quality. It also changes mold risk indirectly because weak, leaning seedlings trap moisture at the surface. A good light plan does not have to be technical, but it does need to be steady.
When Microgreens Need Light
Microgreens are usually kept covered for the first 2 to 5 days, depending on the crop. This timing starts after the covered step in how to grow microgreens. During that stage, seeds need moisture and contact with the medium more than light.
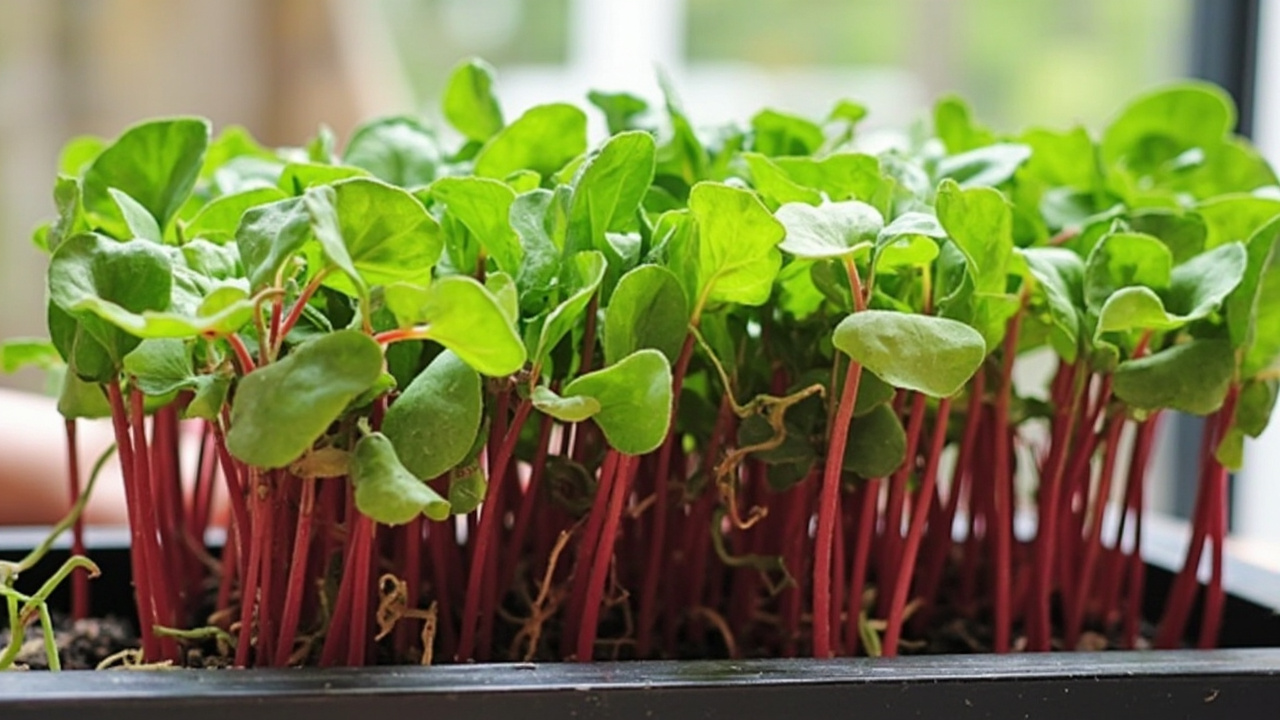
Once the seedlings are pushing up and the stems are visible, uncover the tray and move it into bright light. The pale yellow look at uncovering is normal. Seedlings green up after light exposure. The mistake is leaving the cover on because the tray looks unfinished; that creates long weak stems and stale humidity.
Window Light Versus Grow Lights
A bright window can grow microgreens, especially in a sunny season with quick crops like radish or broccoli. The limitation is consistency. Window light comes from one side, changes with weather, and may be too weak in winter. A small fixture from the grow lights category is often steadier than a winter window.
The honest trade-off is cost and space. A grow light adds one more piece of equipment, but it gives you repeatable results. If your windowsill tray leans hard toward the glass, stays pale, or needs extra days to taste good, the window is not delivering enough useful light.
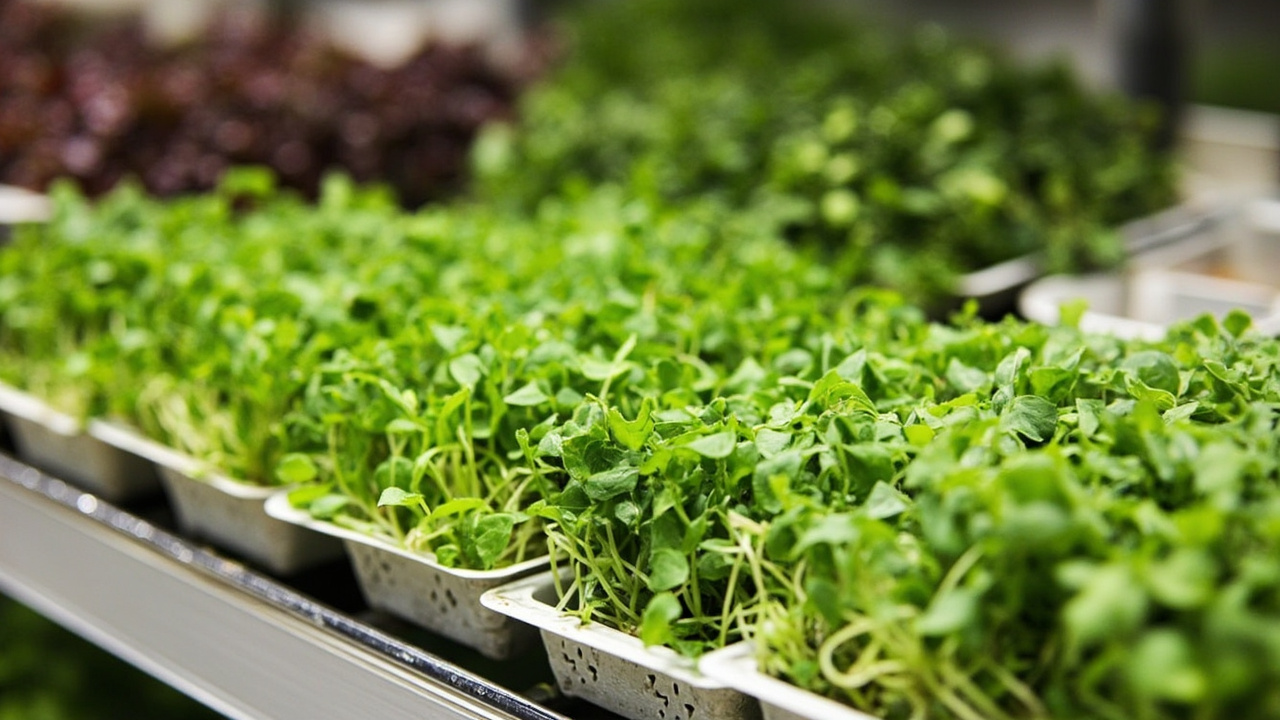
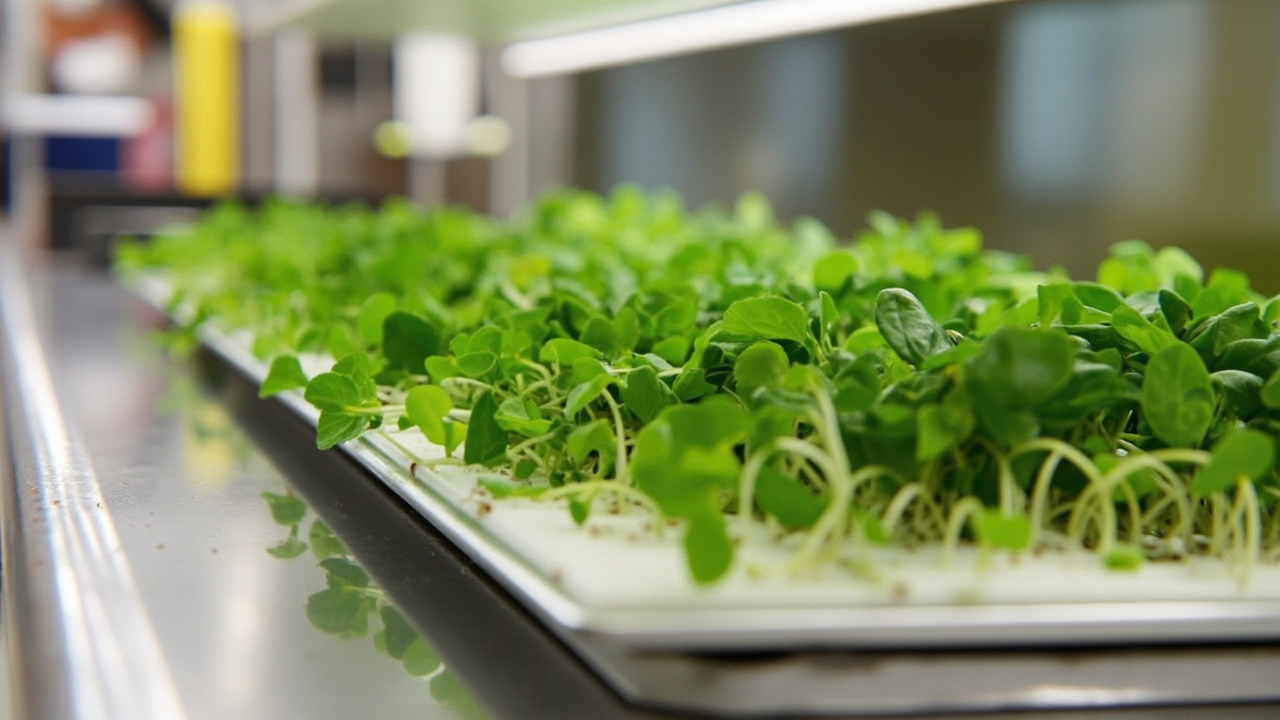
For most home growers, a modest LED shelf light is enough. Microgreens do not need the intensity of fruiting tomatoes, but they do need even coverage over the whole tray.
Light Distance And Daily Duration
Match the fixture footprint to your microgreens trays so the edges do not stretch. If the center grows compactly but the corners lean, the tray is larger than the useful light area.
- Run lights for about 12 to 16 hours per day after uncovering.
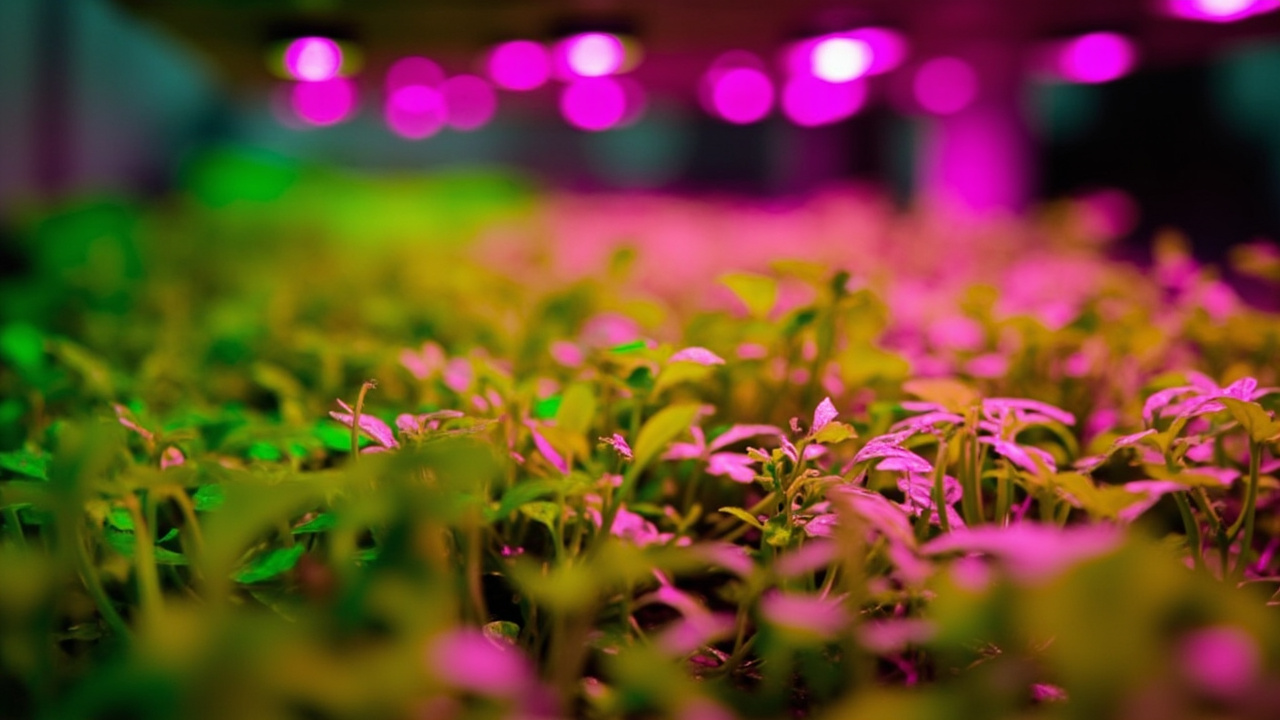
- Keep small LEDs close enough to prevent stretching, often 4 to 10 inches above the canopy depending on heat and brightness.
- Raise the light or improve airflow if leaf edges dry or bleach.
- Rotate trays near windows so one side does not lean all week.
- Use a timer if you forget to turn lights on and off consistently.
Exact distance depends on the fixture. The plant response is the useful measurement: compact, green, upright growth means the light is close to right.
Signs Your Microgreens Need More Light
Weak light often delays the clean stage described in when to harvest microgreens. The first sign is usually stretching: long pale stems that bend toward the light. The tray may look full, but the stems feel soft and collapse when brushed.
Other clues include slow greening after uncovering, leaves staying small, and a canopy that mats down before harvest. In a windowsill, the side closest to the glass may look better than the back row. Under a weak fixture, the whole tray may be tall, thin, and slow to develop flavor.
Correct it on the next tray by uncovering earlier, moving the light closer, increasing daily light hours, or using a smaller tray that fits the light footprint.
Can Microgreens Get Too Much Light
Microgreens can get too much heat or drying from a light even when the light itself is not excessive. If leaves bleach, curl dry at the edges, or the surface dries within hours, the fixture may be too close or the room may need gentler airflow and more careful bottom watering.
This is why “more light” is not the only answer. Better light should make seedlings compact and green, not stressed. If a tray under LED looks dry while a window tray looks stretched, the two trays need different corrections.
How Seeds Change The Light Plan
Crop speed starts with the choices in the microgreens seeds guide. Fast brassicas show weak light quickly because they stretch within days. Pea and sunflower shoots may tolerate slightly different timing because the seed is larger and the crop is held longer.
The principle stays the same: covered until germinated, bright after uncovering, and adjusted by what the tray does. If stems stay short, leaves green up, and harvest arrives on schedule, your light is doing its job.
Read Also on Aqualogi
Related on the site, broken out by topic:
Start here: Grow Microgreens at Home guide and Microgreens Seeds guide.
For the medium and the tray: Microgreens Growing Medium guide covers what the medium has to do, the options, matching it to your room, and the mold mistakes.
For the light and the water: Microgreens Watering guide covers the rule, misting during the blackout, bottom-watering, and the over/under signs.
For the failure in the tray: Microgreens Mold guide covers mold vs root hairs, why it starts, what to do, and the next-tray checklist, Microgreens Not Growing guide covers no germination, patchy growth, stalling, weak seedlings, and the next-tray fix and Microgreens Yellowing guide covers normal vs weak light vs water stress vs old seed, and what to change next.
For the small-space grow: Microgreens in an Apartment guide covers the light floor, three setups that work, the best species, and mold in low light.
Turn PDF Bank Statements Into Workable Spreadsheets
Your bank statement is a mess of numbers, but your books shouldn't be. Use our converter to get Excel, CSV, or QBO files — ready for QuickBooks.
Try It Free Now