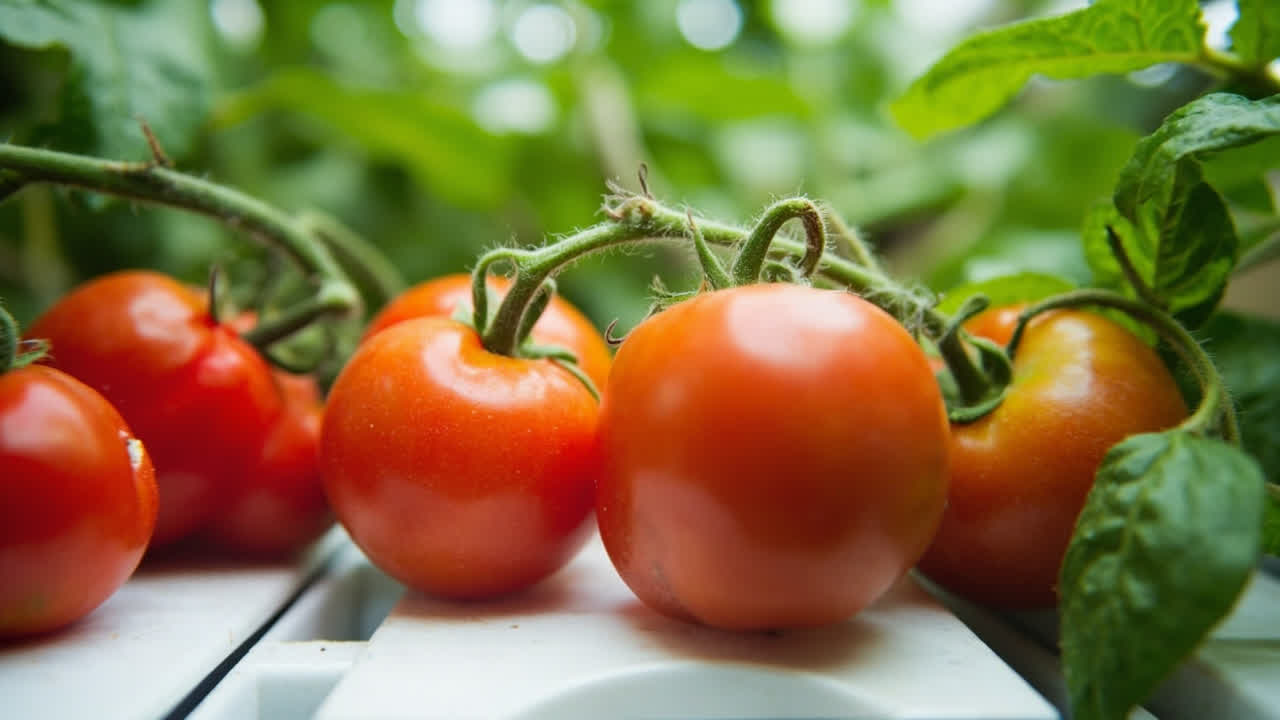
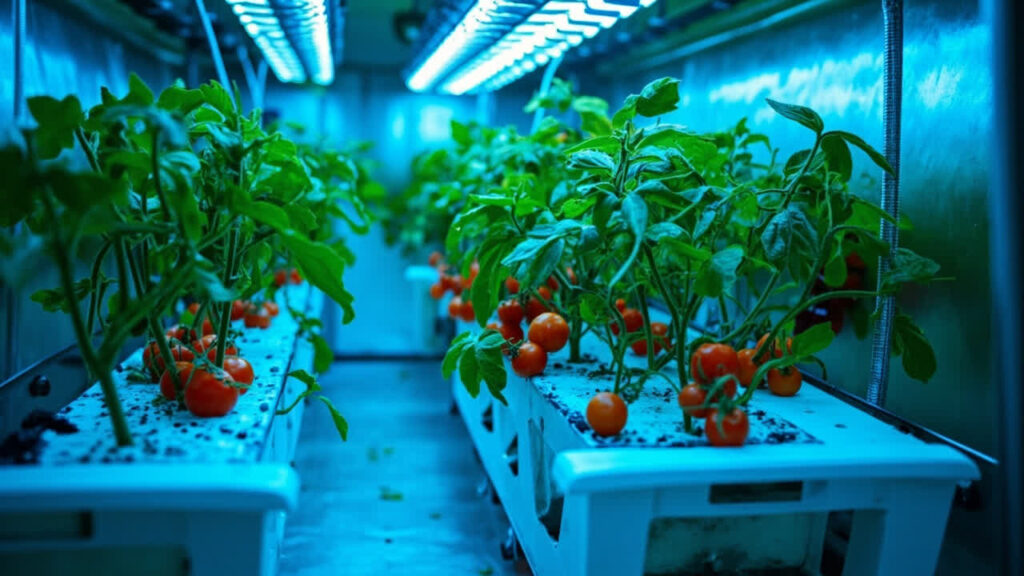
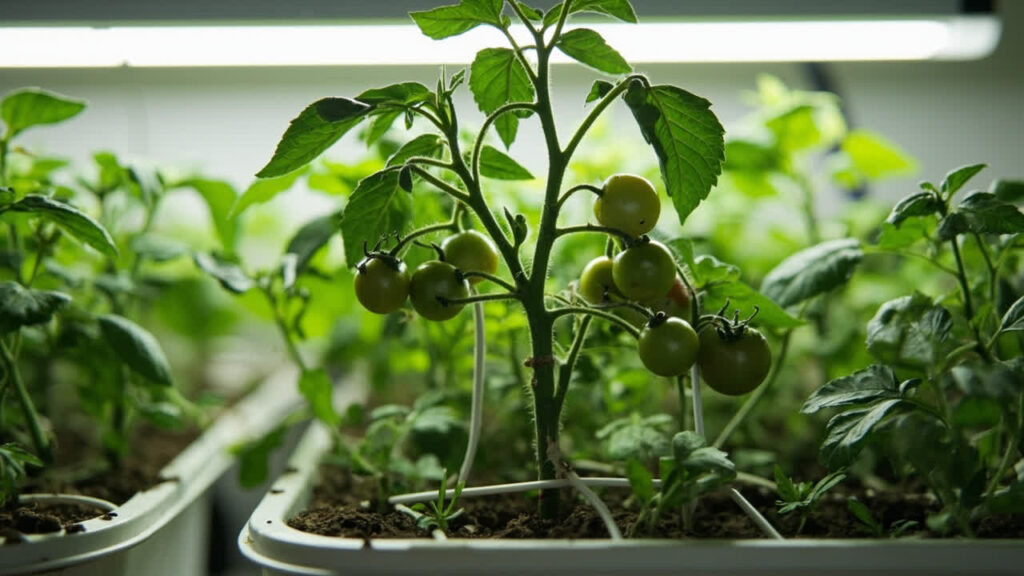
A hydroponic tomato is a tomato plant (Solanum lycopersicum) whose roots sit in a nutrient solution instead of soil. A recirculating reservoir delivers water, oxygen, and a calibrated NPK mix every hour of every day.
One plant in a 5-gallon Dutch bucket or a single NFT channel produces 15 to 25 lb of ripe tomato fruit per season, two to three times the harvest of the same variety in well-draining soil or garden soil.
The reason is consistent moisture and dissolved oxygen at the root zone, so fruit set stays on track and harvest comes in earlier than soil-grown tomatoes.
The honest trade-off is fewer buffers: the reservoir needs a weekly check, the pH drifts daily, and a power outage or a failed air pump can take a crop out within 4 to 6 hours.
This guide walks through the full process: variety, system, reservoir, nutrient solution, transplanting, training, troubleshooting, and harvest.
For the feeding side specifically, the hydroponic tomato fertilizer page covers NPK ratios, the Flora Series schedule, and organic options in detail.
Why a Hydroponic Tomato Outperforms a Soil-Grown One
A hydroponic tomato wins on three factors: root zone temperature, dissolved oxygen, and the absence of soil-borne pathogens.
The reservoir moderates the root zone to 65 to 75 degrees F (18 to 24 degrees C) year-round. Soil in a garden bed swings from 55 degrees F (13 degrees C) at night to 95 degrees F (35 degrees C) at midday. Both extremes shut down tomato root function for hours.
A hydroponic tomato never sees Fusarium wilt, Verticillium wilt, or root-knot nematodes, since none of those pathogens can survive in a sterile nutrient solution.
A hydroponic tomato also never sees Fusarium wilt, Verticillium wilt, or root-knot nematodes. None of those pathogens can survive in a sterile nutrient solution, so a hydroponic tomato rarely needs a fungicide through the season.
The cost is real. A 4-plant home system runs 200 to 800 dollars to set up, against roughly 20 dollars for a bag of potting soil mixed with compost. The payback shows up in two to three seasons of higher yields and faster maturity, with the first ripe tomato landing 7 to 14 days earlier than the same variety in soil.
For a gardener starting fresh, a single Dutch bucket fed by a small water pump and air stone is the lowest-risk entry point into soilless growing.
Picking a Hydroponic Tomato Variety for Your System
The right variety depends on the system type. Cherry tomato and beefsteak tomato cultivars sit on opposite ends of the harvest spectrum, and the system choice narrows which is realistic.
For NFT channels and Dutch buckets, indeterminate vining cherry and beefsteak varieties (Sungold, Sweet Million, Big Beef, Brandywine heirloom tomato) produce heavily over a 4 to 6 month harvest window.
For DWC (deep water culture) buckets and smaller setups, compact determinate varieties (Patio Princess, Bush Early Girl, Tumbling Tom) are easier to manage because they are bush type varieties that do not need vining caging.
They stop growing at 3 to 4 feet and finish their harvest in a 6 to 8 week window. Roma tomato cultivars fall in between, working well in Dutch buckets or larger DWC setups with staking.
An indeterminate hydroponic tomato in a 5-gallon DWC bucket needs aggressive pruning, suckering, and sucker removal. Otherwise the canopy overwhelms the system’s light penetration and the lower trusses never ripen.
Expect a hydroponic tomato to ripen its first fruit 55 to 75 days after transplant: 55 to 60 days for cherry tomato varieties, 65 to 75 days for full-size slicers and beefsteak.
The fastest path to a first harvest is a 4-week-old seedling of a determinate cherry variety transplanted into a pre-cycled DWC bucket, with first ripe fruit within 30 days of transplant if the reservoir chemistry is dialed in.
Choosing the Best Hydroponic System for Tomatoes
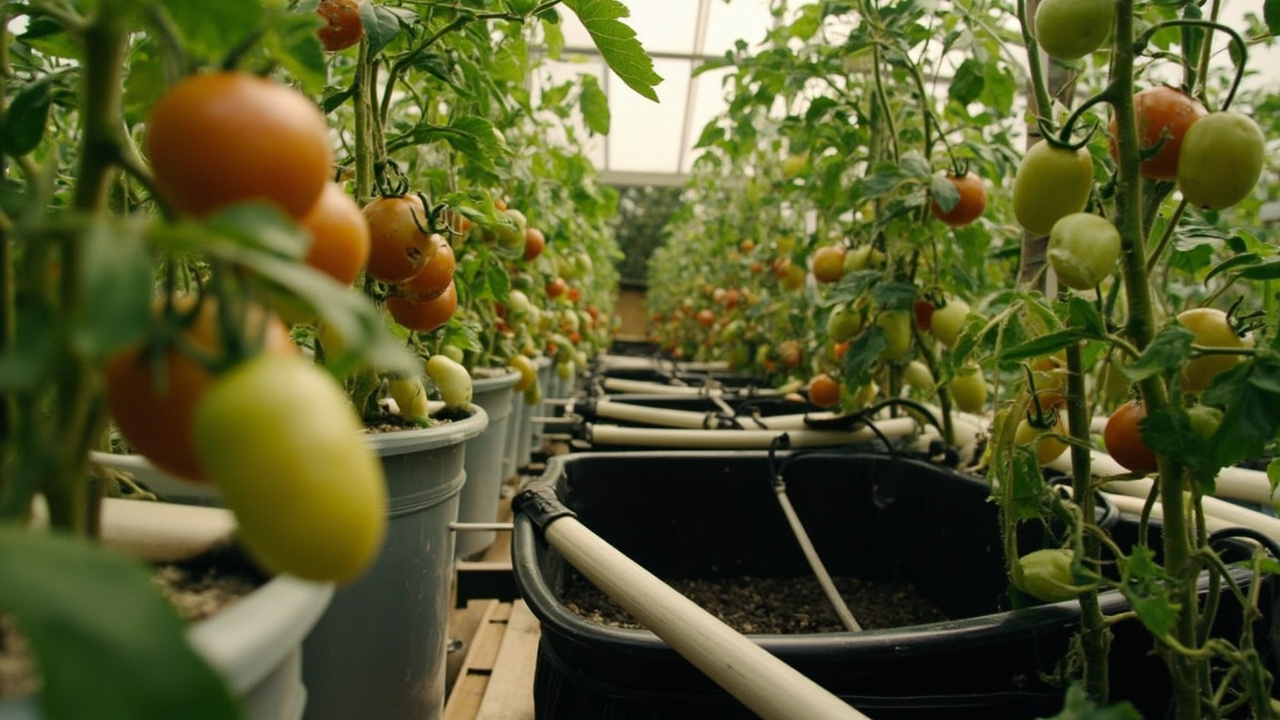
Four hydroponic systems work well for hydroponic tomatoes: DWC, Dutch buckets, NFT channels, and drip irrigation in a growing medium like rockwool or coco coir.
DWC is the simplest and cheapest: a 5-gallon bucket with a net pot lid, an air pump, an air stone, and one tomato plant per bucket.
Dutch buckets are the most scalable. Each bucket holds one plant in perlite or clay pebbles, fed by a drip line from a shared reservoir. For a side-by-side comparison of DWC, NFT, Kratky, ebb and flow, and drip, the hydroponic systems explained guide covers where each one shines.
NFT channels work for high-density plantings but require precise flow rates (0.25 to 1 gallon per minute per channel) and weekly cleaning. Drip irrigation in coco coir or rockwool is the most forgiving for beginners because the growing medium buffers small mistakes in EC or watering frequency.
A hydroponic tomato in a 5-gallon DWC bucket produces 8 to 12 lb of fruit, roughly the same as a soil-grown tomato of the same variety. A Dutch bucket or NFT system with a 20-gallon shared reservoir produces the 15 to 25 lb per plant that justifies the hydroponic setup.
Match the system to the yield target, not to the cheapest option.
Setting Up the Hydroponic Tomato Reservoir
The reservoir is the heart of a hydroponic tomato system. Getting it right prevents 90 percent of the problems that kill a crop. The container should be opaque (light grows algae, and algae competes with tomato roots for nutrients), food-grade plastic, and sized to hold at least 5 gallons per tomato plant. A 20-gallon reservoir feeding 4 plants is the standard home setup.
Fill with reverse-osmosis or filtered tap water. Target an EC below 0.4 mS/cm before adding nutrients, then mix the solution to the target EC for the growth stage: 1.0 to 1.6 mS/cm for seedlings, 1.6 to 2.4 mS/cm for vegetative growth, and 2.4 to 3.5 mS/cm for fruiting.
For the full EC and pH picture across the season, the hydroponic tomato fertilizer page lays out the stage-by-stage targets.
Expect the reservoir pH to drift up by 0.2 to 0.5 units per day. Check pH at the same time every morning and adjust with pH down to keep it in the 5.8 to 6.2 window.
Avoid the temptation to use pH up as a daily tool. If pH has dropped below 5.8, the cause is usually over-aeration or hard water in the source, not the nutrient mix.
A 4-plant system uses 8 to 12 gallons of nutrient solution per week during peak summer. Top off with plain water between full remixes to keep EC in range, and replace the reservoir every 14 to 21 days.
The hydroponic water temperature by crop guide shows why a tomato reservoir wants to sit between 65 and 75 degrees F (18 to 24 degrees C), warmer than the lettuce range (60 to 68 degrees F) and cooler than basil (70 to 80 degrees F). Above 78 degrees F the dissolved oxygen drops fast and root rot risk climbs.
Mixing Hydroponic Nutrient Solution for Tomatoes
A hydroponic tomato nutrient solution is a complete, water-soluble, chelated fertilizer designed for soilless growing, not a balanced fertilizer from the garden shed.
The two-part powder system (MasterBlend 4-18-38 plus calcium nitrate) at one teaspoon per gallon each, plus a quarter teaspoon of Epsom salt per gallon, produces a fruiting-stage NPK ratio of roughly 5-2-7, delivering nitrogen, phosphorus, potassium, calcium, and magnesium to prevent blossom end rot and support fruit set.
Skip the General Hydroponics Flora Series if your tap water is hard (above 150 PPM). The calcium in FloraGro precipitates with sulfates already dissolved in the source water.
Always mix into room-temperature water (68 to 75 degrees F). Add calcium nitrate first and stir until dissolved, then add the MasterBlend.
Mixing in the wrong order creates a chalky calcium-phosphate precipitate that locks out both nutrients. The first sign is blossom end rot on the first fruit truss, the textbook symptom of nutrient lockout in fruiting tomatoes. Blossom drop follows if pH drift goes uncorrected for a week.
For a full recipe walkthrough, including DIY options and organic substitutes, the hydroponic nutrient solution recipe guide covers the exact gram-per-liter math.
The trade-off worth knowing: a single-bottle, all-in-one hydroponic tomato nutrient is simpler to mix but costs 4 to 6 times more per gallon and locks the grower into one NPK ratio for the entire season.
A two-part system lets the grower shift from a 3-1-3 vegetative mix to a 5-2-7 fruiting mix by adjusting the ratio. That flexibility is the difference between 12 lb and 20 lb of fruit per plant over a season. Most experienced hydroponic tomato growers accept the extra mixing step.
Planting, Lighting, and Training Hydroponic Tomatoes
A hydroponic tomato wants a 4 to 6 week old seedling with 4 to 6 true leaves. Younger seedlings do not have the root mass to handle full-strength nutrient solution. Seedlings older than 6 weeks suffer severe transplant shock.
Start seeds in rockwool cubes or a soilless starter mix. Seed propagation under a humidity dome takes 5 to 10 days for tomatoes.
Transplant into the system with the cube or root ball fully buried in the growing medium (perlite, clay pebbles, or coco coir). For the medium itself, the rockwool hydroponic guide explains cube sizes, pre-soak pH, and how rockwool compares to clay pebbles (hydroton) or coco coir for tomato root development.
Roots must reach the nutrient solution within 24 hours of transplant. A hydroponic tomato whose roots sit in dry perlite for more than a day wilts and may not recover.
For the first 7 days after transplant, run the nutrient solution at half the target EC (1.0 to 1.6 mS/cm instead of 2.4 to 3.5 mS/cm) so the roots acclimate without salt stress. Expect visible transplant shock with slight wilting for 2 to 4 days, even with deep watering at half EC plus good drainage.
A hydroponic tomato needs 6 to 8 hours of full sun per day (the classic six to eight hours sun window for outdoor tomato growing) or 14 to 18 hours of LED grow light to set fruit. Below 6 hours of sun or direct sunlight, the plant grows leaves but no flowers, and night temperature below 55 degrees F causes blossom drop.
The optimal air temperature is 70 to 85 degrees F during the day and 60 to 70 degrees F at night. Above 95 degrees F, the tomato drops flowers without setting fruit, and bee and bumblebee pollination drops off.
Humidity matters too. The productive range is 60 to 80 percent relative humidity. Below 50 percent causes flower abortion; above 90 percent invites fungal disease on the leaves and can bring early blight, late blight, septoria leaf spot, and mosaic virus into the canopy.
An indoor growing setup in a greenhouse or grow tent can dial both temperature and humidity in precisely, which is the main reason greenhouse hydroponic tomatoes outyield field tomatoes by a factor of three to five.
A hydroponic tomato also needs a 6 to 8 foot stake or trellis from day one. Driving a stake into the bucket after the plant is established damages roots and the plant never fully recovers. Tie the main stem to the stake every 12 inches with soft plant tie (or strips of old t-shirt, never wire).
For indeterminate hydroponic tomatoes, indeterminate pruning calls for sucker removal up to the first flower truss. These become full stems that compete with the main stem for the limited root volume. Removing them concentrates the plant’s energy on fruit production. Lower leaf removal below the first truss improves airflow and cuts fungal disease pressure.
For determinate hydroponic tomatoes, do not prune. The plant carries a fixed fruit load, and removing suckers reduces harvest yield by half. Determinate prune only the lower leaves that touch the growing medium. The full sucker-by-sucker walkthrough, plus staking and trellis options, sits on the tomato pruning and staking in hydroponics page.
Problems, Mistakes, and the Path to Recovery
Four problems account for most hydroponic tomato failures: blossom end rot, root rot, leaf curl, and split fruit. Each has a recognizable signature. For a deep catalog with photos, the tomato problems page covers each issue in detail.
Blossom end rot in a hydroponic tomato shows up as the same black, leathery patch on the bottom of the fruit as in soil-grown plants. The cause is almost always pH above 6.5, not calcium deficiency. Lower the pH and new fruit sets clean within 7 days.
Root rot shows up as brown, slimy roots and a sulfur smell from the reservoir. The air pump has likely failed, or the reservoir has warmed above 78 degrees F (26 degrees C).
The emergency fix is to pull the plant, rinse the roots in clean water, trim any brown sections, and transplant into a fresh reservoir with a working air pump. For a full diagnostic chart, the root rot in hydroponics page covers pythium, brown roots, and recovery timelines.
Five mistakes account for most crop failures: unbalanced nutrient mix (lockout within 7 days), reservoir above 78 degrees F (root rot within 14 days), air pump only during lights-on (anaerobic roots within 4 to 6 hours of pump-off).
Pruning suckers on a determinate variety halves yield, and topping up the reservoir with full-strength solution pushes EC into the toxic range within 10 days.
None of these feel like mistakes in the moment. They all feel like being thorough.
The single best diagnostic for a struggling hydroponic tomato is to test the reservoir EC and pH at the same time every morning. The data exposes the feeding mistake before the leaves do, and outdoor growers also need to watch for hornworm, aphid, and whitefly pressure once the canopy fills out.
A hydroponic tomato that is failing despite correct EC and pH usually has a root oxygen problem. The air pump is undersized for the bucket volume, or the reservoir temperature is too warm for dissolved oxygen to stay in solution.
Expect the pump size to be at least 4 liters per minute per 5-gallon bucket. If rated for less, the roots suffocate within 2 weeks even when the recipe is perfect. Most home failures diagnosed as nutrient deficiency are actually dissolved oxygen deficiency.
Expect the hydroponic tomato to recover from most mistakes within 7 to 14 days once the root cause is fixed. New growth at the top within 7 days is the first sign, and flower buds setting fruit within 14 days confirms the plant is back on track.
Harvesting Hydroponic Tomatoes and Planning the Next Cycle
Harvest a hydroponic tomato when it has developed full color but is still slightly firm to gentle pressure. The shoulders around the stem should be fully colored, with no green around the stem cap.
A hydroponic tomato picked fully soft has already started breaking down on the vine and will not keep for canning, sauce, or salsa.
Cherry tomato varieties are best picked when they slip off the vine with a gentle twist. Beefsteak varieties finish ripening on a kitchen counter over 2 to 4 days. Never refrigerate a fresh-picked tomato: cold destroys the flavor compounds within hours and the fruit becomes mealy.
After the final harvest, pull the plant, sweep any straw mulch or plastic mulch from the surrounding floor, empty the reservoir, and sterilize the system with a 10 percent bleach solution before the next cycle. A hydroponic tomato system that runs back-to-back without sterilization accumulates root pathogens and algae that reduce the next crop’s yield by 30 to 50 percent.
Plan a 2 to 4 week fallow period between cycles if possible, with the reservoir full of dilute bleach solution (1 part bleach to 100 parts water) for at least 48 hours before draining and rinsing. Expect a well-managed system to produce 4 to 6 successful cycles over 3 years before the seals and pumps need replacement.
The minimum viable setup is a 5-gallon opaque bucket, a 4 L/min air pump, a single tomato seedling, and a 5-gallon batch of half-strength nutrient solution at EC 1.0 to 1.6 mS/cm and pH 5.8 to 6.2. Run the air pump 24/7, top off with plain water every 2 to 3 days, and adjust pH daily.
Expect the first flower bud within 21 days of transplant and the first ripe tomato within 55 to 65 days for a cherry variety, 70 to 80 days for a slicer or beefsteak.
The water schedule fits into roughly 15 minutes per day: 5 minutes to check EC and pH, 5 minutes to adjust, and 5 minutes to inspect for fruit fly, hornworm, aphid, and whitefly.
Skip a day and the reservoir pH drifts above the productive window. Skip a week and the crop is lost to blossom end rot or root rot.
The single biggest predictor of hydroponic tomato success is consistency, not optimization. A grower who checks the reservoir daily at the same time will outperform a grower who runs the perfect recipe but checks inconsistently.
For a complete soil-grown tomato analog, the tomato care guide covers the in-ground equivalent of this whole process.
Turn That PDF Into a Spreadsheet in Minutes
You've seen how to do it manually — now let the tool handle the heavy lifting. Upload your bank statement and get Excel, CSV, or QBO in a few clicks.
Try It Free