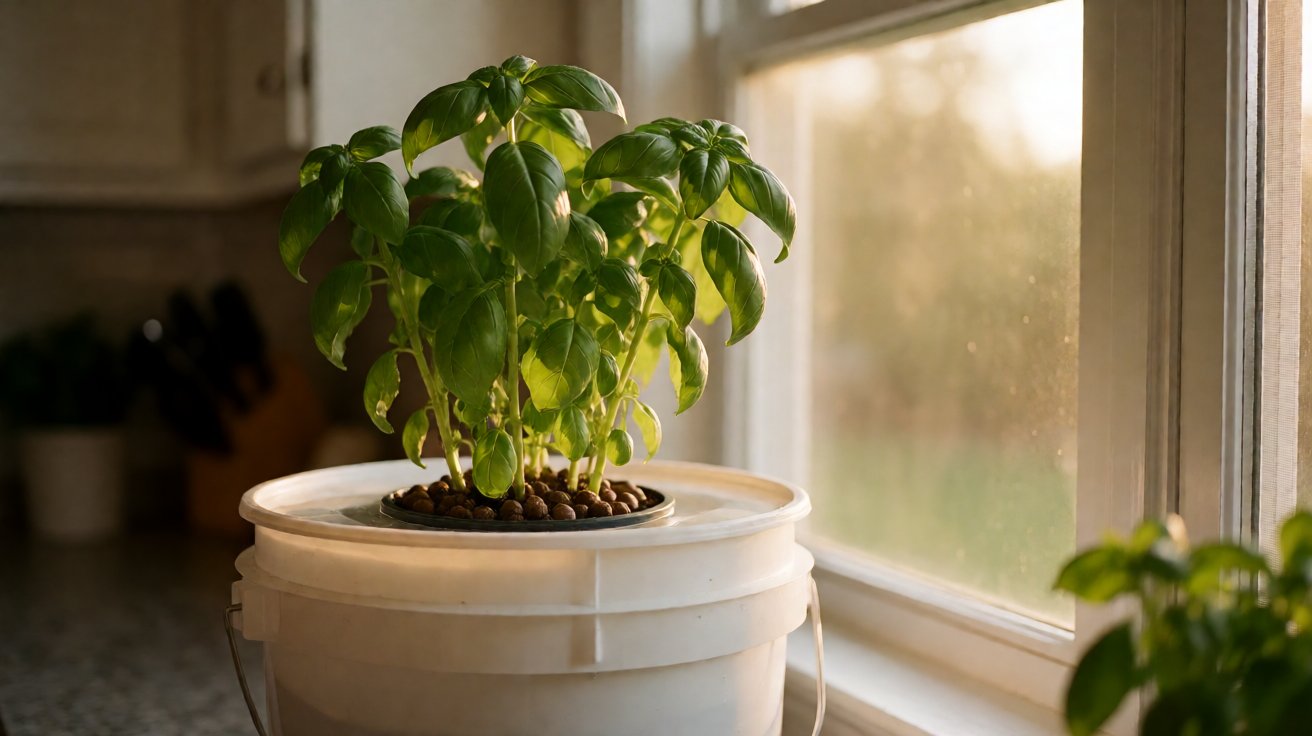
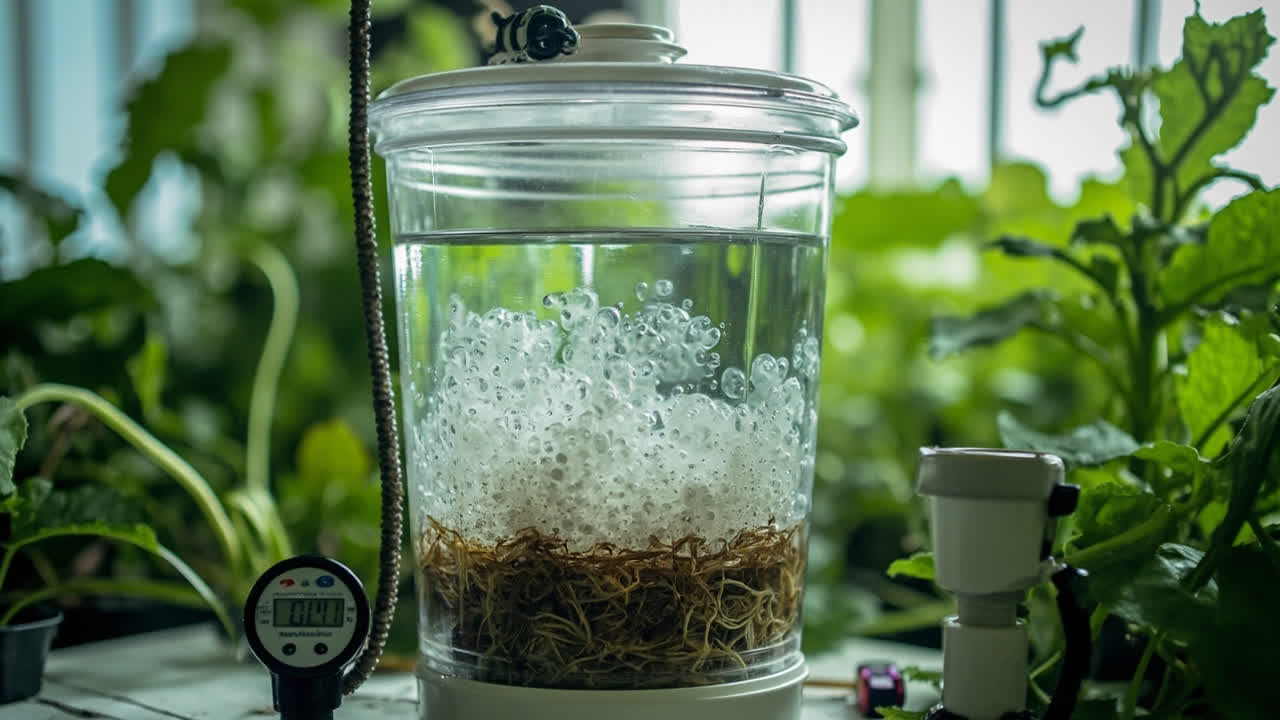
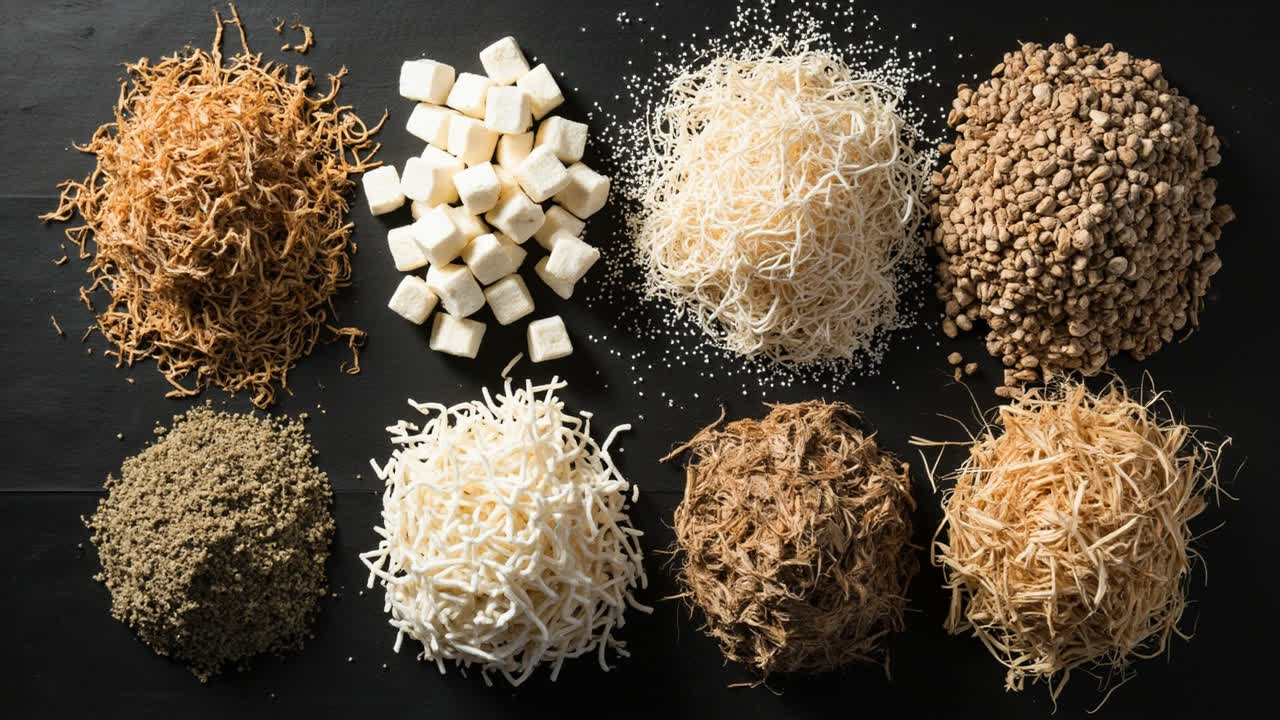
If you’ve ever planted seedlings into rockwool cubes only to watch them stall within a week, you already know something went wrong before the roots ever touched the cube. Rockwool is chemically inert when you buy it. The problem isn’t the rockwool itself — it’s what you didn’t remove from it before you planted.
Rockwool is made from melted rock spun into fiberglass-like fibers and compressed into slabs, cubes, and cubes. That process leaves residual lime and other alkaline compounds on the fibers. Without proper buffering, those compounds raise the pH of your nutrient solution as they slowly dissolve — and when pH drifts above 6.0 in a rockwool system, certain nutrients become inaccessible even if they’re present in the solution.
Getting rockwool ready correctly takes 24 hours upfront. Skipping or rushing that prep is the single most common reason rockwool-based hydroponics fail. Here’s exactly what to do.
Why Rockwool Needs Buffering Before Use
When rockwool is manufactured, the fibers are coated with a lime solution to stabilize pH during storage. Left unbuffered, that coating dissolves into your nutrient solution and raises pH by 0.5–1.5 points within the first few days. For young seedlings with a limited root system, that pH spike is enough to cause visible stunting or yellowing within 72 hours.
Buffering means soaking the rockwool in acidic water to dissolve and rinse away that lime coating before you plant. It’s not optional — and “rinsing quickly” doesn’t count.
What Happens If You Skip Buffering
The lime coating continues dissolving as the rockwool dries between watering cycles. Each time you irrigate, the pH of your nutrient solution rises slightly. Within 2 weeks in an unbuffered system, you will have chronic pH drift that requires constant correction. Symptoms in plants: older leaves turn dark green while new growth emerges pale or yellowed — classic phosphorus lockout from high pH.
pH Range in Rockwool Systems
Rockwool holds nutrient solution close to its own surface pH. When properly buffered and maintained, it keeps pH in the 5.5–6.0 range — ideal for most hydroponic crops. Without buffering, the starting pH of the rockwool itself reads 8.0–9.0 on a meter. That’s the number you’re trying to bring down before planting.
The Buffering Process : Step by Step
Step 1: Set up your rockwool cubes or slabs in your grow tray or system. Cut drainage slits in the bottom of any cubes not already slotted — water must be able to flow through, not pool on top.
What happens next: the rockwool is ready for its first acidic soak.
Step 2: Mix a solution of water with pH lowered to 4.0–5.0 using phosphoric acid (preferred) or nitric acid. Avoid citric acid — it can promote fungal growth in the rockwool over time. Use 1–2 mL of phosphoric acid per gallon of water for a starting pH around 4.5.
What happens next: the acidic solution begins dissolving the lime coating on the rockwool fibers.
Step 3: Soak each rockwool cube in the acidic solution for 12–24 hours. The cube should be fully saturated — water should reach the top surface. If you’re buffering slabs, flood the slab from above until the water level stays at least 1 inch (2.5 cm) deep across the whole surface.
What happens next: after soaking, the fibers are now pH-stable and ready to be fed with your nutrient solution. The buffering step is complete.
Step 4: After soaking, drain the cubes completely by tipping them on their side or using a rack. The cube should be wet but not waterlogged — holding 60–70% moisture by volume. If it drips freely when squeezed, it’s too wet. Let it drain for 30–60 minutes more.
What happens next: the cube is ready to receive its first nutrient solution feed. From here on, keep it consistently moist but never sitting in standing water.
Transplanting into Rockwool
Rockwool cubes come in standard sizes: 1-inch (2.5 cm), 1.5-inch (4 cm), and 3-inch (7.5 cm). For most hydroponic vegetables, start seeds in 1-inch cubes, transplant to 3-inch cubes when the third true leaf appears, and move to a slab or NFT channel when roots begin to show through the bottom of the cube.
When inserting a seedling into a pre-soaked cube, make a pilot hole with a pencil or dibber — no deeper than the root length. Set the seedling so the root touches the bottom of the hole, then gently close the rockwool around the stem. The base of the stem should be flush with the top surface of the cube, not buried.
The “U-Frame” Transplant Method
For seedlings started in peat plugs or foam cubes, use a U-shaped hole punch or a sharpened popsicle stick carved to match the seedling’s root ball shape. Slip the root ball into the hole — don’t push down. Rockwool is firmer than peat and can crush tender root tips if you press the seedling in.
Feeding After Transplant
Feed immediately after transplanting with your nutrient solution at half strength for the first 3–5 days while the seedling establishes. Full-strength nutrient from day one can burn new root tips in rockwool because the cube has less buffering capacity than soil.
What happens next: in 3–5 days, the seedling’s roots will have grown through the cube and into whatever medium surrounds it (clay pebbles, perlite, or NFT channel). At that point you can move to full-strength nutrient solution.
Irrigation Timing for Rockwool Systems
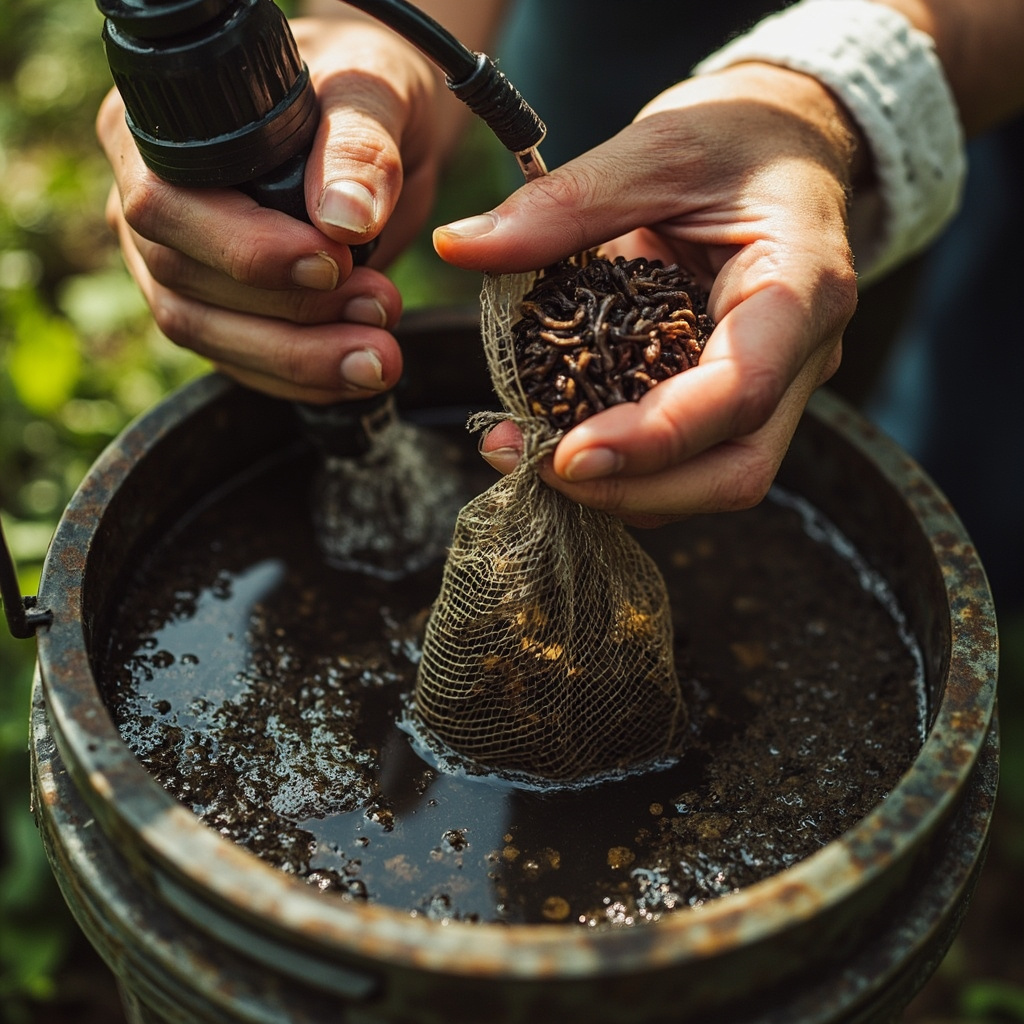
Rockwool dries from the top surface as plants draw water from the bottom and sides. The top dries faster than the center, so visual inspection of the surface is unreliable — press the cube lightly. A properly hydrated rockwool cube feels heavier than it looks and has no dry crust forming at the corners.
For most indoor hydroponic setups under lights, rockwool cubes need watering 2–4 times daily in active growth, depending on temperature and humidity. Each irrigation event should result in 10–15% runoff from the bottom of the cube — this prevents salt buildup that would otherwise accumulate in the rockwool fibers.
The 10–15% Runoff Rule
Salt accumulation in rockwool shows up as a white crust on the surface of the cube after the top dries. When this happens, flush the cube with plain pH-balanced water until the runoff runs clear. Continue with your nutrient solution afterward. If the crust reappears within a week, reduce your nutrient concentration by 20%.
Temperature in Rockwool
Rockwool holds temperature close to ambient air — which means roots can get colder than ideal if your grow room runs cool at night. Root zone temperatures below 65°F (18°C) slow nutrient uptake noticeably in warm-season crops like tomatoes and peppers. If your rockwool system is in a cool basement or garage, consider root-zone heating via heat mats set to 72–75°F (22–24°C).
Reusing Rockwool Between Crops
Rockwool can be reused, but only if it’s properly sterilized between crops. Salt buildup and root exudates from the previous crop remain in the fibers and will affect the next planting if not removed.
To sterilize: soak the used rockwool in a solution of hydrogen peroxide (3% household grade, diluted to 1 part peroxide to 10 parts water) for 30 minutes, then rinse thoroughly with pH-balanced water. Let it dry completely before re-buffering for the next crop. Dried rockwool is easier to buffer because there’s no moisture film interfering with the acid soak.
rockwool for hydroponics is a reliable medium when you account for what the fibers need upfront. The buffering step is the price of entry — not optional and not complicated.
For a broader overview of soilless growing systems and when rockwool fits best, see hydroponics system guide for gardeners.
From Bank Statement to QuickBooks-Ready File
That manual cleanup you just read about? This tool skips it. Turn your PDF into QBO for QuickBooks without storing your data anywhere.
Start Converting