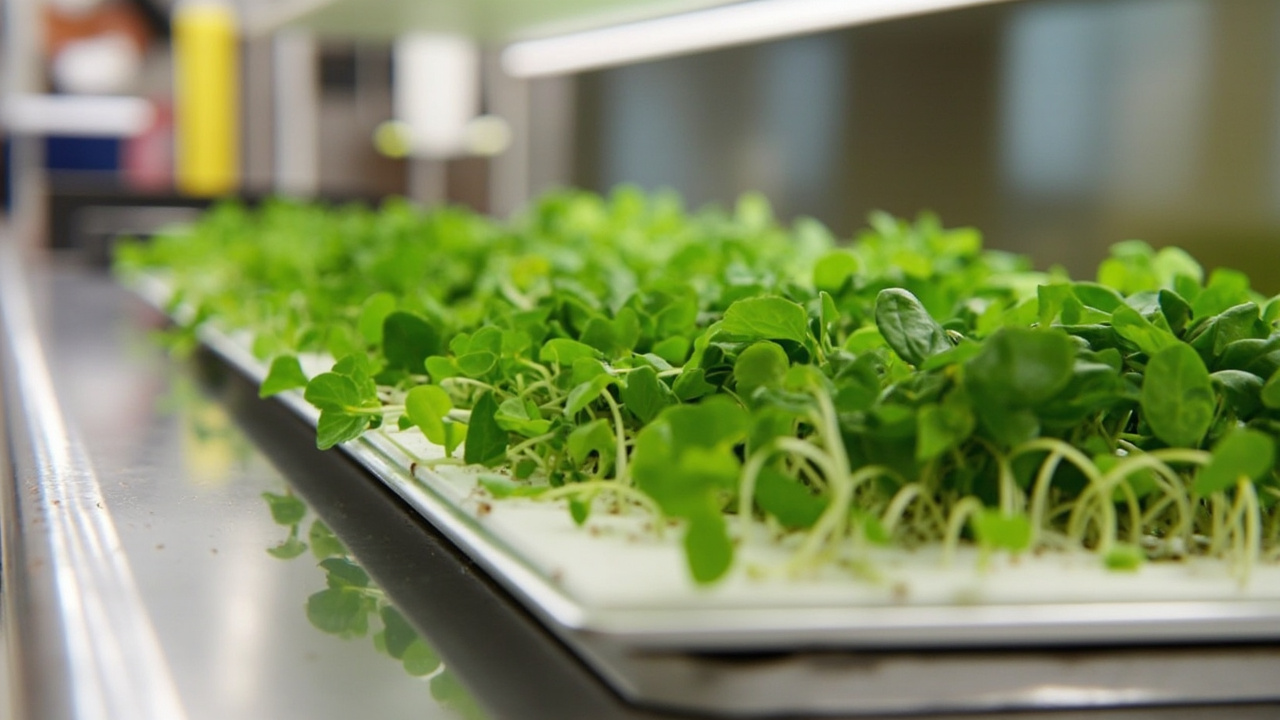
Microgreens are ready to cut when the cotyledons are fully open and the first true leaf — called the primordial leaf — is just beginning to emerge at the center of the plant. That stage is called the cotyledon stage, and it is the harvest window for virtually all microgreen crops. Harvesting at this point gives the best balance of texture, flavor, and yield, and it is the point where most beginners either get it right or wait a few days too long.
The timing matters because microgreens change as they grow past the cotyledon stage. The stems get longer and woodier, the leaves get tougher, and the flavor shifts from bright and clean to either bitter or dull depending on the crop. A tray that is left past its harvest window does not get better — it gets harder to eat and less pleasant to look at. The visual cues are reliable once they are known, and they matter more than the calendar, because temperature and light change how fast any given crop moves through its stages.
The Harvest Window: What To Look For
The two visual cues that define the harvest window are consistent across almost all microgreen crops:
- Cotyledons fully open: the seed leaves should be spread flat and perpendicular to the stem, not curled or folded. The cotyledons are the two rounded first leaves that emerge from the seed, and their full expansion is the first signal that the plant has reached its initial energy peak.
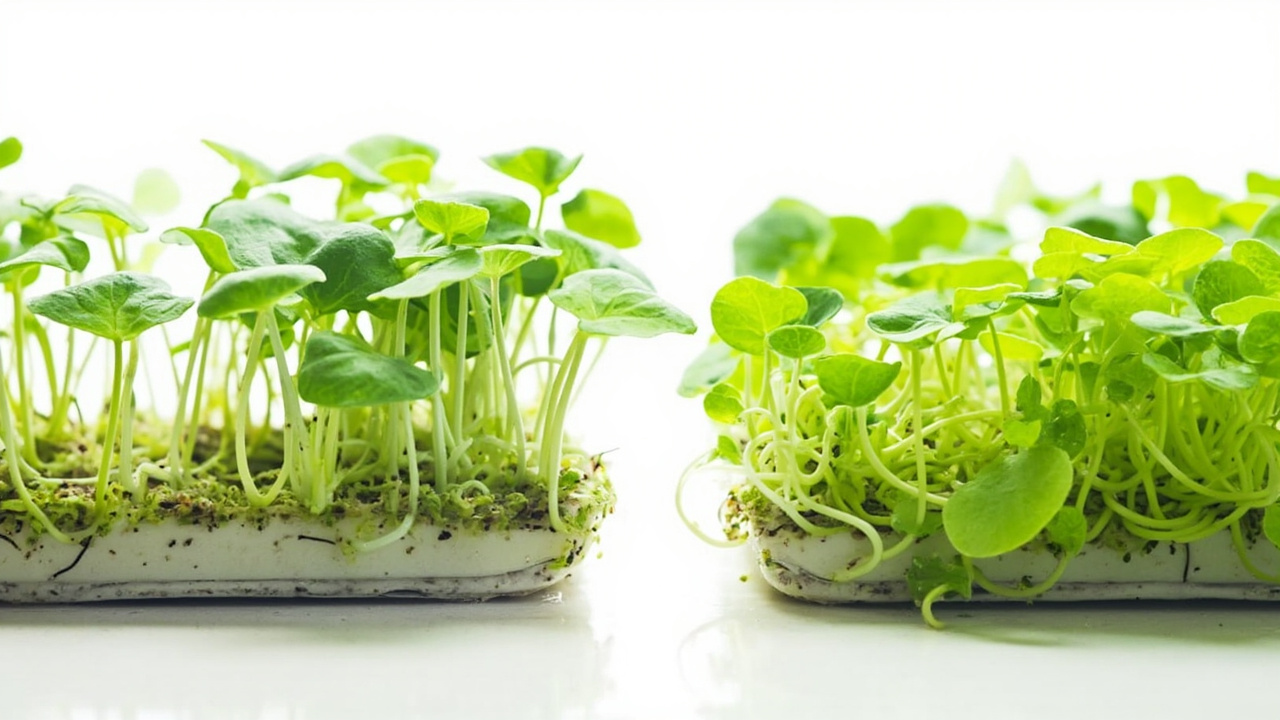
- First true leaf visible: a tiny set of jagged or differently-shaped leaves emerging between the two cotyledons. These are the first true leaves, and their presence marks the transition from pure cotyledon harvest to the next stage. Once the true leaves are larger than the cotyledons, the window is past.
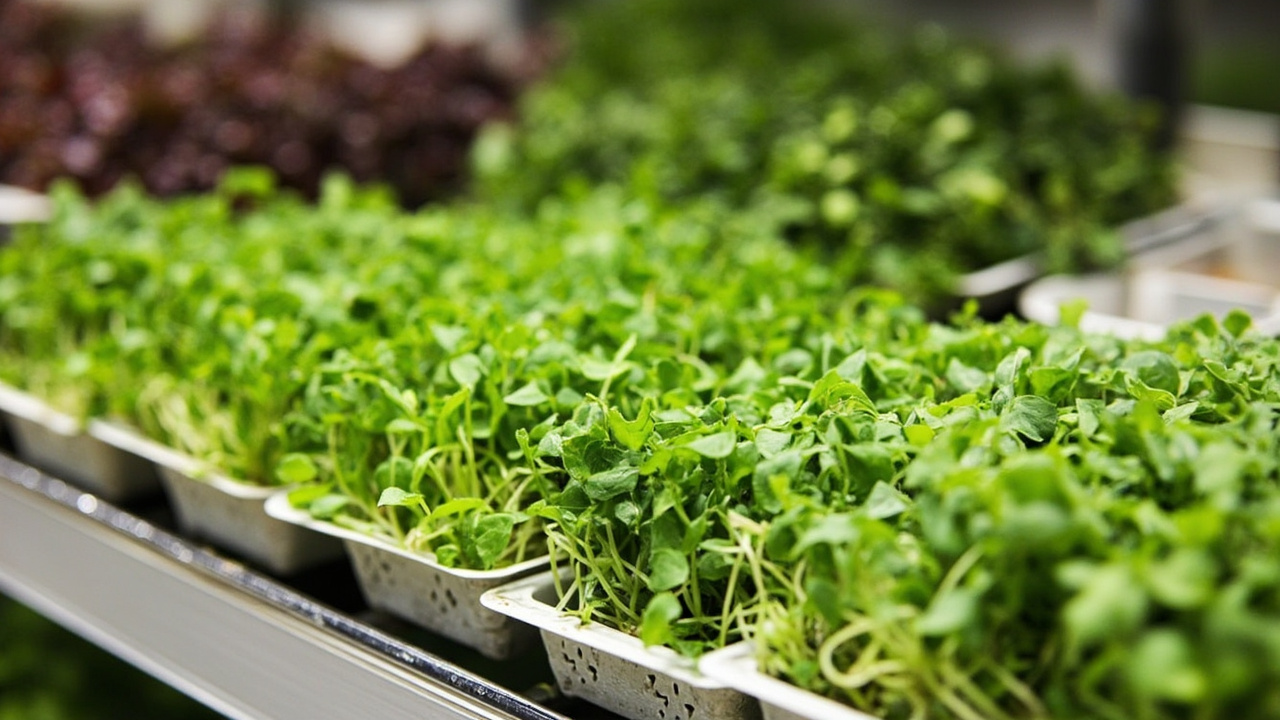
Other signals that reinforce the timing: the stems should be firm enough to stand upright, the color should be deep and consistent across the tray, and the seed hulls should either have dropped off or be loose enough to fall off with a light shake. A tray where most of these cues are present is ready. A tray where the true leaves are already as large as the cotyledons is overdue.
The harvest window sits at the end of the tray cycle described in how to grow microgreens at home. The light, the watering rhythm, and the medium all affect how fast the crop moves through its stages, and the visual cues are the reliable signal rather than the day count on the calendar.
Harvest Timing By Crop Type
While the visual cues are the primary guide, the approximate days-to-harvest helps with planning the next sow and knowing when to start watching a tray more closely. The table below gives typical ranges for common home microgreen crops, assuming average room temperature (65–75°F / 18–24°C) and reasonable light.
| Crop | Days to harvest (approx.) | Harvest cue | Notes |
|---|---|---|---|
| Radish | 6–10 days | Fully open cotyledons, first true leaf showing | Fast and reliable; slightly peppery flavor |
| Broccoli | 7–12 days | Cotyledons wide and deep green | Mild Cabbage flavor; most popular variety |
| Mustard | 6–10 days | Cotyledons full, strong color | Sharp flavor; fast grower |
| Sunflower | 10–14 days | Cotyledons thick and fleshy | Nutty flavor; needs slightly deeper medium |
| Pea shoots | 10–14 days | Cotyledons open, tendrils forming | Sweet flavor; longest harvest window of common crops |
| Kale | 7–12 days | Cotyledons deep green and uniform | Mild and slightly sweet; reliable crop |
| Arugula | 7–12 days | Cotyledons fully open, deeply lobed shape | Peppery; slightly slower than mustard or radish |
| Swiss chard | 10–16 days | Cotyledons thick, stems colorful | Colorful stems; slower growth; slightly longer window |
| Basil | 14–21 days | First true leaf just visible | Slowest common crop; true leaf signal is critical before cutting |
How To Cut Microgreens Cleanly
The cut is straightforward and takes less than five minutes for a full tray. What matters most is cutting at the right height, using a clean blade, and getting the greens into a container quickly so they do not wilt.
- Prepare a clean container: a bowl, a plate, or a loosely closed container bag. The greens go straight from the tray into the container; do not set them on a surface to sort later.
- Hold a small handful of stems loosely just above the medium surface with your non-dominant hand. Do not squeeze — crushing the stems bruises the greens and they deteriorate faster in storage.
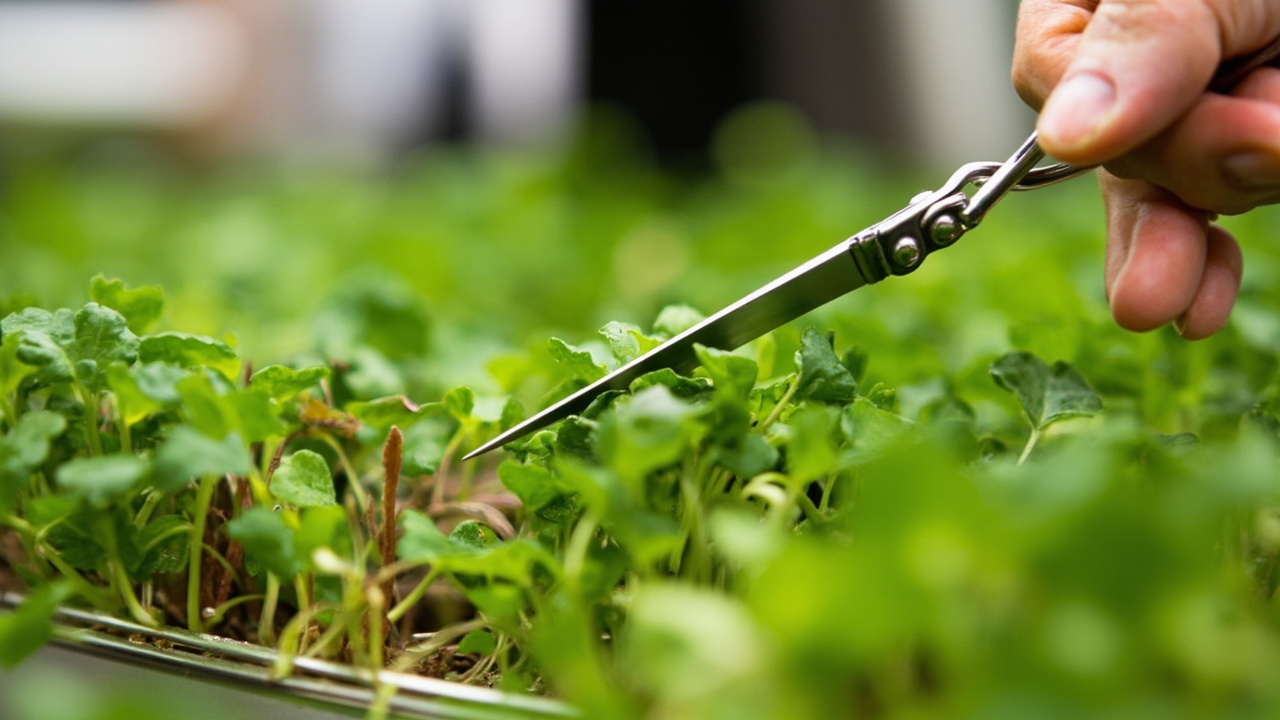
- Cut with sharp scissors about 1 cm above the medium surface. The cut height above the medium keeps the root and seed material out of the harvest and reduces the chance of contamination from the growing medium. A clean, decisive cut rather than a sawing motion keeps the stem ends clean.
- Move the cut greens directly into the container as you cut, working around the tray in sections rather than cutting everything and then collecting it.
- Rinse only if necessary: if the tray was grown cleanly and the surface is dry at harvest, a rinse is optional. If the surface was moist or the seed hulls are clinging, a brief cool-water rinse and a dry pat with a towel is enough. Too much water at this stage shortens shelf life.
- Store in the refrigerator immediately. A sealed container or a loosely closed bag in the crisper drawer is the standard storage method. Most microgreens keep for 5 to 7 days at 40°F / 4°C.
The cut happens just above the medium surface in microgreens trays. A cutting board or a large plate placed under the tray during harvest makes collection easier and keeps the harvest off the counter. The tray itself goes into the compost or wash cycle after the harvest is complete — one tray, one medium load, and the next sow can start immediately in the same container.
What Happens If You Harvest Too Early Or Too Late
The trade-offs on both sides of the harvest window are real and affect both eating quality and storage life.
Harvesting too early — before the cotyledons are fully open — gives a smaller yield, a more delicate texture that falls apart in the container, and a milder flavor that may not be what the crop is known for. It is not dangerous, but it wastes the tray’s potential. The plant also has less energy stored in the cotyledons at an early stage, so the cut greens wilt faster in storage.
Harvesting too late — after the true leaves are larger than the cotyledons — gives longer, woodier stems that are fibrous and unpleasant to eat raw. The flavor at this stage shifts: some crops become bitter (radish, mustard), others become dull and vegetal. The texture degrades and the greens do not keep as long in the refrigerator. A tray left to this stage is usually still edible cooked, but it has crossed the line from microgreen to small green, and the characteristic crunch is gone.
The medium is left behind at harvest, so a clean cut above the microgreens growing medium surface is the goal. The growing medium stays in the tray and gets composted or discarded between cycles. Nothing from the medium goes into the harvest container, and the cut stem end is the only point of contact between the plant and the medium it grew in. That structural separation is part of why microgreens keep longer than sprouts — there is no root material in the harvest that can continue to decompose and release moisture.
More in the Microgreens series: How to Grow Microgreens at Home · Microgreens Growing Medium · Microgreens Trays · Microgreens vs Sprouts