You can grow microgreens at home with a shallow tray, clean seed, a thin layer of growing medium, bright light, and a watering rhythm that keeps the roots moist without keeping the stems wet. Most beginner trays are ready to cut in 7 to 21 days, depending on the crop. Radish and broccoli move quickly; sunflower and pea shoots usually take longer.
The setup does not need to be fancy. Microgreens fail most often from three ordinary mistakes: seed sown too thick, a tray left wet and covered for too long, or weak light after germination. If you control moisture, airflow, and light, a small kitchen tray can produce a clean harvest more reliably than a crowded windowsill experiment.
What Microgreens Need Before You Sow
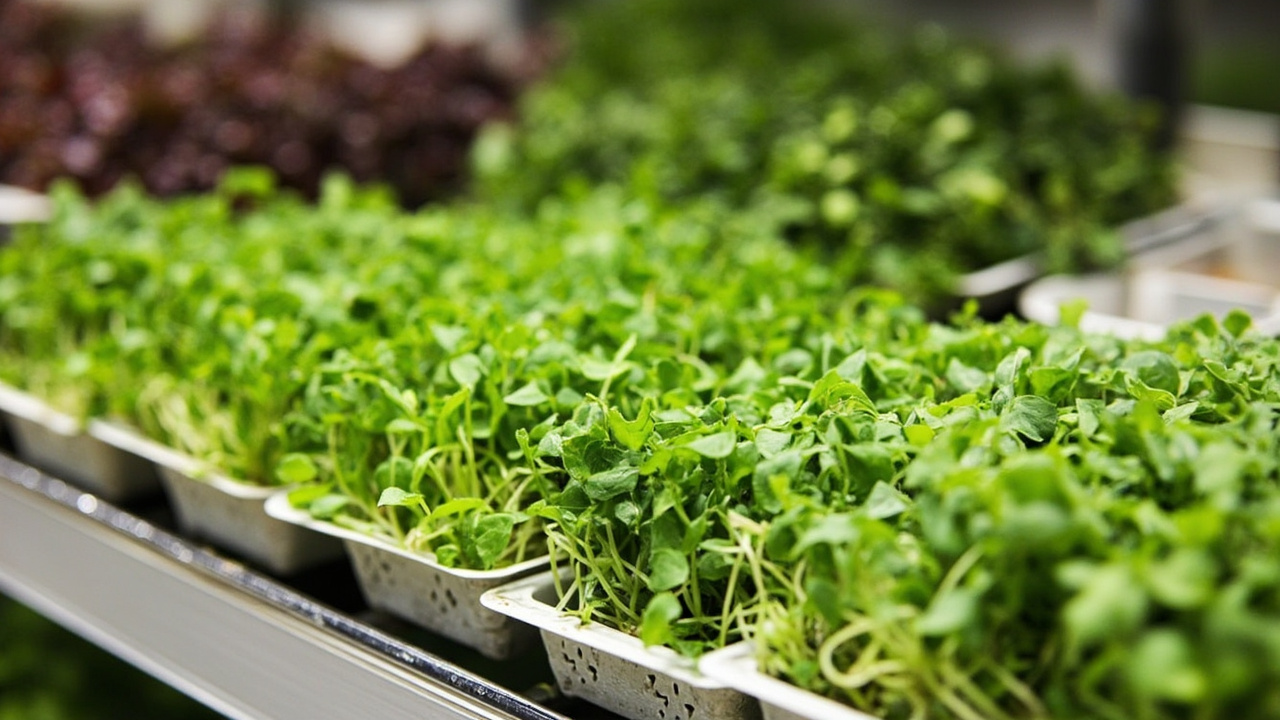
Microgreens are young edible seedlings harvested after the cotyledons open and, for some crops, just as the first true leaves begin to show. They are older than sprouts because they grow in a tray with light, but younger than baby greens because they are cut before the plant develops a full root-and-leaf system. That short life cycle is what makes them practical indoors.
For a first tray, keep the setup narrow: one shallow tray with drainage, one tray or lid underneath to catch water, a fine-textured growing medium, microgreens seed, a spray bottle for sowing day, and scissors for harvest. A tray depth of 1 to 2 inches is enough because the plants are not staying long enough to need a deep root zone. If you already grow food in pots, microgreens are the shallow-tray version of container vegetable gardening.
The best first crops are forgiving and fast: radish, broccoli, kale, mustard, cabbage, and pea shoots. Avoid large hard seeds, mucilaginous seeds, and expensive mixes until you understand how your room dries down. A clean, predictable single crop teaches more than a pretty blend where every seed germinates at a different pace.
Choose Seeds And Growing Medium
Use seed sold for microgreens or untreated garden seed from a trusted supplier. The difference matters because microgreens are sown densely and harvested young. Seed that has been treated with fungicide or stored poorly is a bad fit for a tray you plan to cut and eat. You do not need a premium kit, but you do need clean seed with a high germination rate.
The growing medium should hold even moisture while leaving enough air around the seed and young roots. Fine coco coir, seed-starting mix, hemp mats, and thin soilless blends can all work. The same drainage logic behind a soilless growing medium applies in miniature here. If the medium compacts into a paste, oxygen drops. If it dries into a crust, germination becomes patchy.
The honest trade-off is that every medium changes the watering routine. Coco coir is forgiving but can stay wet if packed too deeply. Mats are tidy but dry at the edges. Potting mix has nutrients, but it can bring more particles onto the harvested stems. For a first tray, spread about half an inch of pre-moistened medium, level it gently, and stop before you press it into a dense slab.
Sow The Tray And Manage The Blackout Period
The covered tray is simpler than most hydroponic systems, but it still depends on moisture and oxygen moving together. Seeds need contact with the moist surface, not a sealed wet chamber. The goal is an even stand of seedlings, not a soggy mat.
- Moisten the medium before sowing so water is distributed from the start. It should feel damp, not dripping.
- Scatter seed evenly across the surface. A dense single layer is better than piles of overlapping seed.
- Press the seed lightly into contact with the medium. Do not bury small microgreens seed unless the seed supplier specifically recommends it.
- Mist the surface once, then cover the tray with a lid, another tray, or a loose blackout cover.
- Check daily. Most fast crops should be uncovered once the seedlings have lifted and are pushing against the cover, usually after 2 to 5 days.
The failure mode is leaving the tray covered after germination because the seedlings look pale and unfinished. That pale color is normal before light exposure. If the cover stays on too long, stems stretch, moisture lingers, and the tray becomes more vulnerable to mold.
Light, Airflow, And Watering After Germination
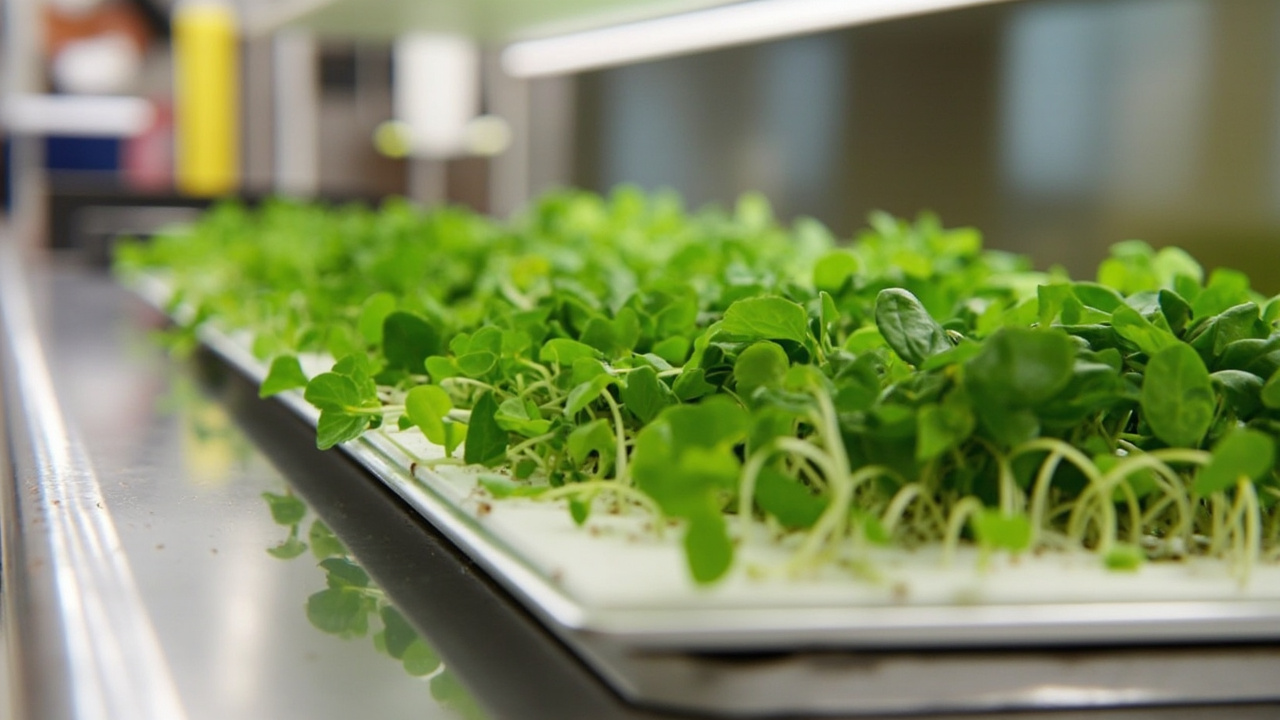
Once the seedlings are upright, move the tray into bright light. A sunny window can work for quick crops, but many indoor windows create stretched, leaning stems because light comes from one side and changes through the day. Weak stems after uncovering are usually a light problem, so use the same principles as indoor plant light requirements.
Microgreens do not need intense fruiting-crop light, but they do need steady brightness close to the canopy. If using a small LED grow light, place it close enough to keep stems compact without heating the tray. Most home growers do better with 12 to 16 hours of light than with a vague “bright spot” that changes every afternoon.
After germination, switch from misting the leaves to watering from below whenever possible. Pour a small amount of water into the lower tray, let the medium wick it up, then drain any standing water that remains after 10 to 20 minutes. This keeps the canopy drier, which matters because dense young stems trap humidity. Airflow does not need to be forceful; the tray simply should not sit in stagnant, wet air.
When To Harvest Microgreens
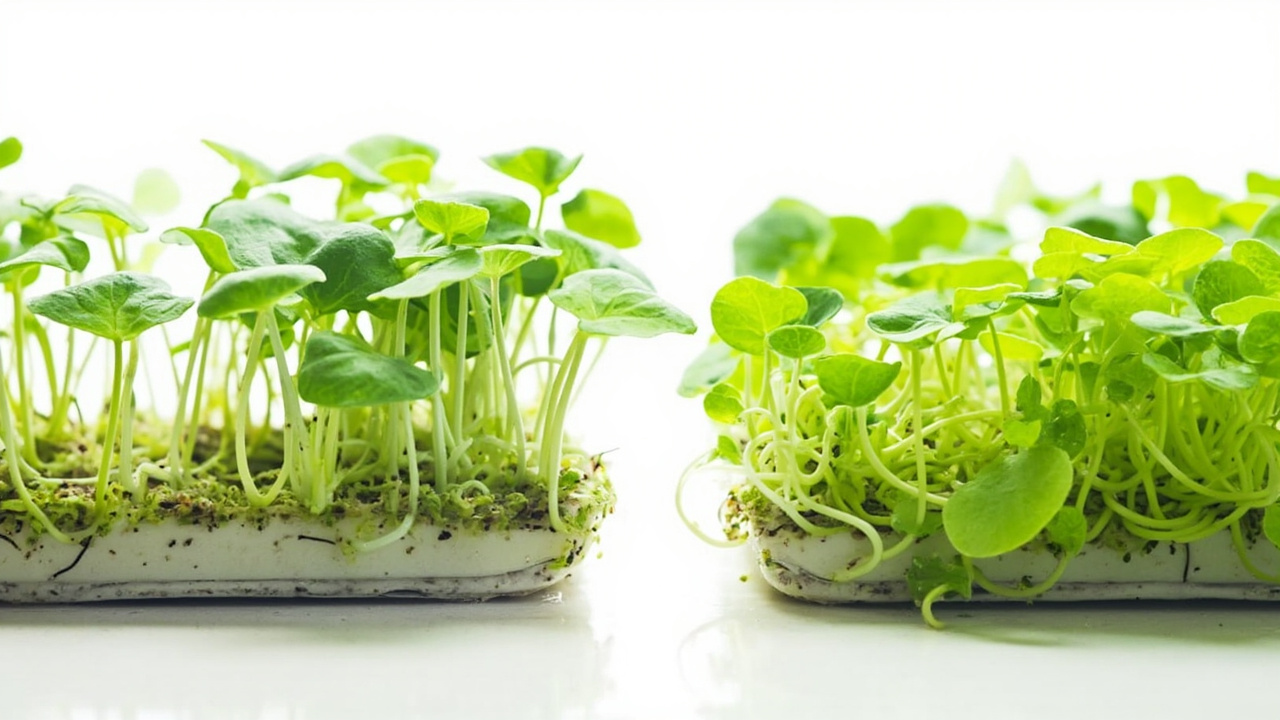
Harvest when the tray has open cotyledons, upright stems, good color, and a texture you actually want to eat. For many brassicas, that means 7 to 12 days after sowing. Pea shoots, sunflower shoots, and some larger seeds may need 10 to 21 days. The calendar is useful, but the tray is the better signal.
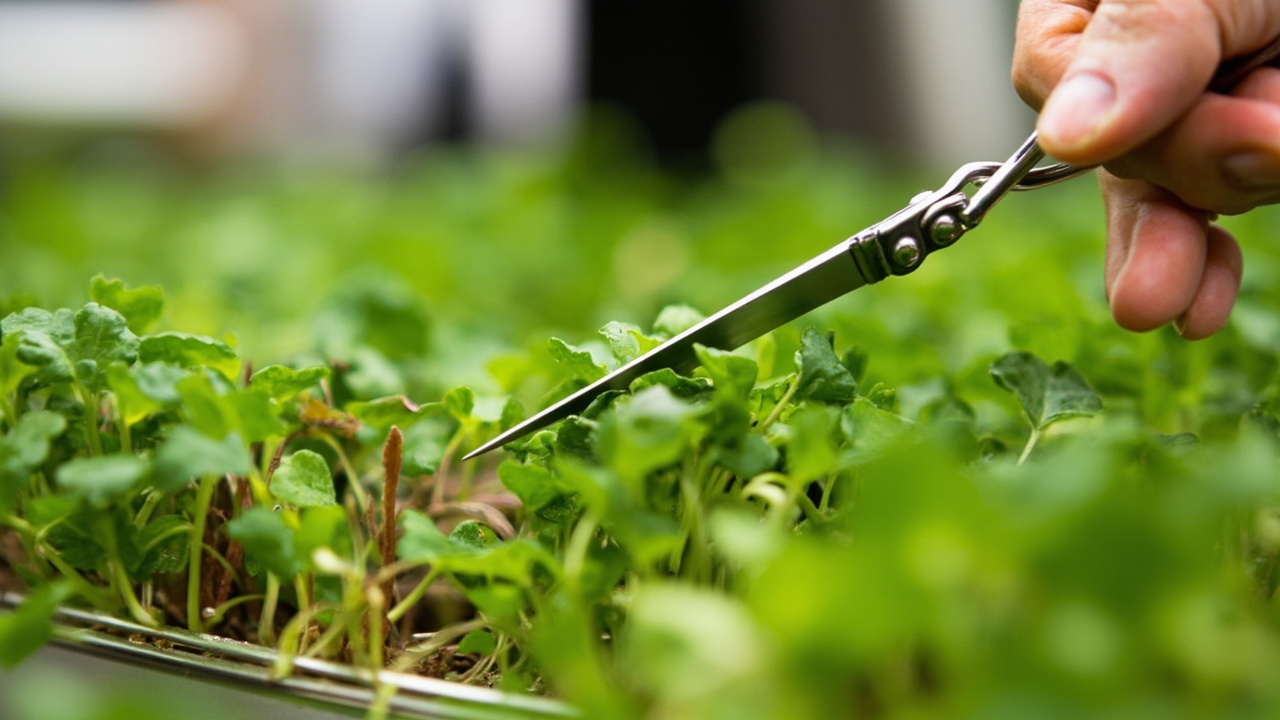
Cut just above the medium with clean scissors or a sharp knife. Avoid pulling the plants because the root mat and medium will come with them. If the first true leaves are appearing, taste a small pinch before waiting longer. Some crops become stronger, hotter, or more fibrous as they age. Waiting for “more yield” can quietly reduce eating quality.
Most home trays are one-cut crops. A few shoots may regrow, but the second cut is usually weaker and less even. For reliable harvests, compost the spent mat, clean the tray, and sow again with what you learned from the first run.
What To Adjust On Your Second Tray
The first tray teaches you how your room behaves. Do not change everything at once. Adjust the single factor that most clearly limited the crop.
- If germination was patchy, improve seed contact and pre-moisten the medium more evenly.
- If stems were long and pale, uncover earlier and increase light after germination.
- If the tray smelled sour, reduce water depth and drain the lower tray faster.
- If mold appeared between stems, sow less densely and add gentler airflow.
- If leaves dried at the edges, check whether the tray is drying faster near a vent or sunny glass.
If a windowsill keeps producing pale trays, a small fixture from the grow lights category is the first upgrade. The useful mindset is simple: microgreens are not hard, but they are honest. Dense seed, wet air, weak light, and delayed harvest show up quickly. Fix those basics and the next tray usually improves within a single grow cycle.
More in the Microgreens series: Microgreens Growing Medium · Microgreens Trays · Microgreens vs Sprouts · When to Harvest Microgreens