The best microgreens trays are shallow, washable, easy to bottom-water, and sized for the space where you will actually grow. A tray does not need to look professional to work, but it does need to manage drainage and humidity well. Most home growers do better with a simple nested pair than with a bulky kit full of parts they will not use.
Tray branding matters less than tray behavior. A good tray lets you spread seed evenly, keep the medium moist, remove extra water, uncover seedlings on time, and clean everything before the next sowing. If it makes any of those steps awkward, it will make the crop less reliable.
What A Good Microgreens Tray Must Do
A microgreens tray has to support a dense crop for a short period. The tray should support the full cycle described in how to grow microgreens. That means it needs enough surface area for an even seed layer, enough depth for a thin growing medium, and enough drainage control to keep roots moist without soaking the stems.
- Depth: 1 to 2 inches is enough for most microgreens.
- Surface: a flat base makes seed coverage easier.
- Drainage: holes help bottom watering and reduce saturation.
- Cleaning: smooth plastic is easier to sanitize than rough reused packaging.
- Fit: the tray should match your shelf, windowsill, or light footprint.
The tray is not just a container. It is the part of the system that decides whether water leaves, lingers, or collects where young stems are crowded together.
Drainage Holes Or Solid Bottom
For beginners, the most reliable setup is a tray with drainage holes nested inside a solid bottom tray. The top tray holds the medium and seed. The bottom tray catches water and lets you bottom-water after germination. Drainage only works when paired with the right microgreens growing medium.
A solid tray by itself can work, but it gives you less room for error. If you pour too much water into a sealed tray, the lowest layer stays wet and oxygen drops around the roots. That is when a tray can smell sour or develop fuzzy growth between stems. A tray with holes lets extra water escape, but it still needs a lower tray so you do not flood the shelf.
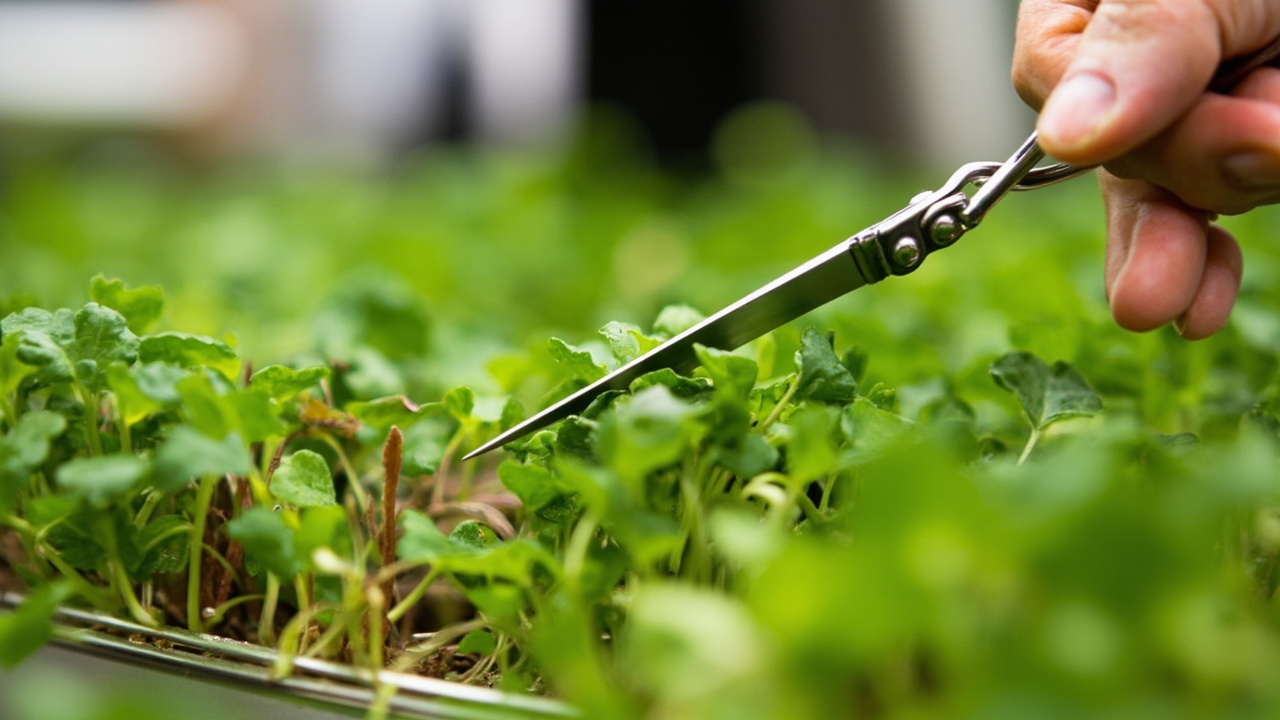
The best rhythm is simple: water from below, wait 10 to 20 minutes, then remove water that was not absorbed. This keeps the canopy drier than daily misting. Misting is useful on sowing day; after germination, wet leaves are usually a liability.
Size, Depth, And Material
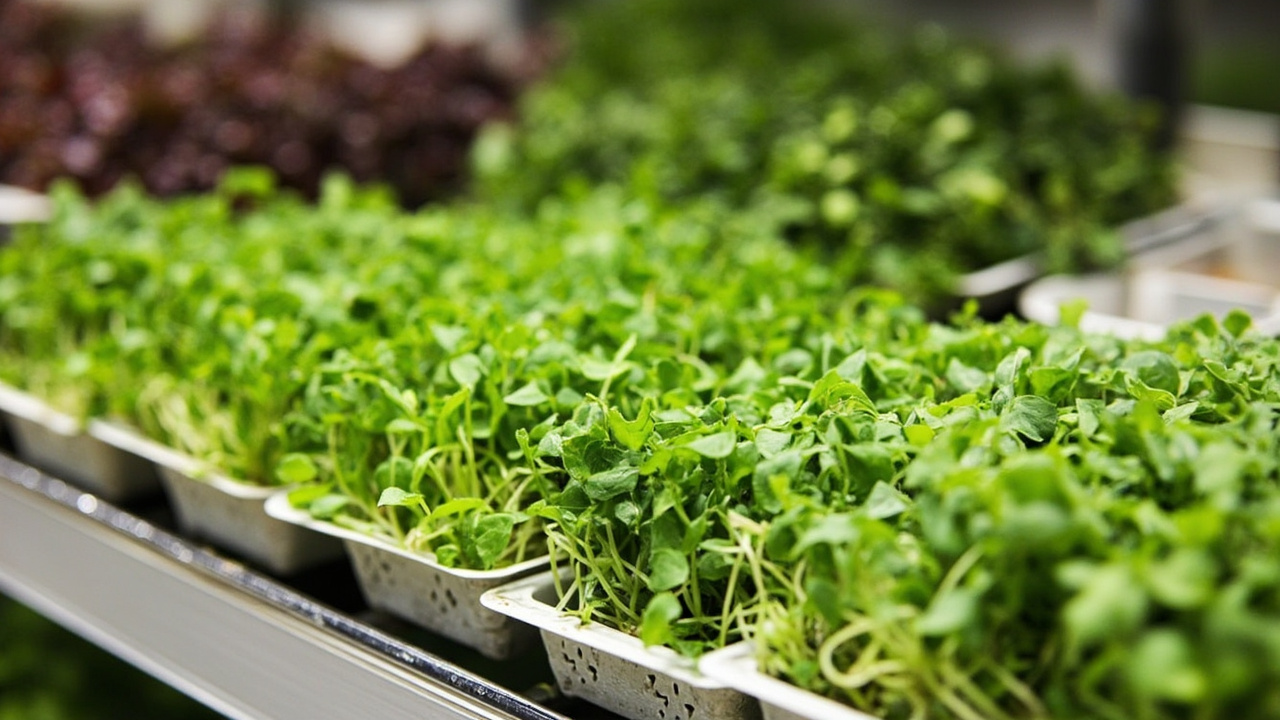
The common 1020 tray is about 10 by 20 inches. It is efficient under a grow light and produces a generous harvest, but it may be too large for a first kitchen test. Half trays are easier to rotate, rinse, and fit into a refrigerator if you harvest in stages. A tray is simpler than a full hydroponic system, but the same space math applies.
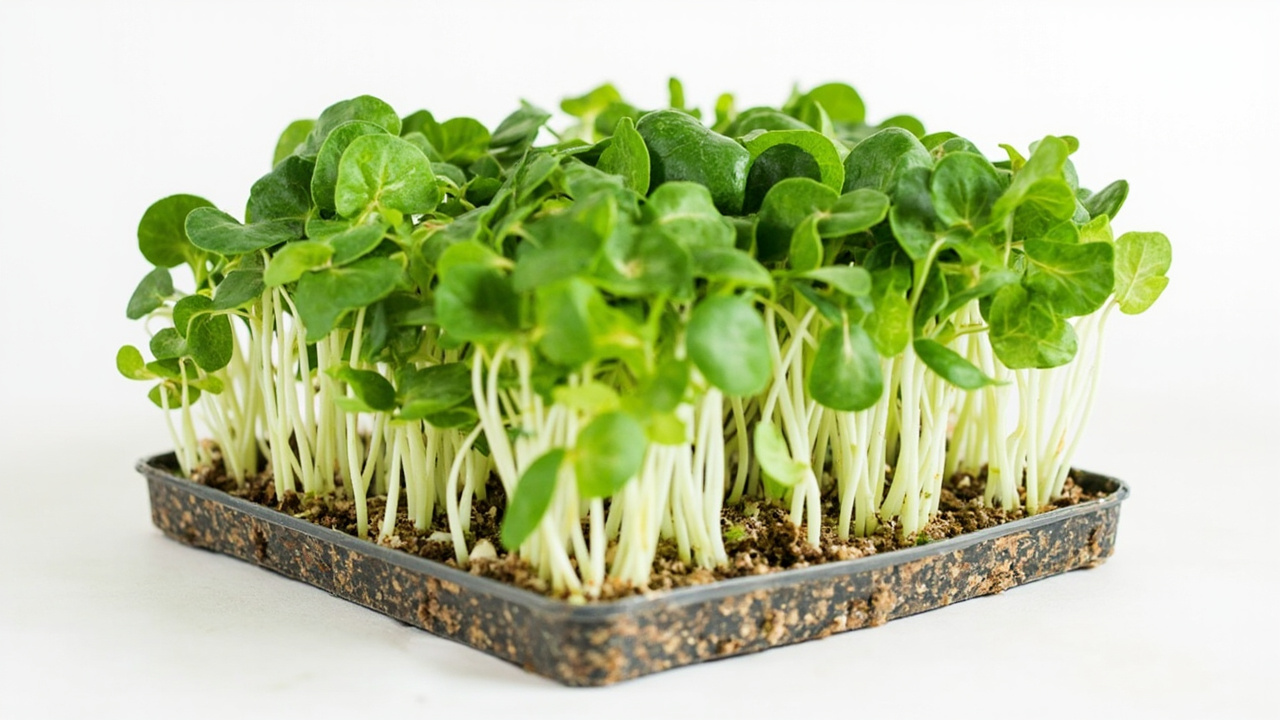
Shallow trays are better than deep pots because microgreens do not need deep roots. A deep container holds extra wet medium, adds weight, and slows dry-down. The trade-off is that very shallow trays dry faster at the edges, especially under a fan or strong light.
- Use a 1020 tray if you have a shelf and light that cover the whole surface.
- Use half trays if you are testing crops or growing for one household.
- Use food-safe reused containers only if they are clean, shallow, and easy to drain.
- Avoid brittle plastic that cracks during washing or flexes when lifted wet.
Lids, Domes, And Blackout Covers
A cover is useful during germination, but it should not become a permanent humidity trap. A blackout lid, another tray, or a loose cover helps keep the seed surface evenly moist for the first few days. Like beginner hydroponic systems, covered trays need airflow once growth starts.
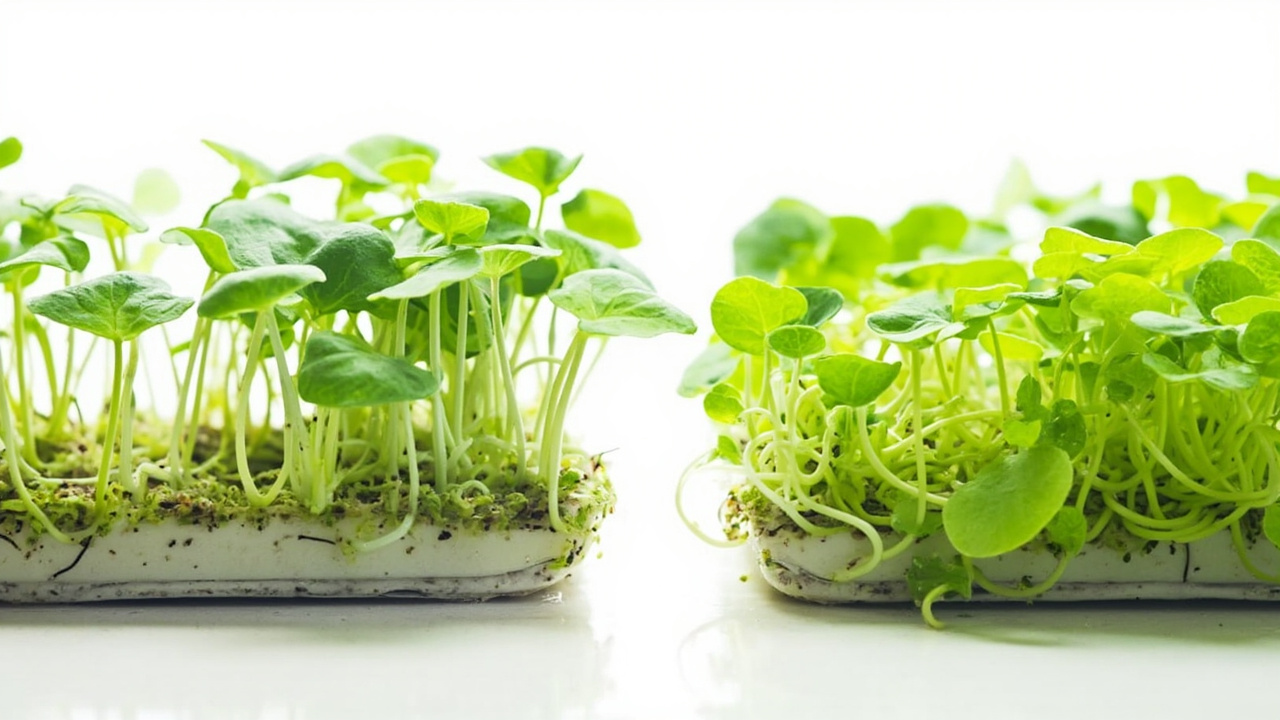
Humidity domes are often oversold for microgreens. They can help in a very dry room, but they also trap moisture around dense seed. Once seedlings lift and begin pushing upward, the cover should come off. Pale stems at that stage are normal because they have been in darkness; they should green up after moving into light.
A heavy tray used as a cover can also improve seed contact for some crops, but do not leave weight on tender stems once they are upright. The timing is more important than the tool.
How Many Trays To Start With
Start smaller than you think. A first setup with two perforated trays and two solid bottom trays is enough to learn the workflow without filling your counter.
- One tray can be germinating while another is under light.
- Two crops teach you how seed size changes watering.
- A spare bottom tray gives you room to drain and rinse without juggling wet plastic.
- More trays only help after you know your harvest pace.
If you buy ten trays before your first harvest, you may scale the same mistake ten times. Learn your room first, then expand.
The First Upgrade Worth Buying
After trays, the upgrade that changes results most is usually grow lights. Better trays make watering easier, but stronger, steadier light fixes pale stems, leaning growth, and slow recovery after the blackout period.
For a beginner, the right purchase order is trays first, light second, then specialty mats or extra lids later. A simple tray that you can clean and water correctly will outperform an expensive kit used in weak light. Buy for the routine you will repeat, not for the prettiest setup photo.
More in the Microgreens series: How to Grow Microgreens at Home · Microgreens Growing Medium · Microgreens vs Sprouts · When to Harvest Microgreens