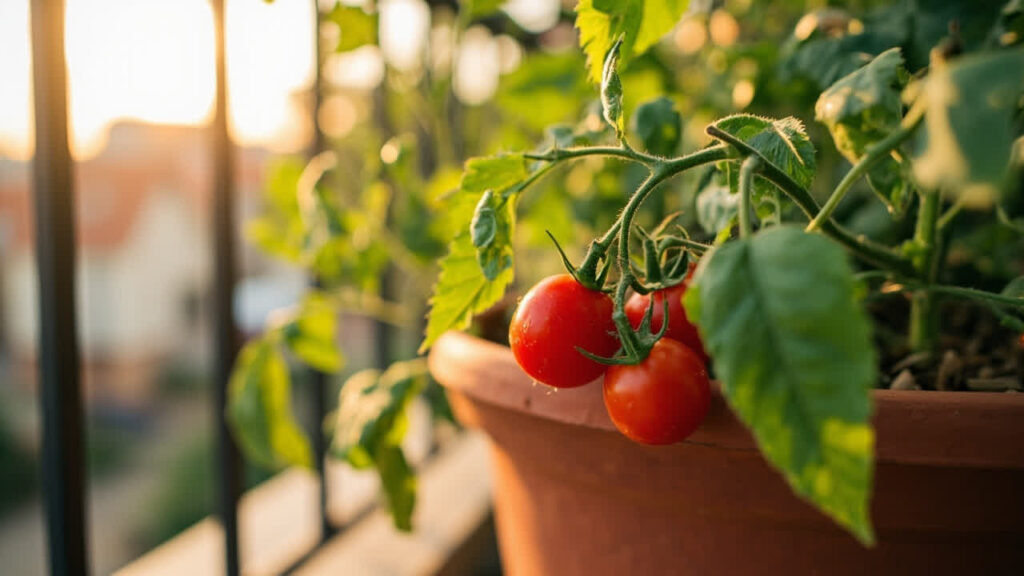

Hydroponic tomato farming delivers 3–8 pounds of fruit per plant across a 60–80 day cycle when managed in a properly oxygenated deep water culture bucket or recirculating drip system.
That figure reflects what a home grower with a basic LED setup can expect, not the 20+ pound greenhouse-optimized yields you see in marketing copy.
If you are wondering whether this is worth your time and money, the short answer is: yes, provided you can commit to monitoring pH and EC every few days and you have space for a small grow light setup.
The longer answer lives in the details.
Tomatoes are among the most responsive hydroponic crops because they have no soil-borne disease pressure, no weed competition, and direct access to nutrient solution.
Once the system is dialed in, a hydroponic tomato grows faster than any soil-bound equivalent — but that speed cuts both ways — and without regular pruning and staking, a single tomato plant can overtake a small grow space in weeks.
A hydroponic tomato expresses deficiencies and imbalances faster too, which means the monitoring discipline has to be consistent, not occasional.
Why Tomatoes Thrive in Hydroponic Systems
Tomatoes grown hydroponically outperform soil-grown plants in three measurable ways.
First, root zone oxygen levels in well-aerated DWC or NFT systems reach 8–10 ppm dissolved oxygen compared to the 2–4 ppm typical in waterlogged soil. That high oxygen level lets the plant’s roots access energy for nutrient uptake directly from the water column instead of spending resources on anaerobic root metabolism.
Second, nutrient delivery is continuous and direct — a properly formulated hydroponic nutrient solution at EC 2.5–3.5 mS/cm delivers minerals straight to root surfaces with zero soil buffer, so the plant redirects more energy to fruit production instead of root foraging.
Third, the soilless environment eliminates soil-borne pathogens like Fusarium wilt and Verticillium that routinely wreck tomato crops in traditional gardening.
The result is a tomato plant that reaches first harvest roughly two weeks faster than its soil equivalent. For a home grower, that translates to an extra cycle per season — or the ability to pull ripe fruit before outdoor temperatures climb high enough to trigger blossom drop.
What Makes Tomatoes Different From Lettuce or Basil
Lettuce and basil tolerate a wide EC range and lower light intensity. Tomatoes do not.
A tomato plant requires 200–400 μmol/m²/s PPFD during peak vegetative growth, a minimum of 6–8 hours of direct LED light, and a nutrient solution EC that climbs from 2.0–2.5 mS/cm during seedling stage to 3.5–5.0 mS/cm during fruit set.
Push EC too low during fruiting and the plant aborts flowers. Push it too high and you trigger leaf burn and root tip necrosis — the failure mode most hydroponic beginners encounter without recognizing it until it is too late.
Choosing the Right System (DWC, NFT, Drip, Aeroponics)
Four hydroponic system types handle tomato cultivation, and the choice comes down to how much monitoring you can sustain and how much yield you want per square foot — and which tomato varieties perform best in soilless systems.
Each system is a real trade-off, and the best one depends on your setup, your budget, and how often you can check on your plants.
Deep Water Culture (DWC) : Best for Beginners
A DWC bucket system suspends the root crown in a net pot sitting above a reservoir of aerated nutrient solution. Air stones keep dissolved oxygen above 6 ppm, and the reservoir holds 3–5 gallons per plant.
This is the most forgiving system for beginners because the large water volume buffers pH and EC fluctuations — you get a 24–48 hour window to correct a reading before it stresses the plant.
Yield per plant in DWC: 3–6 pounds over a full season. The tradeoff is root-to-water volume ratio: at temperatures above 75°F, reservoir oxygen drops sharply and root rot risk climbs fast. A solid reservoir maintenance routine — solution changes, air stone checks, temperature monitoring — eliminates most of the failure modes that catch first-time DWC growers.
NFT (Nutrient Film Technique) : Compact but Sensitive
NFT channels a thin film of nutrient solution across root plates, using gravity and a low-flow pump to maintain continuous circulation.
The shallow solution depth maximizes oxygen contact but also means the reservoir is small — typically 10–20 liters — which causes pH and EC to swing faster than in DWC.
NFT suits tomatoes in cool climates; in heat, the small reservoir overheats and root zone temperature spikes within hours. Best used in climate-controlled grow tents where ambient temperature stays below 78°F.
Drip Systems (Recirculating or Drain-to-Waste) : Highest Yield, Most Monitoring
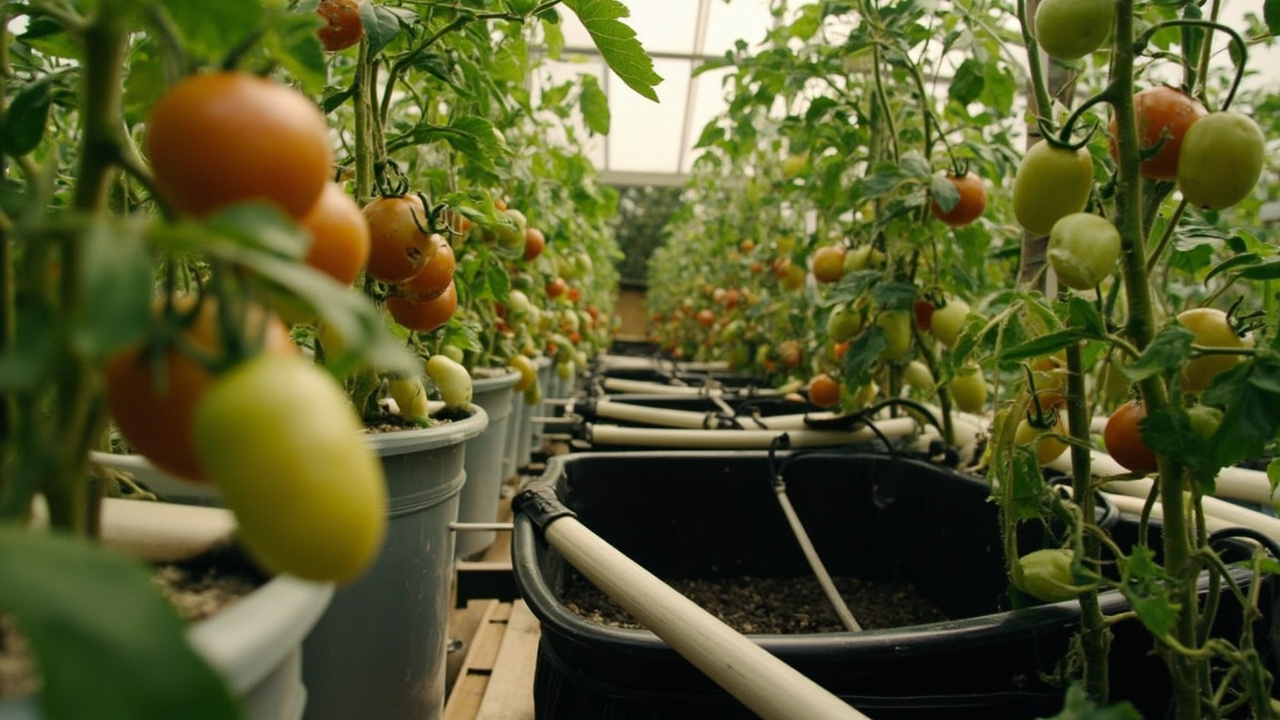
A drip system delivers nutrient solution via individual emitters to each plant’s root zone, with runoff collected back into the reservoir (recirculating) or drained away (drain-to-waste).
Recirculating drip systems achieve the highest yields per plant — 6–10 pounds in optimal conditions — because you can precisely control EC and delivery timing per plant.
The tradeoff is complexity: emitters clog, reservoirs need weekly refills, and EC drifts in the recirculating reservoir require constant attention. Drain-to-waste eliminates EC drift but wastes water and nutrients.
For the best hydroponic system for home use that balances yield against monitoring burden, a single-channel recirculating drip feeding 4–8 plants is the practical entry point for experienced home growers willing to check on their system daily.
Aeroponics : High Performance, High Failure Risk
Aeroponic systems mist roots in a chamber at intervals — typically 3–5 seconds on, 2–3 minutes off — using high-pressure nozzles.
Root zone oxygen levels are theoretically unlimited, which drives exceptional growth rates and faster maturity than any other system.
But aeroponics tolerates zero downtime: if the pump fails for 30 minutes in a warm environment, roots dry and the plant dies within hours.
Not recommended as a first hydroponic system unless you have a backup pump, a reservoir chiller, and a temperature-controlled space with redundancy built in.
| System | Yield per Plant | Monitoring Demand | Beginner Forgiveness | Reservoir Size |
|---|---|---|---|---|
| DWC Bucket | 3–6 lb | Low | High | 3–5 gal |
| NFT Channel | 4–7 lb | Medium | Medium | 10–20 L |
| Drip (Recirculating) | 6–10 lb | High | Low | 20–40 L |
| Aeroponics | 6–9 lb | Very High | Very Low | 5–10 L |
Nutrient Solution Specs: NPK, Micronutrients, pH, and EC
The nutrient solution is the entire game. A tomato plant in hydroponics is entirely dependent on what you give it — there is no soil bank to draw from if you underfeed, and no microbial community to buffer a pH spike.
Get the solution wrong and every plant in the system shows symptoms within days. Get it right and the plants grow with remarkable speed and consistency.
NPK Ratios for Vegetative and Fruiting Stages
Tomatoes need more potassium than nitrogen during flowering and fruiting. During vegetative growth — seedling through first flower truss — a ratio close to 4-1-2 N-P-K supports leafy growth without forcing premature flowering. Once flowers appear, shift to a 1-1-2 or 1-2-2 N-P-K ratio. High potassium drives sugar transport into fruit and improves blossom set, which is what you want once the plant is ready to produce.
Most commercial liquid nutrients for plants sold for hydroponic tomatoes follow these ratios, but verify the label before buying: a generic 10-10-10 water-soluble fertilizer will over-deliver nitrogen and under-deliver potassium, resulting in lush foliage with essentially no fruit.
A complete hydroponic tomato nutrient formula includes calcium (200–300 ppm), magnesium (50–80 ppm), iron (2–4 ppm chelated), manganese (1–2 ppm), zinc (0.5–1 ppm), boron (0.3–0.5 ppm), and molybdenum (0.05 ppm). Each deficiency produces a specific, recognizable symptom.
Calcium deficiency triggers blossom end rot. Magnesium deficiency causes interveinal chlorosis on lower leaves — the leaf edges stay green while the centers turn yellow. Iron deficiency shows as pale new growth at the growing tip while older leaves remain green.
If you see these symptoms, the fix is rarely “add more fertilizer” — almost always it is a pH problem first.
pH and EC Windows
Keep hydroponic solution pH between 5.5 and 6.5 at all times. Below 5.5, calcium and magnesium become unavailable even at adequate concentrations — the plant cannot uptake them regardless of what you add to the reservoir.
Above 6.5, iron, manganese, and boron lock out. For most home hydroponic setups running at room temperature, pH 5.8–6.2 is the operating sweet spot.
Check pH every 24–48 hours with a calibrated digital meter, not pH strips — strips are accurate only to ±0.3 pH, which is enough to miss the critical window and leave you wondering why your calcium is not working.
EC (electrical conductivity) measures total dissolved salts in the solution. For tomatoes, the range shifts across growth stages:
- Seedling stage: 1.5–2.0 mS/cm
- Vegetative growth: 2.0–3.0 mS/cm
- Early fruiting: 3.0–4.0 mS/cm
- Peak harvest: 4.0–5.0 mS/cm
Measure EC with a calibrated conductivity meter and track it across the week, not just at refill time. In a recirculating system, EC climbs as water transpires and salts concentrate.
In a drain-to-waste system, EC drifts as fertilizer batches exhaust. For a ready-to-use hydroponic nutrient solution recipe calibrated for tomato fruiting, start with 5–8 grams of a balanced water-soluble fertilizer per liter of water, then verify the resulting EC with a meter and adjust with fertilizer or plain water until you hit the 3.5–4.5 mS/cm target for the fruiting stage.
Ideal Growing Conditions: Light, Temperature, and Humidity
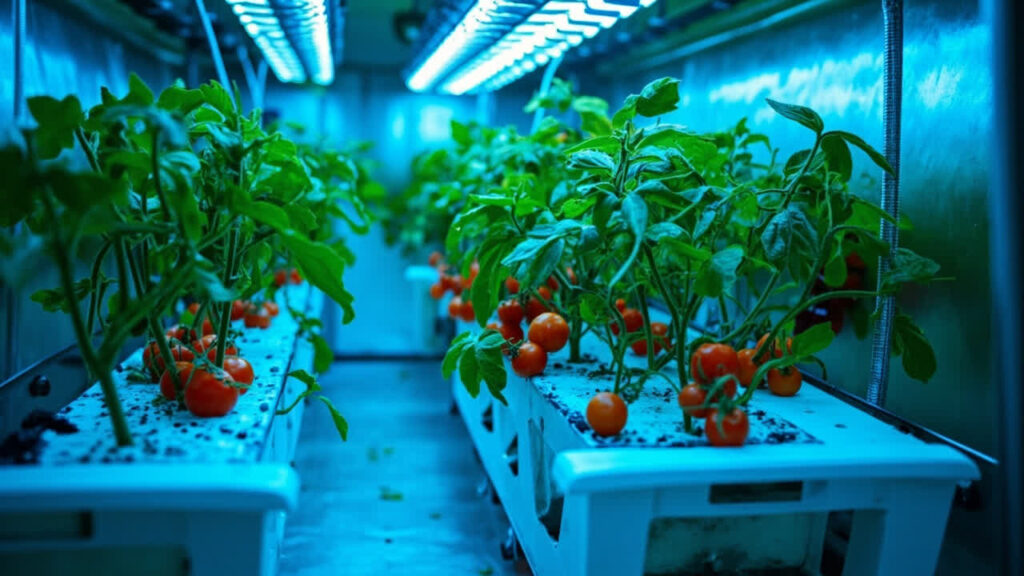
Tomatoes are high-light plants. Outdoors in full sun, they receive 800–1200 μmol/m²/s PPFD. Indoors under LED grow lights, you need to replicate that or accept proportionally reduced yields.
A typical 300-watt LED panel hung 18–24 inches above the canopy delivers 300–450 μmol/m²/s — enough for 3–6 pounds of fruit per plant but not enough for the 10+ pound yields greenhouse operations report.
Light height matters: closer increases intensity but risks light burn on upper leaves; further away reduces stress but stretches internodes and weakens structural integrity.
Run lights on an 18/6 schedule (18 hours on, 6 hours off) during vegetative growth. Switch to 12/12 when you want to force flowering — the day-length shift triggers the reproductive phase.
Use a timer. Inconsistent light hours confuse the plant’s hormone signaling and cause flower abortion, and it is one of the most common avoidable mistakes in indoor hydroponic tomato setups.
Temperature and Humidity Windows
Daytime temperature: 70–80°F (21–27°C). Nighttime: 60–68°F (15–20°C). The temperature differential between day and night drives flower initiation — a 10–15°F drop at night tells the plant to switch from vegetative to reproductive mode.
Above 85°F during the day and blossom drop becomes likely. Below 55°F at night, growth stalls and fruit set slows dramatically.
Relative humidity: keep it between 50–70%. Below 50%, transpiration rate climbs and calcium transport can suffer even when calcium is present in the solution — this is how you get blossom end rot with adequate calcium levels, which confuses many growers who test their solution and find it correctly formulated.
Above 80%, you invite botrytis (grey mold) on fruit clusters and powdery mildew on leaves. If your grow space runs humid, add a small dehumidifier set to activate when RH exceeds 75%.
Step-by-Step: From Seedling to First Harvest
The timeline below assumes a DWC or drip system with LED lighting and a target first harvest at 60–80 days from transplant.
Week 1–2: Seedling Establishment
Start seeds in rockwool cubes or net pots with a lightweight starter nutrient at EC 1.5–1.8 mS/cm and pH 5.8–6.2.
Keep root zone temperature between 68–72°F. Under LED, provide 18 hours of light at 200–250 μmol/m²/s. Seedlings are ready for transplant when roots emerge from the net pot and the second set of true leaves appears — typically 10–14 days after germination.
Do not rush this: transplanting a seedling before it has enough root mass is the single most common cause of transplant failure in DWC systems.
Week 3–6: Vegetative Growth
Move seedlings into the system with nutrient solution at EC 2.0–2.5 mS/cm. Raise light intensity to 300–400 μmol/m²/s and extend photoperiod to 18 hours. Keep pH at 5.8–6.2.
During this phase the plant builds structural stems and leaf area — this is when it sets the capacity for fruit load.
If the plant looks nitrogen-hungry — pale lower leaves, slow vertical growth — bump nitrogen slightly while keeping potassium dominant. The goal at this stage is a stocky, dark-green plant, not a tall, pale one.
Week 7–10: Flowering and Fruit Set
Switch to a fruiting nutrient formula (low nitrogen, high potassium) and dial EC to 3.5–4.5 mS/cm.
Shift light to 12/12 to trigger flowering. Flowers self-pollinate — in an indoor environment, gently shake the flower trusses daily or use a small artist’s brush to transfer pollen between flowers.
Within 2–3 weeks of pollination, small green fruit should be visible at the truss. If flowers drop without setting fruit, the most likely causes are temperatures above 85°F, insufficient light intensity, or EC that is still too high from the vegetative formula.
Week 11–14: Fruit Development and First Harvest
Support developing fruit clusters with plant ties or soft clips — the truss must not carry the weight of ripening fruit alone. Maintain EC 4.0–5.0 mS/cm and pH 5.8–6.2.
Red and cherry tomato varieties begin breaking color first; larger beefsteak types take an additional week.
Harvest when color is fully developed but fruit is still firm. The first truss harvest typically yields 1–2 pounds of fruit per plant. Subsequent trusses on the same plant produce for another 6–8 weeks if you maintain nutrient solution quality and keep monitoring EC and pH.
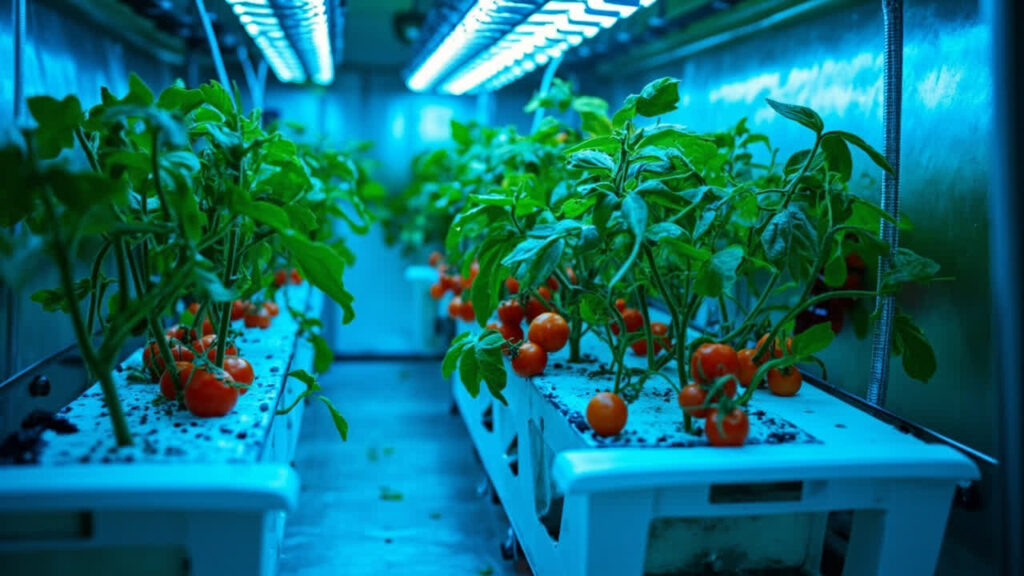
Common Problems Hydroponic Tomato Farming and How to Fix Them
1. Blossom End Rot
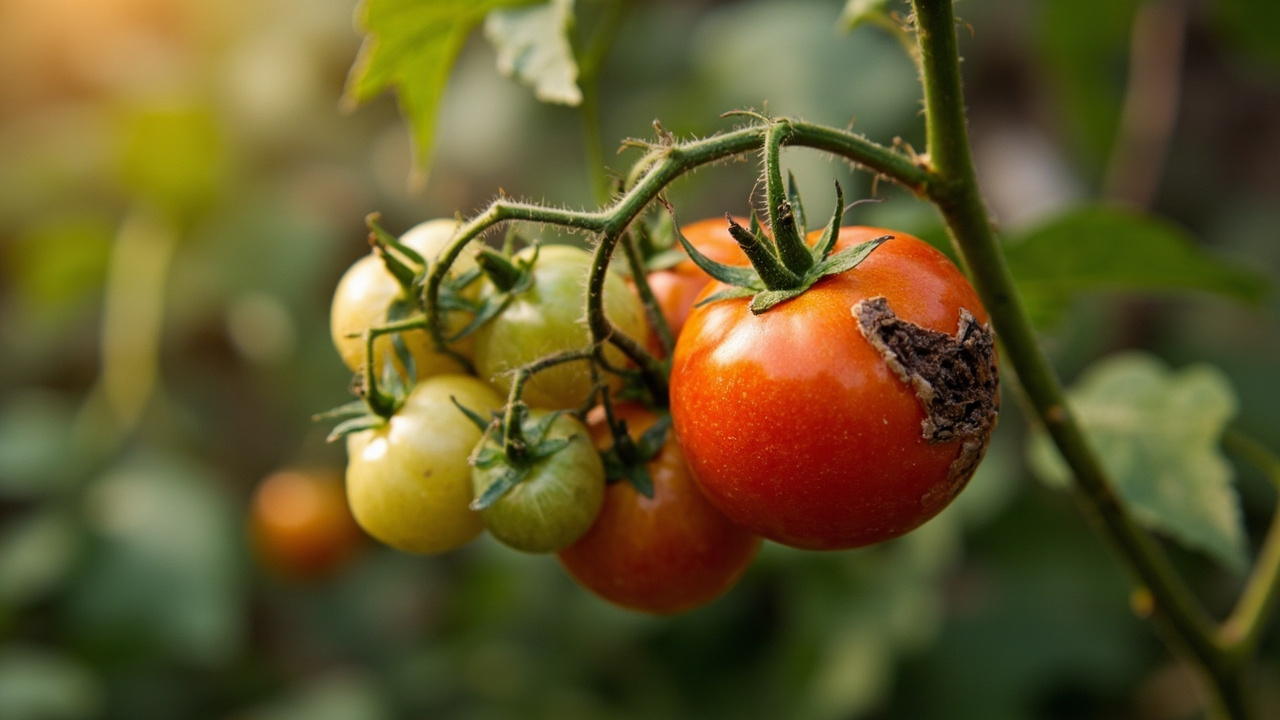
Blossom end rot starts as a dark, water-soaked spot on the bottom of the fruit and expands to a leathery, sunken lesion as cell tissue collapses.
Most growers assume calcium deficiency is the cause — and sometimes it is. But in hydroponics, blossom end rot is more often a pH problem than a calcium availability problem.
When pH drops below 5.5, calcium becomes locked out even if the solution contains 250 ppm calcium. Before adding more calcium, check and correct pH first. If pH is already in the 5.8–6.2 range and blossom end rot persists, increase calcium delivery and verify that humidity is above 50% so transpiration can drive calcium transport through the plant.
The signs of over-fertilization also include blossom end rot-like symptoms caused by salt buildup — which is why reading the full symptom picture matters before you act.
2. Leaf Burn
Leaf burn — crispy, brown edges on upper leaves — is the signature symptom of EC levels that are too high.
When nutrient solution concentration climbs above 6.0 mS/cm, the plant’s root pressure cannot pull water in faster than the salts pull water out, and leaf margins desiccate from the edges inward.
The fix: flush the system with plain pH-balanced water for 24–48 hours, then rebuild the nutrient solution at the correct EC. If you see the same pattern and the EC reads normal, the problem might be a salt buildup in the growing medium or on the root surface — flush that too.
Many growers misdiagnose this as a calcium problem because the burn pattern looks similar.
3. Root Rot
Root rot in DWC systems appears as brown, slimy roots instead of the white, feathery roots of a healthy system. It is caused by low dissolved oxygen (below 3 ppm), warm reservoir temperatures (above 72°F), or light penetration into the nutrient reservoir. Prevention: run air stones 24/7, keep reservoir temperature below 68°F using a reservoir chiller or by positioning the bucket in a cool corner, and cover the reservoir completely to block all light. If root rot appears, sterilize the system with a hydrogen peroxide flush or a commercial root rot treatment, trim dead roots back to healthy white tissue, and rebuild the solution with fresh nutrients.
4. Spider mites
Spider mites are the most common pest in indoor hydroponic tomato setups. They thrive in hot, dry conditions and reproduce rapidly — a colony can cover a plant in days.
Look for fine stippling on upper leaf surfaces and fine webbing between leaflets.
Treatment: spray the entire plant with a dilute isopropyl alcohol solution (5–10%) or a rosemary oil-based organic miticide, covering the undersides of leaves where the mites feed. Repeat every 3–5 days for two weeks to catch hatching eggs before they re-establish.
Prevention: keep humidity above 50% and inspect any new plants carefully before introducing them to the grow space — spider mites often arrive on transplants.
5. Nitrogen Deficiency and Magnesium Shortage
Yellowing lower leaves with green tops usually indicate nitrogen deficiency or a magnesium shortage.
If the yellowing starts at the leaf center and moves toward the edges, suspect magnesium — add Epsom salt (magnesium sulfate) at 1–2 grams per liter of reservoir water.
If the yellowing starts at the leaf tips and moves inward, suspect potassium deficiency. Correct via the nutrient reservoir, not foliar feeding, unless the problem is acute — foliar feeding in a hydroponic system is a temporary band-aid, not a solution to a systemic nutrient gap.
Hydroponic Tomatoes Farming
The honest truth about hydroponic tomatoes farming is that it rewards attention and consistency, not expensive equipment or prior experience.
A $50 DWC bucket from a hardware store, a $40 LED shop light, and a $15 pH/EC meter will outperform a $1,000 automated system that nobody monitors.
Start simple, watch the numbers, and adjust weekly. That is the entire game!
From Bank Statement to QuickBooks-Ready File
That manual cleanup you just read about? This tool skips it. Turn your PDF into QBO for QuickBooks without storing your data anywhere.
Start Converting