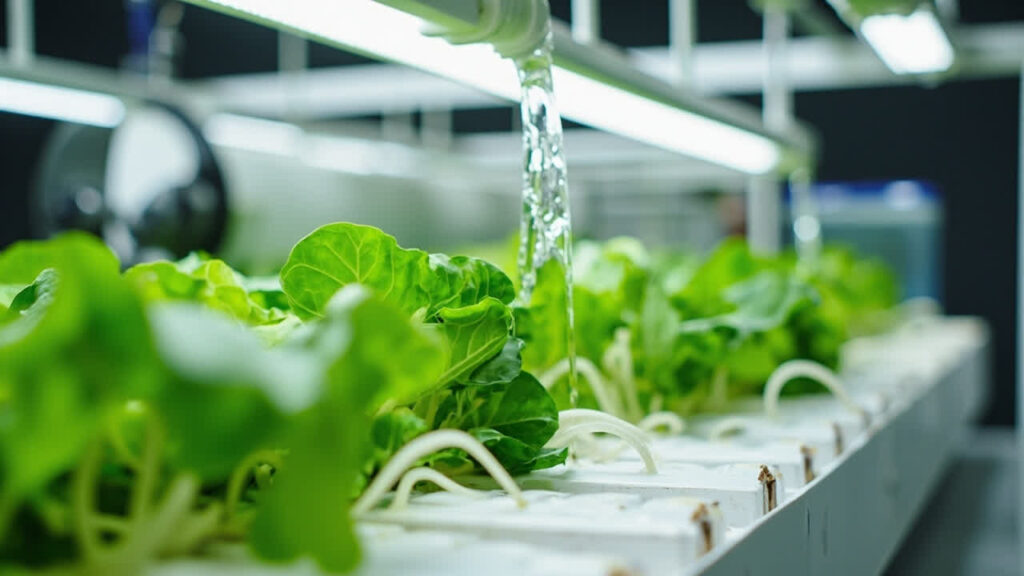
If you grow hydroponically, your hydroponic reservoir is the single most important piece of equipment you own. Everything — nutrients, oxygen, pH balance, temperature — lives in that tank.
A clean, well-maintained hydroponics reservoir means vigorous roots, fast growth, and heavy harvests. A neglected one means root rot, nutrient deficiencies, and a fast track to losing your entire crop.
The difference between those two outcomes comes down to one thing: a regular maintenance routine you actually follow.
Why Reservoir Maintenance Is the Make-or-Break Habit in Hydroponics
Hydroponic systems recirculate nutrient solution. Unlike soil — which acts as a buffer and holds reserves — a reservoir is a closed loop. What goes in stays in. If something goes wrong with your solution, it affects every plant in your system immediately. A pH drift, a temperature spike, a bloom of algae — stay isolated — they spread fast, and they hit every plant at once.
For home growers running deep water culture (DWC) or NFT systems, the reservoir is not an afterthought. It is the system. Getting the maintenance rhythm right is the single biggest lever you have on your grow outcomes.
How Often to Change the Nutrient Solution
There is no single answer that fits every setup. The right change frequency depends on your system size, plant stage, environment, and how actively your plants are feeding. That said, here is a practical framework.
Weekly changes — for small to medium systems under 20 gallons, especially during peak vegetative growth or fruiting. Weekly changes keep the nutrient profile fresh, prevent salt buildup, and give you a clean slate to recalibrate pH and EC from known values.
Bi-weekly changes — for larger reservoirs (30 gallons and up) or in systems where plants are in early seedling or clone stage and feeding lightly. Some growers also stretch to bi-weekly when running in cooler, lower-light conditions where nutrient uptake is slower.
Dynamic changes based on EC and plant signals — for experienced growers who monitor closely. You top up the reservoir with fresh nutrient solution as EC drops, rather than waiting for a scheduled change. This works well in high-uptake scenarios like hydroponic tomato farming, where plants consume large volumes of water and nutrients during fruiting. The key is measuring EC every one to two days and not letting it swing more than 0.5–1.0 mS/cm from your target range.
A practical rule of thumb: if your EC rise is consistently above 0.5 mS/cm per day, your solution is concentrating faster than your plants are consuming it. Time for a change. If the solution looks cloudy, dark, or smells off, do not wait for a schedule — change it now.
pH and EC Monitoring : Frequency and Logging
pH and electrical conductivity (EC) are your two most important daily measurements. They tell you whether your plants can actually access the nutrients in your solution.
Check pH daily, ideally at the same time each day, because pH fluctuates as plants absorb minerals and as CO2 dissolves into the solution. The target range for most hydroponic crops is 5.8–6.5, with 5.8–6.2 being the sweet spot for leafy greens and 6.0–6.5 better for fruiting crops like tomatoes and peppers. Drift outside this range for more than 24 hours and you start seeing nutrient lockout — even if your solution has plenty of food in it.
Check EC daily during the vegetative stage and twice daily during peak fruiting. EC measures the total dissolved salts in your solution. A rising EC means your solution is concentrating (plants are using water faster than nutrients). A dropping EC means plants have consumed most of what’s available or you have a dilution problem. The target EC varies by crop and growth stage, but 1.2–2.5 mS/cm is a common range for vegetative greens; fruiting crops often run 2.5–4.0 mS/cm.
Keep a simple log — a notebook, a spreadsheet, or even just a notes app on your phone. Record pH, EC, reservoir temperature, and date every time you measure. After two or three grow cycles, you’ll have enough data to know exactly what “normal” looks like for your system. That baseline is what makes problems visible before they become disasters.
Reservoir Temperature Control and Why It Matters
Temperature is the most overlooked reservoir variable, and it is one of the most damaging when ignored. Nutrient solution above 75°F (24°C) creates a hostile environment for root health. The warmer the solution, the less dissolved oxygen it holds. Warm, oxygen-poor water is exactly the conditions that Pythium — the pathogen behind root rot — loves.
Above 78°F (25.5°C), you are in the danger zone. Root growth slows, beneficial aerobic bacteria get outcompeted, and pathogenic organisms accelerate. Below 65°F (18°C), plant metabolism and nutrient uptake both drop noticeably, especially in tropical crops like tomatoes and peppers.
The ideal range for most hydroponic reservoirs is 65–72°F (18–22°C). In this band, dissolved oxygen stays high and root health is optimized.
For most home growers, temperature management means one or more of the following:
- A submersible aquarium chiller (essential for warm climates or heat-generating grow lights)
- Positioning the reservoir in a cooler part of the grow space, away from heat sources
- Using a reservoir lid or cover to insulate against ambient air temperature swings
- Circulating solution through return lines that pass through cooler ambient air before returning to the reservoir
Monitor your reservoir temperature as regularly as you monitor pH. A chiller is an investment that pays for itself the first time it prevents a root rot event in a full-cycle NFT or DWC system.
Air Stone Setup and Dissolved Oxygen Maintenance
Roots need oxygen. In soil, air gaps in the substrate supply it. In hydroponics, you have to supply it actively — and for most home setups, an air stone and air pump is the standard solution.
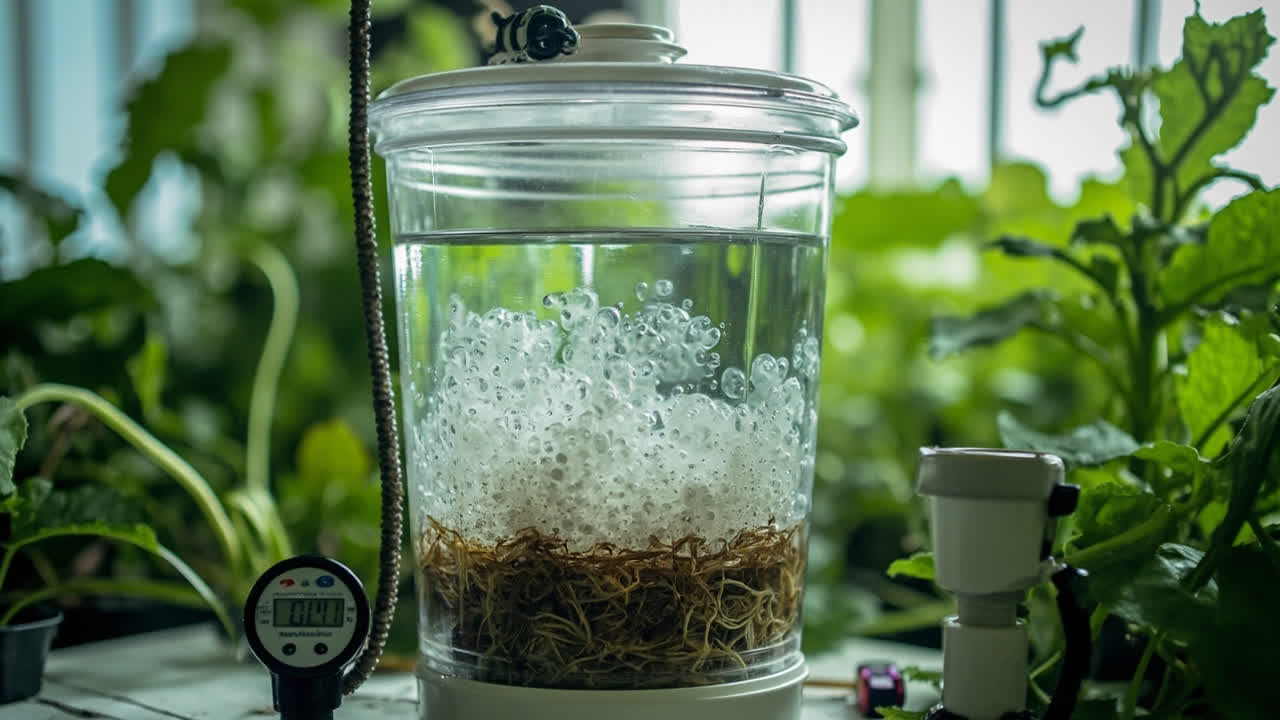
Choose an air stone that produces fine bubbles, not large ones. Fine bubbles have a much higher surface area-to-volume ratio, which means better gas exchange and more oxygen diffusion into the solution. Grid-style or disc-shaped air stones distribute bubbles more evenly across the bottom of the reservoir than single-point stones.
Run your air pump 24 hours a day, seven days a week. Roots in an NFT channel or DWC bucket that loses aeration for even a few hours will start to stress. If you are growing in DWC, the air pump is a non-negotiable piece of equipment — a power outage that kills aeration for more than two to three hours in a warm reservoir can trigger root rot overnight.
As a general guide, you want an air pump that can move at least 0.5–1.0 L/min per gallon of reservoir volume. For a 20-gallon DWC reservoir, a pump rated for 10–20 L/min with multiple outlets gives you redundancy and good coverage.
Another option for supplemental oxygenation is a Venturi injector on your return pump line. This uses the flow of water to draw air into the line before it returns to the reservoir, adding a second oxygenation pathway. For single-air-stone systems in larger reservoirs, a Venturi add-on can meaningfully improve DO levels.
Cleaning the Reservoir Between Cycles : Step by Step
Every time you empty and refill your reservoir, clean it properly. Do not just dump the old solution and add new. Organic matter, biofilm, and salt residues accumulate on reservoir walls, fittings, and inside tubing — and they are a breeding ground for pathogens even when the water looks clear.
Here is a straightforward cleaning protocol:
- Drain the reservoir completely. Pour or pump out all remaining nutrient solution (do not dump near sensitive plants; it’s too concentrated).
- Remove all debris. Scoop out any loose root matter, dead leaves, or sediment that has settled at the bottom. A wet-dry vacuum works well for this step.
- Scrub with a food-safe cleaner. Use a soft brush or non-abrasive pad with a solution of 3% hydrogen peroxide or a diluted white vinegar solution. Avoid harsh chemical cleaners — residue can harm your next grow. For biofilm, a mild dish soap followed by thorough rinsing is effective.
- Rinse thoroughly. Flush all surfaces multiple times with clean water until you see no residue, foam, or film.
- Clean tubing and fittings. Disconnect and flush all lines. If you see algae buildup inside tubing, run a 3% hydrogen peroxide solution through them for 15 minutes, then rinse thoroughly.
- Check and clean sensors. Wipe down your pH and EC probe electrodes. Store probes in calibration solution when not in use and replace calibration solution weekly.
- Let it dry. Leave the reservoir open and let it air dry completely before refilling. Dry conditions inhibit microbial growth between cycles.
Doing a proper clean between every cycle takes about 30–45 minutes. Skipping it saves time in the moment and costs you yield later.
Signs of Reservoir Problems: Root Rot, Algae, Film, Odor
Your reservoir will tell you when something is wrong — if you know what to look for. The key is to catch problems early, before they affect your entire root zone.
Root rot looks like slimy, brown, foul-smelling roots. Healthy roots are firm and white or creamy colored. If you pull a plant and see roots turning dark and smelling putrid, you have root rot. The immediate response is to drain, clean, and replace your nutrient solution, then increase aeration immediately. In DWC, consider adding a beneficial bacterial product (such as those containing Bacillus strains) to outcompete the pathogen. Root rot spreads fast — within days it can affect an entire system.
Algae blooms show up as green film on reservoir walls, on the surface of your nutrient solution, or inside clear tubing. Algae competes with your plants for nutrients and oxygen, and when algae die and decompose, they deplete DO and release compounds that harm roots. Algae need light to grow, so the primary fix is blocking all light from reaching your nutrient solution. Use opaque reservoir covers, block light from any clear tubing with pipe insulation or blackout tape, and keep your reservoir in a dark space. If you already have an algae bloom, do a full cleaning cycle before your next fill.
A slimy film on the reservoir surface is often bacterial biofilm — a community of microorganisms that colonize the water surface. Biofilm indicates stagnant conditions and reduced oxygen. Increasing surface agitation with an air stone or a small circulation pump usually resolves it. If it persists after addressing aeration, do a full reservoir clean.
Foul or sour odor is a clear signal something is decomposing in your solution. A healthy reservoir should have little to no smell. A sulfurous or “rotten egg” smell indicates anaerobic decomposition — possibly from dead roots or accumulated organic matter. An acidic or “vinegar” smell often indicates bacterial overpopulation. Either way: drain, clean, and start fresh. Do not try to save a smelly solution.
Reservoir Maintenance Schedule Table for DWC, NFT, and Drip Systems
| Task | DWC | NFT | Drip System | Frequency |
|---|---|---|---|---|
| Check and adjust pH | Daily | Daily | Daily | Every 24 hours |
| Check EC | Daily | Daily | Daily | Every 24 hours |
| Measure reservoir temperature | Daily | Daily | Daily | Every 24 hours |
| Check air pump operation | Daily | Daily | Weekly | Every 24 hours for DWC/NFT |
| Top up reservoir with fresh nutrient solution (top-off) | As needed | As needed | As needed | When solution drops 20–25% |
| Full nutrient solution change | Every 7–10 days | Every 7 days | Every 10–14 days | Weekly for small DWC/NFT; bi-weekly for larger/drip |
| Inspect roots for rot or discoloration | Every 3–5 days | Every 5–7 days | Weekly | Regular root health check |
| Check for algae or film on surface or walls | Daily | Daily | Every 3 days | Visual inspection each check |
| Clean reservoir walls and bottom | Every solution change | Every solution change | Every solution change | With each drain/refill cycle |
| Flush and clean supply lines/tubing | Every cycle | Every cycle | Every 2–4 weeks | More often if algae is present |
| Clean and calibrate pH and EC probes | Weekly | Weekly | Weekly | Every 7 days |
| Full reservoir deep clean (between cycles) | Every crop cycle | Every crop cycle | Every crop cycle | Between harvest and replant |
This table covers the maintenance fundamentals for each system type. DWC reservoirs need the most vigilance because roots sit directly in the solution — any problem in the water affects roots immediately. NFT channels are slightly more forgiving because roots are partly exposed to air, but the recirculating solution still needs close monitoring. Drip systems require attention to emitter clogging (from salt buildup or biofilm) as well as reservoir condition, since nutrient solution sits in the reservoir longer between changes.
Hydroponic Reservoir Maintenance
No matter which system you run, the underlying principle is the same: consistent monitoring and timely intervention on your hydroponic reservoir maintenance.
A 30-second check every morning costs almost nothing in time. Losing a full grow to root rot or a nutrient lockout costs weeks of effort and a significant financial investment.
Treat your hydroponics reservoir maintenance routine as non-negotiable, and your plants will reward you with steady, healthy growth that shows in the harvest.
From PDF to Excel in one click
Forget retyping line by line. Upload any bank statement, get a spreadsheet you can actually use. Your files are never stored, and you can test the converter with 3 free conversions.
Try it free