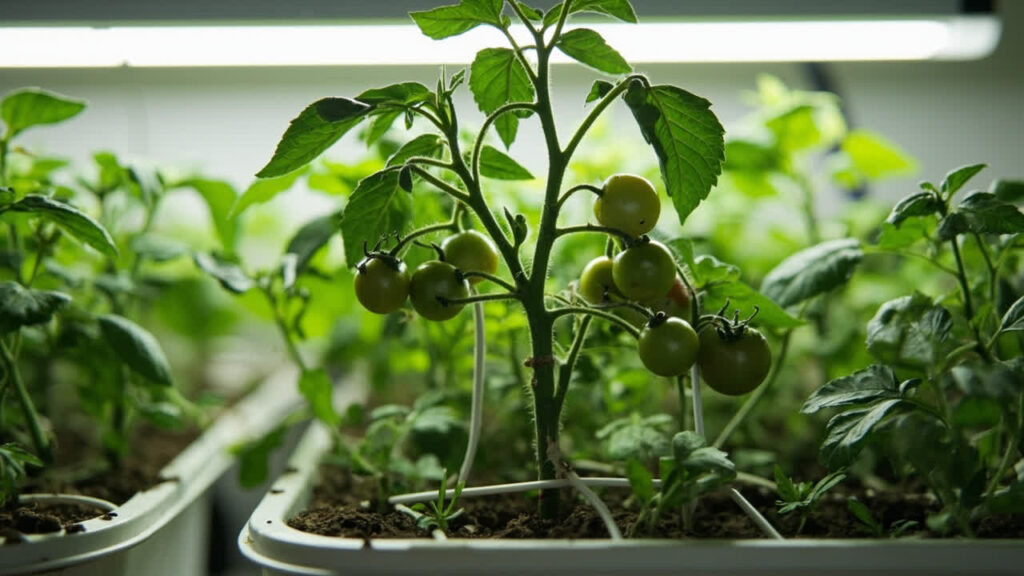

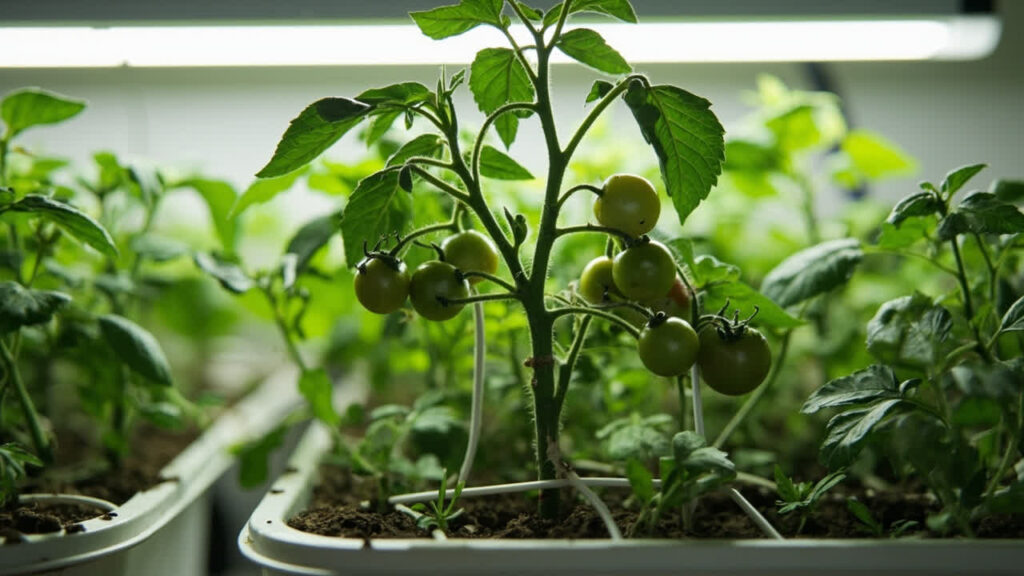
Hydroponic tomato pruning is one of the most impactful things you can do for your hydroponic plants — and one of the most commonly skipped by beginners.
When you prune tomatoes plants strategically in a soilless system, you direct the plant’s energy toward fruit production, improve airflow around the foliage, and keep the canopy manageable enough that light reaches every part of the plant.
Without pruning, your hydroponic tomato setup can quickly become a tangled mess of sucker growth, shared nutrients, and fruits that never fully ripen.
This tomatoes pruning and staking for hydroponics will guide walks you through exactly when to start cutting, what to remove at each growth stage, and how to stake your tomatoes plants so everything stays upright and productive from seedling to harvest.
Why Pruning Matters in Hydroponic Tomato Growing
In soil gardens, tomatoes sometimes get by with minimal intervention. In a hydroponic system, the equation changes. Your plants get nutrients delivered directly to the root zone, which means they grow faster and more vigorously than soil-grown equivalents.
That speed is an asset — until a single unpruned tomato plant fills your grow chamber with dense, shading foliage that traps humidity and invites disease.
Pruning solves several problems at once. It forces the plant to redirect resources from leafy growth into bigger, earlier fruit. It reduces the total leaf surface area that the root system has to support, which matters in closed hydroponic systems where nutrient uptake is already optimized.
It opens the plant canopy so that light penetrates deeper into the fruiting zones, and it lets air circulate freely, lowering the risk of fungal issues that thrive in stagnant, humid conditions.
For anyone running a hydroponic tomato farming setup — whether it’s a single DWC bucket or a full NFT channel — pruning is not optional. It’s the difference between a plant that survives and a plant that thrives.
Types of Hydroponic Tomato Pruning: Suckers, Lower Leaves, and Damaged Growth
Before you touch your plant with scissors or pruning shears, you need to understand exactly what you’re cutting and why. There are three main categories of growth you will be removing throughout the lifecycle of a hydroponic tomato plant.
Suckers
Suckers are new shoots that sprout from the axil — the point where a leaf stem meets the main stem. Left alone, each sucker will grow into a full secondary stem, competing with the main leader for light, nutrients, and energy. In an indeterminate tomato variety (the vining type most common in hydroponics), allowing all suckers to develop turns a single-plant setup into something closer to a thick hedge.
Most hydroponic growers remove suckers while they are still small — less than 5 cm (2 inches) long. At that size they snap off cleanly with a fingernipple, and the wound heals quickly. Larger suckers should be cut with clean, sanitized scissors to avoid tearing the main stem. When removing suckers on staked plants, always leave the lowest sucker if you are training a two-leader system, and remove everything above that point consistently.
Lower Leaves
As your tomato plant grows taller and the lower stems begin to set fruit, the leaves closest to the root zone become progressively less productive. They yellow, curl, or show signs of nutrient deficiency as the plant prioritizes upper growth. In a hydroponic environment, these lower leaves also block airflow at the base of the plant and can stay wet against the system’s support structure, creating a prime environment for botrytis and other fungal problems.
Remove lower leaves that are yellowing, spotted, or making contact with the hydroponic reservoir or growing medium. Never remove more than two or three leaves at once from a single plant — stripping too many leaves stresses the plant and can cause blossom end rot by disrupting calcium transport. Remove them gradually as the plant advances through its fruiting cycle.
Damaged or Diseased Growth
Any leaf, stem, or shoot that shows signs of damage, pest activity, or disease should be removed immediately regardless of its position on the plant. In a closed hydroponic system, pathogens can spread quickly through the nutrient solution, so removing affected material fast is one of your best defenses. Cut damaged growth well below the affected area — do not leave a stub that could rot — and sanitize your pruning tools between cuts when dealing with suspected disease.
When to Start Pruning : Seedling Stage Timing
Pruning does not wait until your tomato plant is knee-high. The timing of your first intervention sets the structure for the entire grow cycle, so getting it right at the seedling stage matters more than any single pruning pass later on.
Begin monitoring for suckers as soon as your tomato seedlings have developed their third or fourth true set of leaves. At this point, the plant is entering its rapid vegetative phase and will start producing side shoots from the axils. Check plants daily — in high-output hydroponic conditions, suckers can appear and grow to a problematic size within 48 to 72 hours.
If you are growing a single-leader variety, remove every sucker as soon as you spot it. If you are running a two-leader system, allow the first one or two suckers below the first flower cluster to develop, then treat every subsequent sucker as a target for removal. This decision should be made before flowering begins, because switching leaders after the plant has already set fruit disrupts the energy balance and can cause blossom drop or uneven fruit development.
The first true pruning session typically happens when seedlings are four to six weeks old and have reached roughly 20 to 30 cm (8 to 12 inches) in height. At this stage, the structural framework of the plant is visible, and you can make clean decisions about what stays and what goes. Do not rush this first session — taking time to observe the plant’s natural shape before cutting leads to better structural choices throughout the grow cycle.
Staking and Support Methods
Pruning and staking work together as a system. You cannot prune effectively without a support structure that keeps the main stems upright and bearing weight away from the root zone, and you cannot maintain a clean support structure without pruning to control what grows into it. For hydroponic environments, several staking methods have proven reliable across different system types.
String Trellis (Florida Weave)
The string trellis method is the most common support technique in hydroponic tomato production, particularly in vertical systems and grow rooms where plants are arranged in rows. A strong twine or poly cord is run parallel to the row of plants at the height of the stake line, looped around each plant’s main stem, and anchored at both ends of the row. As the plant grows taller, additional strings are added above the first, capturing each new section of leader.
To use this method, insert a firm stake or bamboo rod into the growing medium next to each plant at transplant time. Attach a length of soft twine to the stake, loop it loosely around the base of the main stem, and run the twine to the overhead support wire. As the plant grows, wrap the twine around the stem in a figure-eight pattern to prevent chafing — a twist of newspaper or soft tape between the twine and stem adds extra protection. Add a second string above the first once the plant reaches roughly half its final expected height.
Clips and Plant Supports
Plastic tomato clips are a quick, adjustable way to secure main stems to individual stakes or strings. They snap closed around the stem and hook onto a support line, allowing you to adjust height as the plant grows without retying knots. Look for clips with a diameter that matches your stem thickness — too tight and they can compress the vascular tissue, too loose and they slide uselessly down the line.
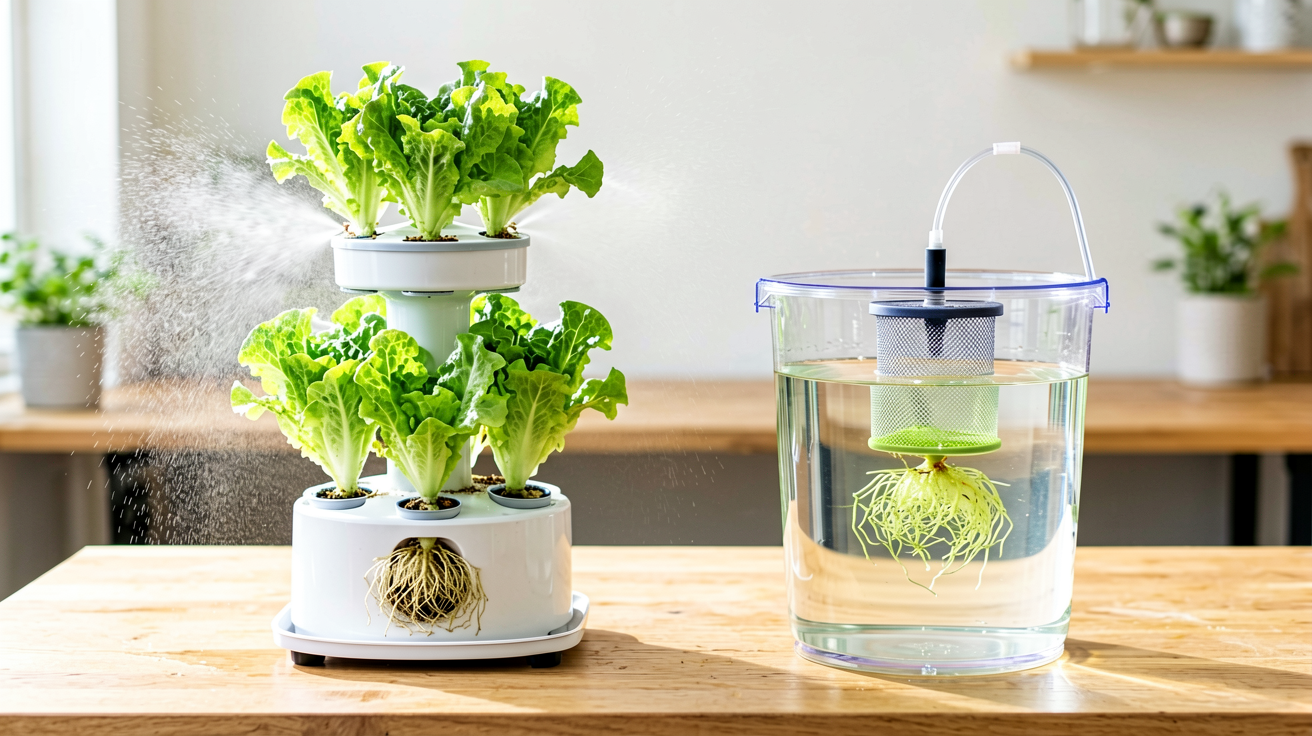
For plants trained in a two-leader system, use one clip per stem and ensure both leaders have equal vertical space and light access. Rotate clip positions every one to two weeks as stems thicken to prevent clips from becoming too tight. If you are using a aeroponics system where plant roots are exposed in the chamber, be especially careful that stakes and support hardware do not interfere with the root zone or block the spray pattern of your nutrient nozzles.
Cages and Ring Supports
For smaller-scale hydroponic setups — such as a single DWC bucket or a compact Dutch bucket system — square or cylindrical tomato cages work well as a hands-off support option. The cage surrounds the plant and distributes weight across multiple contact points, reducing the need for ongoing adjustment. Place the cage over the plant at transplant time before the root system develops, because installing a cage around an established plant risks damaging the lower stem and root zone.
Cages work best for determinate or semi-determinate tomato varieties that naturally reach a set height and produce a concentrated fruit set. For indeterminate varieties in a cage, you will still need to manage suckers and may need to tuck long leaders back into the cage structure to prevent the plant from toppling.
Pruning Schedule Through Vegetative and Fruiting Stages
A consistent schedule keeps pruning from becoming an overwhelming task. The key is to integrate quick daily or every-other-day checks into your routine, and to reserve longer pruning sessions for structural work at the start of each growth phase.
During the vegetative stage — from seedling establishment through the appearance of the first flower cluster — your focus is on establishing the main leader or leaders and removing every sucker that appears. Check for new suckers every one to two days. The plant is growing rapidly, and a sucker missed for a week can become a significant secondary stem that diverts real resources. At this stage, also remove any damaged or malformed leaves and ensure the staking system is securely in place.
Once flowering begins and the plant enters the early fruiting stage, shift your attention to balancing foliage against fruit load. The goal is to keep enough photosynthetic leaf area to support developing fruit without creating a dense, light-blocking canopy. Continue removing suckers above your chosen split point, and begin removing lower leaves that show any sign of decline. At this stage, you should also monitor the space between flower clusters — if the plant is putting all its energy into vegetative growth at the expense of flowering, increase your pruning intensity slightly to redirect resources.
During peak production, your pruning sessions focus on maintaining airflow, removing spent leaves below the current fruit set, and keeping leaders trained to their support structure. As the plant reaches the top of its stake or support string, either lower the plant using the string trellis method (if using a Dutch system) or cut the leader and allow the plant to stop vertical growth. This is sometimes called topping and it signals to the plant that its growing season is ending, prompting it to ripen remaining fruit rather than continuing to produce new vegetative growth.
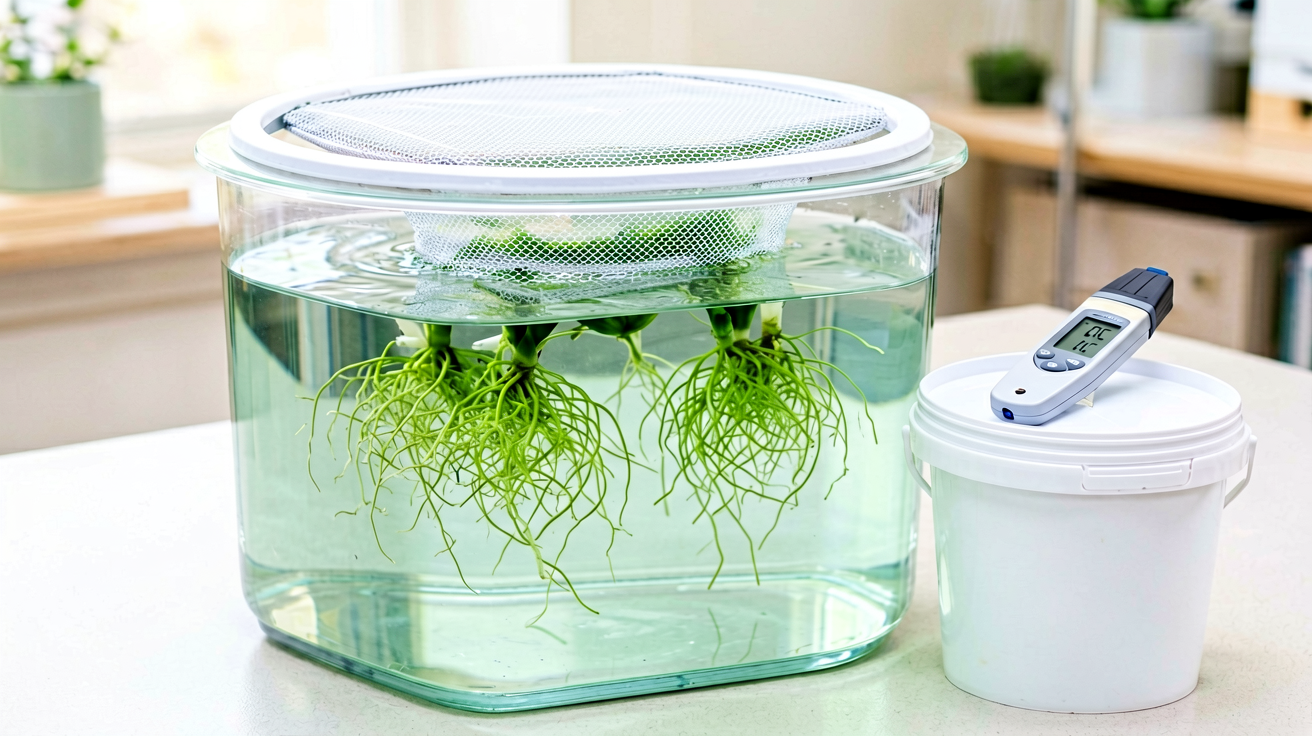
For plants in a deep water culture hydroponics setup, the fast growth rate means you will need to prune more aggressively during peak vegetative stages to prevent the canopy from outpacing the root system’s ability to sustain it. The oxygen-rich environment of DWC accelerates nutrient uptake, which translates directly into faster top growth.
Common Pruning Mistakes and How to Avoid Them
Even experienced growers make pruning errors that compromise their harvest. Knowing what these mistakes look like helps you avoid them — and correct them quickly if they do appear.
The most frequent mistake is waiting too long to remove suckers. When suckers are allowed to reach 15 cm (6 inches) or larger, their vascular connection to the main stem is strong, and removal creates a large wound that heals slowly and can admit infection. Make small sucker removal a daily habit in peak vegetative growth, and the problem disappears.
Over-pruning is the opposite error. Removing too many leaves at once — especially during the fruiting stage — stresses the plant and can trigger blossom end rot, fruit abortion, or a sudden slowdown in fruit development. If you have allowed a plant to become excessively bushy, bring it back to order gradually across two or three pruning sessions rather than all at once. Aim to remove no more than 15 to 20 percent of total leaf area in a single session.
Using dull or dirty tools is a mistake that silently compounds over time. Dull shears crush cell walls rather than cutting cleanly, creating ragged wound edges that are slower to heal and more susceptible to infection. Sterilize your pruning tools with isopropyl alcohol between plants, especially if you are working with multiple plants in a single system, because diseases such as bacterial canker and early blight spread readily through contaminated equipment.
Failing to stake or tie plants before pruning begins is a structural mistake. If you try to prune an unstaked plant that has already grown tall, the stems bend under their own weight and you end up making cuts in awkward positions, which increases the risk of tearing. Get your support structure in place at transplant and maintain it as the plant grows — never let a plant get so tall that it is leaning on its neighbors.
Signs Your Pruning Is Working
Effective pruning produces visible results in both the plant’s structure and its productivity. Watching for these signs tells you that your pruning schedule and technique are aligned with what the plant needs.
Airflow improves first and fastest. Within a week of a thorough pruning session, you should be able to see daylight through the plant canopy from multiple angles. Stagnant air inside the foliage is a primary driver of fungal disease, so this visible opening is your first and most reliable indicator. If you are still struggling to see through the plant after pruning, you likely have more material to remove.
Fruit production responds next. Well-pruned tomato plants channel more energy per fruit cluster, which means fruit sets are more uniform, individual fruits grow larger, and the time from flower to ripe tomato shortens noticeably compared to unpruned controls. If your fruit sets are consistently small or slow to develop despite good nutrient levels and lighting, insufficient pruning is often the cause.
Stem thickness is another reliable indicator. A well-pruned tomato stem should feel firm and substantial when you press it gently — not spongy or overly soft. Thin, spindly stems suggest the plant is putting energy into elongated growth rather than structural strength, which usually means more suckers are being left behind than the plant can support.
Finally, watch for balanced growth. Each new node should produce leaves and eventually a flower cluster at a consistent interval along the main leader. If you notice long gaps between nodes, the plant is stretching and needs more light — or more pruning to redirect what light it has to productive growth rather than wasted vertical extension.
Hydroponics Tomato Pruning and Staking
A regular tomato pruning habit — built from the seedling stage and maintained through harvest — transforms the trajectory of your hydroponic tomatoes.
Tomato plant becomes easier to manage, the fruit gets better, and the risk of disease drops significantly. Start checking your plants today, remove what needs removing, and let the structure you build carry your crop to a productive finish.
From Bank Statement to QuickBooks-Ready File
That manual cleanup you just read about? This tool skips it. Turn your PDF into QBO for QuickBooks without storing your data anywhere.
Start Converting