
If you’ve ever wondered how to make worm castings at home, the short answer is: give red wiggler worms organic material, keep them in a dark moist bin, and wait a few months. The longer answer involves understanding why worm castings outperform almost every other soil amendment available to home gardeners — and what exactly happens inside that bin while you’re waiting.
Worm castings are the end product of vermicomposting, a process where Eisenia fetida (the red wiggler worm) breaks down food scraps and organic matter into humus-rich, nutrient-dense fertilizer. Unlike standard compost, which relies on heat and bacteria alone, vermicomposting uses the earthworm gut as a biological reactor. That gut cultures billions of beneficial microorganisms per gram that stabilize nutrients into plant-available forms — not locked up in organic matter that takes seasons to break down. The result is a cation exchange capacity (CEC) of 50–200 meq/100g, compared to 10–30 for traditional compost.
This matters for one simple reason: plants can’t absorb what soil can’t release. Commercial fertilizers flood the root zone with dissolved nutrients that mostly wash past the roots or evaporate. Worm castings slowly release nitrogen, phosphorus, potassium, and micronutrients on demand — which is why professional growers use them and why home gardeners consistently report stronger plants within weeks of application.
The Real Bottleneck in Your Garden Soil
Most gardeners focus on adding more nutrients. They layer on compost, sprinkle synthetic fertilizer, and wonder why plants still look run-down by midsummer. The problem isn’t nutrient quantity — it’s nutrient availability. Standard garden soil often has plenty of locked-up nitrogen, but roots can’t access it without microbial activity to unlock it.
Worm castings solve the availability problem at its source. The beneficial bacteria and fungi in worm castings form symbiotic relationships with plant roots, essentially extending the root system’s effective reach. A single tablespoon of worm castings contains roughly 1 billion beneficial bacteria — orders of magnitude more than unamended garden soil. These microbes mineralize organic compounds into inorganic ions that roots absorb immediately.
For home gardeners, this means you need less volume to achieve better results. Where you’d apply 2 inches of compost, you apply a thin top-dressing of worm castings — and the plant responds faster, with less risk of fertilizer burn or nutrient leaching.
What Worm Castings Actually Are
Let’s be precise: worm castings are the excreted material from earthworms that have consumed and processed decomposing organic matter. Not compost. Not soil. Not a blend of the two. Castings are the specific output of the earthworm digestive system, and the chemistry inside that system changes everything.
When organic material passes through a worm’s gut, it encounters a unique combination of enzymes, beneficial bacteria, and grinding action that none of the thermophilic bacteria in standard hot composting can replicate. The resulting castings have a pH range of 6.5–7.5 (nearly neutral), a slow-release nitrogen content of 0.5–2.0% by dry weight, and a water-holding capacity of 30–40% of their own weight.
Compare that to standard finished compost, which typically has a pH of 6.0–8.0 (unstable), a nitrogen content that varies wildly based on feedstock, and water retention closer to 20–25%. Worm castings are consistently more reliable, more bioactive, and more plant-safe. You cannot burn plant roots with pure worm castings — a claim no other fertilizer can make.
Setting Up Your DIY Vermicomposting Bin
A functional vermicomposting bin doesn’t require expensive equipment. You need four things: a container, bedding, red wiggler worms, and a food supply. The details matter, but none of them are complicated.
Choose a bin with 1 square foot of surface area per pound of food scraps per week. A standard 18-gallon plastic storage bin works for a typical household. Drill 8–12 holes (¼–½ inch diameter) in the bottom for drainage, and 4–6 holes in the lid for aeration. Place the bin in a cool, dark location — direct sunlight overheats the worms and kills them.
Bedding is your worm’s home and diet base. Shredded cardboard mixed with coconut coir in a 50/50 ratio by volume creates the ideal texture: moisture-retentive but not waterlogged, with enough structure for worms to move through easily. Wet the bedding until it feels like a wrung-out sponge — 75–85% moisture content by weight. Too wet and anaerobic conditions develop; too dry and worms migrate or die.
Add red wiggler worms (Eisenia fetida or Eisenia andrei) — not nightcrawlers, not garden earthworms. 1 pound of red wigglers processes roughly ½ pound of food scraps per day. Start with 1 pound for a small kitchen, 2 pounds for a family of four.
For full bin setup instructions, follow our worm bin setup guide which walks through container selection, drilled hole placement, and bedding hydration in detail.
What to Feed Worms (and What Not To)
Red wigglers eat most kitchen scraps, but they have clear preferences and hard limits. The golden rule: bury food under bedding, never leave it exposed on the surface.
Feed worms 2–3 times per week, adding a thin layer of scraps and covering with an equal volume of dry brown material (shredded cardboard, newspaper, leaf litter). The greens-to-browns ratio should be roughly 1:2 by volume — more browns than greens. Greens provide nitrogen; browns provide carbon and prevent compaction and odors.
Feed these freely: fruit scraps, vegetable peels, coffee grounds (including filters), tea bags (no plastic tags), crushed eggshells, bread and grains, aged grass clippings. Avoid these completely: citrus fruits and peels (d-limonene is toxic to worms at high concentrations), dairy products (spoilage and odor), meat and fish (pathogens and smell), oils and fats (slow decomposition and anaerobic conditions), and spicy vegetables like onion and garlic (irritants).
Avoid feeding worms more than they can consume in 24–48 hours. Overfeeding is the number one beginner mistake. Uneaten food acidifies the bin, creates foul odors, and attracts fruit flies. If in doubt, err toward underfeeding — you can always add more.
The Harvest Timeline: From Scraps to Castings
Vermicomposting is not fast. Understanding the timeline prevents frustration and helps you plan.
Weeks 1–4: Worms establish themselves in the new bin. They process bedding and adapt to the environment. Food breakdown is slow. Minimal castings accumulate. Do not harvest during this period.
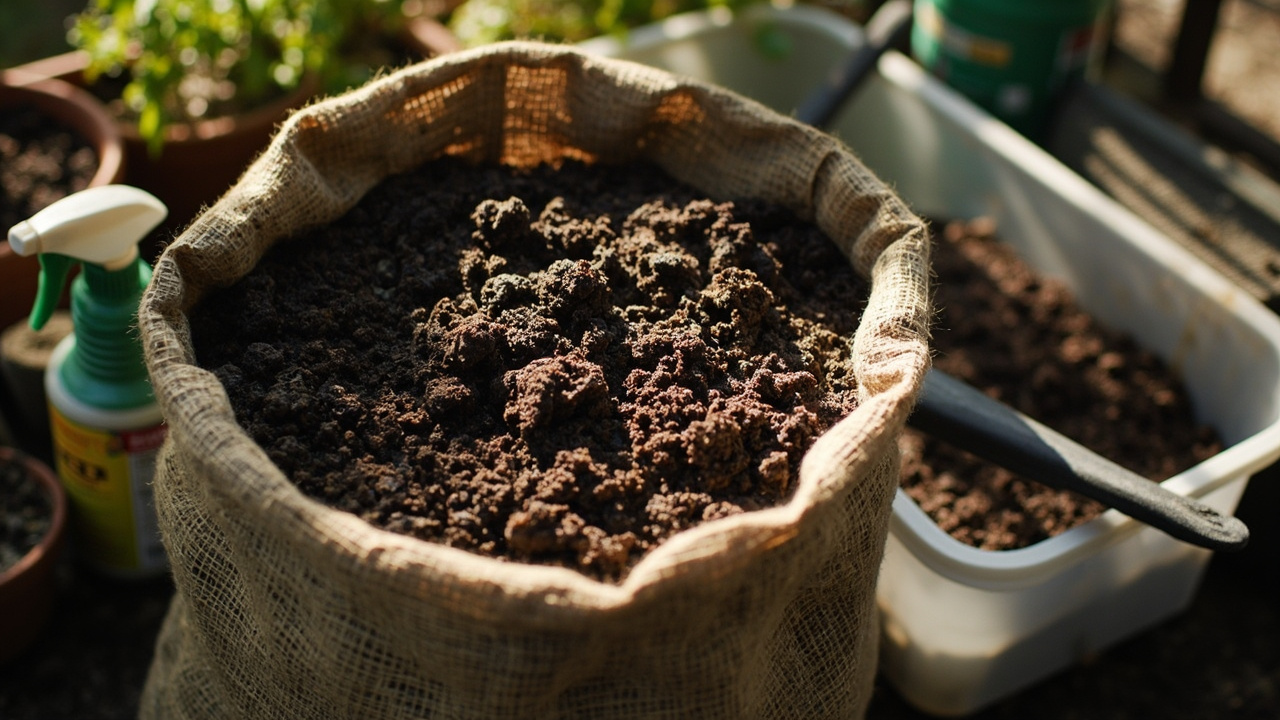
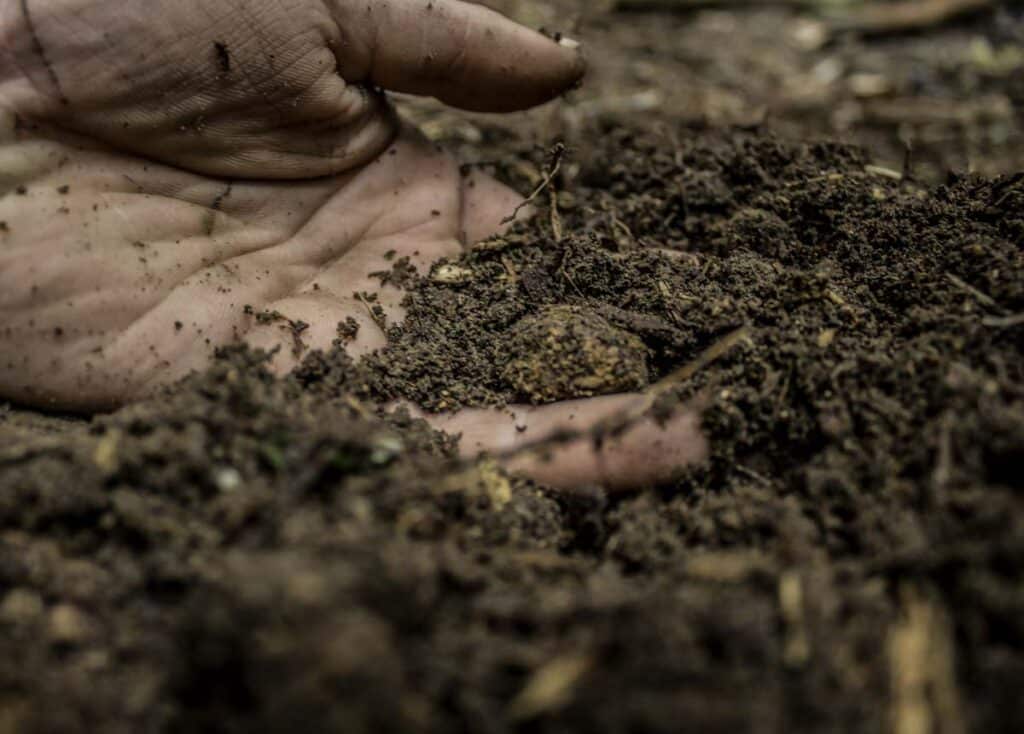
Months 2–3: The colony reaches steady state. Worms consume food at their maximum rate. Bedding begins converting to dark, crumbly material. Visual cues: castings look like dark coffee grounds, have an earthy smell (not sour), and worms are visibly active throughout the bin.
Months 3–6: Ready to harvest. The bin contains a mix of finished castings, unfinished material, and worm cocoons. Harvest when roughly 80% of the material looks like finished castings and worms are concentrated in the upper 6 inches (they avoid light and will migrate downward when you expose the surface).
Realistic expectation: 3–4 months from setup to first harvest for a 1-pound worm colony in a standard bin. Larger colonies harvest faster. In warm conditions (65–80°F / 18–27°C), the process accelerates. Below 55°F (13°C), it nearly stops.
Common Mistakes and How to Fix Them
Every vermicomposting problem traces back to one of five root causes. Here’s how to diagnose and fix each.
Problem: Bin smells like ammonia or rotting garbage. Cause: overfeeding, too much moisture, or too many greens. Fix: stop feeding for 1–2 weeks, add 2–3 inches of dry shredded cardboard or newspaper, drill more aeration holes in the lid.
Problem: Worms trying to escape. Cause: environment is too wet, too dry, too hot, or too acidic. Fix: check moisture (should feel like a wrung-out sponge — drip 1–2 drops of water if dry); add agricultural lime if pH is acidic (add 1 tablespoon per square foot); move bin to cooler location if above 80°F (27°C).
Problem: Fruit flies everywhere. Cause: exposed food scraps, especially fruit. Fix: bury all food deeply under bedding; place a thin layer of sand on the surface as a barrier; freeze food scraps before adding to bin to kill fruit fly eggs.
Problem: Worm population declining. Cause: usually temperature extremes or pH crash. Red wigglers thrive between 55–80°F (13–27°C) and pH 6.0–8.0. Add crushed eggshells to buffer acid; move bin to temperature-controlled space in extreme climates.
Problem: Slow decomposition. Cause: insufficient nitrogen (too many browns), bin too cold, or worms not established. Fix: add more greens (food scraps); ensure bin is in a location above 60°F (16°C); verify worm population is healthy and actively feeding.
Using Your Worm Castings
Finished worm castings are versatile and plant-safe at any concentration. Here are the three most common application methods.
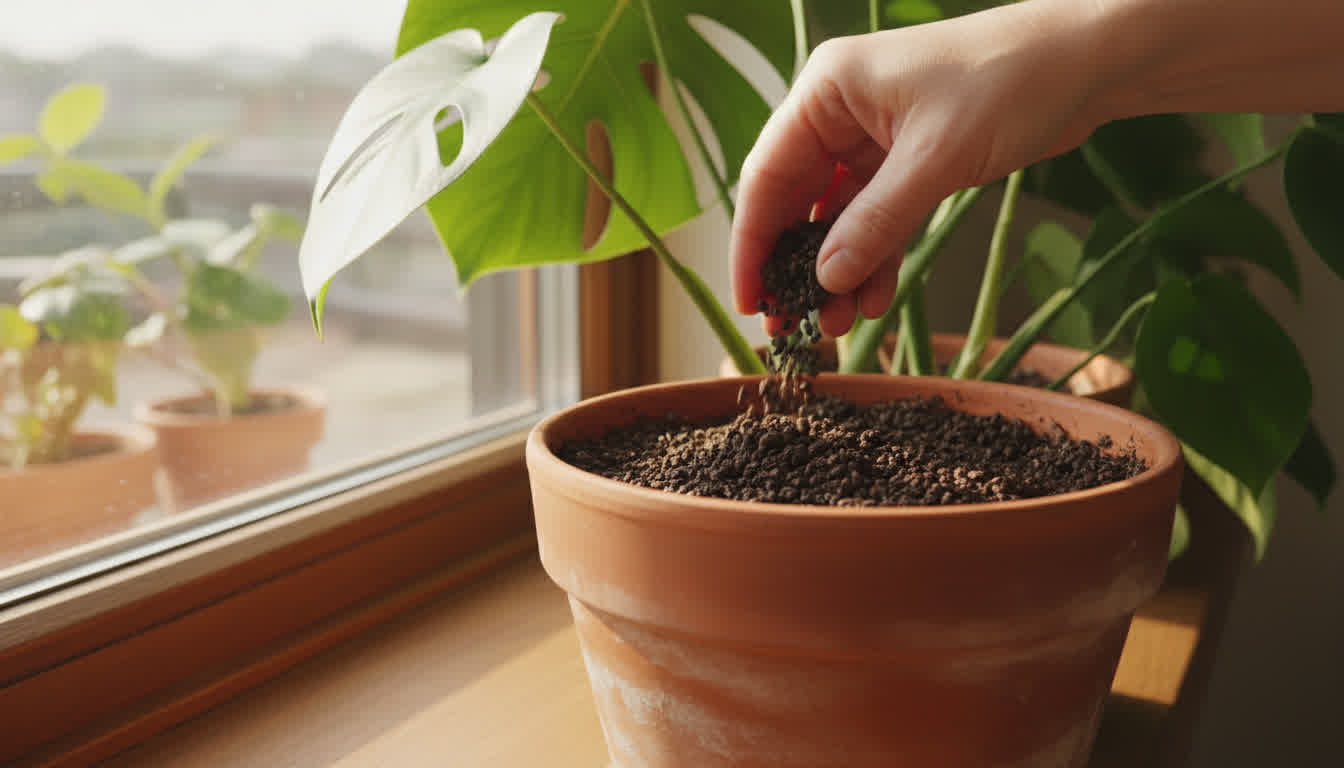
Top-dressing: Apply a ¼–½ inch layer around the base of established plants, watering it in lightly. This slowly feeds the soil biome and releases nutrients to roots over 4–8 weeks. Suitable for all container plants, raised beds, and in-ground plants.
Soil amendment: Mix 20–30% worm castings by volume into potting soil or garden beds. For a standard 10-inch pot, that’s roughly 1 part castings to 3 parts soil. For a raised bed, apply a 2–3 inch layer and work into the top 6–8 inches of soil before planting.
Seed starting mix: Mix 30–50% worm castings with perlite and coir for a light, nutrient-dense starting medium. Worm castings provide everything seeds need for the first 2–3 weeks without risk of burning delicate seedlings.
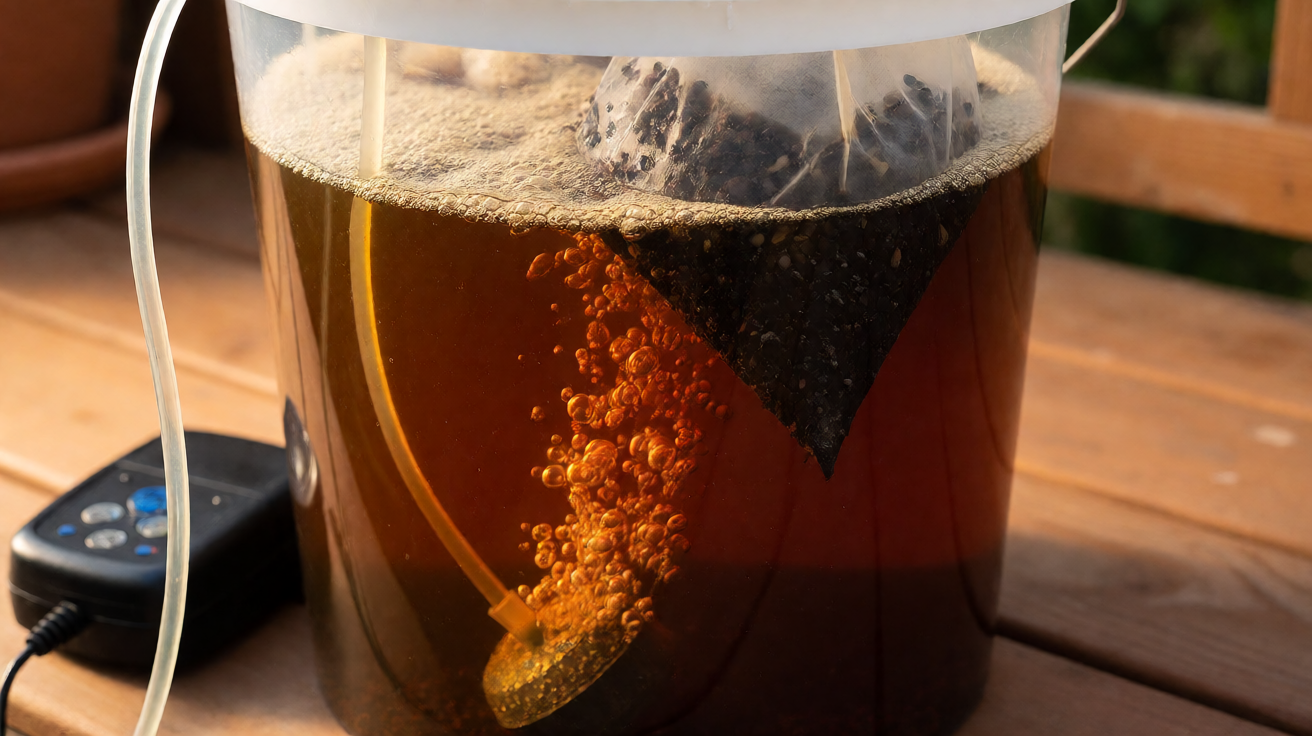
For more detail on what castings do for soil, see our article on worm castings and our guide to making worm casting tea for liquid application. You can also learn about the full range of benefits of worm castings before deciding on your application approach.
What No One Tells You About DIY Vermicomposting
Vermicomposting works. It also requires patience, space, and regular attention that bagged fertilizer doesn’t. Here are the honest trade-offs.
Time cost: A conventional compost pile breaks down material in 3–6 weeks under ideal hot conditions. Vermicomposting takes 3–6 months from setup to first usable harvest. If you need results faster, buy finished worm castings — you won’t replicate the speed at home.
Space requirement: A functional bin needs floor space. A 18-gallon bin takes up roughly 2 square feet of floor space. If you’re renting a small apartment with no balcony, vermicomposting indoors requires a smell-free setup and regular management.
Smell risk: Managed correctly, a worm bin smells like forest floor — earthy and neutral. Managed incorrectly, it smells like a garbage dump. The difference is feeding discipline and moisture management. If you forget to feed the system for a month and then dump a week’s worth of food scraps in at once, you’ll have odor problems.
The honest case for DIY: DIY worm castings cost less per pound over time. A $40 bin and $20 of worms produces roughly 5–10 pounds of castings per year from a typical household’s food scraps — replacing $60–100 in purchased amendments. If you garden heavily, the economics make sense. If you only need a bag or two per year, buying finished castings is probably the smarter move.
Ready to start? Check our guide on starting vermicomposting for a complete step-by-step from zero to first harvest.
From Bank Statement to QuickBooks-Ready File
That manual cleanup you just read about? This tool skips it. Turn your PDF into QBO for QuickBooks without storing your data anywhere.
Start Converting