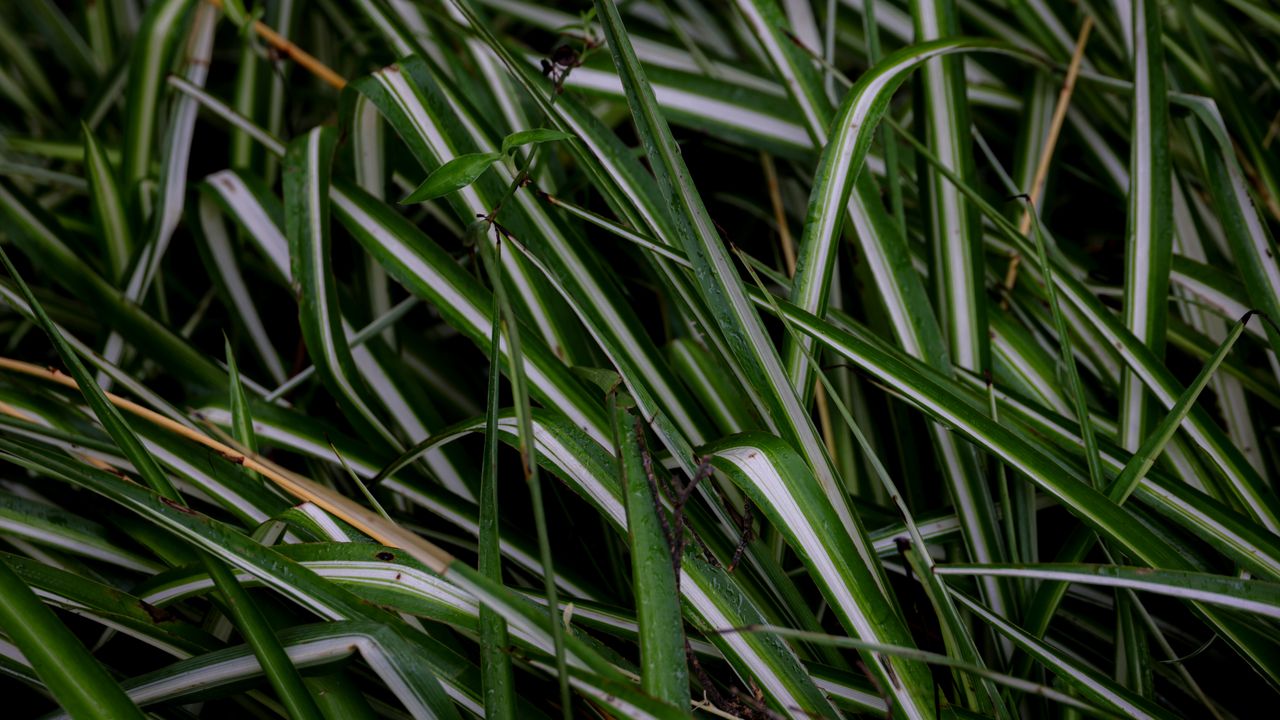
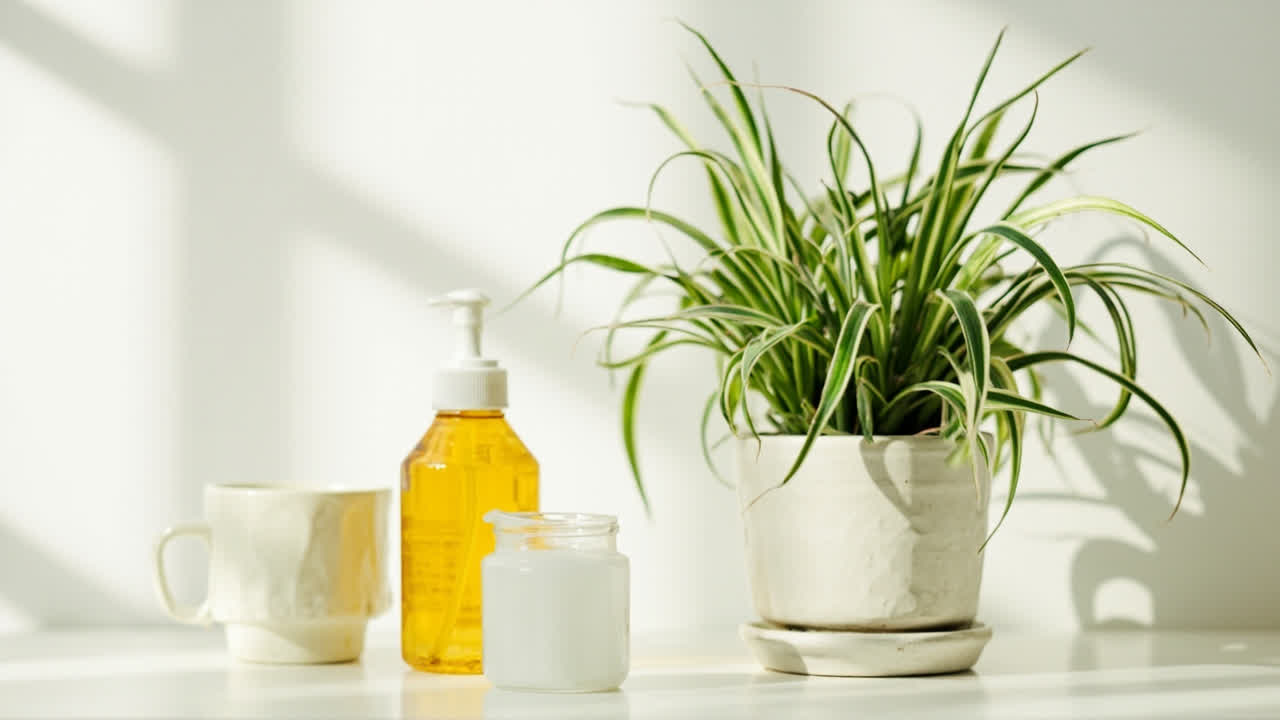
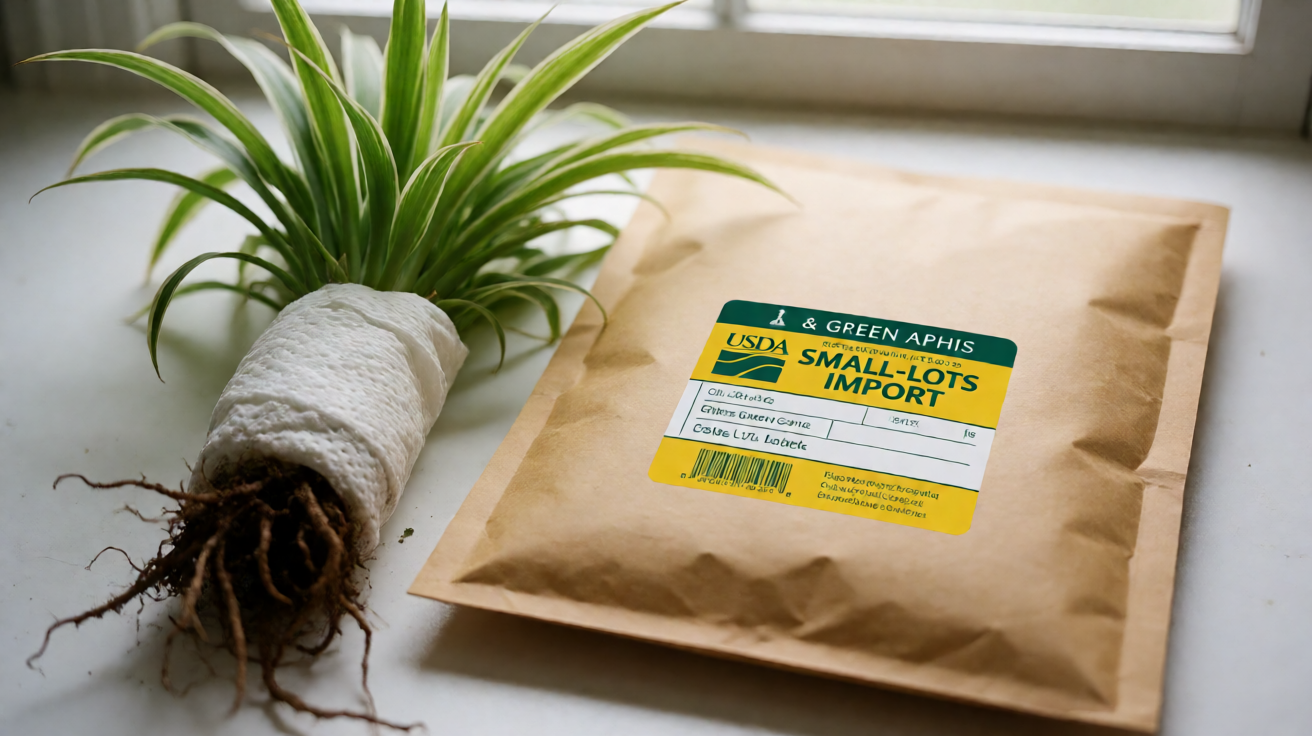
The spider plant (Chlorophytum comosum) earns its place in nearly every room it occupies. Its cascading, variegated leaves catch light beautifully, and when it produces its signature spiderettes — those dangling baby plants on long stems — it becomes a living decoration that requires almost nothing from you to thrive. It is one of the most forgiving houseplants you can grow, and one of the most searched-for for good reason.
Whether you are bringing one home for the first time or trying to understand why yours is looking a little tired, this guide covers everything that matters: light, water, soil, temperature, fertilizing, and when to repot. Read through the whole thing or jump straight to the section that answers your current question — every part of spider plant care connects to the same handful of principles shared by most resilient houseplants.
Light Requirements
Spider plants tolerate low light better than most houseplants, but they do not thrive in it. The ideal spot is near a window where the plant receives bright, indirect light — a few feet back from a south- or east-facing window is perfect. Morning sun is fine; afternoon sun in summer can bleach the leaves and cause brown tips.
For a deeper read on dim rooms — north-facing windows, interior hallways, and the fluorescent-lit office corner — the spider plant low light guide covers the floor-lux numbers, the leaf-curl signal, and the move-closer pattern that turns a surviving spider plant into a thriving one.
If your spider plant is in a darker corner and you notice it growing slowly or losing variegation, that is the plant telling you it needs more light. Move it closer to a window and watch for improvement over a few weeks. Rotating the pot a quarter turn each time you water helps the plant grow evenly rather than leaning toward the light.
Direct afternoon sunlight is the one light condition to actively avoid. The leaves will scorch — turning brown at the tips and edges — even though the plant would survive the same sun exposure without issue in its native African habitat. Indoor spider plants are softer than their outdoor counterparts.
Watering Schedule
The most common mistake with spider plants is overwatering. These plants have thick, fleshy roots — rhizomes, technically — that store water, which means they tolerate brief periods of dryness far better than they tolerate sitting in wet soil. Let the top inch of the potting mix dry out before you water again. In practice, this usually means watering every 7–10 days, but the exact interval depends on your home’s humidity, the season, and the pot material.
When you do water, water thoroughly. Add water until it flows freely from the drainage hole at the bottom, then empty the saucer. This ensures the entire root mass gets moisture and the roots do not sit in standing water. A terracotta pot is particularly helpful for spider plants because the porous walls let soil dry out faster than plastic or ceramic, reducing the risk of overwatering — a principle that applies to nearly all houseplants with thick root systems.
Underwatering shows up as drooping or wilting leaves that perk back up within hours of watering. Overwatering is subtler at first — the leaves may look fine, but the roots are suffering. By the time you see yellowing leaves or a musty smell from the soil, root rot may already be present.
Water Quality: A Specific Spider Plant Problem
Here is something many spider plant owners discover the hard way: these plants are sensitive to fluoride and chlorine commonly found in tap water. Both cause brown leaf tips even when the plant is otherwise healthy and properly watered. If you live somewhere with fluoridated water and your spider plant is getting brown tips despite good care, the water is likely the culprit.
The fix is straightforward. Switch to filtered water, rainwater, or allow tap water to sit uncovered for 24 hours before using it — this lets the chlorine dissipate. Distilled water is another option. Once you switch water sources, new growth will come in clean. Existing damaged tips will not heal, but you can trim them with clean scissors once the plant is producing healthy new leaves.
Soil and Potting Mix
Spider plants are not fussy about soil, but they need it to drain well. A standard all-purpose potting mix works fine when you add a drainage amendment — mix in perlite or coarse sand at roughly a 3:1 ratio (three parts potting mix to one part perlite). This keeps the soil light and fast-draining, which protects the rhizomes from rot.
A phalaenopsis or orchid bark mix also works surprisingly well for spider plants. The chunky, fast-draining medium mimics their natural growing conditions in South African forests, where they often grow as epiphytes on tree branches rather than in dense forest floor soil.
Avoid heavy, clay-heavy mixes that hold moisture for a long time after watering. Even though spider plants are resilient, wet soil is the primary cause of the root rot that eventually kills them.
Temperature and Humidity
Spider plants grow best between 60°F and 80°F (15°C–27°C). They do not tolerate frost, and cold drafts from windows or doors in winter can cause visible stress — leaves may curl or develop brown patches. Keep them away from air conditioning vents and drafty windows in the colder months.
Average household humidity is perfectly adequate for spider plants. They are not humidity-dependent the way tropical plants like calatheas are. If the air in your home is particularly dry in winter — you can feel static electricity when you walk across carpet — a light misting occasionally helps, but it is not required.
Fertilizing
Spider plants do not need much feeding. During the growing season (spring through early fall), a balanced liquid houseplant fertilizer diluted to half strength applied once a month is plenty. Over-fertilizing is more harmful than under-fertilizing — excess fertilizer salts build up in the soil and burn the leaf tips, creating the same brown tip problem as fluoride in tap water.
In winter, when the plant’s growth slows, stop fertilizing entirely. Resume in spring when you see new growth starting. If you have repotted your spider plant in fresh soil within the past few months, skip fertilizing for that period too — fresh potting mix contains enough nutrients to sustain the plant for a while.
When to Repot
Spider plants are fast growers and are often root-bound by the time most people realize they need more space. Signs that your spider plant needs a larger pot include roots growing out of the drainage hole, the pot cracking from root pressure, water running straight through without being absorbed, or noticeably stunted growth in spring and summer despite good care.
When repotting, go up one pot size — roughly 1–2 inches larger in diameter. A pot that is too large holds excess moisture and can lead to root rot. Make sure the new pot has drainage holes. Gently loosen the outer roots of the root ball before placing it in fresh soil, and water well after repotting.
The best time to repot is in spring or early summer, at the start of the active growing season. This gives the plant time to recover and establish in the new pot before winter.
Common Problems at a Glance
Spider plant problems almost always come back to three causes: water quality, overwatering, or light that is too intense or too dim. Brown leaf tips are the most common complaint, and in the vast majority of cases, the culprit is either fluoride in tap water or direct afternoon sunlight. Yellow leaves usually indicate overwatering. A pale, washed-out look typically means the plant needs more light or is being overwatered.
Drooping leaves are usually a sign the plant needs water — but if the soil is wet and the leaves still droop, check the roots for rot. Healthy spider plant roots are thick, firm, and white or cream-colored. Dark, mushy, or smelly roots indicate root rot and need immediate attention.
Pet owners have one more question that comes up frequently: are spider plants safe around cats and dogs? Spider plants are generally considered non-toxic to pets by major veterinary sources, but cats in particular often chew on the long, grass-like leaves and may vomit as a result. For a detailed look at the symptoms, what to watch for, and how to display the plant safely, see our complete guide to spider plant and pet safety.
The Spiderettes: What They Are and What to Do With Them
The long stems with baby plants — spiderettes or plantlets — are the spider plant’s way of reproducing. Once a spiderette develops small bumps or root nubs at its base and the stem connecting it to the mother plant is firm, you can the spider plant’s cultivars and varieties to grow a new plant. Many spider plant owners propagate these without knowing the right term. For a full method-by-method walkthrough of spider plant propagation (water rooting, soil rooting, division, and stolon layering), see the spider plant propagation guide. It is one of the most satisfying beginner plant projects available.
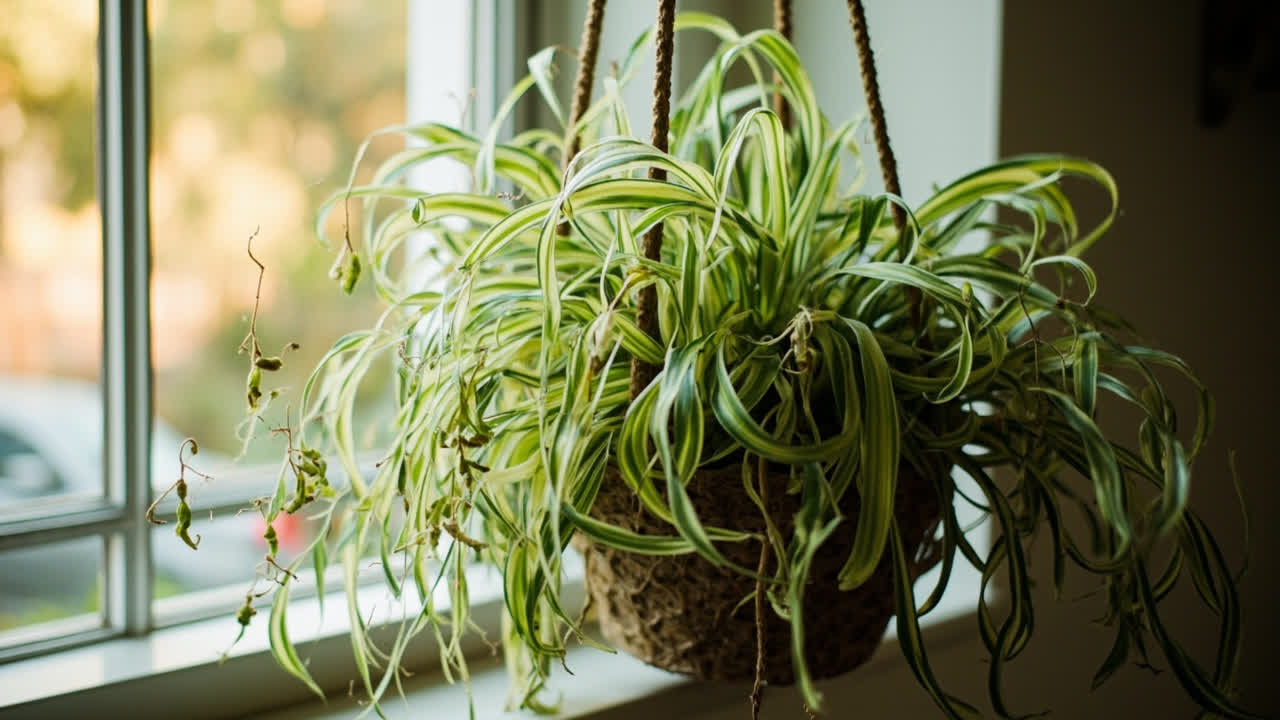
If you are not interested in propagating, you can leave the spiderettes on the plant — they develop into a dramatic, cascading display over time. Hanging baskets with mature spiderettes trailing down are one of the best looks a spider plant can produce, and it requires almost no extra care on your part. For the full vocabulary used across this site — spiderette, plantlet, variegation, fluorosis, rhizome, pulvinus — see the spider plant care glossary.
Quick Care Summary
Give your spider plant bright, indirect light and water when the top inch of soil is dry. Use filtered or sitting water if your tap water is heavily treated. Fertilize lightly in spring through early fall. Repot when root-bound, ideally in spring. Watch for brown tips — test the water quality first — and ease up on watering if you see yellowing leaves.
Do that, and your spider plant will reward you with decades of growth, the occasional cascade of spiderettes, and a living space that feels a little greener than it did before.
For a full diagnostic map of every spider plant problem, see the spider plant problems index — it routes you to the right dedicated page in under five minutes.
For the rarer cultivar with the white leaf center and thin green margins, see the spider plant reverse variegatum care guide. The reversed variegation direction changes the light range and reverts faster than Vittatum, so it earns its own page.
Related reading: If you are bringing a spider plant in from overseas, see spider plant USDA import requirements for the federal framework, the ACIR green-and-yellow label pathway, and the five states that override federal permission.
From PDF to Excel in one click
Forget retyping line by line. Upload any bank statement, get a spreadsheet you can actually use. Your files are never stored, and you can test the converter with 3 free conversions.
Try it free