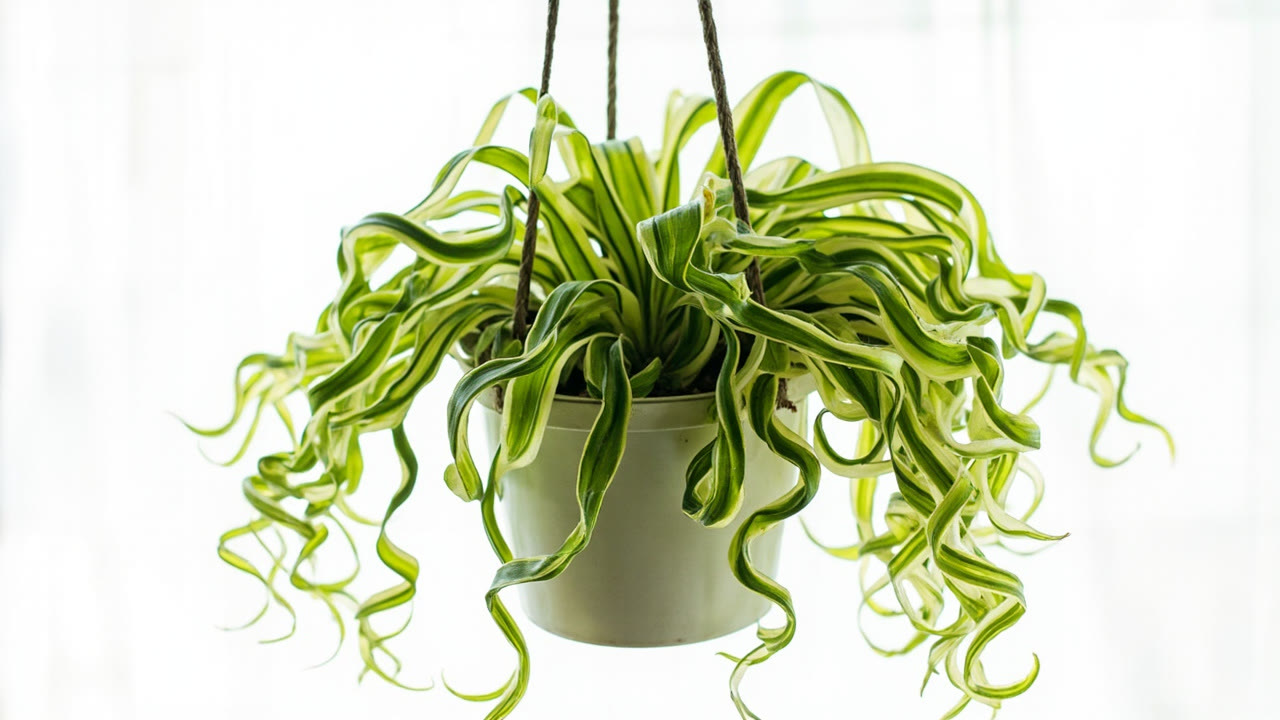
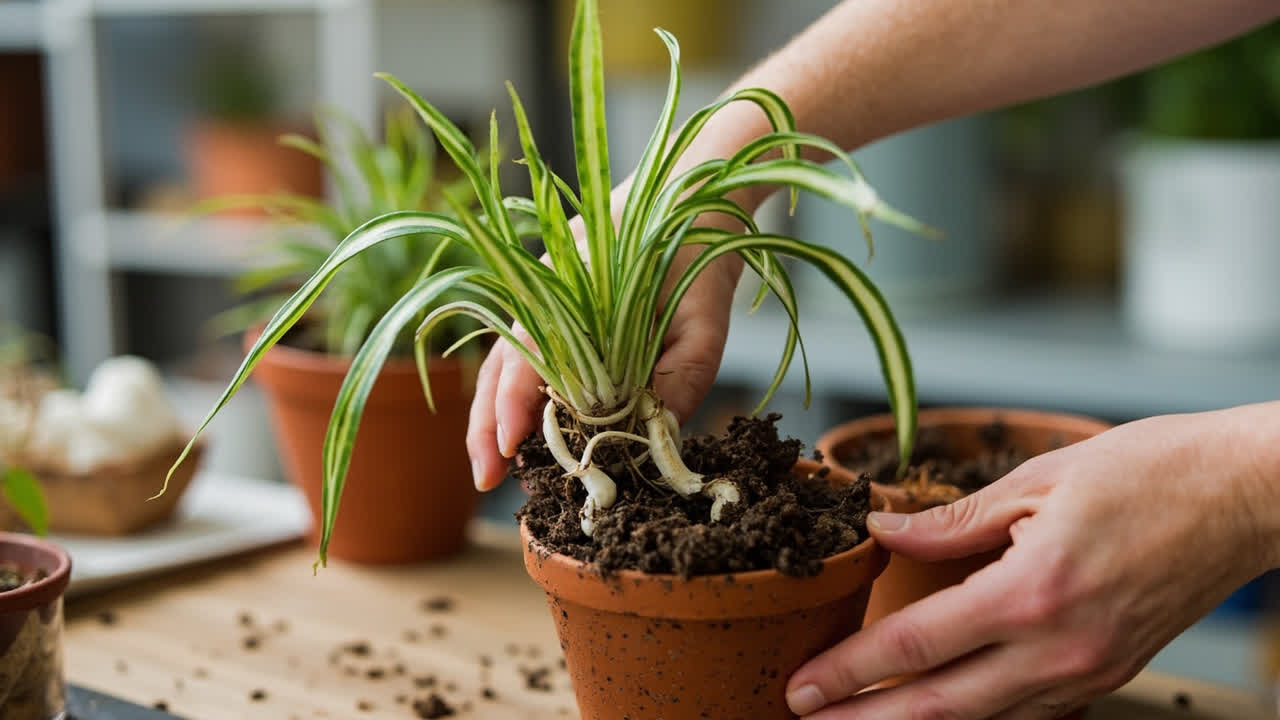
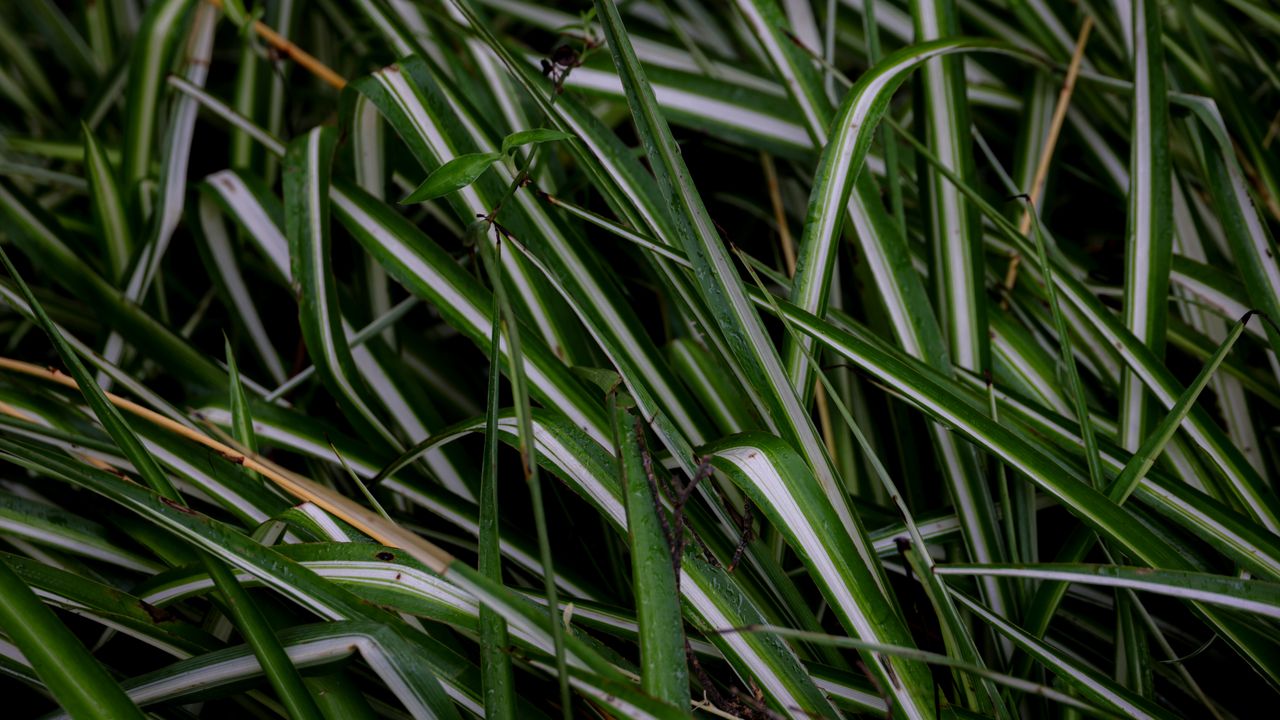
If you have ever wondered why your spider plant gets brown leaf tips despite giving it perfect light, careful watering, and regular fertilizing, the answer is almost certainly sitting in your tap water.
Fluoride and chlorine — two common water treatment additives — are among the most consistent causes of brown tips on spider plants, and they are also the most overlooked. The plant is not dying; it is telling you something specific about what you are putting into its soil.
This is one of those spider plant facts that is well-documented in horticulture but rarely makes it into general houseplant advice. Once you know it, you see it everywhere — and once you act on it, the brown tips stop within weeks.
Why Spider Plants Are Sensitive to Tap Water
Spider plants (Chlorophytum comosum) are native to tropical and southern Africa, where they grow as groundcovers and epiphytes in regions with distinct dry and wet seasons. In these environments, they are accustomed to rainfall that is essentially mineral-free — water that has evaporated from the ocean, condensed, and fallen as precipitation with virtually no dissolved solids. When they are grown as indoor plants and watered with municipal tap water, they encounter mineral concentrations they have no evolved mechanism to handle.
Fluoride is the primary culprit. Many municipal water systems add fluoride at levels between 0.7 and 1.2 parts per million to support dental health in people. Spider plants accumulate fluoride in their leaf tissue, and concentrations above a certain threshold cause the cells at the leaf margins and tips to die — producing the characteristic brown tips that do not heal. Chlorine behaves differently — it causes general leaf stress and tip burn rather than specific accumulation — but it compounds the problem when both are present in tap water.
Both chemicals are completely invisible in water. There is no smell, no taste, no way to tell from looking at a glass of water that these substances are present. The only confirmation is the spider plant itself — if the tips are brown and everything else is correct, the water is almost certainly the cause.
Signs Your Spider Plant Is Reacting to Tap Water
The pattern of browning tells you something about the cause. Fluoride damage typically starts at the very tip of the leaf and works inward, sometimes with a thin yellow or pale green band between the healthy green leaf tissue and the brown dead tissue. The browning is sharp and clearly defined at the margins. Chlorine damage is similar but can appear more diffuse and may affect larger sections of leaf tip rather than just the extreme apex.
Neither problem appears overnight. Fluoride accumulation takes weeks to months before you see visible damage, because the plant needs to concentrate the mineral in the leaf tissue first. This is why switching water sources does not produce instant results — you will see clean new growth within two to four weeks, but the existing brown tips will not heal and the plant needs time to flush the accumulated fluoride from older leaves.
Brown tips from over-fertilizing look similar, which is why water quality is often misdiagnosed. The difference: if you have not recently fertilized and the plant is otherwise healthy, the brown tips are almost certainly water-related. If you did fertilize recently — especially at full strength — the cause may be salt buildup instead. Flushing the soil with water and switching to filtered water resolves both problems, which is why the solution works regardless of which cause is dominant.
Water Options for Spider Plants
Filtered water is the most practical solution for ongoing spider plant care. A basic activated carbon filter (like a Brita-style jug filter) removes chlorine and many volatile organic compounds but does not significantly reduce fluoride — activated carbon is not effective at fluoride removal. For fluoridated water, you need either a reverse osmosis filter or distilled water.
Distilled water is inexpensive, widely available, and a perfectly good option for spider plants. Distillation removes virtually all dissolved minerals, including fluoride, chlorine, and the general Total Dissolved Solids (TDS) that can build up in soil over time. The trade-off is that distilled water has no mineral content — over time, if you use only distilled water, the plant may show subtle signs of mineral deficiency (pale but not yellow leaves, slower growth). The practical fix is to use distilled water most of the time and occasionally water with a very dilute fertilizer solution to keep mineral levels balanced.
Rainwater is an excellent free option if you live in an area with clean air and can collect it without contamination from roof materials or air pollution. Fresh rainwater is essentially free of the minerals that cause tap water problems and is naturally slightly acidic, which spider plants appreciate. Do not use collected rainwater if it has been sitting in a hot container for weeks in summer — stagnant water can harbor bacterial growth.
Letting tap water sit for 24–48 hours in an open container allows chlorine to dissipate, because chlorine is volatile and escapes into the air. This works for chlorine but not for fluoride, which is chemically stable and does not evaporate. If your water is fluoridated, sitting does not help — you need filtration or distilled water.
How to Switch Water Sources
The transition is simple: start using your chosen water source for all watering going forward. No need to flush the soil with a special procedure or treat the plant differently. Water when the top inch of soil is dry, using the same amount and frequency you would with tap water.
Within two to four weeks, new leaves will emerge without brown tips. Within two to three months, the plant will be producing entirely clean growth. The existing brown tips remain — spider plant leaves do not heal damaged tissue — but you can trim them for cosmetic appearance once the plant is consistently producing clean leaves. Trim at an angle following the natural leaf shape, cutting just above the brown tissue, leaving a small margin of brown rather than cutting into green.
Keep watching the plant after the transition. If new tips still brown after switching to filtered or distilled water, look at other causes: light (direct afternoon sun), over-fertilizing, or low humidity in winter. In rare cases, plants in very high-light environments still brown from very dilute fluoride in filtered water — in that case, distilled water is the only option that will eliminate the problem completely.
The Salt Buildup Problem
Beyond fluoride and chlorine, regular tap water contains dissolved calcium, magnesium, and sodium. With repeated watering, these minerals accumulate in soil, creating what horticulturists call salt buildup or soil salinity. Salt buildup manifests as a white crust on the soil surface and causes brown leaf tips that look very similar to fluoride damage. It also draws moisture away from the roots, effectively making the soil drier than it appears.
Salt buildup is accelerated by using fertilizer, because most fertilizers add salts to the soil as well. This is another reason to always dilute to half strength and fertilize no more than once a month during the growing season. If you see a white crust on the soil surface, flush the pot thoroughly with clean water several times — water until the pot drains freely, let it sit for 10 minutes, drain again, repeat twice more. This washing process removes accumulated salts from the root zone.
Using filtered or distilled water for spider plants also prevents salt buildup from tap water minerals, which means you can go longer between soil flushing and your fertilizing schedule stays cleaner.
Making Filtered Water Work for Multiple Plants
If you have multiple spider plants or a collection of houseplants that prefer filtered water, a whole-house activated carbon filter removes chlorine from all water but does not address fluoride. A reverse osmosis system removes both but is more expensive to install and wastes water (typically 3–4 gallons of wastewater per gallon of filtered water). For a collection of a few sensitive plants, keeping a zero-gallon jug of distilled water on hand and using it only for your spider plants is the most cost-effective approach.
Label your watering can or container so you never accidentally use tap water on your spider plants. This sounds obvious, but in daily routine it is easy to forget which container holds which water source.
What About Switching Back?
Once you have switched to filtered or distilled water and your spider plant is producing clean growth, you do not need to switch back. There is no nutritional or horticultural benefit to using tap water for spider plants — only the risk of brown tips. Filtered or distilled water is better for the plant regardless of the fluoride issue. Some spider plant owners report that their plants are completely healthy on tap water for months or years and then suddenly start browning — this is usually because the local water authority changed its fluoride or chlorine levels, or because the plant has grown large enough that the accumulated fluoride in older leaf tissue has become visible.
The consistent, clean result you are looking for is a spider plant that produces uniformly green and white variegated leaves with no tip burn, growing steadily in bright indirect light with proper watering and monthly half-strength fertilizing. That combination is entirely achievable once the water quality issue is resolved, and it is the standard against which all spider plant care should be measured.
Turn any PDF statement into a clean sheet
Skip the typos and the hours of copying. Our converter handles any bank statement format and outputs Excel, CSV, or QBO for QuickBooks. No file retention, free to try.
Convert your statement