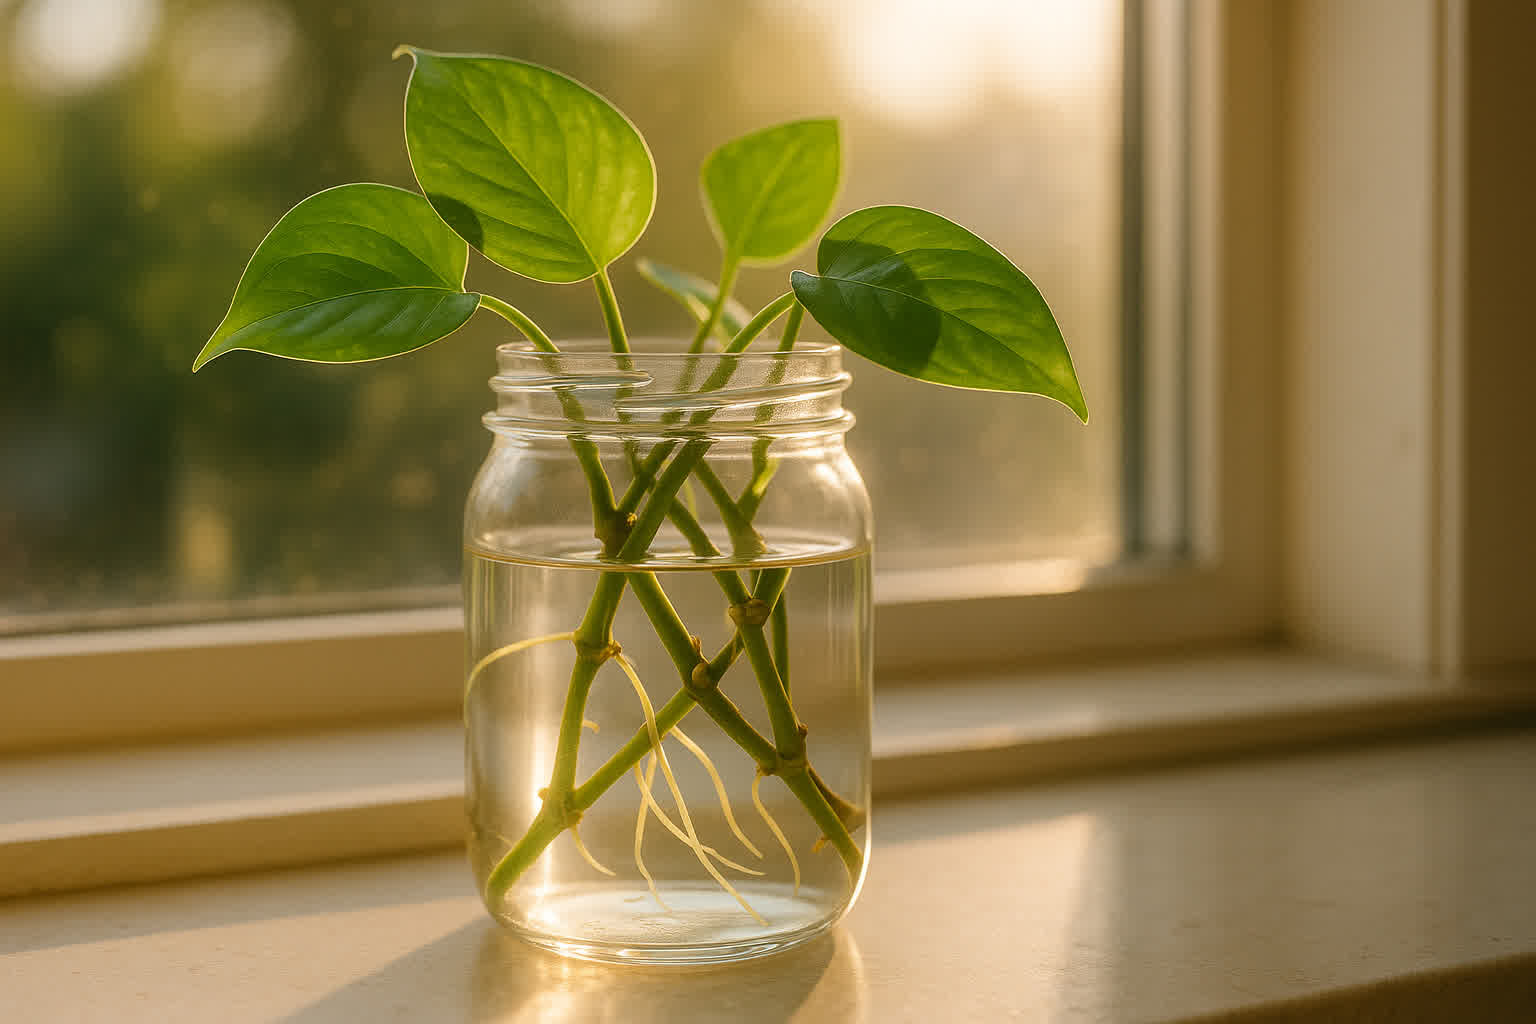
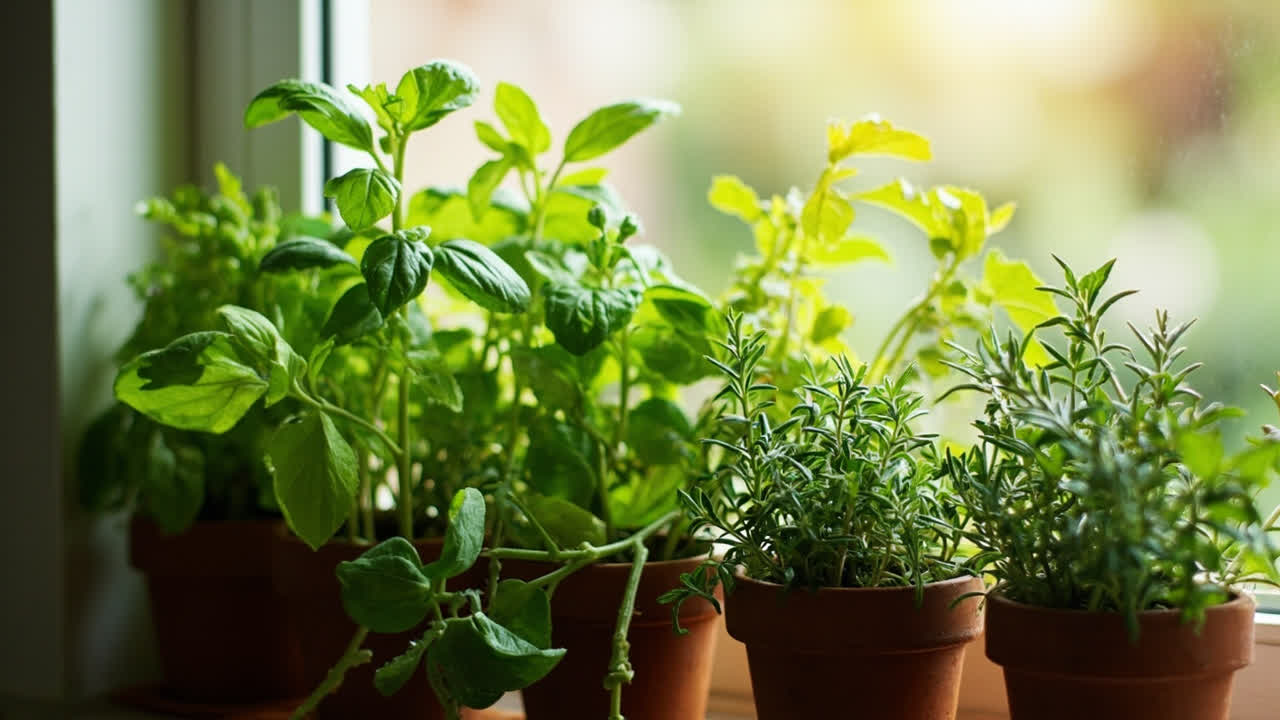
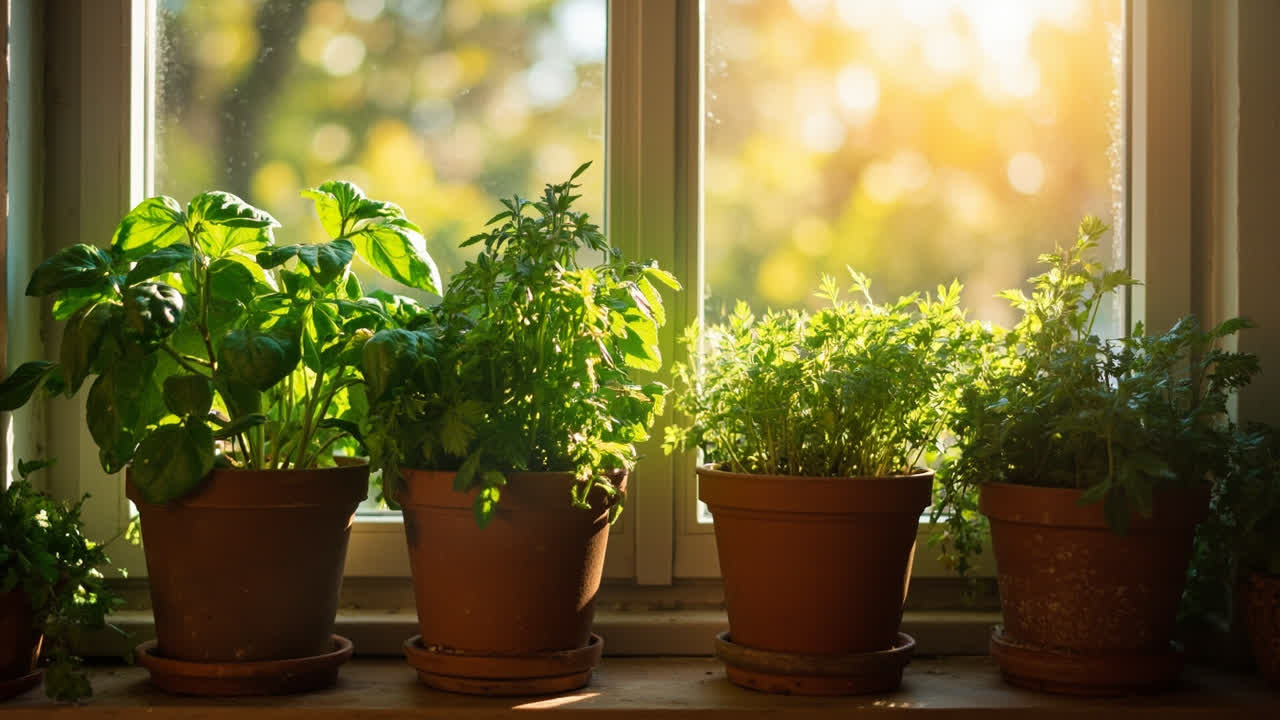
Plant propagation is the process of creating new plants from existing ones — by cutting a healthy stem, giving it the right conditions, and watching roots develop over days or weeks. The critical structure making this possible is the node: a slightly swollen bump on the stem where aerial roots and new growth emerge. Every propagation attempt fails or succeeds based on node placement, which is why finding and cutting below the node is the single most important action in the entire process.
If you’ve tried propagating before and ended up with limp, brown stems that never rooted, you are not alone — and the failure was almost certainly the node’s fault, not yours. Propagation has a genuine learning curve, but once you understand what nodes do and why rooting medium matters, your success rate climbs fast. This guide walks through every method, every step, and every common mistake so you can propagate with confidence.
Quick answer: Take a stem cutting with at least one healthy node below the lowest leaf, remove lower leaves that would sit underwater, and place the node in water or damp perlite. Keep it in bright indirect light at 65–75°F (18–24°C). Roots appear in 1–4 weeks depending on species and conditions.
What You Need to Propagate House Plants
Gather these supplies before you cut anything — propagation moves fast once a stem is severed. A clean pair of pruning shears or sharp scissors prevents crushing the vascular tissue that moves water and nutrients through the cutting. A glass vessel for water propagation should be opaque or amber-tinted to block light from algae. For soil propagation, a small pot with drainage holes and a soilless mix keeps the cutting from staying too wet.
Materials checklist:
- Sharp scissors or pruning shears (sterilized with rubbing alcohol)
- Clean glass jar or vessel (amber glass or wrapped in foil to block light)
- Soilless propagation mix (perlite + coco coir, 1:1 ratio)
- Small pot with drainage (3–4 inch for single cuttings)
- Root hormone powder containing auxin (IBA-based, strongly recommended)
- Spray bottle for misting
- Paper towels
How to Propagate House Plants from Stem Cuttings
Stem cutting is the most common propagation method and works for the majority of tropical house plants including pothos, philodendron, monstera, and scindapsus. The process follows the same sequence regardless of species — identify the node, cut below it, prepare the cutting, and provide the right medium.
Step 1: Identify the node. Nodes appear as slightly bulging rings or bumps along the stem, usually where a leaf attaches. A leaf without a node below it cannot produce roots — it will simply rot. Run your fingers along the stem until you feel the slight swelling. This is your target.
Step 2: Cut below the node. Using sterilized shears, cut ¼ inch below the node at a 45-degree angle. The angle increases surface area for water uptake. Your cutting should have 2–3 leaves and be 4–6 inches long. Fewer leaves means less energy the cutting must support; too many leaves cause the cutting to transpire water faster than it can absorb it.
Step 3: Remove lower leaves. Strip the leaves that would sit below the water or soil line. Any submerged leaf tissue decays and introduces bacteria, which is the primary cause of failure in water propagation. Leave 2–3 leaves at the tip intact.
Step 4: Apply root hormone. Dip the cut end in root hormone powder containing auxin — typically indole-3-butyric acid (IBA) — at 1000–3000 ppm concentration for herbaceous cuttings. Tap off excess powder. Root hormone accelerates cell division at the wound site, shortening the time before roots appear by 5–10 days compared to untreated cuttings.
Step 5: Place in your chosen medium. See the Water vs. Soil comparison below for specific guidance. Change water every 3–5 days for water propagation. For soil propagation, keep the mix lightly moist but never soggy.
Step 6: Wait 2–4 weeks for roots to develop. Most tropical house plant cuttings produce visible roots within 2–4 weeks at room temperature (65–75°F / 18–24°C). Temperatures below 60°F slow or stop root formation entirely. If you’re propagating in winter, consider using a heat mat to maintain consistent warmth.
Water vs. Soil Propagation: Which Is Better?
Both methods produce roots. The difference lies in root characteristics, transplant shock, and how hands-off you want to be during the process.
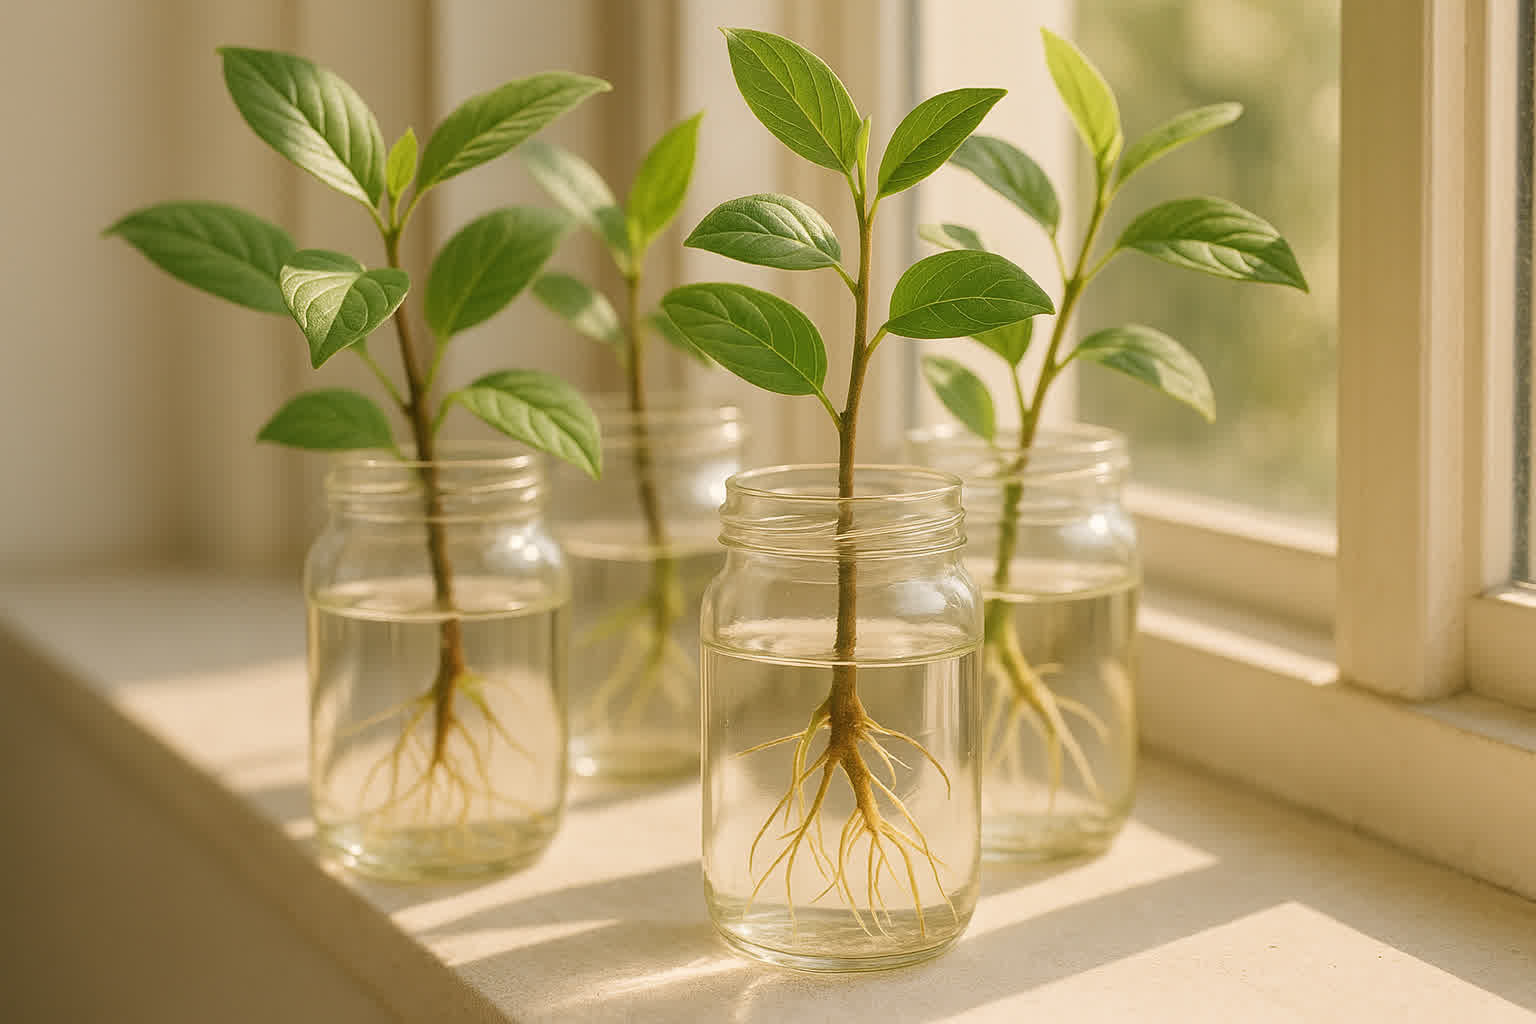
Water propagation roots are called adventitious roots — they grow directly from stem tissue in response to water stress. These roots are adapted to aquatic conditions and are structurally different from soil roots. When you eventually move a water-rooted cutting to soil, the plant must grow entirely new soil-adapted root tissue, which causes a period of slowed growth called transplant shock. Despite this, water propagation lets you watch roots develop, which is satisfying and educational for beginners.
Soil propagation roots grow into their final medium from day one. There is no transplant shock because the root system is already adapted to soil. Cuttings propagated in soil also tend to develop a more robust initial root ball, which supports faster top growth once established. The tradeoff is invisibility — you cannot see roots forming without disturbing the cutting.
- Water propagation: Roots are visible and easy to monitor, transplant shock occurs at transplant time, roots are aquatic-adapted, best for beginners building confidence
- Soil propagation: No transplant shock, stronger initial root system, roots not visible, less ongoing maintenance required
How to Propagate House Plants by Division
Division works for clumping house plants that grow multiple stems from a single root ball — spider plants, peace lilies, snake plants, pothos that have grown long and dense, and bromeliads. Unlike stem cuttings, division separates an already-established root system into independent plants, making it the fastest propagation method since the new plant is already growing.
Step 1: Remove the plant from its pot. Water the plant a day before division so the root ball holds together but is not dripping wet. Gently tip the pot and slide the root ball out. If roots are circling (the plant is root-bound), run a butter knife along the inside edge of the pot to loosen them.
Step 2: Identify natural separations. Look for clusters of stems that already have their own independent root systems attached. Do not force apart sections that share a single taproot — this damages both. A healthy division has at least 3–5 stems and a proportionate root mass.
Step 3: Pull apart or cut the root ball. For loosely attached clumps, gentle pulling separates them. For densely matted roots, use a clean serrated knife to cut through the root ball. Each division should have roughly equal root-to-stem ratio.
Step 4: Pot each division immediately. Plant each section in appropriately sized containers — a 3–4 inch pot for small divisions, 6 inch for larger ones. Water thoroughly and place in indirect light for 1–2 weeks while the roots re-establish.
Spider plant (Chlorophytum comosum) produces plantlets on long runners that root themselves automatically — you can separate these from the mother plant once they have their own root system and pot them directly.
Common Propagation Mistakes and How to Avoid Them
Most propagation failures trace back to a handful of predictable causes. Address these and your success rate improves dramatically.
Cutting in the wrong spot. Taking a cutting without a node, or cutting above the node instead of below, guarantees failure. The node contains the meristematic tissue that differentiates into root cells. Without it, the stem has no mechanism to produce roots and will simply decay.
Using dull or dirty tools. Crushing the stem with dull scissors damages the vascular tissue that should be drawing water into the cutting. Sterilize your tools with isopropyl alcohol between cuts, especially when taking multiple cuttings — this prevents spreading bacterial infections from one plant to another.
Too much water. Soggy propagation medium is the leading cause of stem rot in cuttings. The cutting has no root system to absorb water — it absorbs moisture through the cut end osmotically. Standing water in a vessel or soaking a soil mix drowns the cut tissue and invites bacterial growth. This is a precursor to root rot, which kills both cuttings and mature plants if left unchecked. For water propagation, keep only the bottom 1–2 inches of the stem submerged. For soil, the mix should feel like a wrung-out sponge.
Not enough light. Cuttings need energy to produce roots, and that energy comes from photosynthesis. Place your propagation vessel near a bright window with indirect light. Understanding indoor plant light requirements helps you choose the right spot and avoid placing cuttings in corners too dark for root formation. In low-light conditions, a grow light on a timer (12–16 hours daily) significantly improves rooting speed and success rate.
If you see the cutting turn black at the base, mushy stems, or a sour smell from the water, the cutting has failed and should be removed immediately. Start fresh with a new cutting — this is normal and not a sign that you cannot propagate. Even experienced growers have failures, especially with species that root slowly. If your parent plant is struggling, how to save a dying plant covers the most common causes of decline that also affect propagation success.
Pro Tips for Faster House Plant Propagation
Once you have the basics down, these techniques improve both speed and success rate for any species.
Bottom heat accelerates rooting. Most tropical house plants root fastest when the propagation medium is held at 70–75°F (21–24°C). A cheap seed-starting heat mat placed under your propagation vessel accomplishes this. Root formation is approximately twice as fast at optimal temperature compared to room temperature (65°F / 18°C).
Humidity domes help but need monitoring. Covering cuttings with a clear plastic bag or propagation dome retains moisture and reduces transplant stress. Leave the cover slightly ajar for the first 3 days to allow air circulation, then seal it. Remove the dome entirely after 10–14 days or when new leaf growth appears — prolonged high humidity encourages fungal issues rather than root growth.
Propagate during active growth season. Spring and early summer are the best times to propagate most house plants. The plant’s metabolism is highest during these months, meaning the cutting has more energy available for root production. Late summer and autumn work too, but rooting takes longer. Winter propagation is possible but requires supplemental light and bottom heat to compensate for the plant’s natural slowdown.
Pet Safety During Propagation
Many common house plants are toxic to cats and dogs, and propagation materials — particularly root hormone and cuttings — can cause issues if chewed. Spider plants (Chlorophytum comosum) and most true ferns are generally safe for pets. However, propagate the following with extra caution: keep all cuttings, water vessels, and root hormone out of reach of animals. Pothos (Epipremnum aureum) causes oral irritation and difficulty swallowing if chewed. Philodendrons contain calcium oxalate crystals that irritate the mouth and GI tract. Monstera deliciosa can cause drooling, vomiting, and difficulty swallowing in both cats and dogs.
If you share your home with pets, propagate non-toxic species first — spider plants, Boston ferns, prayer plants (Maranta leuconeura), and polka dot plants (Hypoestes phyllostachya) are all safe options. Place all propagation vessels on high shelves or in rooms pets cannot access. Root hormone powder should be stored in sealed containers in cabinets, not left on open shelves.
Signs Your Propagation Is Working
Knowing what success looks like helps you decide when to transplant and when to be patient. In water propagation, white nubs appearing at the cut end within 7–14 days indicate roots are forming. These nubs elongate into visible root strands over the next 1–3 weeks. In soil propagation, the most reliable sign is new top growth — a small leaf unfurling at the tip of the cutting means the root system is established enough to support the plant. Gentle resistance when you tug the cutting also indicates root anchoring.
Transplant water-propagated cuttings when roots are 2–3 inches long and well-branched. Moving them too early, when roots are still short and wispy, increases transplant shock. When transplanting, handle the root ball gently and do not shake off all attached water roots — let some remain attached to ease the transition from water to soil environment.
How to Propagate House Plants Successfully at Home
Propagation is a skill that compounds. Every cutting you take teaches you something about how your specific plants grow — their preferred node density, how quickly they root, which medium they prefer. Start with forgiving species like pothos and heartleaf philodendron, which are among the easiest houseplants to propagate and will forgive the occasional overwatering or temperature dip. Once you have a few successes, expand to slower-rooting species like monstera and ficus, where patience becomes part of the process.
The nodes are where it starts and ends. Everything else — the water, the soil, the humidity, the root hormone — is support for what that node is already programmed to do. Cut below it, give it moisture and warmth, and the plant handles the rest. If you’re building out your collection, our guide to the best indoor plants for beginners covers more species worth propagating once you have the technique down.
From Bank Statement to QuickBooks-Ready File
That manual cleanup you just read about? This tool skips it. Turn your PDF into QBO for QuickBooks without storing your data anywhere.
Start Converting