Propagating pothos from cuttings is the fastest way to multiply your plant collection without spending money at the nursery. Pothos propagation relies on one simple biological fact: every node on a pothos vine contains dormant meristem tissue that grows into roots when given moisture and warmth. One mature plant can produce dozens of cuttings, turning a single hanging basket into cascading vines throughout every room in your house.
Commercial pothos plants cost $15–$30 per pot, yet a single Epipremnum aureum vine with four to six nodes can generate the same visual impact at zero cost. The process works reliably for beginners and experienced growers alike, producing rooted cuttings in water within one to two weeks or in soil within two to three weeks. Both methods are equally valid — the choice depends on whether you want to watch roots develop visually or transplant directly into soil for faster long-term growth.
Before gathering supplies, understand the plant’s basic anatomy. Pothos vines grow from a shoot meristem at the tip, producing leaves at each node while the root meristem remains dormant until you take a cutting. The node — the small brown bump where a leaf petiole meets the stem — is where adventitious roots emerge once you sever the vine from the mother plant. Without a node, a cutting cannot root, no matter how ideal the conditions.
What You Need Before You Cut
Gather three items before taking any cuttings. Sharp, sterile scissors or pruning shears prevent crushing the vascular tissue that delivers water and energy to the cutting. A clear glass or jar lets you monitor root development without disturbing the cutting. Clean, room-temperature water serves as the rooting medium for water propagation. Rooting hormone powder is optional but accelerates root initiation by supplying auxin directly to the axillary bud — the dormant growth point nested within each node.
Taking the Perfect Pothos Cutting
Identify a healthy vine with at least four to six inches of mature growth and two to three leaves. Avoid vines that are yellowing, limp, or showing signs of pest damage. The cutting must include a node — the slightly swollen joint where a leaf stem attaches to the vine — because the node contains the meristem cells that differentiate into root tissue.
Sterilize your cutting tool with rubbing alcohol to prevent introducing bacterial or fungal pathogens into the open wound. Make a clean diagonal cut a quarter inch below the node, which exposes more surface area for water uptake while keeping the node itself intact. Remove the leaf closest to the cut end if it would sit below the water line, since submerged leaves rot and cloud the water.
Each cutting should carry two to three leaves that support photosynthesis while the cutting establishes roots. Too many leaves drain energy the cutting cannot yet replace; too few reduce the surface area for photosynthesis that fuels adventitious root development. A properly taken cutting looks minimal but carries everything the node needs to establish itself independently.
Water Propagation: Watch Roots Develop
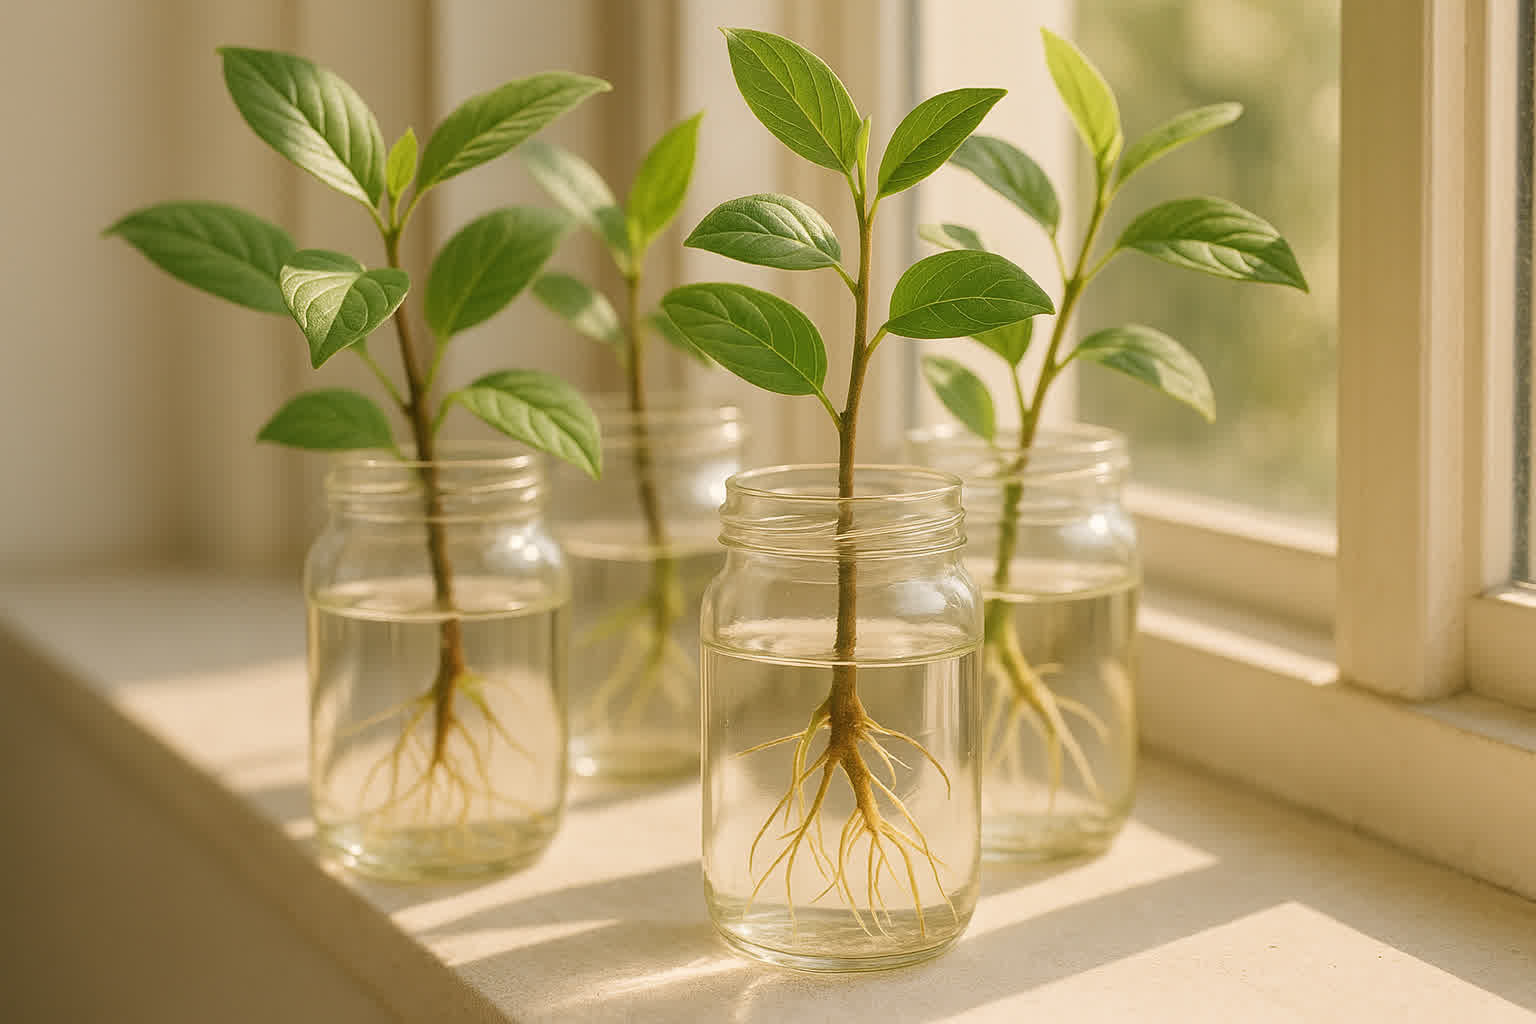
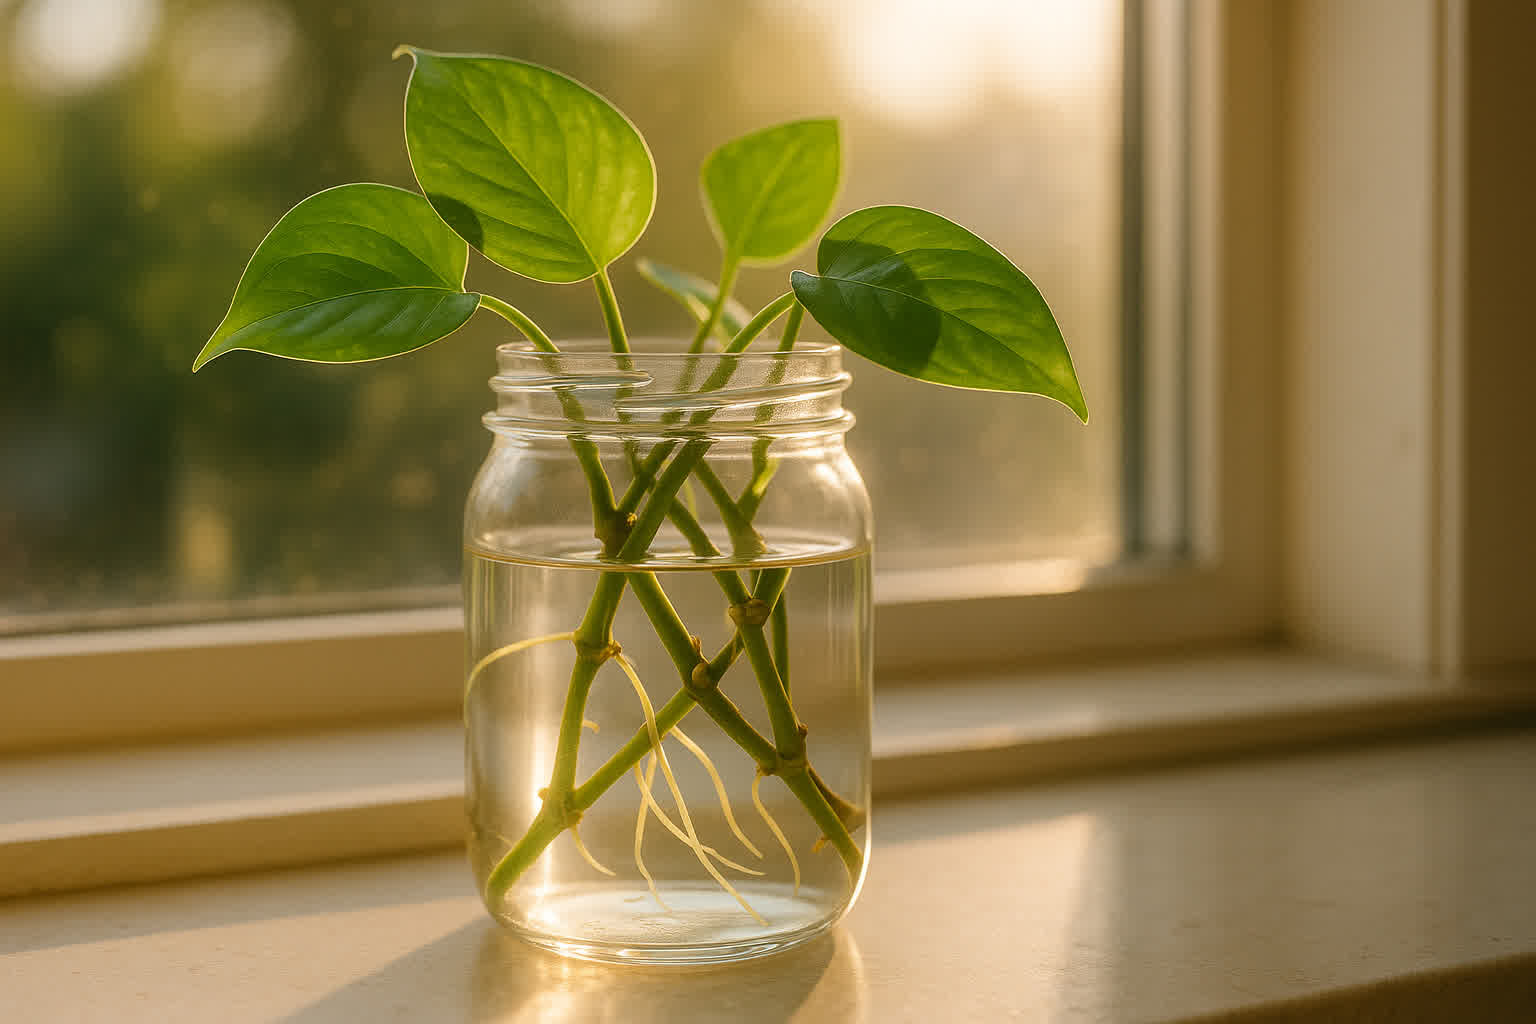
Fill a clear glass jar with enough water to submerge the node but not the remaining leaves. Place the cutting so the node sits below the water surface and set the jar in bright, indirect light — direct sun heats the water and encourages algae. Change the water completely every three to five days to maintain dissolved oxygen levels and prevent bacterial buildup that causes stem rot.
Roots emerge from the node within seven to fourteen days under typical room conditions of 65–75°F (18–24°C). Initial roots appear as small white bumps on the node, then extend into branching root structures over the following week. Once roots reach two to three inches in length, the cutting has enough root mass to survive transplanting into soil.
Water propagation lets you observe the entire rooting process, which makes it the preferred method for beginners who want reassurance that their cutting is actually growing. The visual feedback helps you catch problems early — common water propagation mistakes include leaving leaves submerged, placing the jar in direct sun, and forgetting to change the water for more than a week.
Soil Propagation: Roots Established Directly in Medium
Insert the node directly into a moistened propagation medium such as perlite, sphagnum moss, or a 50/50 blend of perlite and potting soil. The medium must hold moisture without remaining waterlogged, which suffocates the developing root meristem tissue. A well-draining medium provides the aerobic conditions roots need during the critical two-to-three-week establishment period.
Cover the cutting with a clear plastic bag or a propagation dome to maintain humidity above 80%, which prevents the cutting from losing water through its leaves before roots can replace it. Place the container in bright, indirect light and mist the leaves lightly if the medium surface appears dry. Avoid fertilizing until roots are established — the cutting has no root system to absorb nutrients, and fertilizer salts burn the emerging tissue.
The transfer timing matters more in soil propagation than in water. Move a soil-propagated cutting to a standard potting mix only after you feel resistance when tugging gently — this indicates genuine root anchorage, not just the cutting sitting in the medium. Transplanting too early disrupts the delicate root hairs that have begun establishing in the medium, causing transplant shock and set back establishment by one to two weeks.
Water Roots vs. Soil Roots: Why the Difference Matters
Roots that develop in water grow differently from roots that develop in soil — this distinction has real consequences for how you manage the transition. Water roots are softer, more fragile, and lack the thickened cell walls that soil-adapted roots develop to anchor against gravity and mechanical resistance. When a water-propagated cutting moves into soil, the root system must fundamentally reorganize its physiology.
This reorganization phase is called transplant shock, and it manifests as temporary wilting, slowed growth, or yellowing leaves even when the cutting is otherwise healthy. The plant redirects energy from leaf and stem growth to rebuilding its root architecture for a denser, more oxygen-poor medium. Mitigate transplant shock by keeping the newly potted cutting in high humidity, watering lightly, and placing it in shade for the first week before gradually reintroducing brighter light.
Soil propagation avoids this reorganization entirely because roots grow with the structural characteristics the permanent medium requires from the start. A cutting rooted directly in perlite or sphagnum moss produces thicker, more resilient roots that establish faster in final potting mix. The trade-off is that you lose the visual rooting feedback that makes water propagation so satisfying.
Seasonal Timing and Cutting Variations
Pothos propagates fastest during the active growing season from spring through summer, when shoot meristem activity is highest and the plant redirects energy into new growth readily. Cuttings taken in late autumn or winter may take twice as long to root because the plant’s metabolic rate drops significantly in lower light and cooler temperatures. If you need to propagate during winter, place cuttings under a grow light running fourteen to sixteen hours per day to simulate summer conditions.
Standard vine cuttings with two to three nodes perform reliably in both water and soil. A single-eye cutting — one node with one leaf — works for mass propagation of commercial growers but requires more precise humidity control for home success. Node-only cuttings without any leaves root successfully because the node’s axillary bud is already primed to produce new leaves once roots establish, but the process is slower because there is no photosynthetic tissue to generate energy during the rooting wait.
Choosing the Right Method for Your Goal
Select water propagation if you want visual confirmation that roots are developing and the flexibility to keep the cutting in water indefinitely as a display plant. Select soil propagation if you want stronger root systems, faster long-term growth, and a cleaner transition to a permanent pot without a transplant shock period. Both methods work — the method that suits your schedule and preferences is the one you will follow consistently.
If you are new to house plant propagation, try both methods simultaneously with identical cuttings from the same vine. Compare the timeline, observe the root differences, and develop an intuition for what works in your specific light and temperature conditions. Propagation skill improves through iteration, and pothos forgives mistakes that would kill more finicky species.
Propagation Troubleshooting
Stem rot — soft, brown, mushy tissue at the cut end — indicates bacterial or fungal invasion, usually from contaminated water, warm temperatures, or leaves left submerged. Prevent it by changing water every three days, keeping the container in moderate light, and removing any cutting that shows early signs of rot before it spreads to the node.
Cuttings that produce no roots after three weeks usually lack a viable node. Examine the cut end under bright light: if you see only smooth, unbroken stem tissue where the node should be, the cutting cannot root regardless of patience. Re-cut below the nearest node and restart the process with material that includes the critical axillary bud tissue.
Yellowing leaves on a newly taken cutting signal that the vine was severed too far from the node, leaving the cutting with insufficient energy reserves to sustain leaves while rooting. If the entire cutting declines rapidly, consult a save dying pothos guide to distinguish between rooting problems and broader health issues.
Pothos resists most pests, but proper indoor plant pests identification remains important for any houseplant. Mealybugs appear as white cottony clusters at leaf joints and can be removed with a cotton swab dipped in rubbing alcohol. Spider mites create fine webbing on leaf undersides and thrive in dry conditions — increase humidity and spray with horticultural oil to eliminate them. Scale insects look like small brown discs adhered to stems and require horticultural oil applied weekly until the infestation clears.
A single healthy pothos plant can provide unlimited propagation material once you understand the mechanics of node identification and moisture management. One vine with six nodes can fill a bookshelf; one plant with six vines can fill an entire room. The initial investment of learning to propagate pays compounding returns in plant material that costs nothing but your time and attention.
From Bank Statement to QuickBooks-Ready File
That manual cleanup you just read about? This tool skips it. Turn your PDF into QBO for QuickBooks without storing your data anywhere.
Start Converting