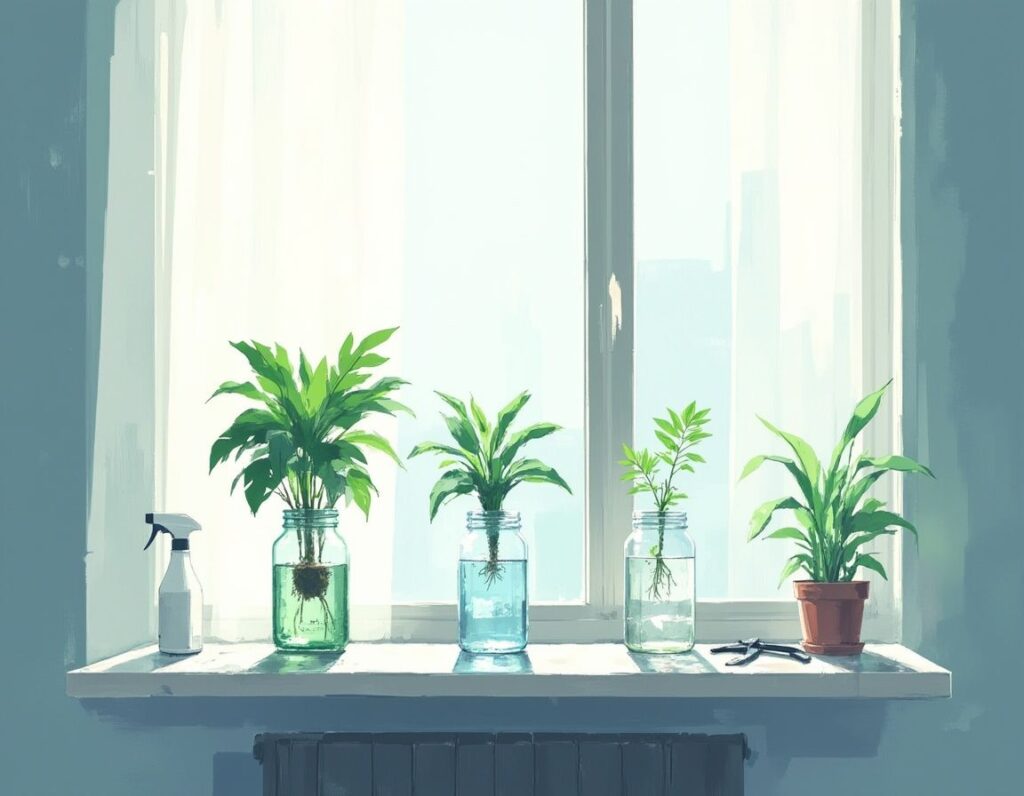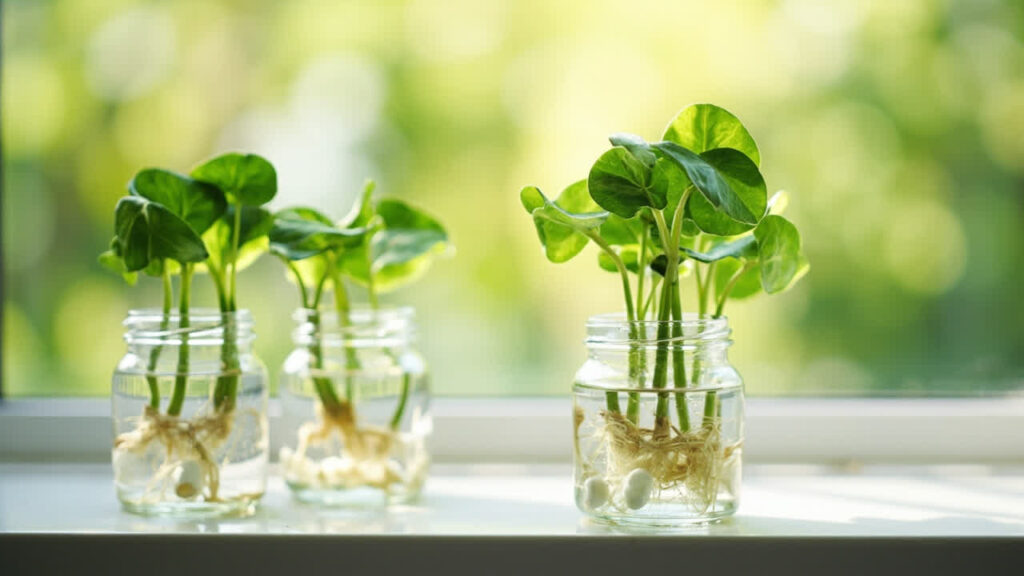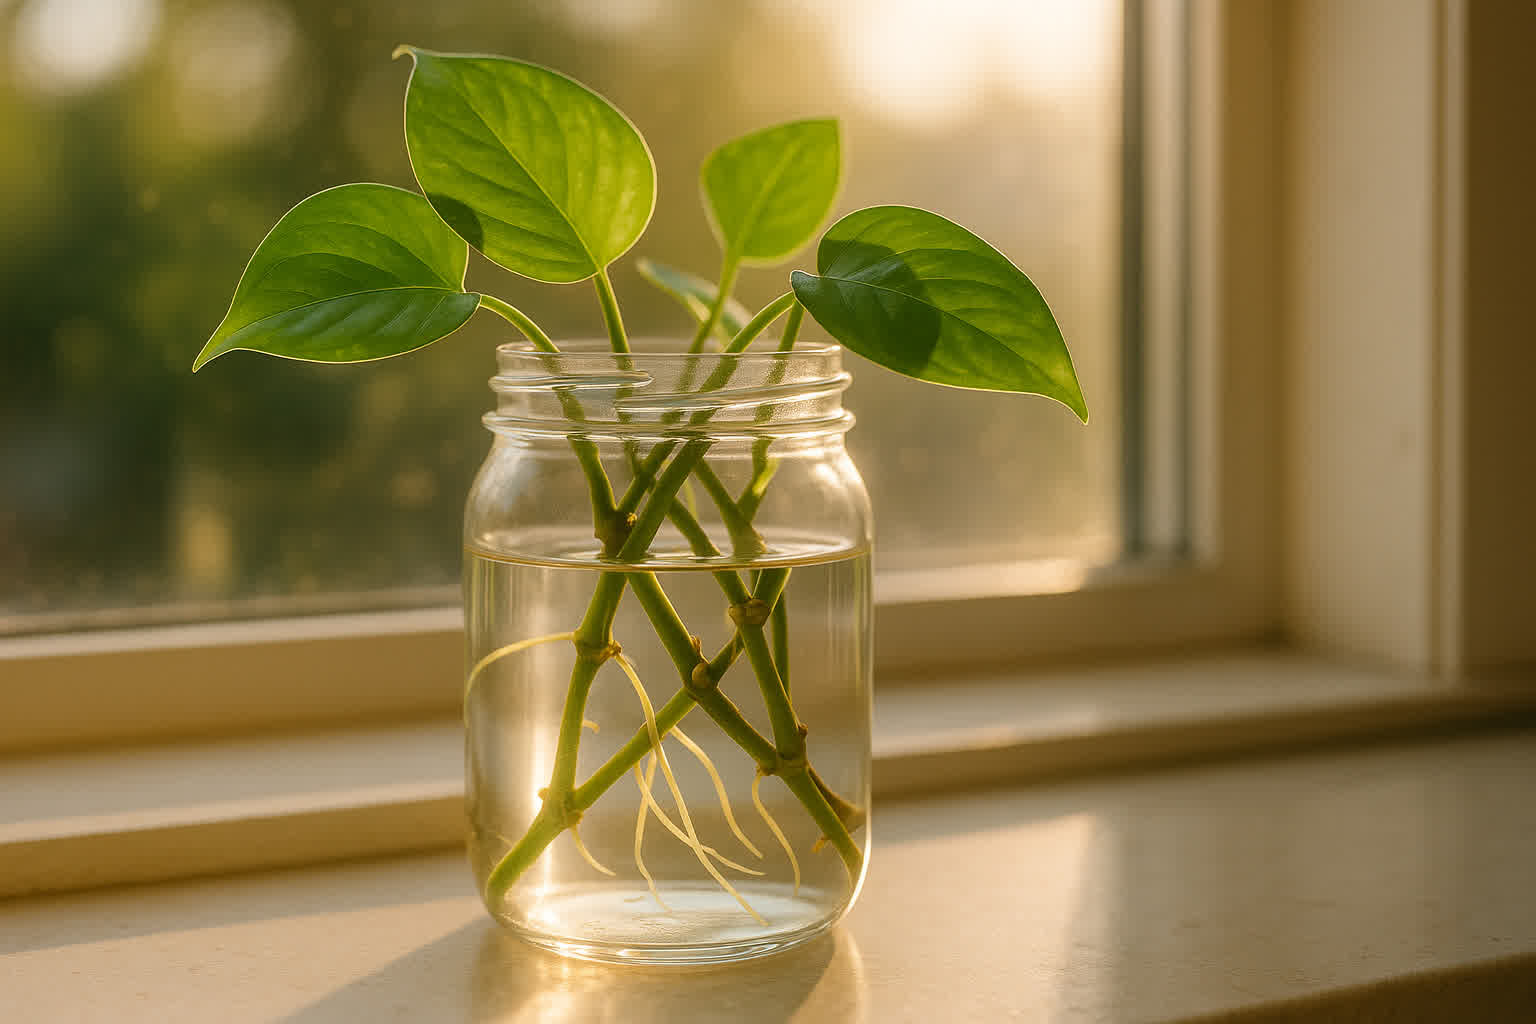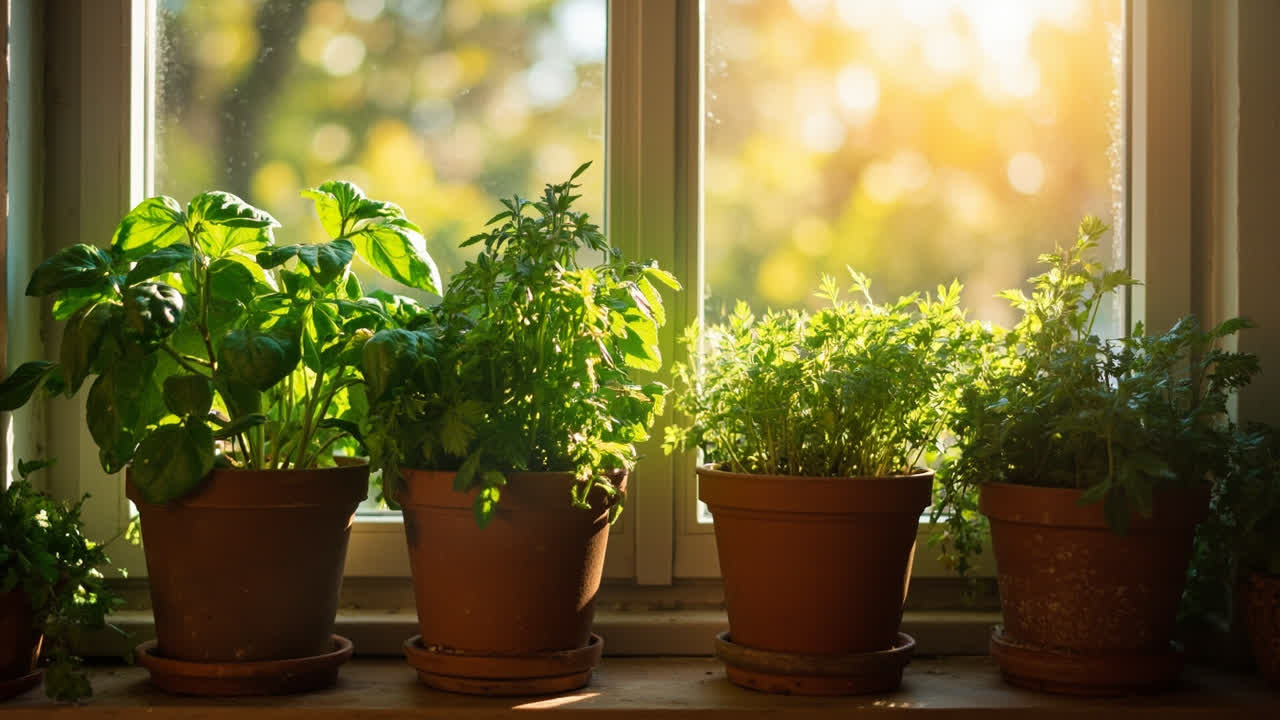

An indoor herb garden is a contained growing system for culinary and aromatic herbs — pots on a kitchen windowsill, a row of terracotta on a sunny balcony, or a tray of chives on a countertop — that produces fresh basil, rosemary, mint, and parsley year-round without requiring outdoor space.
If you’ve tried growing herbs indoors before and ended up with leggy basil or a dried-out rosemary plant, you’re not alone. The two most common failure modes are insufficient light and overwatering — both are fixable, and neither requires a green thumb. This guide walks you through setting up an indoor herb garden correctly, from choosing your first herbs to understanding exactly how and when to water them.
What follows is a complete, honest setup path: light requirements first (because everything else depends on it), then containers and soil, watering logic, the five easiest herbs for beginners, placement options, essential tools, and a realistic four-week timeline so you know what to expect from day one.
Will an Indoor Herb Garden Actually Work for You?
An indoor herb garden works well under one condition: enough daily light. If your kitchen gets less than four hours of direct sunlight through a window, the herbs will survive but they won’t thrive — stems will stretch, growth will be slow, and you’ll end up harvesting a handful of leaves a week instead of having enough to cook with. Before committing, assess your light honestly. A south-facing window that receives six or more hours of direct sun is the ideal baseline. Without it, a supplemental LED grow light becomes necessary rather than optional.
The second honest thing to know: an indoor herb garden supplements your cooking, it does not replace the grocery store. Expect to harvest a few fresh leaves at a time — enough to elevate a pasta dish, a salad, or a summer cocktail — not bushels for preserving. If that sounds right, read on.
Why Herbs Grown Indoors Behave Differently
Indoor environments lack three things outdoor gardens handle automatically: wind, temperature fluctuation, and rain. Wind applies natural structural stress to stems — without it, herbs grown indoors grow with less rigidity and can become floppy if light arrives from a single direction. Temperature fluctuation between day and night triggers growth responses in many herbs; a kitchen that stays at a constant 72°F year-round signals herbs to slow their seasonal cycles. Rain is the outdoor gardener’s reset button — it flushes soil, delivers oxygen to root zones, and rebalances moisture. Overwatering in indoor containers mimics prolonged rain without the natural drainage that outdoor soil provides, which is why waterlogged soil and root rot are the most common failure modes for indoor herb gardens.
Light : Your Most Important Decision
Light is not the first thing most beginners think about, but it is the first thing that determines whether an indoor herb garden succeeds or fails. Herbs need a minimum of six hours of direct sunlight each day to grow compact, flavorful leaves. A south-facing window is the gold standard. East and west windows work but provide fewer hours of direct light. North-facing windows almost never provide enough intensity for meaningful herb growth.
To judge whether your window delivers enough light: stand at the window at noon with your hand touching the glass. If you can feel warmth from the sun on your skin, the light is strong enough. If the light feels flat or cool, herbs will stretch toward it and become leggy — stems growing long and weak as they search for more light.
The fix for insufficient window light is a full-spectrum LED grow light. LED grow lights use far less electricity than older fluorescent grow bulbs and produce almost no heat, making them safe to run eight to twelve hours a day above herbs without cooking the leaves. Look for a light in the 4000–6500 Kelvin range (labeled “daylight” or “cool white”) — this spectrum mimics the blue-heavy light of spring and summer that drives vegetative growth in herbs. Position the light six to twelve inches above the plant tops, and run it for ten to twelve hours daily if you don’t have a sunny window.
For more detail on how much light different herbs need and which grow lights perform best, see our guide to indoor plant light requirements.
Containers and Soil : Building the Right Foundation
Herb containers must have drainage holes at the bottom. This is non-negotiable. Terracotta pots are ideal for indoor herbs because the porous clay allows soil to breathe and dries out slightly faster than plastic — which helps prevent the root rot that occurs when roots sit in waterlogged soil. Plastic pots retain moisture longer, which can be helpful for mint (which likes consistent moisture) but risky for herbs like basil that prefer drier conditions between waterings.
Container size matters. A four-inch pot works for a single basil plant or a small cluster of chives. For a more generous herb display — say, a mix of basil, parsley, and thyme — use a window box at least eight inches deep and twelve inches wide, or individual pots of six inches or larger. Small pots dry out within a day in a warm kitchen; larger pots hold moisture longer and give roots room to develop.
Standard garden soil fails in indoor herb containers because it compacts, retains too much moisture, and lacks the drainage herbs need. Use a fast-draining potting mix — look for a blend labeled for containers or raised beds. The ideal mix is one part potting soil, one part coarse sand or perlite, and one part compost. The sand and perlite create air pockets in the soil that allow roots to breathe and water to drain freely. Without this amendment, soil stays wet for days after watering and roots begin to rot.
For more on container gardening best practices that apply directly to indoor herb growing, see our article on container vegetable gardening.
Watering Without Overdoing It
The reliable watering heuristic for indoor herbs is simple: water when the top inch of soil feels dry to the touch. Insert your finger into the soil up to the first knuckle. If it feels dry, water. If it still feels damp, wait another day or two. This is more reliable than any fixed schedule because ambient humidity, pot material, and seasonal temperature changes all affect how quickly soil dries out.
When you do water, water thoroughly. Pour water until it flows freely out of the drainage holes at the bottom of the pot. This ensures the entire root zone is moistened, not just the surface. Then let the pot drain fully — never let herbs sit in a saucer of standing water, because roots submerged in water develop root rot, a condition where oxygen is displaced from the soil and roots begin to decompose. Root rot is the second most common reason indoor herb gardens fail, and it is almost always caused by overwatering or poor drainage.
One specific measurement helps more than any schedule: aim for one inch of water per week total, applied in two or three watering sessions rather than one large dose. This matches what a typical four-inch herb pot loses through evaporation in a warm kitchen. Adjust upward in dry winter months when heated air accelerates moisture loss, and downward in humid seasons or if terracotta pots are staying wet longer than two days after watering.
What an Indoor Herb Garden Cannot Do
Be honest about what a kitchen herb garden produces. A healthy indoor herb garden yields a few fresh leaves at a time — enough to flavor a dish, garnish a soup, or mix into a salad. It does not produce the quantities you’d get from an outdoor garden. One pot of basil, for example, yields roughly a handful of leaves per week during peak growing season. You will not be making pesto from your kitchen windowsill in any meaningful quantity.
Growth slows in winter even indoors. Herbs are biologically adapted to respond to seasonal light cycles, and in fall and winter, even well-lit indoor herb gardens grow more slowly. Expect to wait longer for harvests in the darker months, and resist the urge to overwater to compensate — plants need less water when they’re growing slowly. Over time, herbs also become less productive and may need to be replaced with new plants after several months of heavy harvesting. Think of it as a living kitchen accessory, not a one-time garden investment.
The 5 Easiest Herbs to Start With Indoors
Basil
Basil is the most popular indoor herb and the one most beginners choose first — but it is also the most demanding. It needs the most light of any common culinary herb (six to eight hours of direct sun or equivalent grow light), warmth, and consistent moisture. In exchange, it rewards you with rapid, vigorous growth. The key mistake to avoid: don’t let basil flower. Once it bolts and produces flowers, leaf production drops sharply and the flavor turns bitter. Snip off any flower stems immediately when you see them, and harvest regularly from the top of each stem to encourage bushy, productive growth.
Mint
Mint is the easiest herb to grow indoors by a significant margin. It tolerates lower light better than most herbs, grows aggressively, and bounces back quickly from harvesting. The trade-off: mint spreads rapidly and will take over any container it’s planted in. Keep it in its own pot. Mint prefers moist soil but not waterlogged soil — water when the top inch is dry, and keep the saucer empty to prevent root rot. See our guide to how to increase humidity for houseplants for tips on keeping mint happy during dry indoor winters.
Chives
Chives are a perennial herb that grows reliably indoors with minimal attention. They tolerate less light than basil and mint, making them a good choice for east-facing or west-facing windows. Chives grow in clumps and are harvested by cutting stems down to about an inch above the soil with scissors. After cutting, new growth emerges within a week. Water when the top inch of soil is dry, and fertilize lightly once a month during the growing season.
Parsley
Parsley is a biennial herb (it grows vegetatively in year one, then flowers in year two) that adapts well to indoor containers. It tolerates less light and cooler temperatures than basil, making it one of the most forgiving culinary herbs for beginners — similar to the low-friction care style covered in our guide to best indoor plants for beginners. Parsley grows slowly from seed — expect twelve to sixteen weeks from seed to first harvest — but established plants produce steadily. Water when the top inch is dry, and avoid letting parsley dry out completely, which causes the outer stems to yellow prematurely.
Thyme
Thyme is a Mediterranean herb that thrives in the same conditions as rosemary and sage: bright light, well-draining soil, and watering only when the soil is dry. It is more drought-tolerant than basil or parsley, making it forgiving of occasional neglect. Thyme grows slowly but lives for years indoors with proper care. A single four-inch pot of thyme provides enough harvests for regular cooking use. Avoid overwatering — thyme is prone to root rot in persistently wet soil.
Where to Put Your Herb Garden
The best location for an indoor herb garden is a south-facing windowsill that receives six or more hours of direct sunlight daily. Kitchen windowsills have the added advantage of proximity to where you cook — snipping a few basil leaves mid-recipe is much more likely to happen if the plant is within arm’s reach.
East and west-facing windows work for mint, chives, and parsley, which tolerate less light than basil and thyme. North-facing windows rarely deliver enough intensity for meaningful growth. If your available light falls short of six hours, a grow light is not optional — it is the primary requirement. Position it six to twelve inches above the plant tops and run it for ten to twelve hours daily. This single change — reliable supplemental light where natural sun is insufficient — separates thriving indoor herb gardens from the leggy, slow-growth outcomes that frustrate most beginners.
Humidity is the environmental factor most often overlooked in indoor herb gardening. Kitchens and living rooms typically run at 30–50% relative humidity in winter when heating systems run constantly — well below what most herbs prefer. Low humidity causes edges of basil and mint leaves to brown and curl. If your home runs dry, a simple pebble tray with water beneath the pots or a brief daily mist raises the immediate humidity around the foliage. For more on this, see our guide to how to increase humidity for houseplants, which applies directly to Mediterranean herbs that evolved in more humid conditions than indoor air typically provides.
Tools and Supplies to Get Started
You don’t need much to start an indoor herb garden, but the specific items matter:
- Terracotta pots with drainage holes — four-inch for single herbs, six-inch for larger plants, or a window box for multiple herbs together
- Clay saucers to catch drainage water without letting pots sit in it
- Fast-draining potting mix — not garden soil; look for a mix labeled for containers or add perlite to standard potting soil at a one-to-one ratio
- Perlite — helps soil drain faster and prevents compaction in small pots
- Watering can with a narrow spout — makes it easier to water at the base of the plant without splashing leaves (wet foliage encourages fungal problems)
- Full-spectrum LED grow light — necessary if you have no window that receives six or more hours of direct sun; ten to twelve hours daily replaces natural sunlight
- Small scissors or herb snips — for harvesting without tearing stems
You do not need fertilizer to start. Fresh potting mix contains enough nutrients for the first eight to twelve weeks. After that, a balanced liquid fertilizer diluted to half strength applied once a month is sufficient for most herbs.
What to Expect : Your First 30 Days
Week 1: If you’re transplanting from a nursery pot, your herbs may look slightly stressed — wilting or slower than usual growth is normal during the adjustment period. This is called transplant shock and it resolves as the roots adapt to the new soil and environment. Keep the soil evenly moist and place the pot in its designated spot. Don’t move it around. Do not fertilize yet.
Weeks 2 and 3: New growth begins to appear — small pale leaves at the center of the plant, new stems extending upward. This signals that the herb has settled in and is photosynthesizing effectively. This is also when leggy growth becomes visible if light is insufficient: stems stretch upward with wide gaps between leaf pairs. If this happens, move the plant closer to the light source or add a grow light.
Week 4: Most herbs are ready for their first meaningful harvest. Use clean scissors to snip a few stems from the top of each plant — never remove more than a third of the plant at once. Removing the growing tips signals the plant to branch out and produce more foliage, which is how you end up with bushy, productive herbs rather than tall, sparse ones. After harvesting, water if the top inch of soil is dry and resume normal care. This is also when you can begin a light monthly fertilizer routine if you haven’t already — half-strength balanced liquid fertilizer is sufficient.
Week 5 onward: Your indoor herb garden becomes a self-sustaining cycle: regular light, watering when the top inch is dry, and harvesting from the top to encourage branching. The habits to maintain are checking soil moisture every two to three days, watching for any signs of yellowing leaves (which usually indicate overwatering or insufficient light), and removing flower stems on basil immediately when they appear. Most indoor herb plants remain productive for three to six months of regular harvesting before they begin to slow — at that point, replace individual pots rather than trying to revive an exhausted plant.
Turn PDF Bank Statements Into Workable Spreadsheets
Your bank statement is a mess of numbers, but your books shouldn't be. Use our converter to get Excel, CSV, or QBO files — ready for QuickBooks.
Try It Free Now