
If you typed how to save a dying pothos plant into a search engine, you are probably watching a beloved houseplant fade fast — and you are not alone. The Epipremnum aureum, commonly known as pothos or devil’s ivy, is one of the most popular indoor plants in the world precisely because it is nearly impossible to kill. Yet even this resilient vine can hit a rough patch when watering habits, light conditions, or pest invasions push it past its limits. The good news: most pothos failures are recoverable, and they usually come down to a handful of diagnosable causes that you can fix with basic changes.
Before you toss a struggling pothos into the compost, this guide breaks down every major reason a pothos declines, what root rot actually looks and feels like, and a step-by-step recovery plan tailored to each scenario — from overwatered root systems to pest-damaged leaves. Follow the section that matches your plant’s symptoms, and give it two to four weeks before expecting visible new growth.
Understanding why your pothos is struggling starts with learning the three most common killers: root rot from overwatering, underwatering and heat stress, and pest infestations. Each has a distinct symptom signature, and treating the wrong one can accelerate the decline.
Why Your Pothos Is Struggling: Root Rot and Overwatering
Root rot is the number one cause of pothos death, and it starts quietly below the soil surface. When a pothos sits in waterlogged potting mix for more than a few days, the roots literally drown — oxygen pushed out, anaerobic bacteria multiply, and root tissue begins to liquefy. By the time you notice yellowing lower leaves or a musty smell from the pot, the damage has already spread. The core mechanism is simple: water fills air pockets in the soil, roots can’t breathe, and the vascular system that feeds the whole vine shuts down.
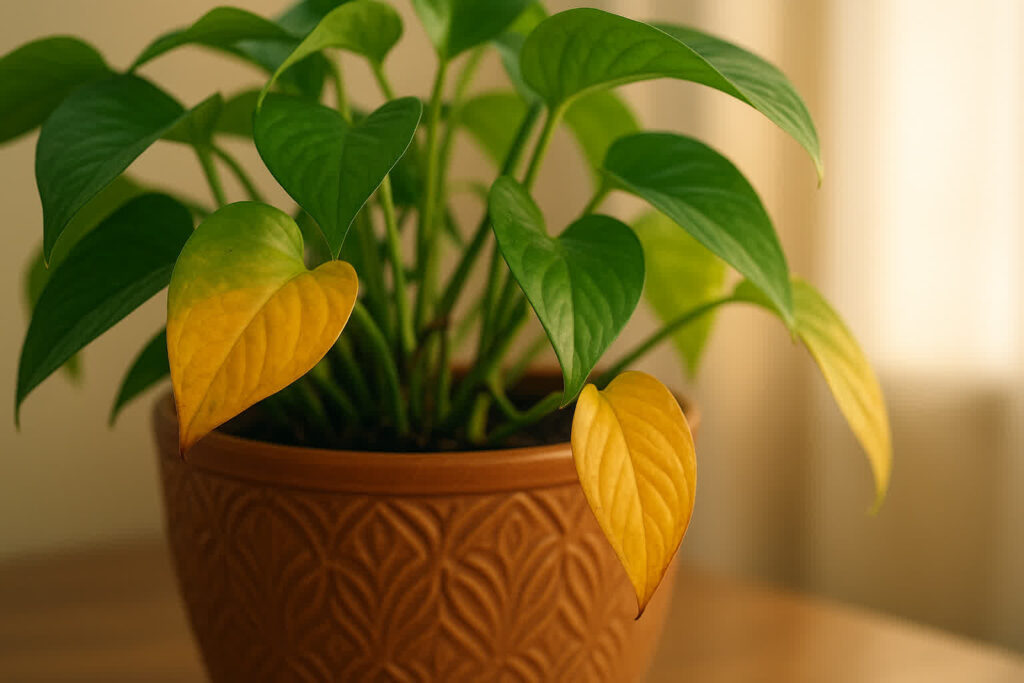
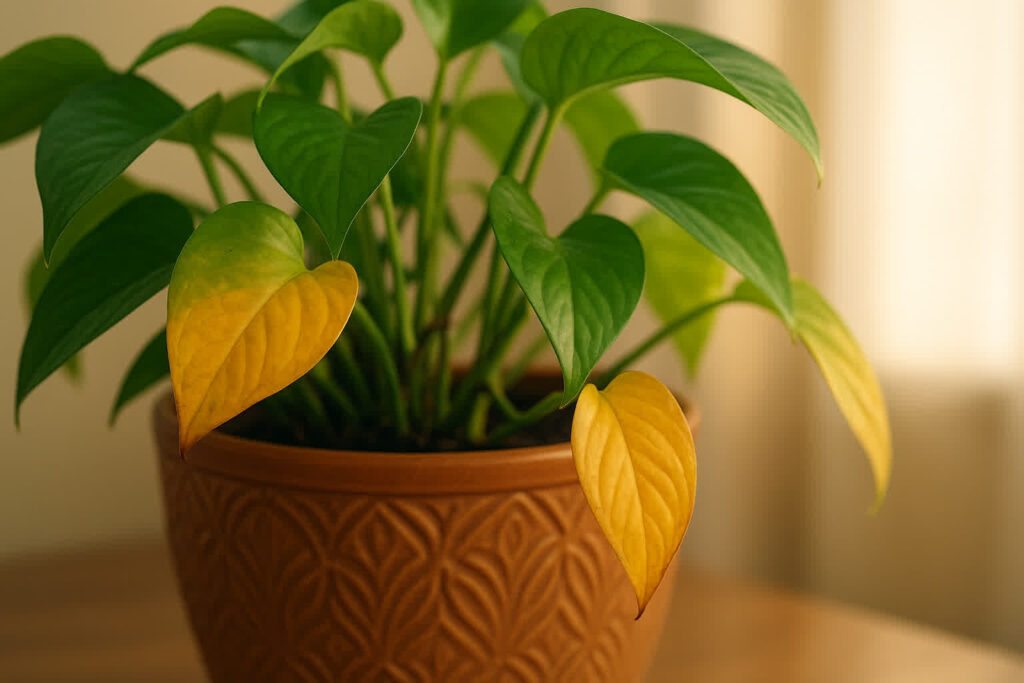
The clearest visual sign of root rot is mushy, brown roots when you gently remove the plant from its pot. Healthy roots are firm and white or tan; rotting roots look dark brown, feel squishy between your fingers, and may slip off the plant with a gentle tug. Another clue is yellowing leaves that start at the bottom of the vine and work upward — not the random leaf drop of a healthy plant, but a progressive, spreading yellow that affects several leaves at once.
Overwatering does not always mean you are giving the plant too much water at once. It can also mean watering on a schedule that does not match the plant’s actual needs — for example, watering every five days when the soil takes seven to ten days to dry out in your home environment. Season, pot material, and humidity all change how fast soil dries. A terracotta pot dries much faster than a plastic nursery pot. A pothos near a heating vent dries faster than one in a dim bathroom.
Emergency Repotting: Step-by-Step
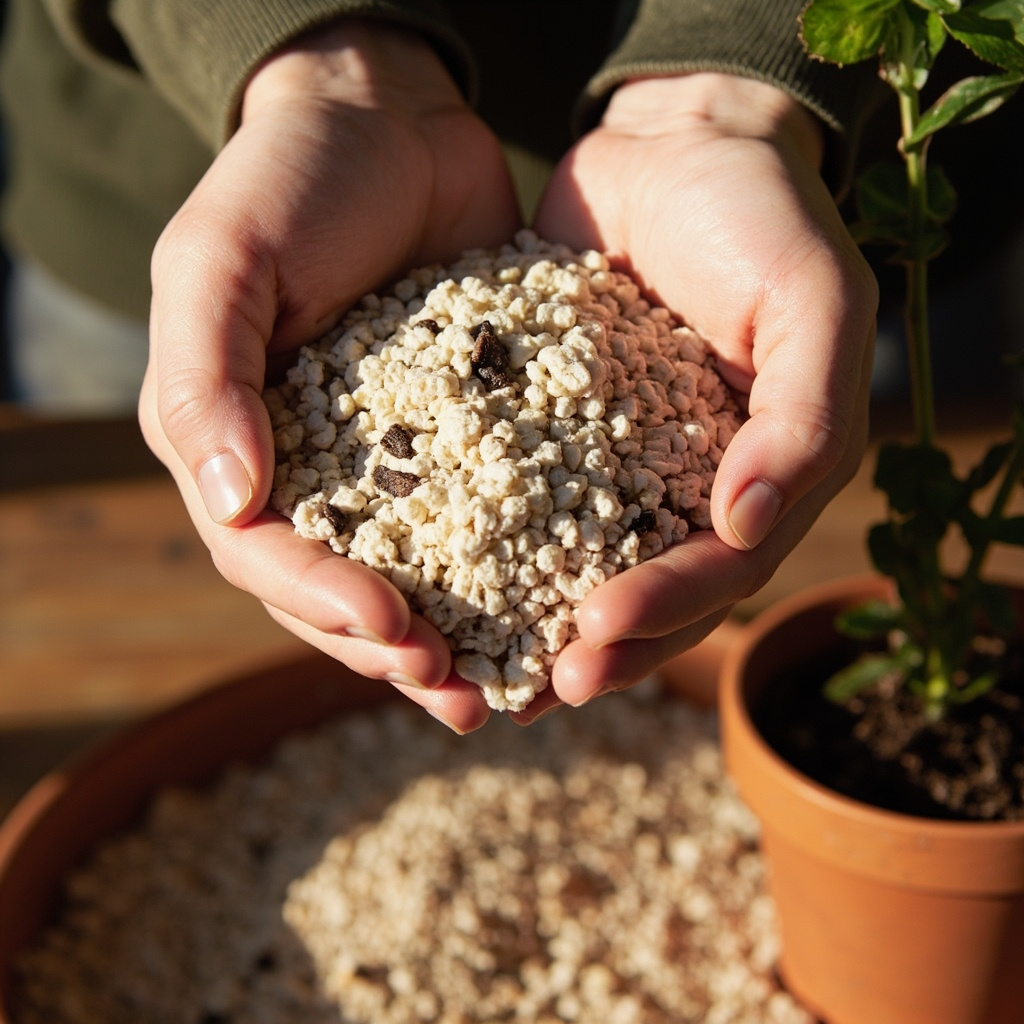
If the roots are already soft and dark, you need to act fast. First, tip the pot and slide the plant out, shaking off as much saturated soil as possible. Second, trim every root that feels mushy or looks dark brown with sterile scissors — cut all the way back to firm, light-colored tissue. Third, rinse the remaining healthy roots gently to remove lingering spores. Fourth, repot into fresh, well-draining potting mix — one part perlite mixed into two parts standard houseplant mix creates the drainage Epipremnum aureum prefers. Finally, place the plant in a pot with at least one drainage hole and resist watering for five to seven days to let the roots settle.
The repotting pot should be only one size up from the root ball — going too big means the soil holds more water than the roots can absorb, recreating the same problem. A pot two inches larger in diameter is the maximum.
Underwatering and Heat Stress: Wilting vs. Crispy Leaves
A pothos that has dried out completely will droop dramatically — the whole vine looks limp, and the leaves hang like wet paper. This is underwatering, and it is usually easier to fix than root rot. The plant is not dead; it is thirsty. Give it a thorough watering by placing the pot in a basin of water for twenty minutes, letting the soil soak from the bottom up. Within a few hours, the leaves should firm back up. If they do not bounce back after a full day, the root system may have dried to the point of damage, and recovery will take longer.
The key difference between underwatering and overwatering symptoms is the soil feel and the leaf texture. Underwatered soil pulls away from the pot edges and feels completely dry an inch below the surface. The leaves feel thin and papery rather than thick and waterlogged. Overwatered soil stays wet for days and the leaves feel heavy and thick, often yellow before they fall.
Heat stress is a related but distinct problem. A pothos placed directly next to a hot window, a heating vent, or in direct summer sun will develop crispy leaf edges — brown, dry patches that start at the margins and spread inward. The leaves may look bleached or faded rather than simply dry. Unlike underwatering, which causes whole leaves to droop, heat stress causes localized dead tissue. Move the plant to a spot with bright indirect light and keep it away from any heat source that blows warm air continuously.
Nutrient Deficiency and Pest Damage
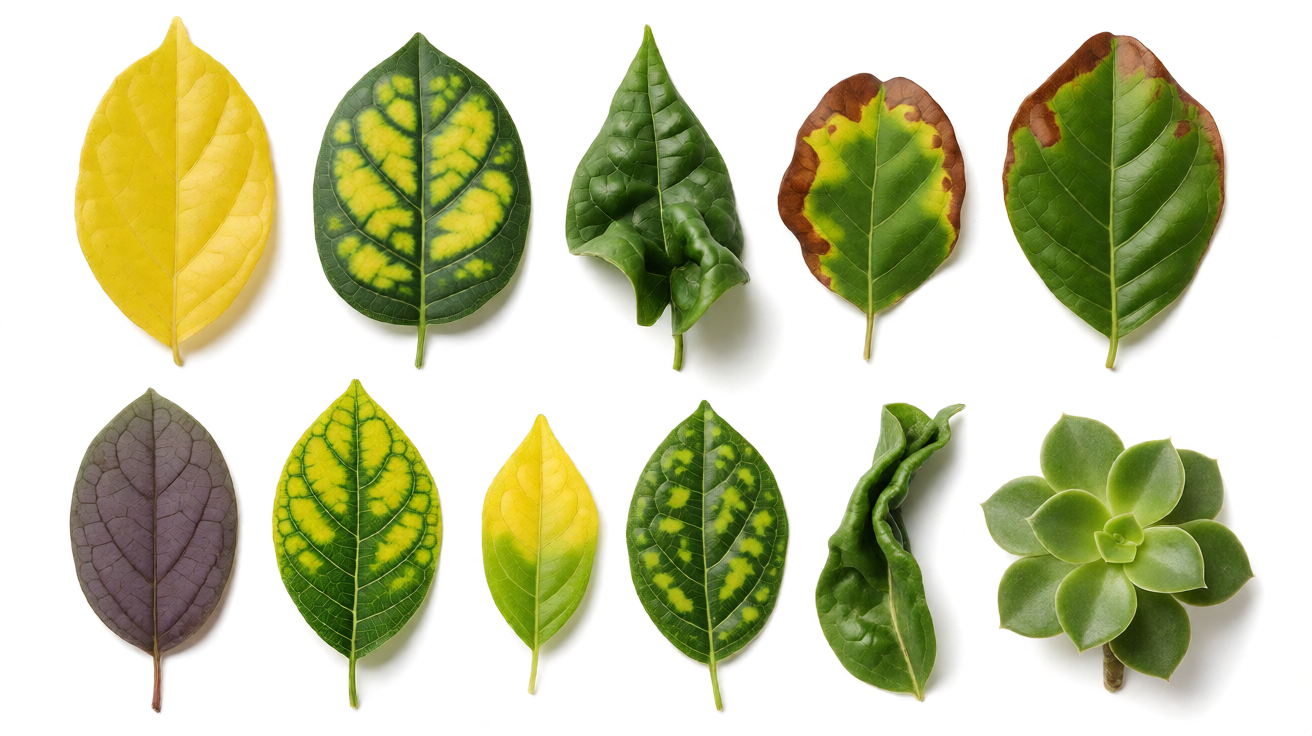
When a pothos has been in the same pot for a year or longer without fresh soil or fertilizer, it may start showing signs of nutrient deficiency. The classic pattern is yellowing that begins with older leaves — those at the base of the vine — while new leaves at the tips remain green. This distribution tells you the problem is being translocated from old growth to new, which is the signature of nitrogen deficiency: the plant is cannibalizing its own older leaves to feed its growing tips.
Nitrogen deficiency shows as uniform yellowing of lower leaves, while phosphorus deficiency causes dark green or purplish older leaves with no new growth. Potassium deficiency manifests as yellow leaf edges with leaf tips that curl inward. If you see these patterns in a plant that has not been fed in months, a balanced liquid fertilizer applied at half strength will help — but only after the soil is moist, never on dry soil, as the salts can burn already-stressed roots.
Spider Mites and Mealybugs: Identification and Treatment
Pest infestations can make a healthy pothos look suddenly ill, and the two most common culprits are spider mites and mealybugs. Spider mites are tiny — barely visible to the naked eye — but they leave behind fine webbing between leaves and small yellow speckles on leaf surfaces where they have fed. Mealybugs show up as white, cottony masses where leaves meet stems, and they cluster in the same hidden spots: deep in the leaf axis and under the rim of the pot.
Spider mites thrive in dry conditions, so increasing humidity around your pothos helps prevent reinfestation. Wipe the leaves with a damp cloth every few days, focusing on the undersides where mites lay eggs. For active infestations, spray the plant thoroughly with neem oil diluted in water — one teaspoon neem oil, half teaspoon liquid dish soap, one liter water — covering every surface including the undersides of leaves. Repeat every five to seven days for three weeks to break the breeding cycle.
Mealybugs require a different approach. Dab each visible bug with a cotton swab dipped in rubbing alcohol — the alcohol dissolves their waxy coating and kills them on contact. After physically removing the visible pests, spray the whole plant with the neem solution and repeat weekly for a month. Isolate any heavily infested plant from your other houseplants, as both pests spread by contact.
Light Conditions and Recovery Scenarios
Pothos varieties behave differently under different indoor plant light requirements, and this affects how quickly they recover from stress. A pothos golden growing in low light — a dim corner or a room with only overhead lighting — will grow slowly and use less water. It bounces back from underwatering slowly, sometimes taking three weeks to show new growth. Understanding your specific indoor plant light requirements is the foundation of keeping any pothos variety healthy. A pothos golden in bright indirect light will grow faster, use water more quickly, and recover from pruning or repotting in half the time.
Seasonal dormancy plays a role too. In fall and winter, even a well-cared-for pothos slows its growth as light levels drop and indoor heating reduces humidity. During this period, the plant may look slightly dull, grow no new leaves, and need watering half as often. This is normal — not dying. Reduce watering frequency, stop fertilizing, and wait for spring. Forcing a dormant pothos with extra water or fertilizer in winter usually triggers root rot because the plant is not actively using the resources.
How to Propagate a Severely Damaged Pothos
Sometimes a pothos is too far gone to save as a single plant — the roots are mostly gone, the vines are mostly dead, and recovery is unlikely. In that case, house plant propagation lets you save the healthy sections by taking cuttings and rooting them in water or soil. Identify a vine with at least one healthy node — the small brown bump where a leaf meets the stem — and a few leaves that are still firm and green. Cut below the node with clean scissors, remove the lowest leaf, and place the cutting in a glass of water with the node submerged. Change the water every three days. Roots appear within two weeks at room temperature.
Once roots are two inches long, plant the cutting in a small pot of fresh potting mix, keep it lightly moist, and place it in bright indirect light. This new plant can replace the parent if the parent did not survive, and it is also a way to multiply your collection — one severely damaged pothos can yield five to eight cuttings depending on how many healthy nodes remain.
Cutting Back vs. Nursing Back: Honest Trade-Offs
If your pothos has lost most of its leaves but still has living stems, you face a real choice. You can cut all the bare vines back to soil level and let the plant regenerate from the base — this is sometimes the faster option when the vines are mostly dead and only the root system is still alive. Or you can leave the damaged vines in place and nurse the plant back, which takes longer but preserves whatever leaf tissue is still healthy at the tips.
The honest trade-off: cutting back frees the plant’s energy to produce new growth from the base, often resulting in a fuller, healthier plant within two months. But you lose all the vine length you spent years growing, and the plant looks bare for a while. Nursing back preserves length but the remaining leaves are often spread thin on long, bare stems that look less attractive even after recovery. For a plant that still has at least a third of its leaf mass intact, nursing back is reasonable. For a plant with mostly bare stems and only a few green tips, cutting back is the better bet.
If you choose to cut back, use clean pruning shears and cut just above a node — the cut point will become a branching point where two new vines emerge, making the plant bushier than it was before.
Choosing the Right Recovery Path
Here is a simple decision framework based on what you find when you inspect your plant. If the roots are mushy and dark brown when you check them, choose emergency repotting — trim the dead roots, use fresh potting mix with added perlite, and go easy on watering for at least ten days. If the roots look mostly white and firm but the leaves are crispy or drooping, adjust your watering schedule and move the plant away from heat sources. If the plant has lost most of its leaf mass but the stems are still alive when you scratch the surface — green tissue under the bark — cut back to soil level and wait for regrowth.
Do not try to combine recovery methods — do not repot and heavily prune at the same time. Pick one primary intervention and give the plant three weeks to respond before making additional changes. Recovery from multiple simultaneous stresses confuses the plant and slows everything down. For more on diagnosing houseplant problems, see our guide to root rot in house plants.
Preventing Future Problems: Soil, Drainage, and Watering Schedule
The best way to save a pothos long-term is to prevent the conditions that caused the problem in the first place. Start with the soil mix: standard peat-based potting mix holds moisture well, which is helpful in summer but dangerous in winter or in low-light conditions. Adding perlite at a ratio of one part perlite to three parts potting mix improves aeration and drainage without sacrificing moisture retention. This mixture strikes the balance most pothos plants prefer — damp but never waterlogged. Enriching the soil further with worm castings for house plants adds slow-release nutrients and beneficial microorganisms that support root health over time.
Every pot holding a pothos must have at least one drainage hole. This is non-negotiable. Without one, even measured, careful watering will accumulate at the bottom of the pot and suffocate the roots. Saucers are fine — they catch excess water — but the pot must drain freely after each watering.
Watering schedule depends entirely on your home environment, so forget the calendar and learn the soil. Insert your finger one inch into the soil every two to three days. If it feels dry at that depth, water. If it still feels moist, wait. In summer with bright light and a permeable pot, this might mean watering every three days. In winter with dim light and a plastic pot, it might mean every twelve to fourteen days. The plant tells you what it needs — your job is to listen to the soil, not the calendar.
A final preventive step: fertilize your pothos every four to six weeks during spring and summer with a balanced liquid fertilizer diluted to half strength. This keeps nutrient levels stable so the plant never cannibalizes its own older leaves. During fall and winter, stop fertilizing entirely — the plant’s growth slows and it will not use the nutrients, leading to salt buildup in the soil.
With consistent watering habits, proper drainage, and seasonal adjustments, a pothos can live for decades in the same pot, growing longer and more beautiful with each passing year. The key is catching problems early, acting on the right cause rather than the visible symptom, and trusting that Epipremnum aureum is built to bounce back — you just have to give it the right conditions to do so.
Turn any PDF statement into a clean sheet
Skip the typos and the hours of copying. Our converter handles any bank statement format and outputs Excel, CSV, or QBO for QuickBooks. No file retention, free to try.
Convert your statement