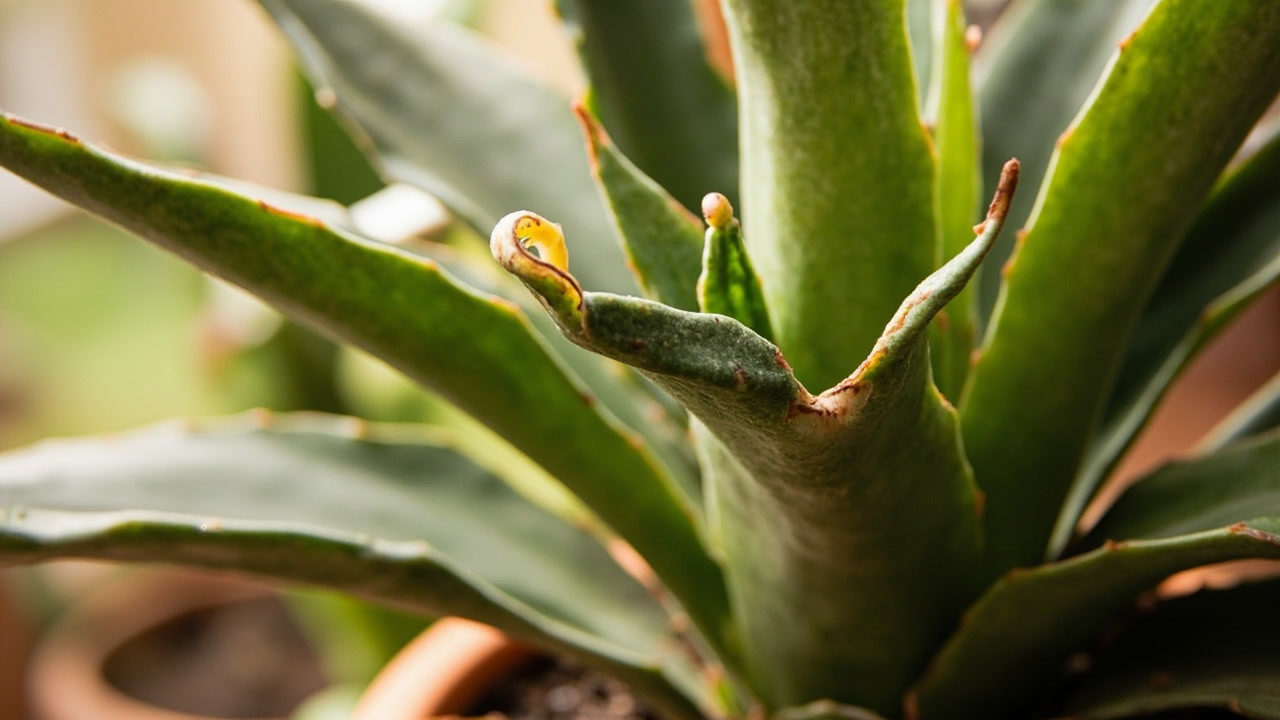
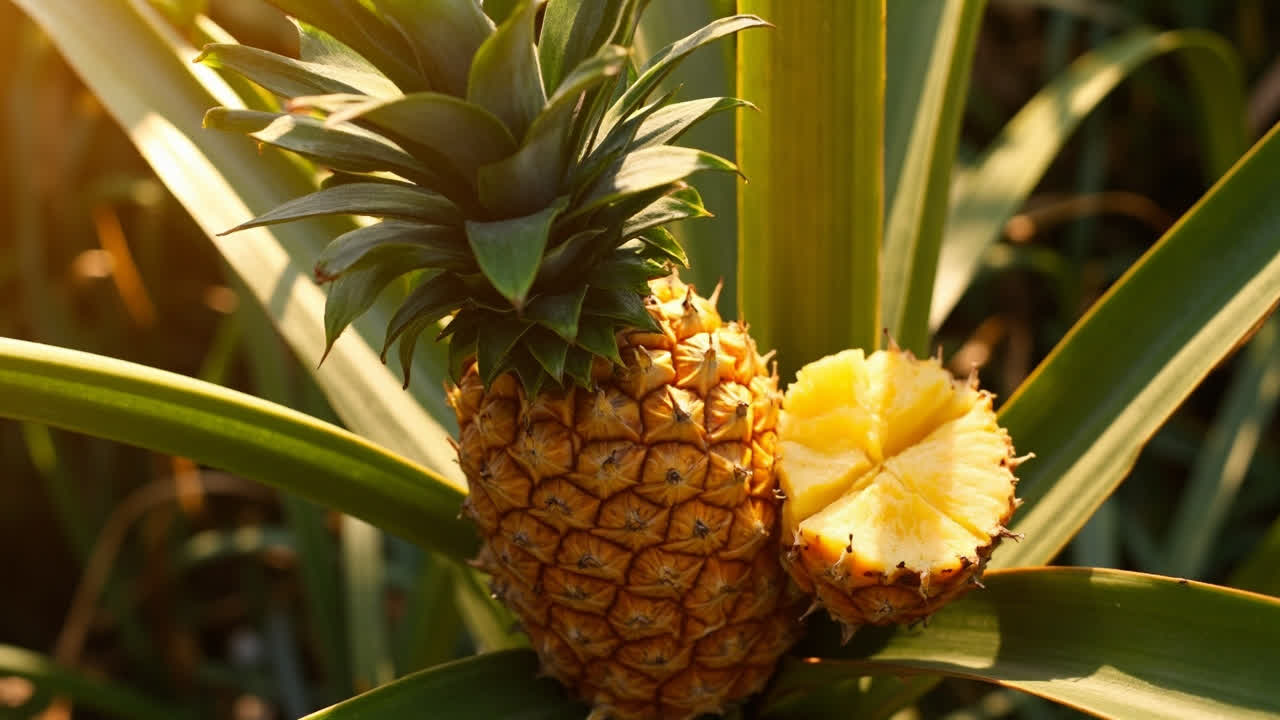
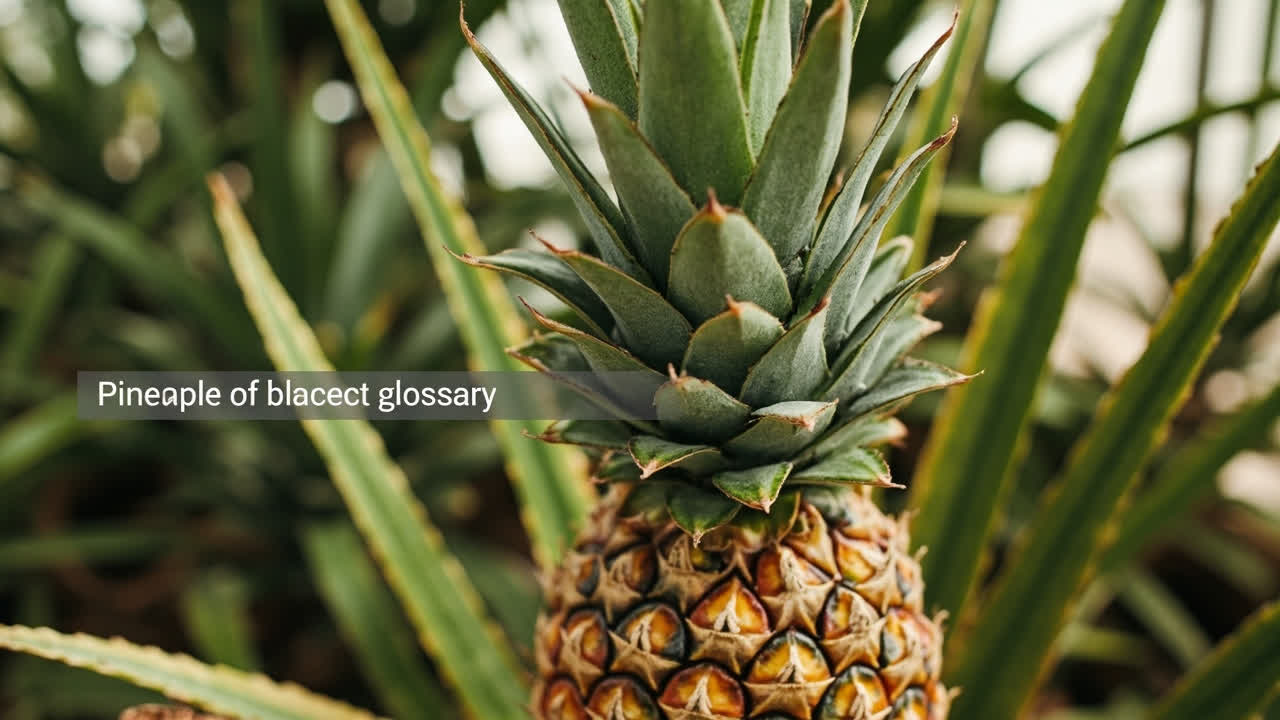
Here’s something most people don’t realize: the leafy crown sitting in your kitchen compost right now — the top you twisted off a store-bought pineapple — contains everything needed to grow a fully mature pineapple plant. Complete with the genetic programming to fruit in 2–3 years. Free. From grocery store waste.
The only trick is that you can’t just stick it in soil and expect it to thrive. The crown needs to be prepped correctly before it goes into any growing medium. That preparation step is what separates successful pineapple propagation from the slow rot that happens to most people who try it without knowing what they’re doing.
Once you understand the two-phase rooting process and the right conditions, it’s genuinely one of the most satisfying plant propagation projects you can take on. The plant grows slowly for the first year — establishing roots and leaf structure — then accelerates. Watching a plant you’ve propagated from kitchen waste develop into a multi-layered rosette of thick, serrated leaves is not like buying a started plant. It feels like you made something.
Method 1: Rooting the Crown in Water (Step by Step)
Water propagation is the most reliable method for beginners because you can observe root development and catch problems early. It takes 4 to 8 weeks for the crown to produce viable roots strong enough for soil transplanting.
Step 1: Prep the Crown
Cut or twist off the crown from a ripe pineapple. Don’t rush this — remove it cleanly at the base of the leaves where they meet the fruit. If you leave fruit flesh attached, it will rot in water. The ideal crown has:
- Bright green, firm inner leaves — not yellowed or wilted
- A clean white base where the leaves meet the core (no brown or soft spots)
- A diameter of roughly 3–5 inches at the widest point — smaller crowns can root but take longer
Strip off the bottom 2–3 layers of small leaves by hand — this is where the roots will emerge, and having them exposed to water directly improves rooting. You do not need to peel or cut the base — just expose the root primordia (the small bumps visible at the very bottom of the crown where leaves attach to the core).
Step 2: Set Up the Water Container
Use a clear glass jar or container — clear so you can monitor root development and water clarity. The container should be wide enough to hold the crown without forcing it in, and deep enough that the bottom 1–1.5 inches of the crown base sits submerged in water.
Do not use a vase that’s too tall and narrow — the crown needs air circulation around the leaves, and the water surface should be exposed to air. A wide-mouth mason jar or small aquarium works well.
Fill with room-temperature water (68–72°F / 20–22°C). Change the water every 3–4 days to prevent bacterial buildup. Every time you change the water, rinse the base of the crown gently and check for any softening or browning.
Step 3: Position and Wait
Place the jar in a bright location with indirect sunlight — not direct sun, which overheats the water and encourages algae. A north or east-facing windowsill works well for this phase.
What happens next: over the next 4–8 weeks, you will see root development. Small white roots will emerge from the base of the crown — initially as small bumps, then as thin white tendrils. The first sign is usually small root bumps appearing at the base after 2–3 weeks. Actual root extension follows 1–2 weeks later.
While waiting, the inner leaves will also start to look newer and slightly brighter — a sign the crown is generating new growth. The outer leaves may brown slightly at the tips, which is normal. If the entire crown turns brown and soft, it’s a failure — discard and start with a new crown from a different fruit.
Step 4: Transplant When Roots Are 2–3 Inches Long
The crown is ready for soil when it has multiple roots each at least 2–3 inches long. If you transplant before this — with only tiny root bumps — the crown will struggle to establish in soil and may fail. Patience here pays off.
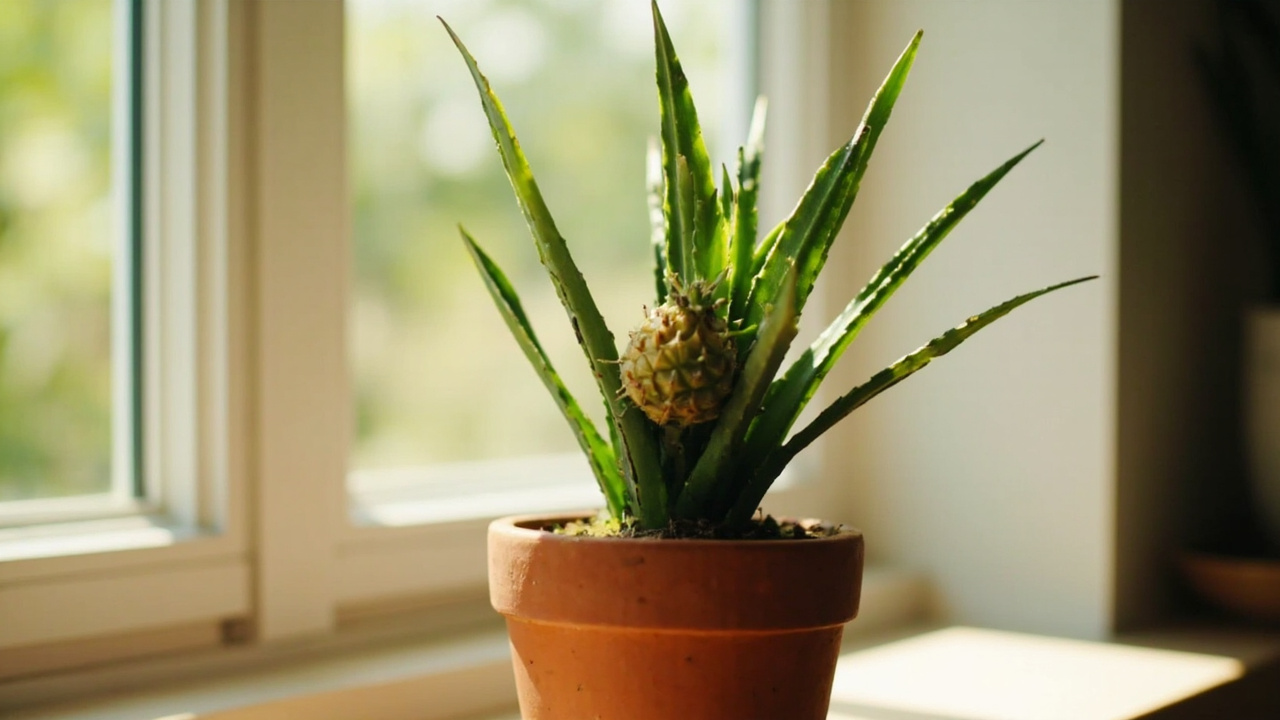
When ready, plant in a pot with fast-draining soil (more on soil below). The crown should sit at the same depth it sat in water — do not bury any of the leaf layers below the soil surface. Water lightly (just moistening the top soil), then place in bright indirect light for a few days before moving to your chosen permanent location.
Method 2: Rooting Directly in Soil
Some growers prefer to skip the water rooting phase entirely and plant the crown directly in soil. This works, but has a higher failure rate for beginners because you can’t see what’s happening below the surface.
Preparing the Crown for Direct Planting
The crown is prepped the same way as for water propagation — strip the lower leaves, expose the root bumps at the base. Then let the cut base air-dry for 24–48 hours before planting. This drying step is important: it allows the cut surface to callous over, which reduces rot risk when it contacts moist soil.
The Soil Mix Is Critical
Pineapple crowns in soil need a fast-draining, slightly gritty mix. A standard potting mix will stay too wet for too long and the crown will rot before rooting. Use a mix like:
- 50% standard potting soil
- 30% perlite or pumice
- 20% coarse sand or orchid bark
Or simply add 40% perlite to your regular potting soil. The mix should not compact or retain water for more than 2–3 days after watering.
Planting and Aftercare
Plant the crown so the base sits just at the soil surface — the root bumps should be barely covered. Firm the soil gently around the base so it’s stable but not compressed. Water lightly right after planting, then do not water again until the top 2 inches of soil are dry. The crown needs time to generate roots before it draws water from soil — watering too soon will suffocate the developing root zone.
Expect 6–10 weeks before you see clear evidence of rooting — usually new leaf growth from the center is the first sign, since you can’t see the roots. If the crown looks the same after 8 weeks (no new leaves, same firmness), it may not have rooted and could be declining. Check by very gently tugging on the crown — if it feels firmly anchored, roots have developed.
Propagation from Suckers and Pup
A mature pineapple plant naturally produces side shoots called suckers (growing from the leaf axils) and pups (small plantlets growing at the base around the mother plant). These are often superior to crown propagation because:
- Suckers and pups are genetically identical to the mother plant — predictable fruit quality
- They establish faster because they come with existing root systems
- The mother plant is already proven to fruit well if the pup came from a fruiting plant
- Pups can be separated and replanted while the mother plant continues growing and fruiting
To propagate from pups or suckers:
- Wait until the pup is at least 6 inches tall and has its own root system visible at the base
- Cut the pup cleanly from the mother plant with a sharp, clean knife or twisting motion
- Let the cut surface dry for 24–48 hours
- Plant in the same fast-draining soil mix as for crowns
- Water lightly and place in bright indirect light
Pups establish faster than crowns — often showing new growth within 2–4 weeks because they arrive with more stored energy and an existing root primordium.
Should You Remove Suckers from a Fruiting Plant?
If your pineapple plant is fruiting and produces suckers, there’s a trade-off decision to make. Suckers take energy away from the developing fruit — the plant is dividing resources between continuing fruit development and establishing the new growth. For larger, sweeter fruit, remove suckers as they appear and propagate them separately. For a home grower who wants to expand their pineapple collection and doesn’t mind slightly smaller fruit, leaving 1–2 suckers on the plant is fine.
Soil Mix Deep Dive: Why the Mix Matters
The soil mix is not a minor detail — it’s the difference between rooting success and root rot failure. Here’s why:
Pineapple roots need oxygen as much as moisture. In a dense, water-retentive soil mix, the air pockets between soil particles fill with water and the roots effectively drown. Root growth stops and anaerobic bacteria flourish. In a fast-draining, open mix, air stays in the pore spaces even after watering, and the roots can breathe while still accessing moisture.
The ideal pineapple soil mix: free-draining, slightly acidic (pH 4.5–6.5), and low in organic matter. Commercial cacti and succulent mixes often work well as a base, amended with perlite. Orchid bark mixed with coir fiber also works — the chunky texture maintains air pockets while retaining some moisture.
Pot Size and Setup for Propagated Pineapple
Start propagated crowns and pups in a 4–6 inch pot. Going too large too fast causes the soil volume to stay wet too long relative to the small root system. As the plant grows and the roots fill the pot, upsize gradually — moving up 1–2 inches in diameter at a time.
The pot must have drainage holes. Terracotta is preferable initially because it helps the soil dry faster and prevents overwatering mistakes. As the plant matures and you become more confident in reading its water needs, you can transition to plastic or ceramic if preferred.
Do not use a pot saucer that holds water. After watering, any excess should drain immediately and the saucer should be emptied. A pot sitting in a saucer full of water is the same as having no drainage.
Timeline: What to Expect After Propagation
- Week 0–4: Root initiation. Crowns establish root structure; no visible top growth yet. Leaves may look the same or slightly duller.
- Month 2–3: First visible new leaf growth from center. Roots are developing. The plant has successfully transitioned to soil.
- Month 4–12: Active leaf growth. The rosette expands with new leaves emerging from the center monthly. Plant reaches 8–12 inches across.
- Year 2: Plant is established. Leaves are thick, deep green, and the rosette is structurally mature. The plant is building toward potential flowering.
- Year 2–3: Flowering (if conditions are met). A red flower head emerges from the center. This is the signal that fruit is developing. Fruit takes 5–7 months to mature after flowering.
Not all indoor pineapple plants will flower — some need a stress trigger (cooler night temperatures, shorter days) to initiate blooming. But the majority of healthy, mature plants will flower eventually with the right conditions. Patience is part of the deal.
The Trade-offs: What This Process Can’t Do
Growing pineapple from propagation is a long-term project. You will not see fruit in year one, and likely not in year two either — unless you’re in a very warm climate with ideal conditions. For most people in temperate climates growing indoors, 2–3 years before fruiting is realistic. If you’re looking for a plant that delivers quick gratification, this isn’t the right project.
Also: store-bought pineapple fruit is grown from selected cultivars bred for uniformity and sweetness. When you propagate from the crown of such fruit, the resulting plant may produce fruit that differs slightly from what you bought — not necessarily worse, just variable. For genetically identical propagation, you’d need to use suckers or pups from a plant whose fruit you already know and like.
One more thing: not every crown will root successfully. About 20–30% failure rate is normal even with good technique. If your first attempt fails, try again with a different fruit — different pineapples have different vigor, and seasonal variation in freshness affects propagation success.
Internal Links: Continue Learning
Once your propagated pineapple is established, the full growing guide covers ongoing care including light, fertilizer, and when to pot up. If you’re propagating in water, the general houseplant propagation guide has more detail on the rooting phase that applies here. For troubleshooting rooted crowns that fail to establish, see the dying pineapple plant guide — the most common early-stage problems are covered there.
Turn That PDF Into a Spreadsheet in Minutes
You've seen how to do it manually — now let the tool handle the heavy lifting. Upload your bank statement and get Excel, CSV, or QBO in a few clicks.