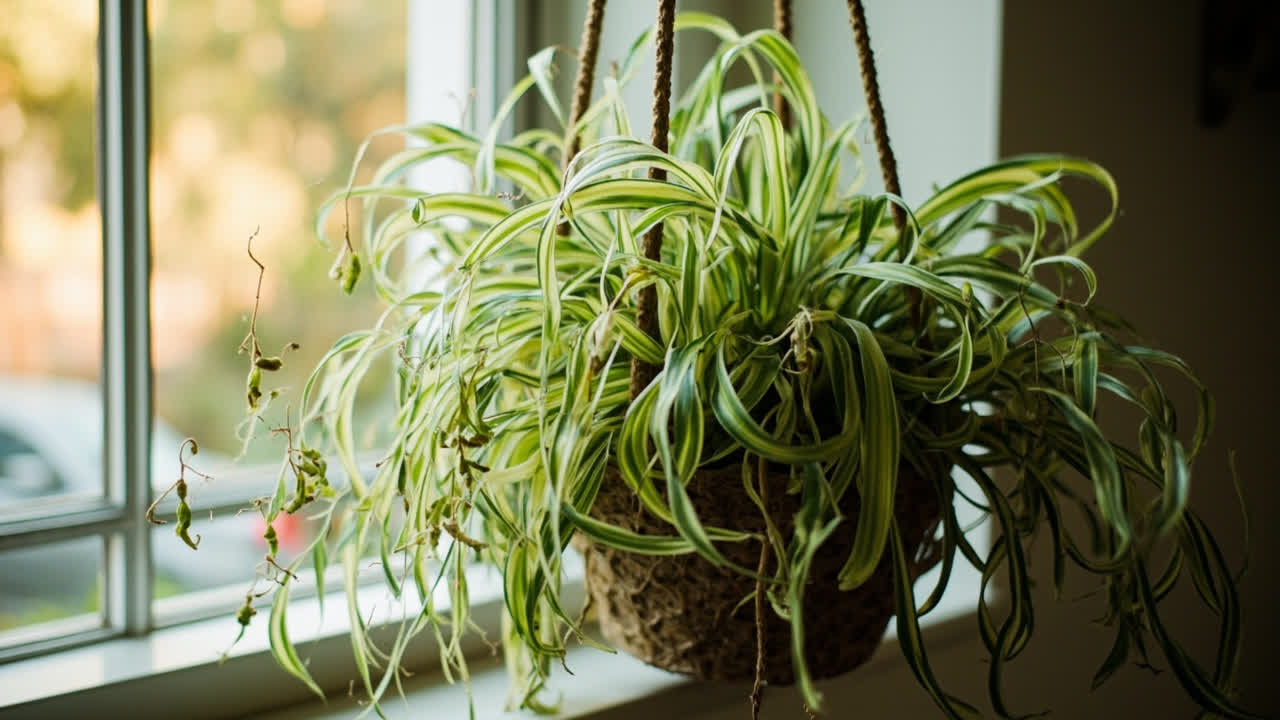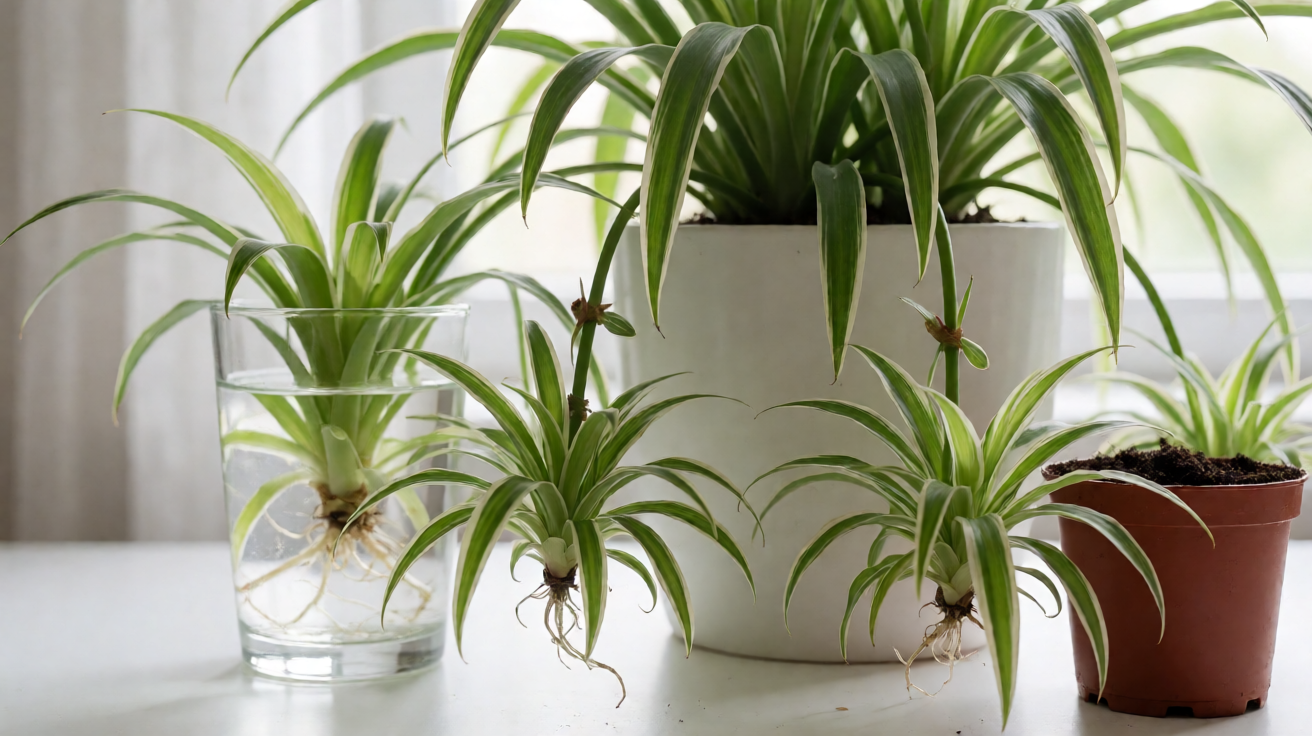

Spider plant propagation works because the houseplant does most of the work for you: a mature parent pushes out long arching runners tipped with stolons and ready-to-root spiderettes, so even a beginner indoor gardener can clone their Chlorophytum comosum for free in two to six weeks. The catch is that four viable methods exist (propagation in water, propagation in soil, division, and layering), and each one fits a different situation. Pick the wrong one and you waste a month. Pick the right one and you triple your hanging basket collection by spring, even from a single root bound nursery pot at any pot size.
This page is the propagation Sub-Pillar for the spider plant cluster. It does not replace the deep how-to on water versus soil, the division walkthrough, or the pet-safe care page; those siblings own their specific decisions. Read this page first to choose your method, then jump to the procedure that fits your bright indirect light windowsill setup.
Pick the Right Method for Your Plant
The four spider plant propagation paths are water rooting, soil rooting, division, and stolon layering. Each one answers a different question, and your mother plant’s current state decides which one to use. A variegated Vittatum, a curly Bonnie, and a plain green spider plant all respond to the same four methods; only the variegation loss trade-off under low light tolerance conditions changes which one is safest.
Start by checking three things on your spider plant: whether it is producing stolons with plantlets right now, whether the pot is root bound with multiple crowns, and whether the parent looks leggy or weak. Those three answers route you to one of the four methods below. If your plant has not pushed any spiderettes yet, the cause is usually light or age, not the propagation method itself; the spiderette production guide walks through that diagnosis first, including fertilizer timing and salt buildup fixes that affect budding.
Decision map by situation
Use this short decision map to pick your method in under a minute. It assumes a healthy, mature spider plant in a normal indoor setup with bright indirect light from an east-facing window or a north-facing window.
- Plant has visible spiderettes on stolons, parent looks fine: water or soil rooting of one or more plantlets. This is the safest first propagation for most readers.
- Plant is root bound, several crowns visible at the soil line, you want more plants fast: division. You will get two to five plants in one session, depending on the tuber mass.
- Parent is leggy, weak, or has only one or two crowns but no spiderettes: division still works, but expect a longer recovery window and consider pairing it with the rescue guide before you propagate.
- You want zero risk to the parent and you have patience: stolon layering. The plantlet roots while still attached to the mother plant, so a failed attempt costs nothing.
How Spiderette Biology Makes Propagation Easy
Spider plants are unusually generous because they reproduce in two ways at once. A mature parent grows fleshy storage tubers underground that store water and starch, and these tubers sprout new crowns that can be split apart. At the same time, the parent sends out long arching stolons with ribbon leaf tips, thin stems tipped with a small rosette of leaves called a spiderette or plantlet, that already carries the beginnings of adventitious roots at its base.
Those pre-formed root nodes are why spider plant propagation succeeds even for beginners. The plant has done the cellular work before you ever pick up a pair of scissors. You are not asking the cutting to invent roots; you are giving it the conditions to grow ones it already prepared. The trade-off is timing: cut a spiderette before its root nub swells and you are rooting a leaf, not a plantlet. Wait until the nub is visibly plump and you cut with a built-in head start.
This biology is also why division works without hormone or special equipment. Each fleshy tuber (a true storage root, with a fleshy root core packed with starch and water) acts as a battery for the divided plant; as long as each new piece keeps at least two tubers and one crown, it can recover on stored starch while it rebuilds its root system in a fresh indoor potting mix. Division is also the moment when root rot shows up if the parent was already sitting in soggy soil; a quick inspection of the tuber color before you split saves a post-division rescue. The variegation loss trade-off is real here: a divided Vittatum offset sometimes reverts to plain green if light is dim, which is why most growers skip root pruning on the offset and let the new crown establish before any cutting. For the long-term care context that keeps the parent healthy enough to keep producing, the main care guide covers the bright indirect light and humidity range that drives spiderette output and keeps the variegated foliage intact.
Water vs Soil vs Division vs Layering: How to Choose
Here is the side-by-side comparison across the four methods. The columns that usually decide the choice are parent risk, timeline, and equipment. Pick the row that matches the columns you care most about.
| Method | Parent risk | Equipment | Timeline to roots | Best when |
|---|---|---|---|---|
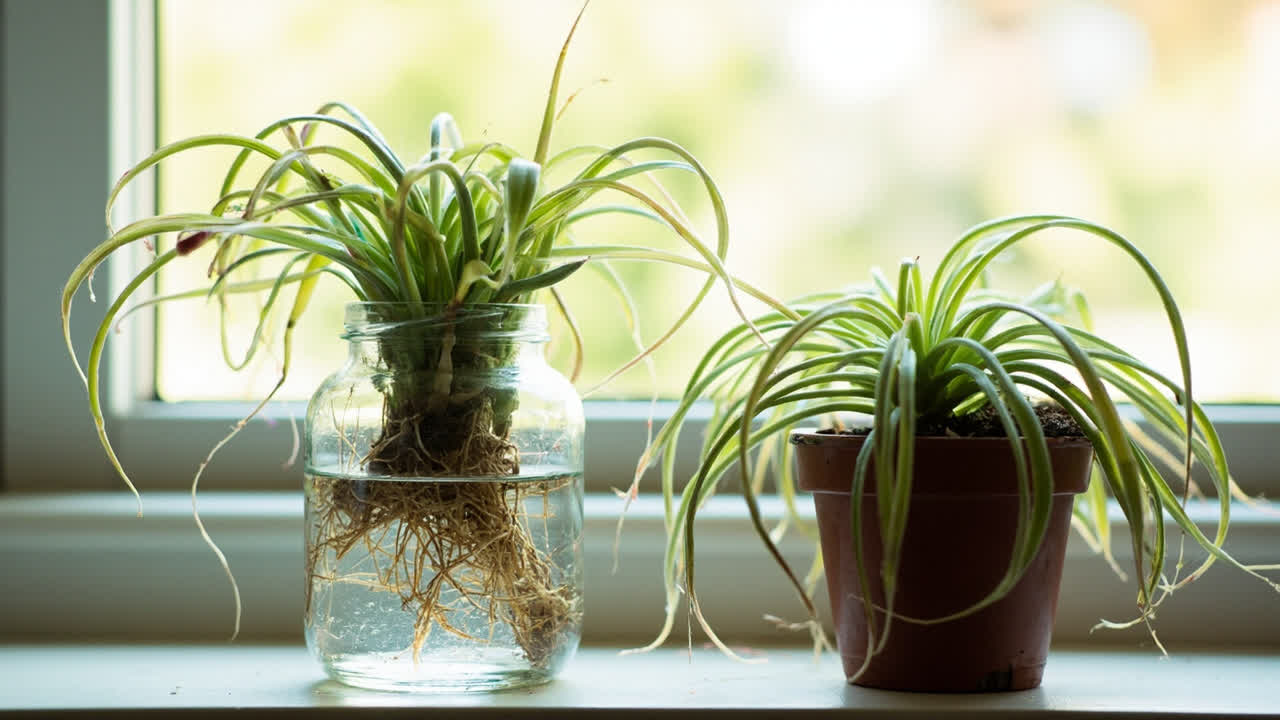
| Water rooting | Low (single stolon cut) | Glass jar, distilled water | 7 to 14 days | Reader wants to watch roots form and has only one or two plantlets |
| Soil rooting | Low (single stolon cut) | Small pot, fresh mix | 3 to 5 weeks | Reader wants to skip the transplant step and avoid root transition shock |
| Division | Medium (entire root mass split) | Sharp knife, two pots | 2 to 4 weeks recovery | Parent is root bound with multiple crowns and reader wants several plants fast |
| Stolon layering | Zero (no cut made) | Small pot, light mix | 3 to 5 weeks | Reader is cautious or the parent has only one stolon to spare |
Water and soil rooting are the everyday paths. Division is the high-yield path when the parent is overgrown. Layering is the safety path when the reader does not want to risk losing either plant. Rooting hormone helps but is not required; spider plant cuttings carry enough stored energy in the tuber-anchored nub that they root on filtered water or rainwater alone. If you already know you want the water-versus-soil deep dive, the comparison walkthrough is the next page to read after this one.
Method 1: Root Spiderettes in Water
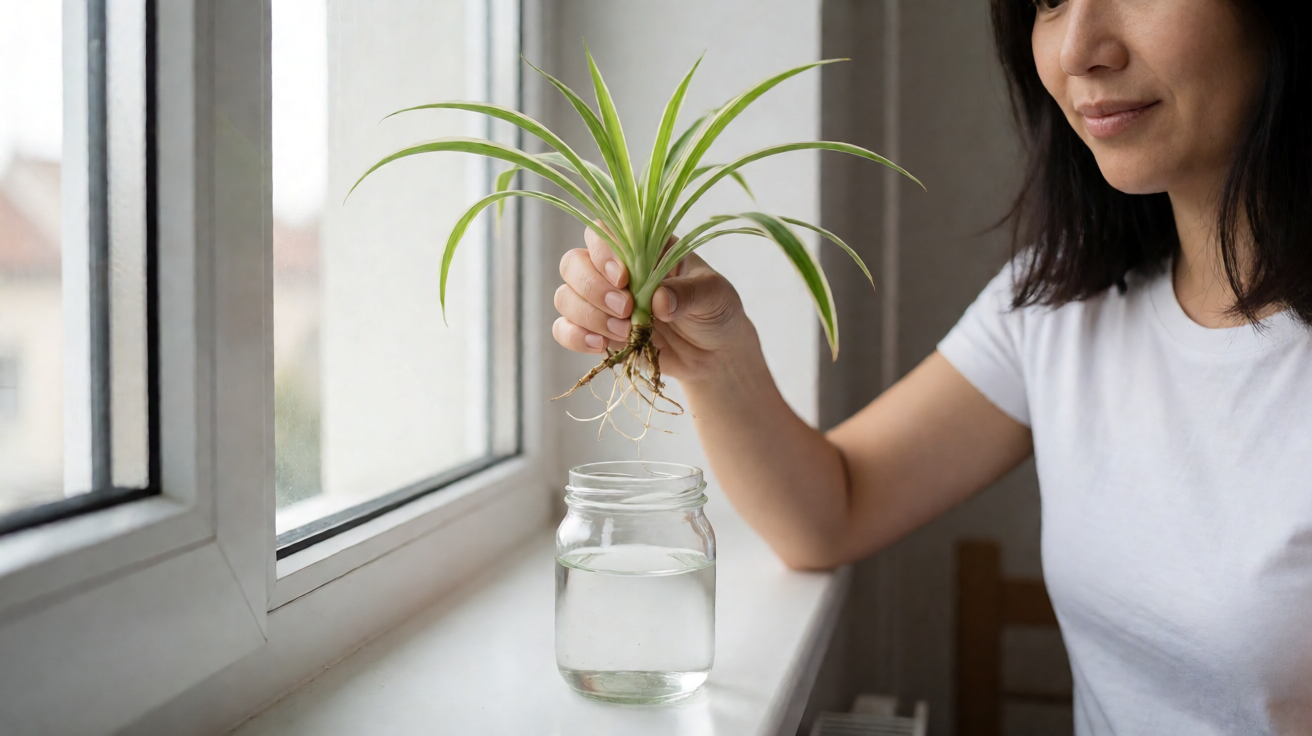
Water rooting is the most beginner-friendly spider plant propagation method because you can see the roots grow and you can catch rot before it spreads. Use it when you have one or two plump spiderettes and you do not want to handle soil yet. Most Vittatum, Variegatum, and Bonnie spiderettes respond the same way; the variegated Bonnie cultivar (the classic curly spider plant with tightly curling leaves) sometimes roots a few days slower because its curly leaves lose moisture faster in dry indoor air, so humidity matters more for that cultivar.
- Pick a spiderette whose base nub is swollen and shows white or pale root initials. A spiderette without a nub will sit in water for weeks without rooting.
- Cut the stolon about 2 to 3 cm above the plantlet with clean scissors. Leave the long stolon attached to the parent for now; it keeps producing food for the cutting until you cut it loose.
- Set the cutting in a small glass so only the root nub is submerged. Keep the leaves dry above the waterline to prevent rot.
- Place the glass in bright indirect light and change the water every two to three days. Use distilled water, rainwater, or filtered water if your tap water carries fluoride; fluoride sensitivity is the most common reason a healthy cutting develops brown leaf tip damage during water rooting.
- Wait seven to fourteen days for roots about 2 to 4 cm long, then pot up in a small nursery pot or decorative pot with a fresh well-draining mix.
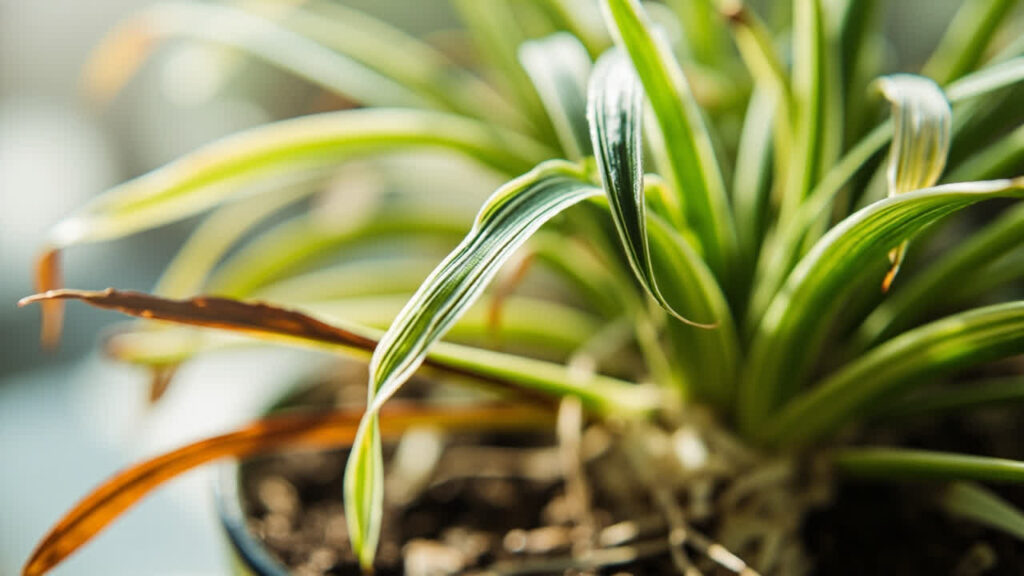
If your tap water leaves brown tips on the parent, your cuttings will show the same stress. Use filtered, distilled, or rainwater for the glass, and read the water quality guide if brown tips appear on the new roots. After potting, water once and let the top 2 cm of soil dry before the next drink. Occasional leaf cleaning with a damp cloth keeps the arching leaf surface clear so the cutting can photosynthesize while it roots.
Method 2: Root Spiderettes in Soil
Soil rooting skips the water-to-soil transition that sometimes shocks water-rooted cuttings. The plantlet stays in one medium from day one, which means less transplant risk at the cost of not being able to watch root growth. Use this method when you have several spiderettes, when you want a cleaner final pot, or when your tap water is hard enough to mark the leaves. Soil-rooted cuttings also build a stronger root system because the new roots never have to switch from water-uptake to soil-uptake.
- Choose a small pot with drainage holes, about 8 to 10 cm wide. Fill with a light mix: two parts peat or coco coir, one part perlite, one part vermiculite.
- Cut the spiderette from the stolon, leaving about 2 cm of stem below the leaves. Dip the cut end in water, then optionally in a small amount of rooting hormone. Spiderettes root fine without hormone; the powder just speeds things up by a week.
- Make a hole in the mix with a pencil, drop the plantlet in so the root nub sits at the surface, and firm the mix around the stem.
- Water until it drains from the bottom, then let the top 2 cm of mix dry before watering again. A humidity dome made from a clear plastic bag with a few air holes helps in dry homes.
- Expect new leaf growth in four to six weeks. Until then, resist the urge to tug the cutting; tugging breaks the new roots.
The mix matters more than the rooting hormone here. A heavy garden soil stays wet and rots the nub; a peat-heavy indoor mix dries evenly and breathes. The potting mix guide breaks down the exact ratios Aqualogi uses for rooted spider plantlets. Skip over-fertilization in the first month; salt buildup in fresh mix burns tender new roots and shows up as leaf yellowing and leaf tip browning before the plantlet has stored energy to recover.
Method 3: Divide the Parent Plant
Division is the right method when the parent has outgrown its pot, you can see multiple crowns at the soil line, and you want several new plants in a single session. The trade-off is that you cut into the root mass, so the parent carries more risk than a single spiderette cut. Pick a healthy parent, do it during the active growing months, and divide cleanly. Spider plants are non-toxic to cats and non-toxic to dogs, so the cuttings and divisions are safe around curious pets.
- Water the parent the day before so the root mass holds together. A dry root mass crumbles and damages the tubers.
- Slide the parent out of its pot and lay it on its side. Brush off loose soil so you can see the crowns and tuber clusters.
- Identify natural separations where one or two crowns share a tuber mass. Use a clean, sharp knife to slice through the rhizome between clusters.
- Pot each division in fresh mix at the same depth it was growing. Water once to settle the mix, then hold off until the top 2 cm dries.
- Keep the new pots in bright indirect light for two to four weeks. Expect some leaf droop or leaf folding in the first week; that is normal transplant stress, not a sign the division failed.
Division is the method most often botched by cutting too small. A division needs at least two or three crowns and a chunk of tuber mass to recover. Single-crown divisions look tidy but rarely push new growth because they have no stored energy left. The full division walkthrough has the photo sequence for clean cuts and pot sizing. If your pothos comparison question is “why not just root pothos cuttings instead,” the answer is that spider plant cuttings root faster because of the pre-formed nub and tuber anchor.
Method 4: Layer the Stolon Without Cutting
Stolon layering is the zero-risk method. The plantlet stays attached to the parent the entire time it roots, so a failed attempt costs you nothing and the parent keeps growing. Use it when you have only one spiderette to spare, when the parent is a sentimental plant you do not want to risk, or when you simply want to learn how the roots form without any cutting tools. It is also the best method if your plant pushes out a stolon during winter dormancy, when the parent has the least stored energy to spare on a severed cutting.
- Fill a small pot with the same light mix used for soil rooting. Place it next to the parent so the stolon can reach without bending.
- Bury the spiderette’s root nub under about 1 cm of mix. Use a small stone or a bent paperclip as an anchor so the nub stays in contact with the soil.
- Keep the small pot watered on the same schedule as the parent. The stolon still feeds the cutting until you sever it.
- After three to five weeks, tug gently. If you feel resistance, the plantlet has rooted.
- Cut the stolon close to the new plantlet, leaving about 1 cm of stem attached. Pot up or grow on in the same container.
Layering mirrors the principle behind air layering on woody-stemmed houseplants: root before you cut. The timeline is longer than water rooting but the success rate is the highest of the four methods, because the cutting is never separated from its energy supply.
Recovery: When Roots Do Not Form
Spider plant propagation fails in three predictable ways: the nub rots, the nub never swells, or the rooted cutting collapses after potting. Each one has a specific cause and a specific fix.
Rot at the base
A brown or mushy nub means the cutting sat in stagnant water or in mix that stayed too wet. Cut above the rot with clean scissors, let the cut end air-dry for an hour, and restart in fresh water or a drier mix. Do not reuse the old water or old mix; bacterial rot persists in both.
No roots after three weeks
A spiderette that sits in water with no root growth usually had no root initials to begin with. Cut it back to the parent and pick a different plantlet whose nub already shows pale root bumps. If every plantlet on the parent lacks nubs, the parent is too young or the light is too low; the spiderette production guide walks through fixing that first, including a switch to a balanced NPK diluted fertilizer if over-fertilization has stalled the plant.
Transplant collapse after potting
A rooted cutting that wilts within a day of potting is in transition shock from water to soil or from a small pot to a larger one. Keep it in bright indirect light, mist the leaves for two to three days to lift humidity around the ribbon leaf surface, and hold off on fertilizer until you see new leaf growth. If the parent itself collapses after division, the recovery path is in the rescue guide.
The honest limit here is that some cuttings fail for no clear reason. Spider plants are forgiving, but they are not magic. Expect a 70 to 90 percent success rate across a batch of plantlets; if your success rate drops below half, check water quality, light, and the maturity of the spiderettes before blaming the method. A reverse variegation cultivar like the white-stripe Vittatum shows stress faster than a plain green form, so start with easier cultivars if this is your first round.
Potting Up the Rooted Plantlet
Once the plantlet has roots about 2 to 4 cm long, move it into its own small nursery pot or decorative pot, about 8 to 10 cm wide, with a fresh well-draining mix. Water once to settle the soil, then let the top 2 cm dry before the next watering. Bright indirect light keeps the new plant compact while the root system catches up.
This is also the moment to step back into the broader spider plant care rhythm. The main care guide covers the watering schedule, light range, humidity target, and balanced NPK fertilizer cadence that turn a freshly potted plantlet into a spiderette-producing mother plant within a year. As a beginner houseplant, the spider plant rewards this loop more than almost any other trailing plant; one parent in a hanging basket becomes a colony by next spring. From there, you can run this same propagation loop again on your new plants and keep the cycle going.
Turn That PDF Into a Spreadsheet in Minutes
You've seen how to do it manually — now let the tool handle the heavy lifting. Upload your bank statement and get Excel, CSV, or QBO in a few clicks.
Try It Free