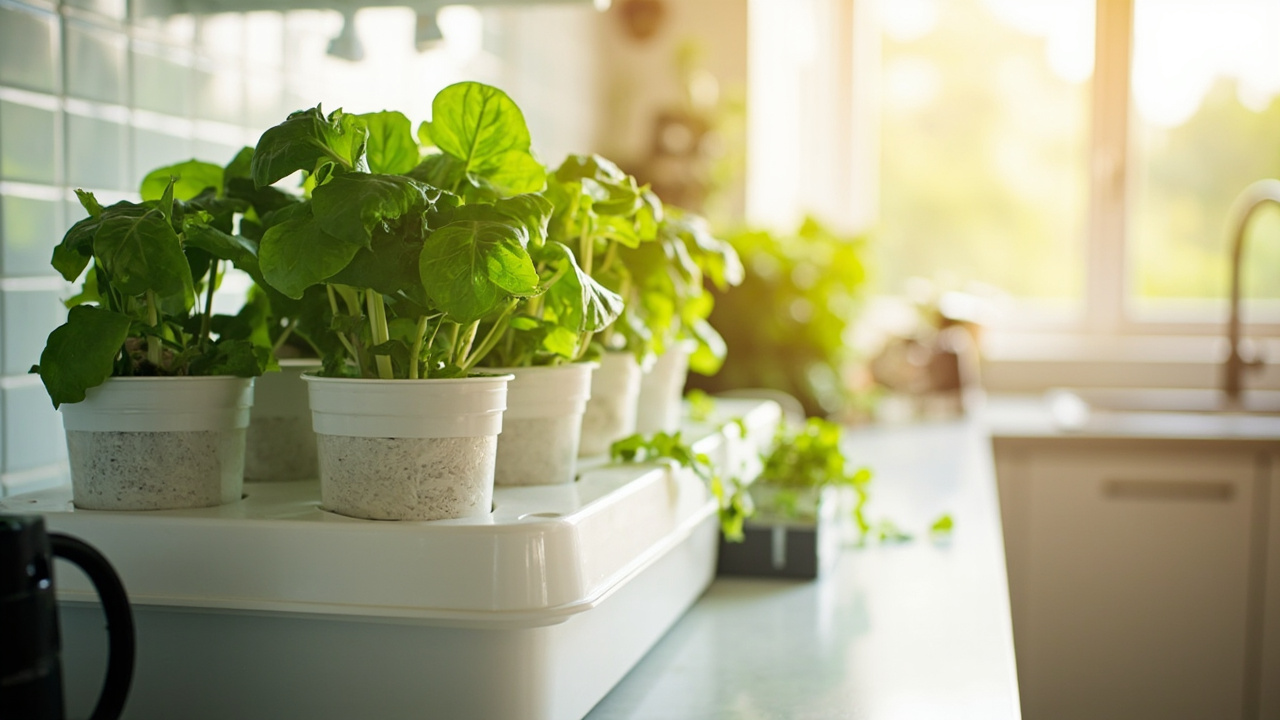

Hydroponics is growing plants in nutrient solution instead of soil. That is the entire definition; everything else is a system for delivering the solution to the roots and a recipe for what the solution should contain. Once you see hydroponics that way, the 6 system types stop being a buffet of confusing options and become a small set of trade-offs matched to your space, your budget, and what you want to grow.
This page is the mental model that ties together every page in the Aqualogi hydroponics library. It does not replace any specific system build or nutrient recipe. It gives you the framework to look at any new system, nutrient brand, or crop and predict whether it will work in your situation. Once you have that framework, the 50+ specific guides in the rest of the cluster make sense instead of feeling like separate trivia.
What Hydroponics Actually Is (and What It Is Not)
Hydroponics is one specific category of soilless growing. The roots sit in, or are periodically fed by, a water-based nutrient solution. The plant gets everything it needs from that solution: nitrogen, phosphorus, potassium, calcium, magnesium, sulfur, and the micronutrients (iron, manganese, zinc, copper, boron, molybdenum). The only thing missing is the soil itself.
What hydroponics is not: it is not automatically faster, bigger, or more productive than soil growing. A well-managed soil garden outperforms a poorly managed hydroponic setup every time. Hydroponics gives you more control over the root environment, and that control is what produces the gains. Lose the control and you lose the gains, with the added risk of system failures (pump clog, pH crash, nutrient depletion) that a soil garden does not have.
Why the Soil-Free Claim Matters
Removing soil removes the buffer that soil provides. In soil, the pH drifts slowly, nutrients release over weeks, and root pathogens compete with beneficial microbes. In hydroponics, every variable the soil used to buffer is now in your solution, which means every variable is now something you have to manage yourself. That is the trade. More control means more responsibility.
For the full breakdown, see our hydroponics at home physics.
The Six Hydroponic System Types
There are six commercially relevant hydroponic system types. Each one solves a slightly different problem, and the differences matter because they determine which crops you can grow, how much maintenance the system needs, and what can go wrong.
Deep Water Culture (DWC)
The simplest system. Plant roots sit in a bucket or tank of nutrient solution, usually with an air pump and air stone to keep the solution oxygenated. Best for: lettuce, herbs, and other lightweight greens. Worst for: large fruiting plants (tomatoes, peppers) that need more root support than a bucket can provide. The hydroponic system guide for gardeners has a full DWC build walkthrough.
Nutrient Film Technique (NFT)
A shallow stream of nutrient solution flows continuously through channels or tubes, with plant roots dangling into the flow. Best for: commercial-scale lettuce and herb production. Worst for: home growers who do not want a pump running 24/7; pump failure dries the roots in hours. The how to choose a hydroponic system guide covers when NFT makes sense vs DWC.
Kratky (Non-Circulating)
The simplest possible system. Plants sit in a net pot over a static reservoir of nutrient solution; as the plant drinks, the water level drops, leaving an air gap between the solution and the roots. No pump, no electricity, no timer. Best for: beginners, classroom setups, and small batches of lettuce. Worst for: anything that needs more than 4 to 6 weeks of growth before harvest, because the solution runs out.
Ebb and Flow (Flood and Drain)
A tray of plants is periodically flooded with nutrient solution from a reservoir below, then drained back. A timer and pump run the cycle. Best for: mid-scale home setups growing a variety of crops in the same system. Worst for: very small setups where the pump cycle is too short for the tray to drain properly. Our best hydroponic system for home guide ranks Ebb and Flow among the top three options for serious home growers.
Aeroponic
Plant roots hang in air inside a chamber and are misted with nutrient solution on a timer. The highest oxygenation of any system, which produces the fastest growth in theory. Best for: research, propagation, and high-value crops where the system complexity is worth it. Worst for: home beginners; misting nozzles clog, timers fail, and a missed cycle kills the roots. An aeroponics vs hydroponics comparison explains the practical trade-offs.
Drip System
Each plant gets its own drip emitter that feeds nutrient solution on a timer, with the runoff collected back into the reservoir. Best for: larger fruiting plants (tomatoes, peppers, cucumbers, strawberries) and commercial-scale greenhouses. Worst for: small leafy green setups, where the plumbing complexity is overkill. The drip system is the most common commercial hydroponic system worldwide.
The Three Nutrient Variables You Actually Control
Every nutrient solution has three numbers that matter. They look like alphabet soup on a fertilizer label, but each one maps to a specific plant process you can observe.
NPK: The Macronutrient Ratio
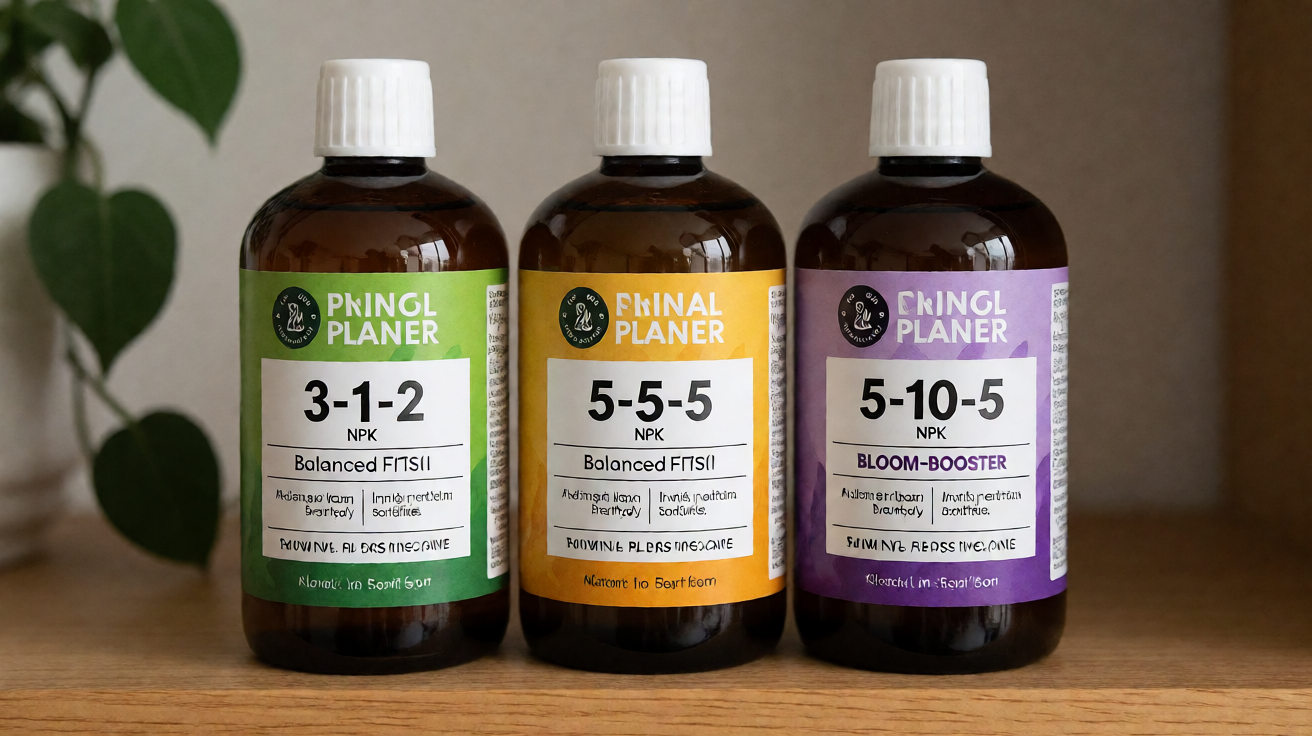
Nitrogen drives leafy growth. Phosphorus drives root development and flower set. Potassium drives fruit quality and overall plant vigor. A vegetative lettuce wants a high-nitrogen solution (think 8-15-36 or similar). A fruiting tomato wants a lower-nitrogen, higher-phosphorus and potassium solution (think 4-18-38 or similar). The hydroponic fertilizer for tomatoes guide walks through the exact NPK ratios for each growth stage.
pH: The Root Zone Chemistry
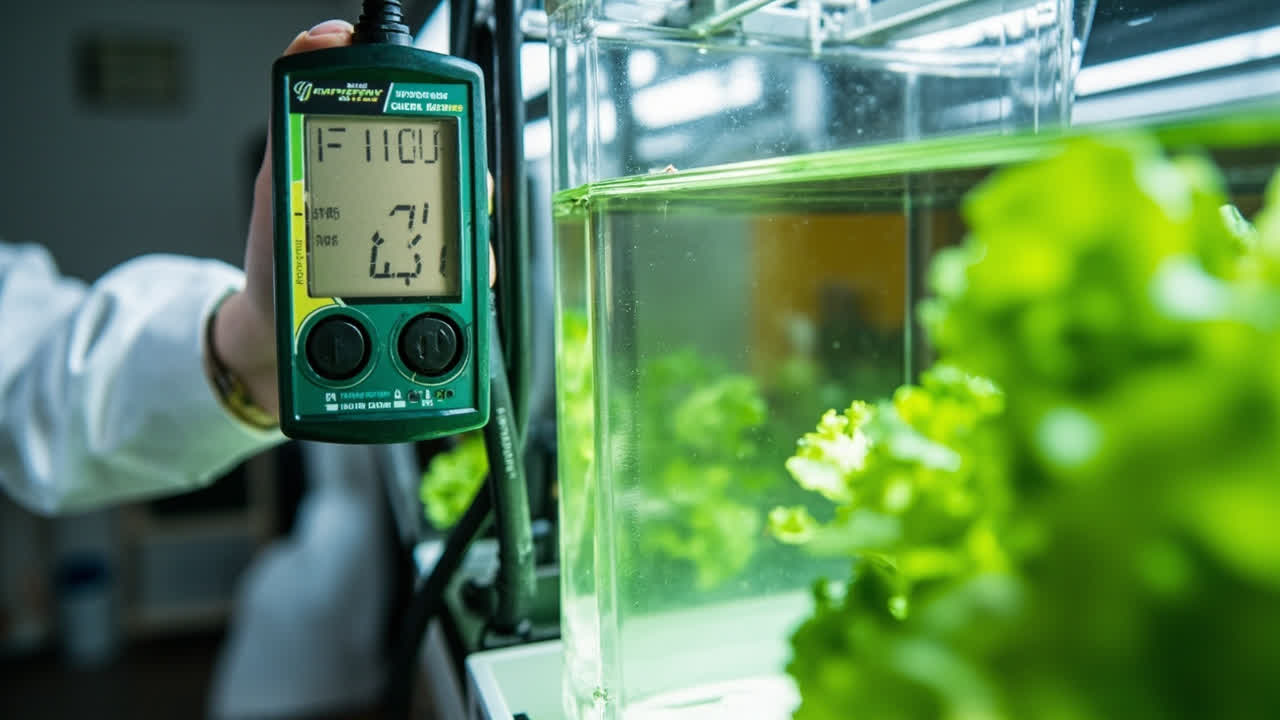
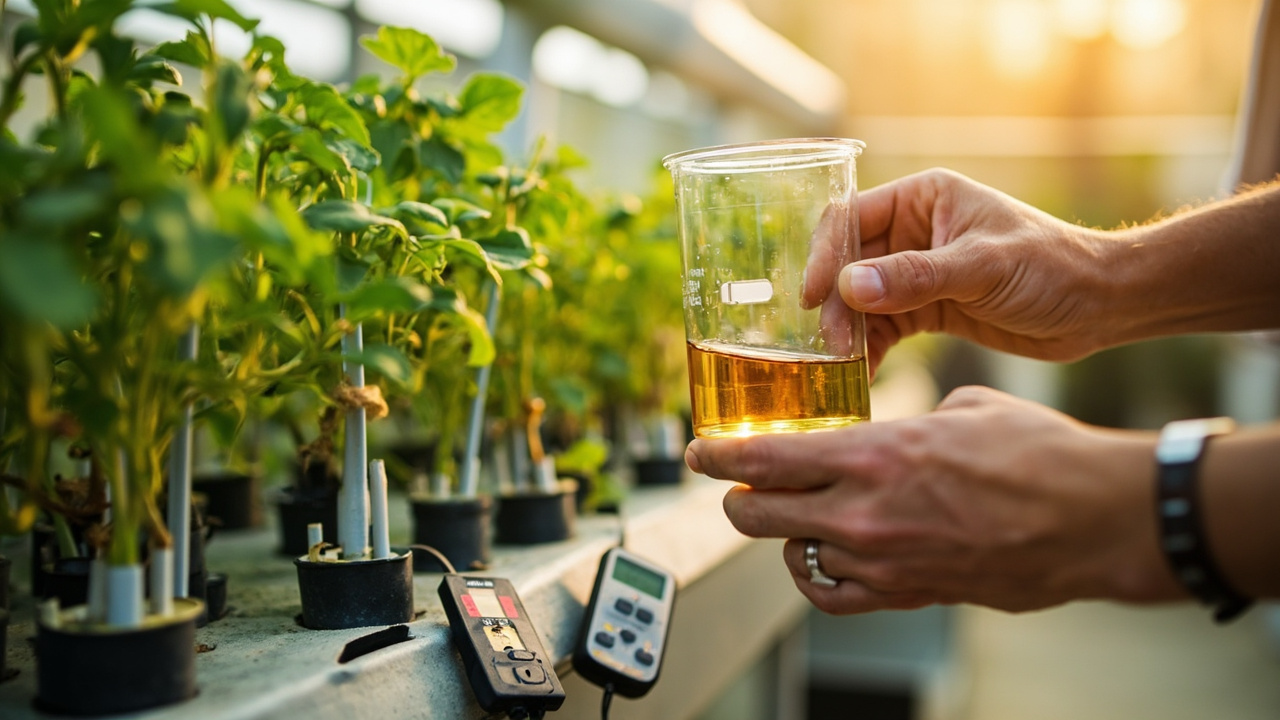
pH is the measure of how acidic or alkaline the nutrient solution is. Most hydroponic crops want a pH between 5.5 and 6.5. Outside that range, the plant cannot absorb certain nutrients even if they are present in the solution, a condition called nutrient lockout. The pH drifts up over time as the plant drinks, so you check and adjust it every few days with pH Up or pH Down solutions. Our pH levels in hydroponics guide covers the full pH management protocol.
EC (Electrical Conductivity): The Nutrient Strength
EC measures how much dissolved salt is in the nutrient solution, which is a proxy for nutrient concentration. Low EC means weak solution; high EC means strong solution. Leafy greens want EC around 1.0 to 1.6 mS/cm. Fruiting crops want higher EC, around 2.0 to 3.5 mS/cm as the fruit sets. EC drifts up as the plant drinks water (transpiration concentrates the salts), so you either add plain water or refresh the solution when EC climbs.
Matching System to Crop
The single biggest reason hydroponic setups fail is system-crop mismatch. A DWC bucket cannot support a tomato plant that wants 5 gallons of root mass and 8 feet of vine. An NFT channel cannot support a head of lettuce that wants to weight 12 ounces at harvest. Match first, build second.
Leafy Greens and Herbs
Lettuce, spinach, kale, basil, mint, parsley. All want a shallow root zone, low to medium EC, and continuous or frequent feeding. Best systems: Kratky for absolute beginners, DWC for slightly larger setups, NFT for commercial-scale production. The best plants for hydroponics guide has the full crop-by-system matchup.
Fruiting Crops (Tomatoes, Peppers, Cucumbers, Strawberries)
These want a deep root zone, high EC during fruiting, and a system that can support heavy plants. Best systems: drip for tomatoes and peppers in larger containers, Dutch buckets for single plants, Ebb and Flow for mixed plantings. The hydroponic tomatoes guide covers the most popular fruiting crop in detail.
Microgreens and Sprouts
The fastest hydroponic crops. Trays of microgreens like arugula, radish, and broccoli can be harvested 7 to 14 days from planting. Best system: shallow trays with a nutrient solution or mat underneath. The crop is so short-lived that pH and EC precision matters less than for longer crops.
What Does Not Grow Well Hydroponically
Root vegetables (carrots, beets, potatoes) want soil structure to push against; they grow but often misshapen in hydroponics. Large trees and long-season perennials are technically possible but rarely worth the effort. Anything you can grow cheaper in a soil garden (most field crops, large squash, corn) is better left in soil.
Growing Media: What Goes in the Net Pot
In soil, the soil is both the anchor and the nutrient source. In hydroponics, the growing medium is just the anchor; the nutrient solution does the feeding. That changes what you want in the net pot.
Rockwool
The most common commercial medium. Made from spun basalt rock, holds both water and air well, pH neutral once conditioned. Best for: propagation of seedlings and NFT/DWC channels. Watch for: pH drift in new rockwool; soak in pH-adjusted water before use. A dedicated rockwool preparation guide covers soaking and reuse.
Clay Pebbles (Hydroton, LECA)
Expanded clay balls, pH neutral, reusable for years. Best for: Ebb and Flow trays and Dutch buckets. Watch for: dust clogging pumps; rinse before use.
Coco Coir
Coconut husk fiber, holds water well, slightly acidic. Best for: drip systems and Dutch buckets. Watch for: salt content in some brands; rinse before use.
Perlite and Vermiculite
Lightweight volcanic minerals. Best for: propagation mixes and wicking systems. Watch for: perlite dust is a respiratory irritant; wet before handling.
The Three Mistakes That Kill Most Beginner Setups
Most failed hydroponic setups fail for one of three reasons. Knowing them up front lets you avoid them.
Ignoring pH Until the Plants Yellow
The most common beginner mistake. The nutrient solution is correctly mixed but the pH drifts above 6.5 or below 5.5 within a week, and the plants start showing deficiency symptoms that look exactly like nutrient shortage. The fix is not more nutrients; it is checking pH every 2 to 3 days and adjusting. A $15 pH meter is the cheapest piece of insurance in hydroponics.
Letting the Reservoir Run Dry or Stagnant
Reservoirs evaporate, especially in warm grow rooms. A reservoir below half capacity concentrates salts to EC levels that burn roots. A reservoir that sits unchanged for 3+ weeks depletes specific nutrients and grows algae. The fix is to top off with plain water as the level drops, and to fully refresh the solution every 2 to 3 weeks.
Planting a Fruiting Crop in a Leafy-Green System
The system-crop mismatch from earlier. A tomato seedling in a DWC bucket looks fine for 3 weeks, then collapses under its own weight with root rot because the bucket cannot support the root mass or oxygen demand. The fix is to match the crop to the system before you buy anything; the how to choose a hydroponic system guide walks through the matching decision tree.
Matching System to Situation: A Decision Tree
Walk through these four questions in order. The answer to the last question is your system.
- What do you want to grow? Leafy greens and herbs = Kratky, DWC, or NFT. Fruiting crops = drip or Dutch buckets. Microgreens = shallow trays.
- How much space do you have? A windowsill or counter = Kratky or small DWC. A closet or basement corner = DWC or Ebb and Flow. A greenhouse or garage = drip or NFT.
- How much maintenance do you want? Low (check it weekly) = Kratky. Medium (check every 2 to 3 days, adjust pH and EC) = DWC or Ebb and Flow. High (daily checks, pump monitoring, reservoir management) = NFT or aeroponic.
- What’s your budget? Under $50 for the whole setup = Kratky in mason jars. $50 to $200 = DWC with a 5-gallon bucket and air pump. $200 to $500 = Ebb and Flow or small NFT. $500+ = drip or aeroponic with proper timers and controllers. The best hydroponic system for home guide has full price comparisons.
Mixing Your First Nutrient Solution
Once you have a system and a crop, the nutrient solution is the part most beginners overthink. Commercial nutrient brands (General Hydroponics Flora Series, Botanicare, Advanced Nutrients, etc.) come with feeding charts that tell you exactly how many milliliters per gallon for each growth stage. Start there.
The Minimum You Need to Start
A 2-part or 3-part nutrient kit (Cal-Mag plus a base nutrient, or a complete Flora Series trio). A pH meter. A small bottle of pH Up and pH Down. An EC meter. A 5-gallon bucket for mixing. That is the entire starter kit, and it costs less than $100.
The Mixing Protocol
Fill the reservoir with tap water (or filtered water if your tap water is very hard, above 200 ppm). Add the nutrients per the feeding chart, stirring after each addition. Check the EC; it should match the chart for your crop and growth stage. Adjust pH to between 5.5 and 6.5 using pH Up or pH Down, adding one drop at a time and stirring between drops. The full mixing protocol is in our nutrient solution guide.
What Tap Water Does to Your Solution
Most municipal tap water has calcium and magnesium already in it, plus chlorine or chloramine. Hard tap water (above 200 ppm) means you need less Cal-Mag in your mix. Chlorinated tap water kills the beneficial microbes some nutrient brands include; let the water sit 24 hours or use a carbon filter. Well water varies by region and should be tested before you build around it. A dedicated hydroponic nutrients guide walks through tap water adjustments for common municipal profiles.
What to Expect in the First 30 Days
The first month is when most beginners either get hooked on hydroponics or give up. The difference is knowing what the timeline looks like.
Days 1 to 7: Germination and Establishment
Start seeds in rockwool cubes or a propagation tray. Keep them moist and warm (70 to 75 degrees F). They do not need full nutrient solution yet; a dilute quarter-strength solution after the first true leaves appear is enough.
Days 7 to 14: Seedling Growth
The first true leaves are out and the root system is establishing. Move seedlings into the system at half-strength nutrient solution. Watch the pH closely; new reservoirs drift faster than established ones.
Days 14 to 30: Vegetative Growth
The plant enters its main growth phase. Full-strength nutrient solution per the feeding chart. Adjust pH and EC every 2 to 3 days. Top off the reservoir with plain water as the level drops. By day 30, a lettuce plant should be ready for first harvest; a tomato plant should be a foot tall and starting to flower.
What to Watch For
Yellowing lower leaves usually means nitrogen deficiency or pH lockout. Purple leaf undersides mean phosphorus deficiency. Brown leaf tips mean EC is too high. Pale new growth with dark veins means iron deficiency, almost always a pH problem. The full diagnostic tree is in our hydroponic problems and solutions guide.
The Short Checklist: Five Checks That Prevent Most Failures
If you only have five minutes, run through this list every time you set up a new system, change a crop, or notice something off.
- Match the system to the crop before you build. Leafy greens = Kratky/DWC/NFT. Fruiting crops = drip/Dutch buckets.
- Mix nutrients per the feeding chart for your specific crop and growth stage. Do not eyeball it.
- Check pH every 2 to 3 days. Target 5.5 to 6.5. Adjust with pH Up or pH Down as needed.
- Check EC every 2 to 3 days. Top off with plain water as level drops. Refresh solution every 2 to 3 weeks.
- Watch the plants. Yellow leaves, brown tips, and pale new growth are diagnostic signals that tell you which variable is off.
A hydroponic setup that passes all five of these checks will produce a harvest within the crop’s normal timeline, often faster than the equivalent soil crop. A setup that fails any of them is not a lost cause; it is a diagnostic problem with a known set of causes, and the rest of the Aqualogi hydroponics library is built to walk you through each one.
For a complete map of every hydroponic system family and which one fits your grow, the hydroponic systems explained guide covers DWC, NFT, Kratky, Ebb and Flow, aeroponic, drip, wick, and Dutch bucket in one place. If you are choosing between aeroponic and hydroponic systems specifically, the aeroponics vs hydroponics comparison names the seven real differences that decide which one fits your crop, budget, and patience for tinkering.
If you are narrowing the focus to the at-home version of the broader topic, Two narrower pages extend the at-home focus: the hydroponic farm basics guide for the system families in one place, and hydroponic farming at home for room-by-room setup that maps kitchen counters, closets, and garages to specific system families.
Turn PDF Bank Statements Into Workable Spreadsheets
Your bank statement is a mess of numbers, but your books shouldn't be. Use our converter to get Excel, CSV, or QBO files — ready for QuickBooks.
Try It Free Now