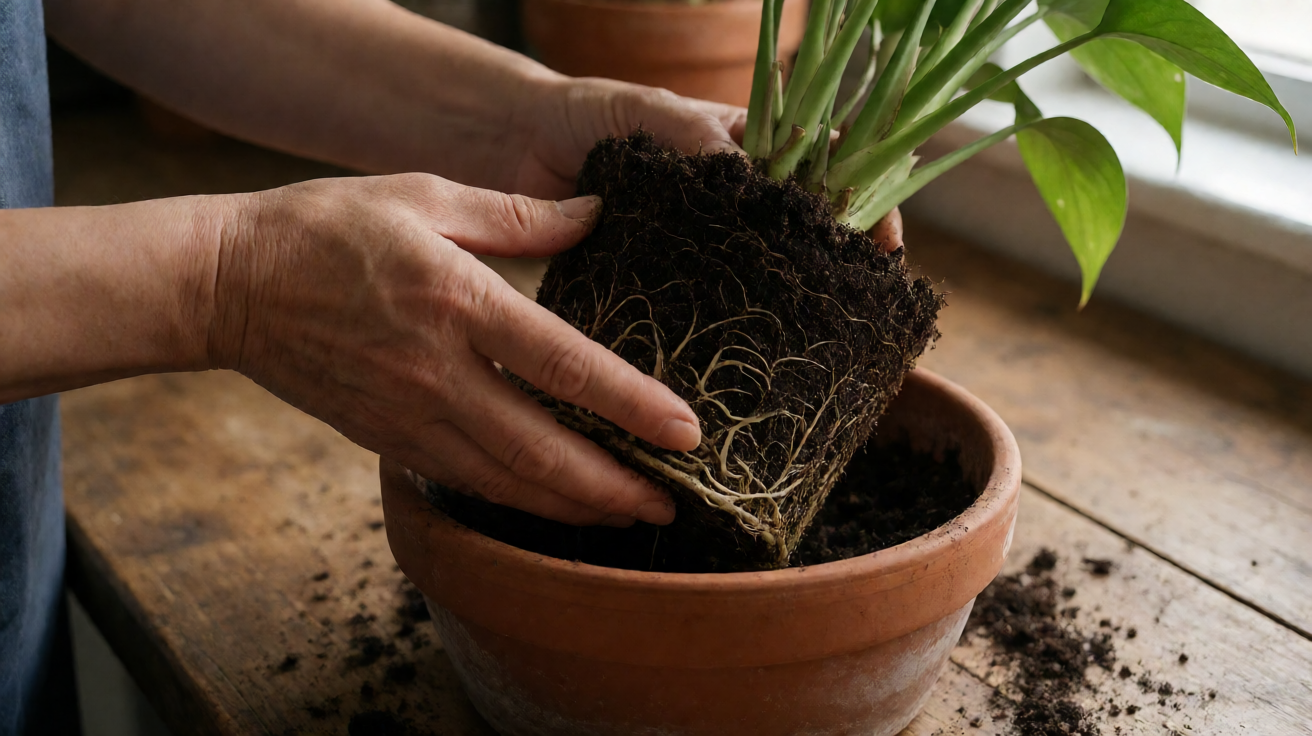

Most dying houseplants are not failing for five different reasons at once; they are failing for one main reason with two or three secondary stressors compounding it, and the 7-day rescue plan is built around finding that single reason before you water, repot, prune, or move the plant. The instinct to fix everything at once is what kills most plants under rescue: a drooping plant gets watered, fertilized, and moved to a brighter window all in the same afternoon, which is three stressors landing on top of an already-stressed plant.
The triage principle behind this plan is borrowed from emergency medicine. When a patient comes into the ER with chest pain, the first question is not what is the diagnosis; the first question is what is the most life-threatening thing happening right now, and what is the first safe intervention that does not make it worse. Houseplant rescue works the same way. Watering a plant with root rot accelerates the rot. Fertilizing a plant under low light burns the roots. Repotting a plant under cold shock adds transplant stress to cold stress. The 7-day plan is the order in which you rule each of these out before you treat it.
The plan covers seven days and five inspections (water, light, roots, humidity, pests). Most readers find the dominant issue by day 3, treat it by day 4, and see whether the rescue is working by day 7. Plants that are past the point of recovery (more than 70 percent foliage loss plus soft black stems at the crown) are addressed honestly in the last section rather than being promised as rescuable. The rest of this page walks through each day in order.
Why Most Dying Houseplants Fail for One Reason, Not Five
The most common houseplant failure pattern is one primary stressor that has been active for weeks, plus one secondary stressor that compounds it. The primary stressor is usually overwatering, low light, cold draft, root bound, or a pest colony that has been there for a month. The secondary stressor is usually the homeowner’s well-intentioned rescue attempt that landed on top of the primary stressor.
The classic example is a snake plant in a low-light corner that gets watered once a week on a fixed schedule. The primary stressor is the low light, which has been suppressing photosynthesis for months. The secondary stressor is the weekly water, which the plant cannot use because the light is too low to drive transpiration. The plant develops root rot, the leaves yellow, and the homeowner’s instinct is to water more because the leaves are yellow and yellow leaves look thirsty. Adding water accelerates the rot, and the plant dies within weeks.
The triage principle reverses this. Day 1 is the water check, day 1 is also the light check, and the rule is to identify which of the two is the primary stressor before treating either one. If the soil is wet and the plant is in low light, the light is the primary stressor and the wet soil is the symptom; the rescue is to move the plant to better light first, then let the soil dry, not to water less aggressively while leaving the plant in the dark.
The same triage logic applies to most houseplant failure patterns. Yellow lower leaves plus wet soil plus low light points to overwatering in low light, not to fertilizer deficiency. Brown crispy edges plus dry soil plus bright afternoon sun points to low humidity in too-bright light, not to underwatering. The 7-day plan walks through these differential diagnoses in order, starting with the two checks that catch half of all houseplant problems: water and light, and the plant rescue checklist covers the same triage in printable form for readers who want a one-page reference.
Day 1-2: The Water and Light Checks That Catch Half of All Problems
Day 1 starts with the moisture check, which is the single most useful diagnostic for a dying houseplant. Three reliable methods work without buying a meter: the chopstick test, the weight test, and the visual topsoil check. The chopstick test is the most accurate: push a plain wooden chopstick or a bamboo skewer into the soil about 2 inches, leave it for 30 seconds, pull it out. If the chopstick comes out dark and wet with soil clinging to it, the soil is still moist and the plant does not need water. If it comes out clean or with only a few dry crumbs, the soil is dry enough to water.
The weight test is faster once you have learned the plant’s weight. Lift the pot immediately after a thorough watering; remember that weight. Lift it again 5-7 days later; if it feels roughly half the post-water weight, the plant is ready for water. If it feels the same as the post-water weight, the soil is still wet and the plant does not need water even if the topsoil looks dry. This method catches the most common overwatering error, which is watering on a fixed schedule rather than on the plant’s actual moisture level.
The visual topsoil check is the least reliable and should not be the primary method. The top inch of soil can dry out within hours of watering while the soil 2-3 inches down is still wet, especially in a large pot or a peat-heavy mix. Watering based on topsoil dryness alone produces a chronically overwatered plant with perpetually dry surface soil and perpetually wet deep soil. Use the chopstick test or the weight test as the primary signal, and the visual check as a secondary confirmation.
Day 1 second check is the light assessment. The shadow test is the simplest diagnostic: hold your hand one foot above the plant’s main leaf cluster at midday. A sharp, well-defined shadow means the light is bright enough for foliage plants. A soft, fuzzy shadow means bright indirect light, which suits most tropical houseplants. No shadow means low light, which is the most common secondary stressor for plants labeled low light tolerant that are actually in a darker spot than the label implies.
The leaf-spacing check is the second light diagnostic. New leaves on a healthy plant are spaced tightly along the stem with short internodes (the gap between leaves). New leaves on a light-starved plant are spaced farther apart with longer internodes, and the plant develops a leggy appearance with most of the foliage at the tips. If your plant has stretched out over the last 6 months with bare stems and a tuft of leaves at the top, the primary stressor is low light and the rescue is to move the plant closer to an east-facing or west-facing window, or to add a grow light. The plant will not recover in low light no matter how perfectly you water it, and the watering houseplants guide covers the moisture checks in more detail if you want a second reference point.
Day 3: Inspect the Roots Before You Repot
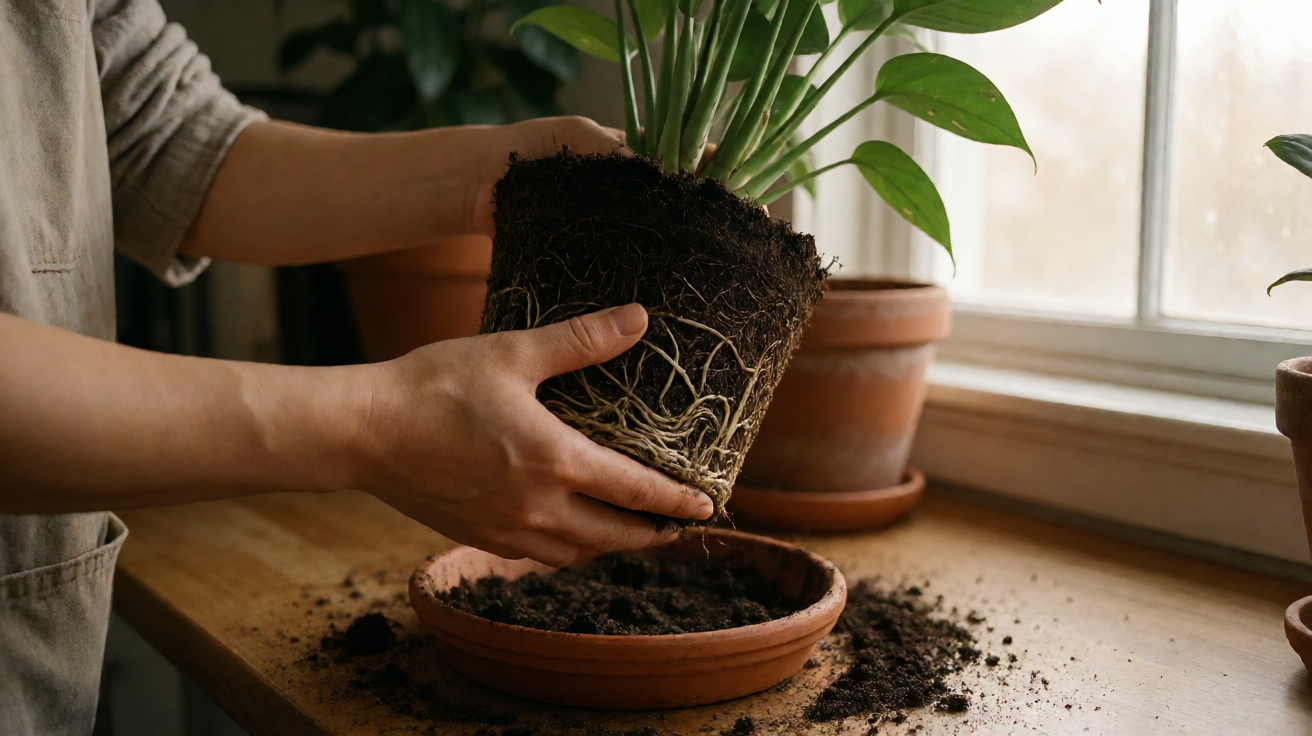
Day 3 is the root inspection, which is the most consequential check of the 7-day plan. The plant comes out of the pot, the soil is gently shaken or washed off the root ball, and the roots are inspected for color, texture, and structure. Healthy roots are white, cream, or light tan, firm to the touch, and have a fresh earthy smell. Rotted roots are dark brown or black, soft or mushy, and smell sour or like rotting vegetation. Root-bound roots are a dense white or tan mat circling the inside of the pot, with little or no soil visible between the roots.
The root inspection is the single most important check because the root system is the part of the plant you cannot see without unpotting, and it is the part that drives 80 percent of the visible symptoms on the leaves. Yellow leaves with wet soil are almost always a root problem (rot), not a leaf problem. Drooping leaves with dry soil are almost always a root problem (the roots cannot pull water up because they have died back), not a water problem. The leaves are the symptom; the roots are the cause.
For root rot, the rescue is to remove the plant from the pot, shake or wash off all the old soil, cut away every black or mushy root with clean scissors or pruners, and repot into fresh well-draining mix in a clean pot (or the same pot washed with a 1:10 bleach solution). The plant will lose 30-50 percent of its root mass during this process, which is normal, and will need 4-6 weeks of recovery with no fertilizer, moderate light, and careful watering only when the top inch of soil is dry.
For root bound, the rescue is either to move up one pot size (1-2 inches larger in diameter) with fresh mix, or to root prune by cutting off the bottom third of the root ball and scoring the sides with a clean knife before replanting into the same pot. Root pruning is the better choice for plants that have been in the same pot for more than 2 years, because moving up in pot size repeatedly produces a plant that is chronically overwatered in a large soil volume relative to its foliage.
If the roots are healthy but the plant is still declining, the primary stressor is not in the root system. Move on to day 4 (humidity) and day 5 (pests) before treating the foliage directly, because adding humidity or treating pests on a plant that has healthy roots but is in low light will not fix the low light problem. The houseplant repotting guide covers the actual unpot-and-repot sequence in more detail if day 3 confirmed a problem.
Day 4: Repot into Fresh, Well-Draining Mix (Only If You Need To)
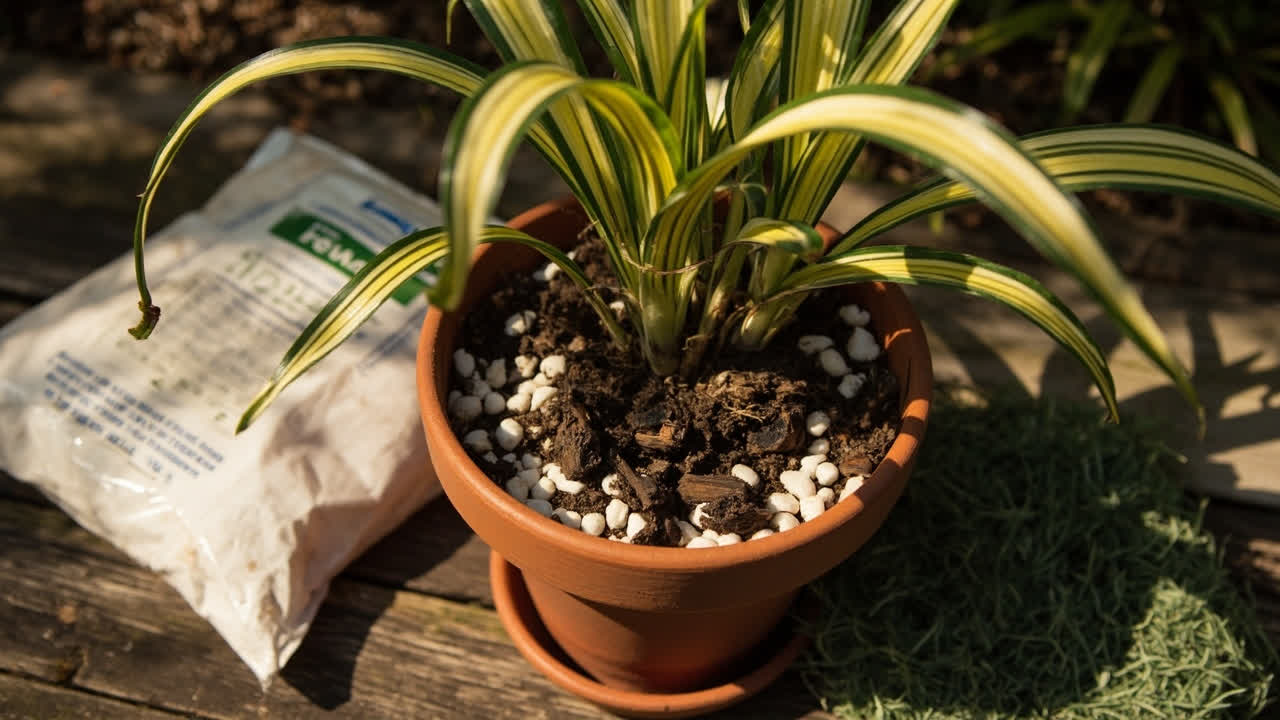
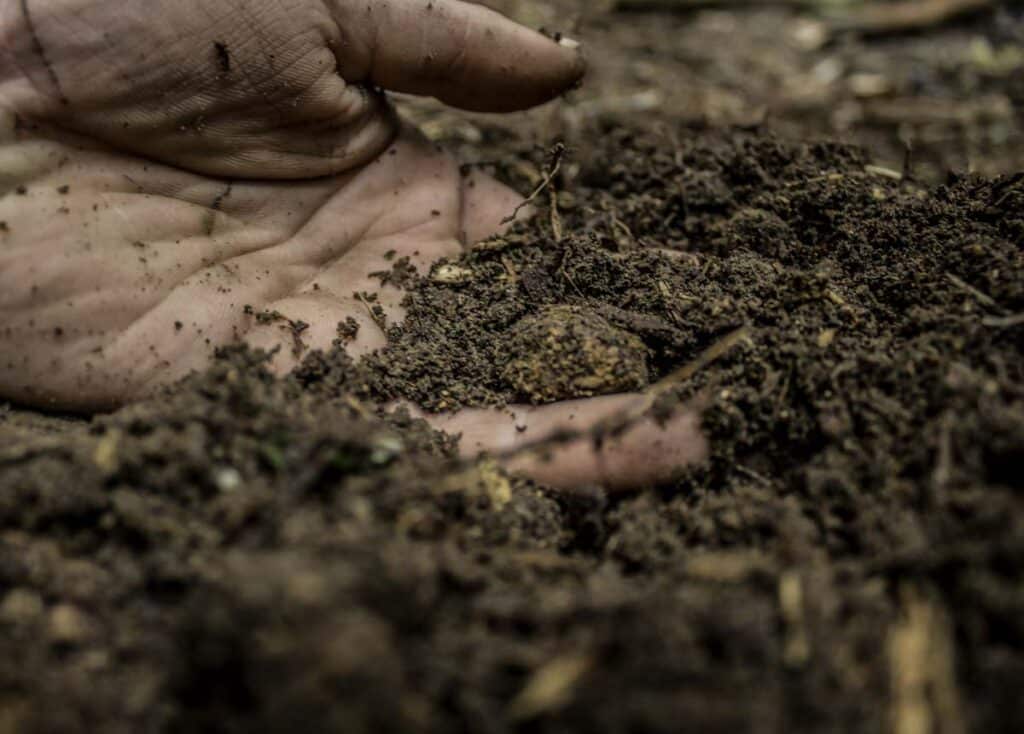
If day 3 confirmed root rot or root bound, day 4 is the repot. The mix recipe for most tropical foliage plants (pothos, philodendron, monstera, peace lily, anthurium) is 2 parts peat moss or coco coir, 1 part perlite, 1 part orchid bark. This produces a chunky, well-draining mix that holds moisture without becoming waterlogged. Cacti and succulents want a grittier mix of 1 part peat, 1 part perlite, 1 part coarse sand. Orchids want straight orchid bark with no peat at all.
The pot choice matters as much as the mix. Every houseplant pot must have a drainage hole. Decorative pots without drainage holes are fine as outer covers, but the plant itself needs to be in a pot with a hole that lets excess water drain out the bottom. A plant in a pot without drainage is at constant risk of root rot, no matter how carefully you water. Terracotta pots are slightly better than plastic pots for plants prone to root rot because the clay wall wicks moisture out through the sides, which adds a margin of safety against overwatering.
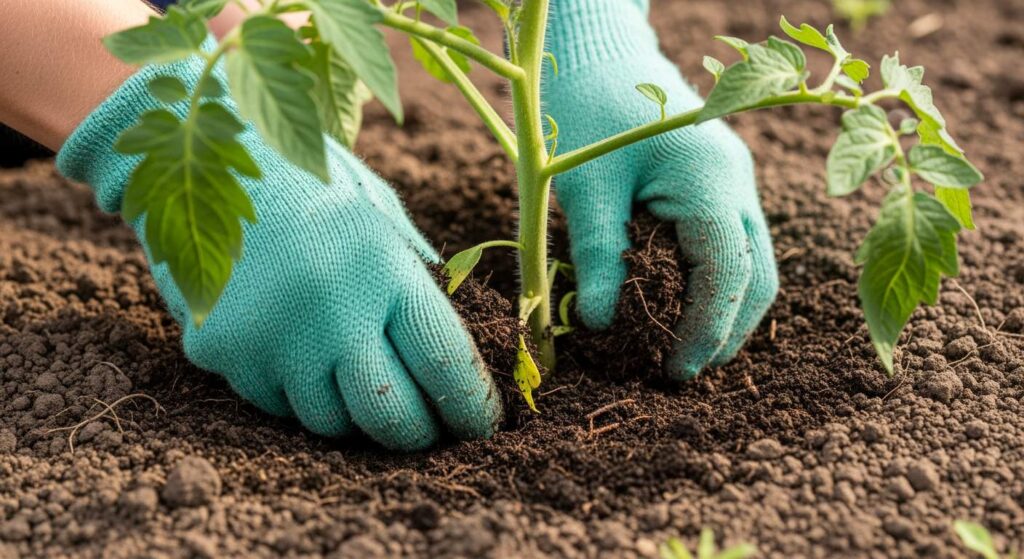
The post-repot recovery window is 4-6 weeks. During this time, the plant should not be fertilized (the fresh mix has enough nutrition for the first month, and fertilizer on a stressed plant burns new root growth). Water only when the top inch of soil is dry. Keep the plant out of direct sun for the first week to reduce transplant shock, then move it back to its normal light conditions. Expect some leaf drop and slight wilting in the first 2 weeks, which is normal; new growth from the top or sides of the plant is the signal that the rescue is working.
Skip the repot if the roots are healthy and the pot has drainage. Repotting a healthy plant in fresh mix adds transplant shock without fixing any problem. The other common repotting mistake is moving up too many pot sizes at once; a plant that has been in a 6 inch pot should move to an 8 inch pot, not a 12 inch pot, because the soil volume jump makes the moisture level harder to manage and the plant cannot use the extra water before the next round of root stress. The houseplant soil mix recipes page has the full per-species mix recipes including orchid bark blends and succulent grits if the 2-1-1 ratio above is too coarse for the species you are rescuing.
If you skipped the repot because the roots were healthy, day 4 is the right day to apply a light quarter-strength fertilizer if it has been more than 8 weeks since the last feed. Skip the fertilizer entirely if the plant is still actively dropping leaves or has soft stems; a stressed plant cannot use the nutrients and the salts build up in the soil and burn the roots.
Day 5: Add Humidity If the Edges Are Crispy
Day 5 is the humidity check, which addresses the second most common secondary stressor after water and light. The symptom pattern is brown crispy leaf edges and tips on a plant that otherwise has good color, firm stems, and the right soil moisture. This is classic low-humidity stress, and it is most common in winter when indoor humidity drops to 20-30 percent (tropical plants want 50-60 percent).
The cheapest intervention is the pebble tray: fill a shallow tray with pebbles, add water to just below the top of the pebbles, and set the pot on top of the pebbles. The water evaporates around the plant and raises the local humidity by 5-10 percent. The pebble tray is not a substitute for true humidification, but for plants with mild crispy edges it is enough to stop the damage and let new leaves come in without the browning.
The grouping trick is the second-cheapest intervention. Grouping 3-5 plants together raises the local humidity around the cluster because each plant transpires moisture through its leaves, and the shared air volume holds more moisture than the air around a single plant on a shelf. Grouping also lets you see at a glance which plants are doing well and which are not, because the plants are close enough to compare leaf condition side by side.
A humidifier is the right answer for a room with multiple tropical plants that all show crispy edges, but it is overkill for a single plant with mild symptoms. Set the humidifier to 50-60 percent, run it during the day, and let the humidity drop at night (plants want a day-night humidity cycle rather than constant high humidity). Misting the leaves is a popular home remedy but does almost nothing for humidity; the mist evaporates in 30 seconds and the local humidity returns to baseline within minutes. The raise humidity for houseplants guide covers pebble tray sizing, humidifier settings, and the day-night humidity cycle in more detail.
Day 6: Scan for Pests You Might Have Missed
Day 6 is the pest scan, which catches the secondary stressor that is hardest to spot from across the room. The seven common houseplant pests are spider mites, fungus gnats, mealybugs, scale insects, aphids, thrips, and whiteflies. The diagnostic pattern is the underside of the leaf, the leaf joints where the leaf meets the stem, and the soil surface around the base of the plant.
Spider mites are the smallest and the most common on foliage plants in dry indoor air. The diagnostic sign is fine webbing across the leaf undersides and between the leaf and stem, plus tiny yellow or white stippling dots on the leaf surface. Hold a piece of white paper under a leaf and tap the leaf; if small dark specks fall onto the paper and start moving, those are spider mites. The escalation is to wipe the leaves with a damp cloth, spray with insecticidal soap weekly for 3 weeks, and raise humidity to 50 percent or higher (mites hate humidity).
Fungus gnats are the small dark flies that hover around the soil surface. The larvae live in the top inch of wet soil and feed on root hairs and decaying organic matter. The diagnostic is the flies themselves plus slow plant growth despite proper watering. The escalation is to let the top inch of soil dry between waterings, top-dress the soil with 1 inch of coarse sand or perlite to break the larval lifecycle, and apply Bacillus thuringiensis israelensis (BTI) granules to the soil if the infestation persists.
Mealybugs, scale, aphids, thrips, and whiteflies are all visible to the naked eye. Mealybugs look like small white cottony tufts on the leaf joints. Scale looks like small brown bumps stuck to the stem. Aphids cluster on new growth and are usually green, black, or brown. Thrips leave tiny black specks of frass on the leaves and cause a silvery stippling pattern. Whiteflies are small white insects that fly up when the plant is disturbed. The escalation for all five is to wipe off visible bugs with a cotton swab dipped in 70 percent isopropyl alcohol, then spray weekly with neem oil (a 1:100 dilution of cold-pressed neem oil in water plus a drop of dish soap as emulsifier) for 3-4 weeks until the colony is gone. The houseplant pest identification guide has the per-pest diagnostic photos and the full treatment escalation protocols if day 6 found bugs.
Day 7: Re-Evaluate and Plan the Next 30 Days
Day 7 is the re-evaluation. By this point the dominant stressor has been identified (water, light, root, humidity, or pest), the targeted intervention has been applied, and the plant has had 4-7 days to begin its recovery response. The three signs that the rescue is working: new growth from the top or sides of the plant (any color, any size), no new yellowing on previously-healthy leaves, and firm stems that are not continuing to soften or wrinkle.
The three signs that the rescue is not working: continued leaf drop with no new growth, soft or black stems at the crown or on the main branches, and a smell of rot from the soil or the base of the plant. If any of these three signs are present at day 7, the plant is likely past the point of recovery. The honest answer is to dispose of the plant (in the trash, not the compost, if the cause was disease) and start fresh with a new plant of the same species once the original issues with the location and watering routine are resolved.
The next 30 days after a successful day 7 are the recovery window. Keep the watering pattern consistent (chopstick test or weight test), keep the light consistent (do not move the plant to chase better light), do not fertilize for the first 4-6 weeks, and do not repot again even if the new growth looks slow. Most rescued plants show clear new growth by week 3 and look like normal plants by week 6; if new growth has not appeared by week 8, the rescue is unlikely to succeed.
This page is the 7-day triage and rescue protocol for a dying houseplant; the broader care topics (specific species care, fertilizing schedules, advanced propagation) live in their own Aqualogi guides, and the limits of the rescue (plants past the point of recovery, plants with viral infections, plants with severe structural damage) are addressed in the houseplant care basics guide.
Turn That PDF Into a Spreadsheet in Minutes
You've seen how to do it manually — now let the tool handle the heavy lifting. Upload your bank statement and get Excel, CSV, or QBO in a few clicks.
Try It Free