
Brown leaf tips and a white crust on the soil surface are how most houseplant owners first meet fertilizer burn (the same salts that make up plant food), and the confusion is fair: the soil is wet, the pot feels heavy, and the plant looks thirsty. The diagnosis is the opposite of what the symptoms suggest. Fertilizer burn is osmotic stress, not dehydration, and the fastest way to save the plant is to flush the salts out of the potting mix before they damage more roots. This page walks through how to confirm the diagnosis, run the correct flush protocol, decide between a wait-and-see and a recovery repot, and restart feeding at a rate the plant can actually use.
What Fertilizer Burn Looks Like on a Houseplant
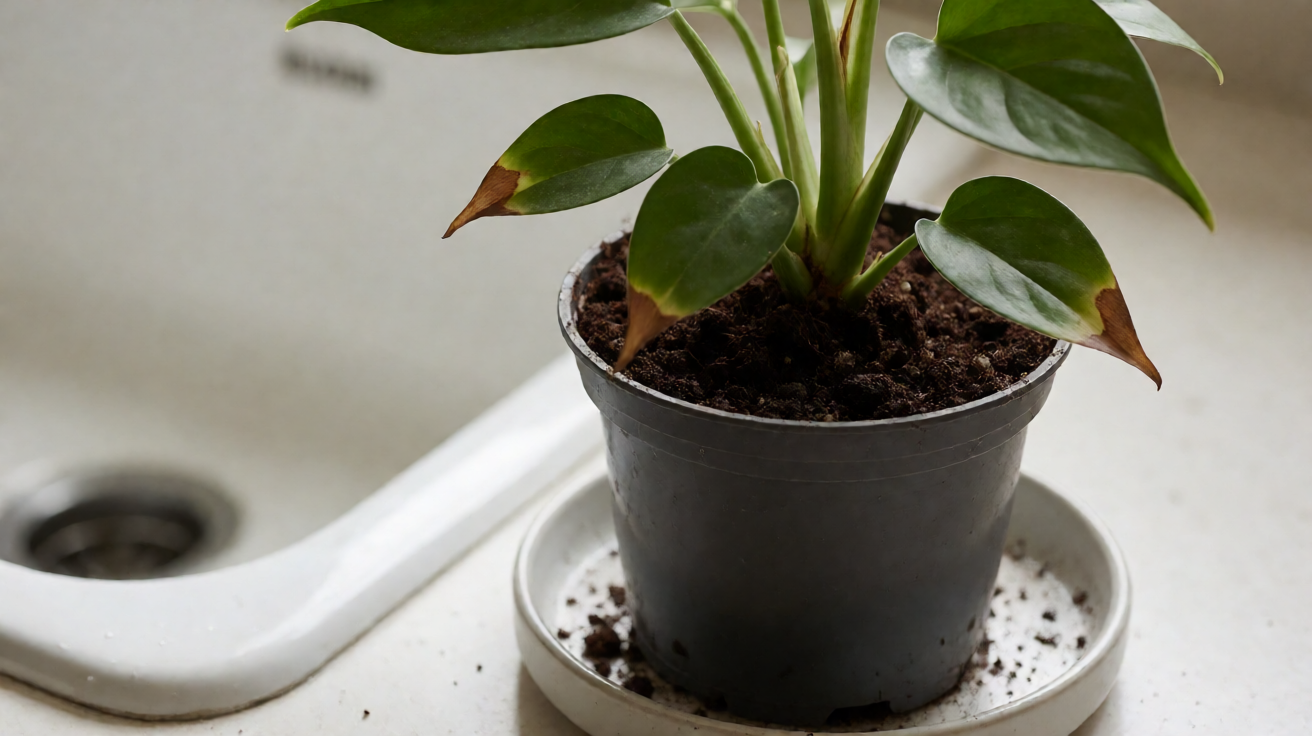
Brown leaf tips after a recent feeding are the most common first sign of fertilizer burn on a houseplant, and they almost always show up within 24 to 72 hours of the dose. The browning starts at the very tip of the leaf and works inward along the margin, leaving a sharp yellow or tan edge between dead and living tissue. A white or yellowish crust on the surface of the potting mix is the second sign; that crust is dried NPK salt from the fertilizer solution sitting on top of the soil, and it carries the same nitrogen and potassium that caused the burn.
Lower leaves yellowing or dropping while the upper leaves look fine is another classic pattern, because the plant pulls stored water and mobile nutrients from the oldest leaves first when the roots are under stress. New growth may also come in twisted, smaller than usual, or with browned edges. None of these signs prove fertilizer burn on its own, but when two or three appear together after a recent feeding, the diagnosis is almost certain.
The damage is easy to confuse with underwatering, because both problems cause dry, brown leaf tips. The way to tell them apart is to lift the pot. A pot with fertilizer burn is often heavy with moisture because the salts have locked water onto the soil particles; an underwatered pot is noticeably light. Cross-check the soil moisture against the rhythm in the fertilizer and watering fundamentals. The soil surface may also smell fine or slightly sour, never the dry-dust smell of a thirsty plant.
Once the signs line up, the next decision is whether the damage is recoverable. Mild cases respond to a flush within a day or two. Severe cases, where the crown of the plant is mushy or more than half the roots are brown and sloughing, will not flush back to health and need a different path. That distinction is the whole reason for the rest of this page.
Why Fertilizer Burn Happens (the Osmotic Mechanism)
Fertilizer burn is not a chemical burn in the way acid or bleach would damage tissue. It is osmotic stress. Fertilizer salts dissolved in the soil raise the salt concentration of the water around the roots above the salt concentration inside the root cells. Water then moves outward, from the higher-concentration inside the roots toward the higher-concentration soil, instead of the other way around. The roots effectively lose water into soil that looks wet.
This is why a heavily over-fertilized plant wilts even when the soil is damp. The roots are present, the water is present, but the gradient is wrong and the plant cannot pull moisture in. The leaf tips are the first tissue to lose turgor because they are the farthest from the roots and the thinnest. That is also why the browning pattern marches inward from the tip rather than starting in the middle of the leaf.
Three things make the osmotic gradient worse: dry soil at the time of feeding, a concentration that exceeds the label rate, and a buildup of nitrogen and potassium salts over many feedings that has never been flushed. The University of Maryland Extension notes that salt accumulation is the most common cause of leaf-margin burn in container-grown houseplants, even at label-recommended doses, because there is no natural leaching the way there is in a garden bed. Every feed adds a little salt, and nothing washes it out.
This mechanism is also why the cure is water, not more fertilizer. A large volume of plain water run through the pot dilutes the salt concentration outside the roots until the gradient flips back in the plant’s favor, and water begins moving into the root cells again. Flushing works because it reverses the exact gradient that caused the damage, which is why a flush belongs in any houseplant rescue plan when the trigger is recent feeding.
The Flush: How to Leach Salts Out of the Potting Mix
The standard leaching protocol from Penn State Extension calls for running 2 to 3 times the pot’s volume of plain, room-temperature water through the potting mix, allowing it to drain freely from the bottom each time. For a 6-inch pot that holds about 1 liter of soil, that means 2 to 3 liters of water in total, applied in two or three passes with a minute between passes so the soil can absorb each round before the next one.
Before flushing, take the plant to a sink or bathtub and remove the saucer so drainage is unobstructed. If the pot has a drainage hole that is clogged with roots or compacted mix, clear it gently with a chopstick; the flush needs to exit, not pool, otherwise the salt has nowhere to go and the next balanced fertilizer feed will repeat the cycle. Water slowly and evenly across the entire surface rather than pouring in one spot, so the salts leach from the whole root zone instead of being pushed to one side.
Use plain water for the flush, not a fertilizer solution. Room-temperature tap water is fine in most municipal supplies, but if your tap water is hard (above 0.7 mS/cm on an EC meter) or you have a water softener that adds sodium, switch to rainwater or filtered water for both the flush and the next several waterings. Hard water adds calcium and magnesium salts on top of the fertilizer salts you are trying to remove, which is also why growers using a Cal-Mag supplement need to be especially careful about runoff accumulation.
Three quick reference points help with the diagnosis in the moment, starting with the canonical symptom pattern: fertilizer burn leaf tips plus a salt crust plus leaf drop within 72 hours of a feed. First, the salt crust on the soil is the same NPK salt that is in the fertilizer; white crystals are usually potassium or calcium, yellow crystals are usually iron or sulfur, and a brown sticky crust suggests organic fertilizer residue like worm castings or compost tea. Second, the severity of the burn tracks to the salt load, not the dose; a small dose of highly concentrated synthetic fertilizer burns faster than a large dose of dilute organic fertilizer, because the salt gradient is steeper. Third, the recovery time depends on the root damage, not the leaf damage; a plant with green new growth and brown leaf tips is recovering, while a plant with healthy-looking old leaves and no new growth is still in salt stress even though the visible damage looks milder.
Let the pot drain for 15 to 20 minutes after the final pass, then return it to its saucer. Do not let the pot sit in the runoff, because reabsorbing that runoff puts the salts straight back into the root zone. The runoff water should be visibly darker than the water you poured in; that color is the dissolved fertilizer salts leaving the mix.
If the white crust on the soil surface is thick, scrape off the top 1 to 2 centimeters of potting mix before flushing. That crust is the most concentrated salt layer, and removing it gets the flush off to a faster start. Replace the scraped-off volume with fresh potting mix after the flush so the root crown is not exposed.

When to Repot vs When to Wait
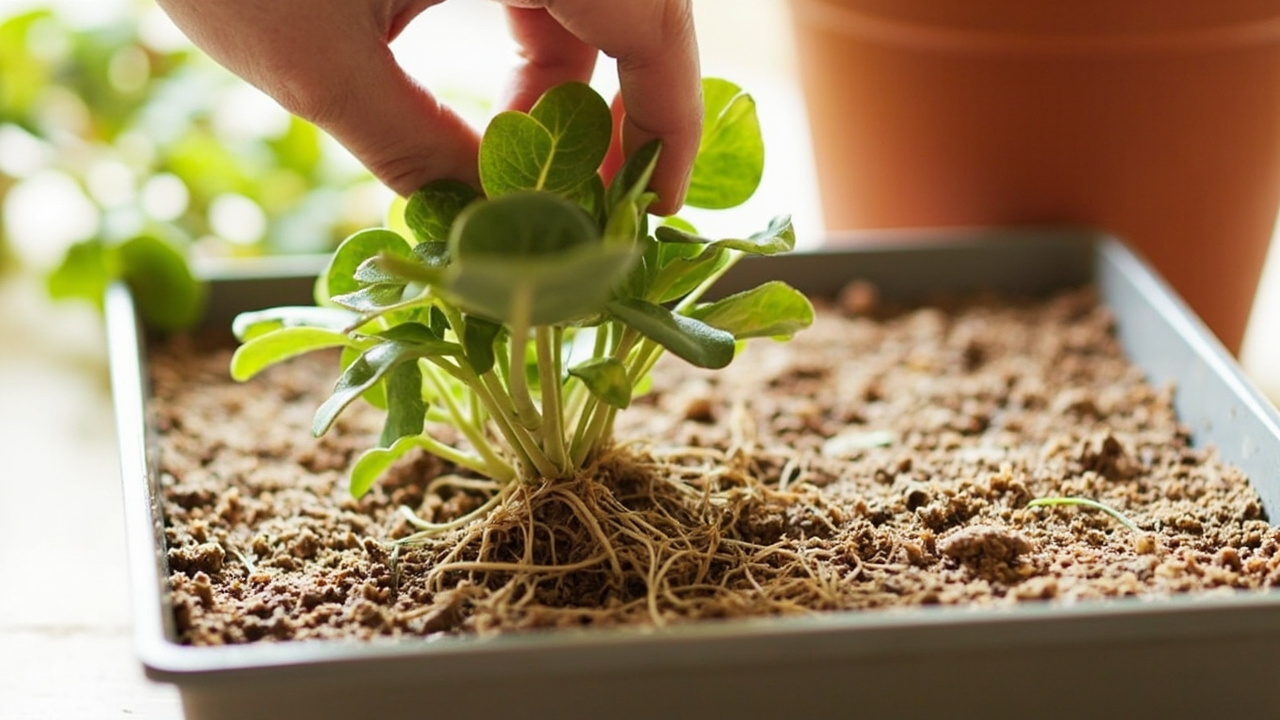
A single over-feeding episode, whether from a one-shot dose of liquid fertilizer or a slow-release granular fertilizer that released too fast, rarely requires a full repot. If the roots look firm and white when you gently slide the plant out of the pot, the existing mix will recover once the salts are flushed and the plant is left alone for several weeks. Repotting on top of fertilizer burn adds transplant stress to salt stress, and a stressed plant under double pressure often loses more leaves than it would have with a flush alone.
Repotting does make sense when the root ball is soggy and more than a third of the roots are brown, mushy, or sloughing when you touch them. In that case the mix itself has gone anaerobic and is no longer a healthy medium; the flush will not fix that. Trim the dead roots with sterilized scissors back to firm white tissue, dust the cut ends with cinnamon as a mild antifungal, and repot into fresh soil using a well-draining indoor potting mix with perlite for aeration.
Choose a pot the same size or only one size larger for the recovery repot, with a drainage hole and a saucer that empties freely. A pot that is too big holds more moisture than the reduced root system can use, which invites a different problem: overwatering root rot in a plant that is already weak. The point of the repot at this stage is to refresh the medium, and a layer of compost at the bottom of the new pot helps the root system re-establish without re-introducing the salt load.
For plants with a thick salt crust and a small root ball, a middle path works well: scrape the crust, flush, top-dress with 2 to 3 centimeters of fresh mix, and skip the full repot. This refreshes the salt-loaded upper layer where most of the feeder roots sit, without disturbing the deeper roots that are still functioning. The Missouri Botanical Garden recommends this top-dress approach for indoor containers as a routine annual practice, and it doubles as a recovery move after a burn episode.
How Long to Wait Before Fertilizing Again
Wait at least 4 to 6 weeks after a flush before feeding again, and resume at half-strength fertilizer (half the label rate) for the first two feedings on your regular fertilizer schedule. The plant needs that window to regenerate the fine root hairs that were lost to osmotic stress, and any fertilizer in the meantime forces those tender new roots back into the same gradient that hurt them. Most houseplants tolerate a missed monthly feeding easily; they tolerate a second burn far less well.
Use the wait window to confirm the plant is actually recovering before you add any nutrient load. New growth that comes in green and normally shaped, even on a small scale, is the strongest signal that the root system is back. New leaves that emerge with brown tips or stay pale indicate the gradient is still off and another flush or a longer wait is needed, while interveinal yellowing on new growth points the other direction toward a nutrient deficiency that the recovery NPK feed will correct.
Dormant plants need no fertilizer at all during the recovery period. Most houseplants enter a lower-growth phase from late fall through early spring, and feeding a dormant plant at half strength is still over-feeding it. The Royal Horticultural Society recommends withholding fertilizer entirely from non-flowering houseplants in winter and resuming at half strength only when active growth is visible in spring.
How to Prevent Fertilizer Burn Next Time
Dilute every dose to half the label rate as a default, not as a special precaution. Container-grown houseplants cannot leach salts the way outdoor soil does, and most synthetic fertilizer or organic fertilizer labels assume a leaching rain that indoor pots never receive. The extra margin is cheap insurance against the exact osmotic stress this page covers, and it works whether you are using a fish emulsion, a worm castings tea, a kelp meal drench, or a balanced NPK liquid.
Feed only when the soil is already moist as part of your regular watering schedule, never when it is bone dry. Fertilizer applied to dry soil concentrates the salts in the small amount of water present and causes fertilizer root burn on contact. Water the plant first, then apply the fertilizer solution an hour or two later so the roots are hydrated and the salts disperse through a larger volume of moisture. If you have a soil test or EC meter, the runoff after a feeding should read below 1.5 mS/cm; anything above 2.0 mS/cm is a fertilizer salt buildup warning that warrants an early flush.
Skip the fertilizer entirely in the months when the plant is not actively growing, and resume only when you see new leaves or stem extension. A monthly feed from January to December is overkill for most foliage houseplants, and it is the single biggest reason salt accumulates quietly in the pot until a burn episode surfaces. Slow-release organic sources (bone meal, blood meal, urea-formaldehyde, kelp meal) still release nitrogen through the dormant months, so even an “organic” routine over-feeds a resting plant.
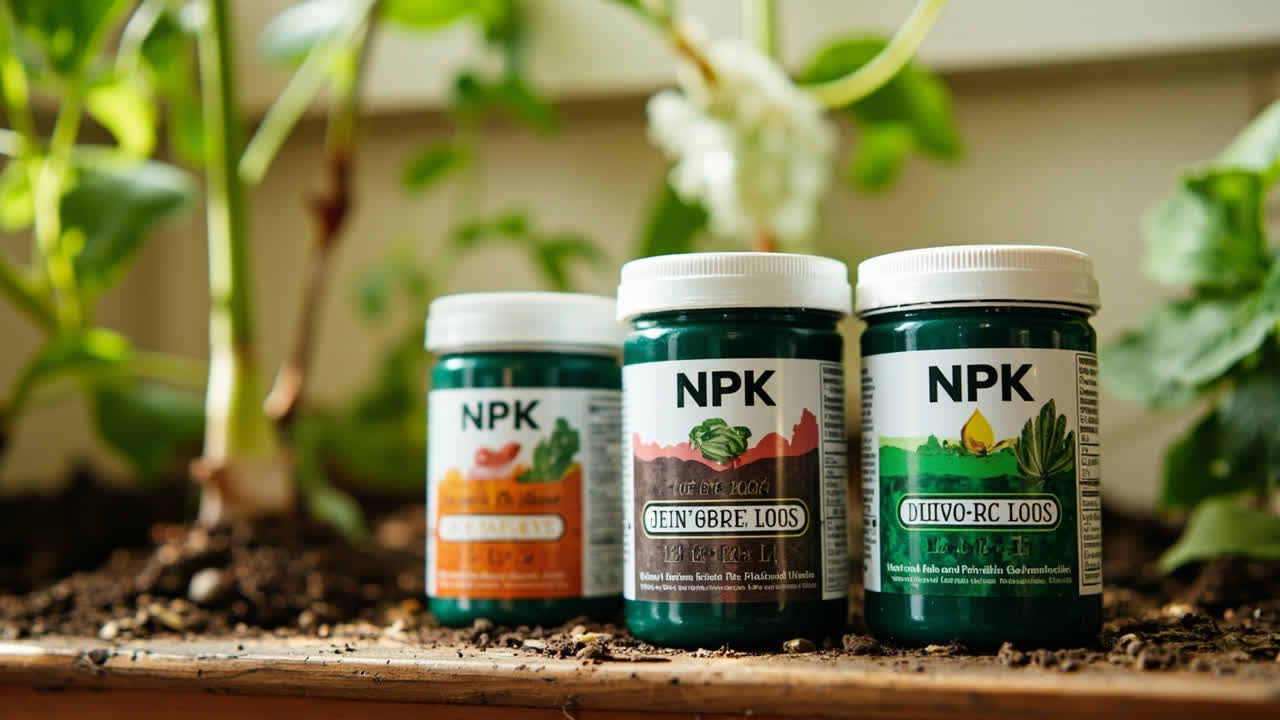
A fertilizer routine that prevents burn uses a few vocabulary anchors worth naming, starting with the fact that an NPK 10-10-10 mix is the safe baseline and an NPK 20-10-10 feed needs to be cut to half strength by default. The NPK ratio on the label tells you the nitrogen, phosphorus, and potassium balance; a balanced fertilizer like 10-10-10 covers general feeding, while high-nitrogen feeds (20-10-10) push leafy growth and high-phosphorus feeds (10-20-10) push flowering. A slow-release fertilizer (granular or polymer-coated) feeds the plant over weeks rather than minutes, which dramatically reduces burn risk. Liquid fertilizer is faster-acting but easier to over-dose, so the half-strength rule applies more strictly. Organic fertilizer sources break down more slowly and add less salt per dose, with options including fertilizer fish emulsion, fertilizer kelp meal, fertilizer neem, fertilizer castor meal, fertilizer blood meal, fertilizer bone meal, fertilizer compost, and fertilizer vermicompost (the umbrella category for worm castings, compost tea, and similar aged organic matter). Synthetic fertilizer sources (urea, potash, iron chelate, calcium nitrate, magnesium sulfate) are precise but concentrated, so the half-strength rule is non-negotiable. A fertilizer foliar feeding pass (spraying diluted nutrient solution on the leaves) delivers nutrients through the leaves and bypasses the soil-salt pathway, useful as a recovery tool but not a substitute for root feeding long-term. Fertigation (mixing fertilizer into the irrigation water at a fixed dilution ratio) is the most consistent method for serious growers because the dose is mechanically controlled. Finally, a soil test once a year gives you an actual EC and pH readout rather than a guess, and it catches salt buildup before the leaves do.
Reading a fertilizer label is where most of the burn-prevention vocabulary lives. The NPK ratio is the three numbers on the front (nitrogen, phosphorus, potassium in that order); the back of the bottle lists the micronutrient panel, which should include iron, manganese, zinc, copper, boron, and molybdenum at minimum, plus calcium and magnesium if the fertilizer claims to be a complete feed. The fertilizer pH effect (how a feed shifts soil pH) matters more than most growers realize: highly acidic feeds push the soil pH down and lock out phosphorus, while highly alkaline feeds lock out iron and manganese even when those nutrients are present in the mix. A simple pH meter or test strips on the runoff after feeding tells you which direction the soil is drifting. EC (electrical conductivity) is the second number worth tracking; it measures total dissolved salts in the solution and should sit between 1.0 and 1.8 mS/cm for most foliage houseplants, with 2.0 mS/cm being the upper limit before salt stress begins. Hard water from the tap carries calcium and magnesium carbonates that push both pH and EC up over time; chloramine-treated municipal water adds a slow-release chlorine that disrupts soil biology and can compound with fertilizer salts to burn the root tips. Switching to rainwater or filtered water for both feeding and the recovery flush solves most of these compounding issues at once. The two routines that handle the rest are fertigation (diluting the fertilizer into the irrigation water at a fixed ratio, usually 1:100 or 1:200 for houseplants) and half-strength feeding (mixing the fertilizer at half the label rate every time, regardless of season). Together these two habits cut the burn risk to near zero, because the dose is mechanically controlled rather than eyeballed. A fertilizer side dressing (applying dry granular fertilizer on the soil surface) is the third routine to know about, mainly because slow-release side-dressed products can be misread as decorative and forgotten, releasing nitrogen into an unwatered pot for weeks. A soil test once a year, an EC reading monthly, and a half-strength feed on a fixed schedule is the simplest stack that prevents every variant of burn covered on this page.
Finally, flush the pot with plain water every 3 to 4 months as a maintenance step, even when there are no symptoms. Two to three pot-volumes of plain water run through the mix washes out the salts that every feeding leaves behind, and it prevents the slow buildup that eventually tips into a visible burn. The flush takes ten minutes and is the cheapest insurance a container plant can get, and it pairs naturally with the organic fertilizer routine as a once-per-season reset. This page is the diagnostic and recovery guide for fertilizer-burn houseplant episodes; species-by-species feeding schedules and synthetic-versus-organic product choice live in their own Aqualogi guides.
From PDF to Excel in one click
Forget retyping line by line. Upload any bank statement, get a spreadsheet you can actually use. Your files are never stored, and you can test the converter with 3 free conversions.