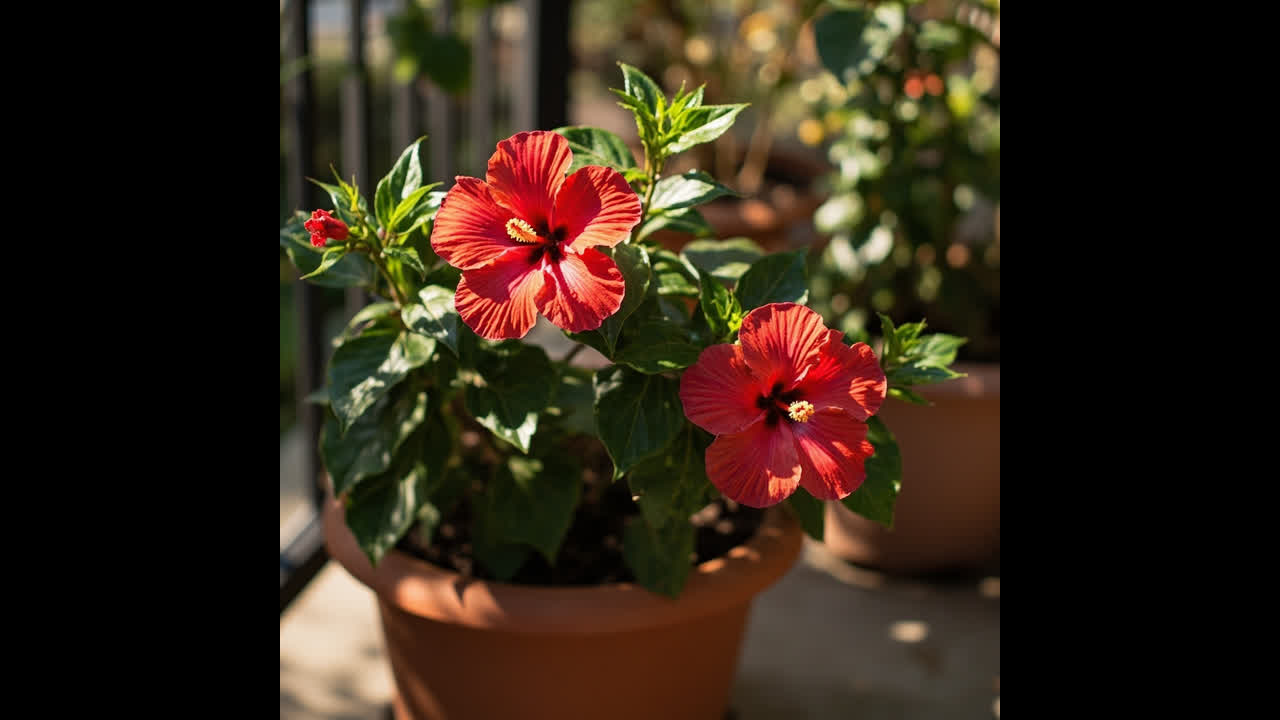
There are few things more satisfying in gardening than growing new plants for free — and propagating hibiscus is one of the easiest ways to do it.
Whether you want to clone a favourite hibiscus variety, expand your collection, or share plants with friends, hibiscus responds well to propagation from stem cuttings.
You do not need special equipment, expensive materials, or years of experience. You need a healthy parent plant, a clean cutting tool, and a few weeks of patience.
Here is exactly how to propagate hibiscus, step by step.
Why Propagate Hibiscus?
Before we get into the method, the brief case for why you would bother: hibiscus grown from cuttings are genetically identical to the parent plant. If you have a favourite variety with a specific flower colour or growth habit, propagation from cuttings preserves that variety exactly. Seed-grown hibiscus, by contrast, will not come true to parent — the offspring will be different.
Propagation is also free. A single healthy hibiscus can produce several usable cuttings per growing season, which means one plant can eventually become a dozen. For a tropical plant that can be expensive to purchase as a mature specimen, this is a significant advantage.
Best Time to Take Cuttings
The ideal window for taking hibiscus cuttings is late spring through early summer — roughly October through December in the southern hemisphere, or April through July in the northern hemisphere. This is when the plant is in active, vigorous growth and the wood is semi-hardwood: firm enough to hold up but still flexible enough to root well.
Avoid taking cuttings during dormancy (winter in most climates) or during peak summer heat when the plant is stressed. Cuttings taken in autumn or winter root more slowly and are more prone to rotting before they establish.
Selecting the Right Cutting
The quality of your cutting determines whether it roots at all. Choose carefully:
- Select non-flowering shoots — stems that are currently producing leaves but no buds. A stem with a flower or bud at the tip directs its energy into flowering rather than rooting. If every shoot on your plant has buds, wait until a few have finished blooming before taking cuttings.
- Choose healthy, pest-free growth — no yellowing leaves, no signs of disease, no evidence of insects.
- Look for semi-hardwood — the ideal cutting snaps cleanly when bent (not too flexible, not too brittle). New soft growth (very bendy, bright green) roots too slowly and rots easily. Old hard wood (very rigid, dark bark) is slow to root.
- Target 10–15 cm long stems with three to four nodes. The length matters less than the quality — a 10 cm cutting from good wood roots faster than a 20 cm cutting from old wood.
Preparing the Cutting
Once you have identified your cutting, here is how to handle it:
- Make the cut below a leaf node — the point where a leaf joins the stem. Roots will emerge from this node once it is buried in the rooting medium. Use a clean, sharp pair of secateurs or a knife, sterilized with rubbing alcohol between cuts to prevent disease spread.
- Strip the lower leaves — remove all leaves from the lower half of the cutting. Leave two to three leaves at the top. Leaves left below the soil line will rot and invite fungal infection.
- Trim the remaining top leaves if they are large — large leaves lose water rapidly through transpiration, which can stress the cutting before roots form. Cut large leaves in half horizontally to reduce moisture loss.
- Optional: dip in rooting hormone. Rooting hormone — typically containing IBA (indole-3-butyric acid) — significantly improves success rate and speeds root development. Dip the cut end briefly in the hormone powder, tap off the excess, and proceed. Rooting hormone is not strictly required but it is worth using, especially if you are new to propagation.
Rooting Method 1: Water Rooting
Water rooting is the most visual method — you can watch the roots grow — and it is an excellent starting point if you have never propagated before.
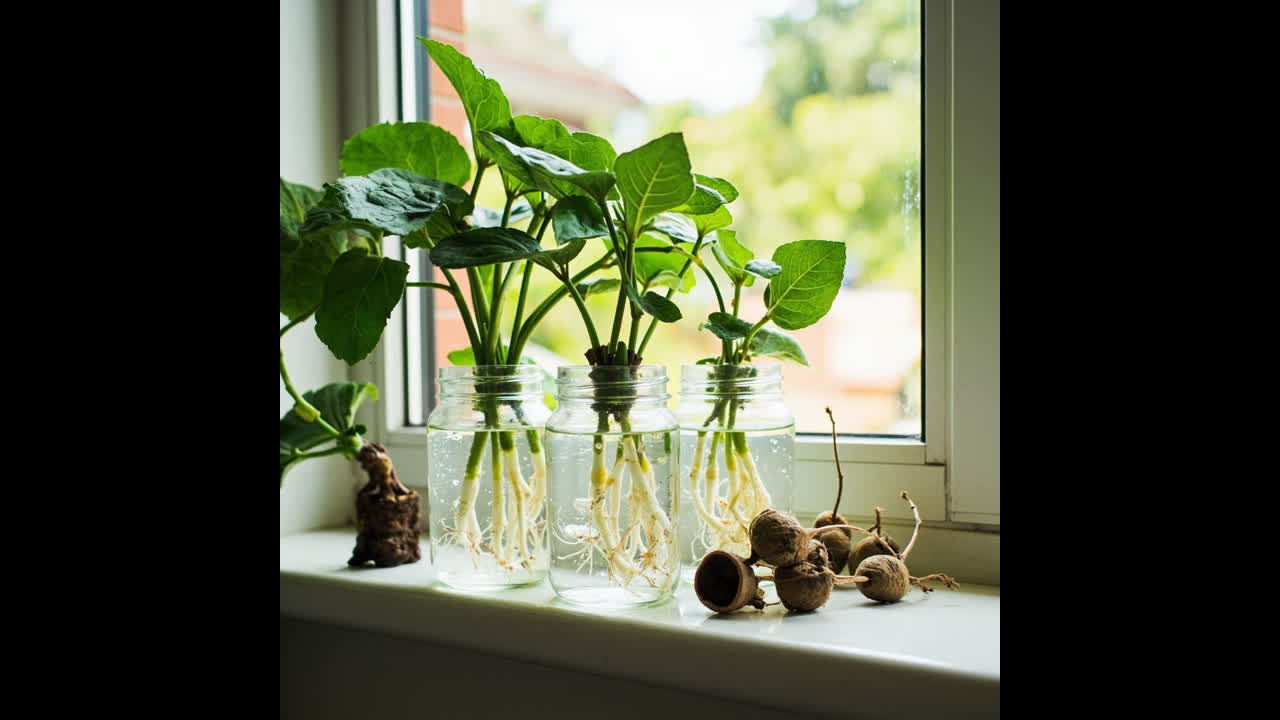
- Fill a clear glass or jar with room-temperature water — not cold, not hot. Tap water is fine in most cases; if your tap water is heavily chlorinated, leave it in an open container for 24 hours first.
- Place the cutting in the water so that the lower third is submerged. The nodes where you removed leaves should be under the water line.
- Set the glass in bright indirect light — a windowsill that gets morning sun is ideal. Direct hot sun will cook the cutting. The temperature around the cutting should be 65–75°F (18–24°C).
- Change the water every three to four days to prevent bacterial buildup. The water should stay clear; if it goes murky or slimy, that is a sign of bacterial contamination — discard the cutting, clean the glass thoroughly, and start again with fresh water.
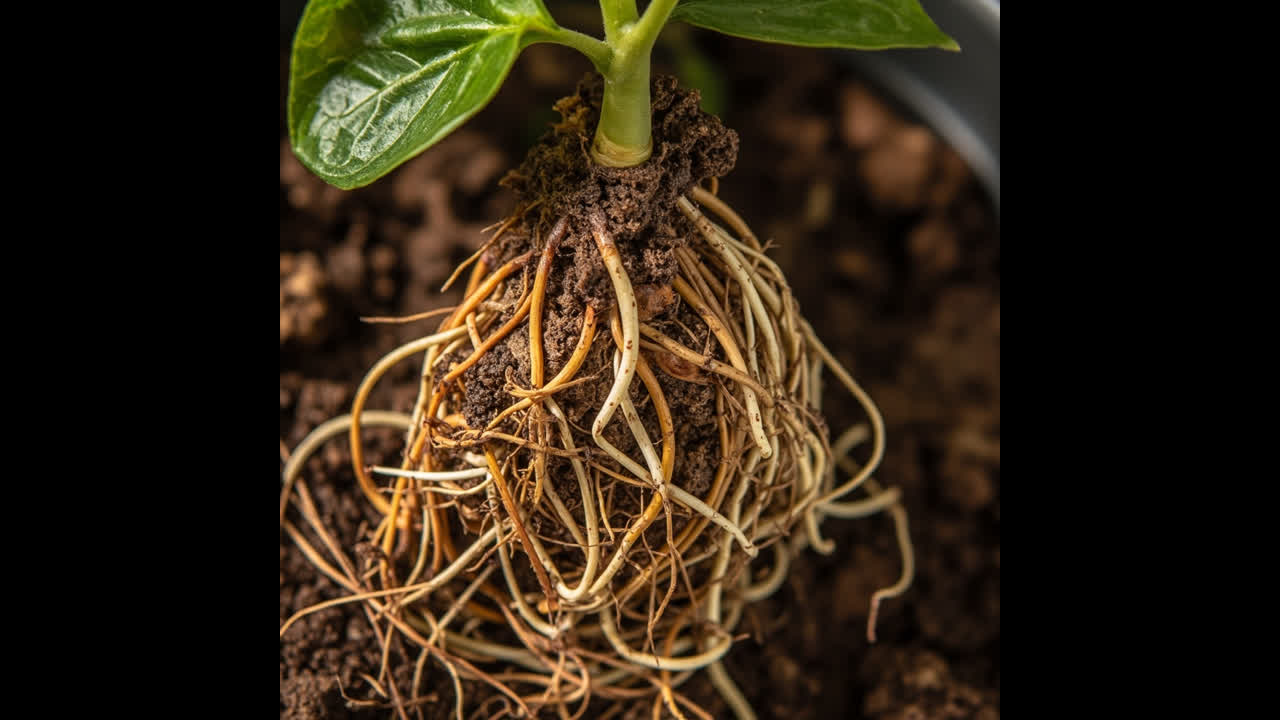
- Expect to see roots in two to four weeks. The roots will be white and visible through the glass. The cutting has successfully rooted when the roots are at least 5 cm long.
Once the roots reach 5 cm, you can transplant to soil. Do not leave the cutting in water indefinitely — roots grown exclusively in water adapt poorly when moved to soil. Transfer to a well-draining potting mix and keep it moist (not waterlogged) for the first two weeks while the roots adjust to the soil medium.
Rooting Method 2: Soil Rooting
Soil rooting skips the water-to-soil transition and can produce a more robust root system from the start, but you lose the ability to see what is happening underground.
- Prepare a rooting medium: perlite on its own, a 50/50 mix of perlite and peat moss, or a quality seed-raising mix. The medium must be very well-draining and kept consistently moist — not wet.
- Fill a small pot (7–10 cm diameter) with the rooting medium and water it thoroughly. Allow it to drain fully.
- Make a hole in the centre with a pencil or your finger — this prevents the rooting hormone from being scraped off as you insert the cutting.
- Insert the cutting to about one-third its length. Firm the medium gently around the stem to eliminate air pockets.
- Cover with a clear plastic bag or place in a propagator box to maintain high humidity around the cutting. This is critical: without humidity, the cutting loses water through its leaves faster than it can absorb it through the stub, and it will wilt and die before rooting.
- Place in bright indirect light at 65–75°F (18–24°C). No direct sun.
- Check daily. If condensation disappears from the plastic, open and mist the cutting and medium lightly.
- Expect roots in four to six weeks. Signs of success: the cutting shows resistance when you gently tug it (roots have anchored it), and new leaf growth appears at the tip. Do not tug the cutting before week four — you risk disturbing early root formation.
Transplanting Your Rooted Cutting
When roots are established and new leaf growth is visible, your cutting is ready for its first real pot:
- Prepare a 7–10 cm pot with a well-draining potting mix (a general potting mix with perlite added works well).
- Gently remove the cutting from its rooting medium — if water-rooted, carefully lift from the glass; if soil-rooted, tip the pot and slide the root ball out gently.
- Plant in the new pot at the same depth it was growing. Do not bury the stem deeper than it was — planting too deep causes rot.
- Water thoroughly and place in bright indirect light for the first two weeks.
- After two weeks, move to your final growing position (full sun if outdoor, bright windowsill if indoor).
- Do not fertilize for the first four weeks after transplanting. The roots are still small and fragile — fertilizer burns them easily.
What to expect: a successful cutting will show new leaf growth within two to three weeks of transplanting. The plant is not fully established for several months, but the critical stage is those first few weeks. Keep the soil moist during this period and protect the plant from direct midday sun until roots have had a chance to anchor properly.
Common Mistakes and How to Avoid Them
Taking flowering stem cuttings
If you take a cutting from a stem that is already budding or flowering, the stem’s energy goes to sustaining the flower — not to rooting. The bud or flower will usually abort and the cutting will fail to root. Always select non-flowering stems for propagation.
Too much direct sun
Direct sunlight on a newly taken cutting causes rapid moisture loss through the leaves, wilting the cutting before roots form. Keep all newly taken cuttings in bright indirect light — never direct sun — until they are rooted and established.
Overwatering
In soil rooting, the most common mistake is keeping the medium too wet. Hibiscus cuttings need moist but not waterlogged conditions. If the medium is constantly saturated, the base of the cutting will rot. Mist when needed, and ensure the pot has drainage holes.
Giving up too soon
Hibiscus cuttings can take up to eight weeks to root, especially in cool weather or if the cutting was taken from older wood. If after six weeks you see no new growth and no resistance when you tug the cutting gently, leave it another two weeks before concluding it has failed. Early declaration of failure is the most common reason gardeners lose otherwise viable cuttings.
Wrong temperature
If the temperature around the cutting drops below 60°F (15°C), rooting slows dramatically or stops. If it goes above 85°F (29°C), the cutting may overheat and fail. 65–75°F (18–24°C) is the ideal range. A warm windowsill above a radiator in winter is usually too warm and too dry — avoid it.
Caring for Your New Plant
Once your cutting has established roots and is growing in its first pot, treat it like a young hibiscus with slightly elevated needs. For the first three months, keep it in bright light (but transition gradually from indirect to direct sun if outdoors), water when the top 2–3 cm of soil is dry, and do not fertilize until it has been in its pot for at least a month.
For the complete care guide for your new plant, see our caring for your new hibiscus plant. And for container-specific guidance as your plant grows, see growing hibiscus in containers.
Turn any PDF statement into a clean sheet
Skip the typos and the hours of copying. Our converter handles any bank statement format and outputs Excel, CSV, or QBO for QuickBooks. No file retention, free to try.
Convert your statement